“Mom, I’m starving.” Those three words, delivered with the dramatic flair only a seven-year-old can muster, hit me right as I was staring into the fridge at 3:30 PM. I had nothing. No leftovers, no prepped snacks, and a grocery run that wasn’t happening until tomorrow. I grabbed the peanut butter, some oats, and a handful of chocolate chips, and just started mixing. I wasn’t thinking about a recipe. I was just trying to survive the next twenty minutes until dinner. And honestly? That desperate, last-ditch kitchen experiment turned into the most requested snack in our house. These no-bake peanut butter oat energy bites were born out of pure necessity, and they’ve saved my sanity more times than I can count.
It’s funny how the best things happen when you stop trying so hard. I wasn’t aiming for a blog post or a viral recipe. I was just a tired mom trying to keep a hangry kid from staging a full-blown revolt. But the moment those oats and peanut butter came together, something clicked. The texture was right, the sweetness was perfect, and my daughter actually stopped mid-complaint to take a bite. Then another. Then she asked if I could make them “every single day.” That’s when I knew I had stumbled onto something special.
These little bites are now my go-to for everything. School lunches, afternoon slumps, post-workout refueling, and even those moments when I need something sweet but don’t want to turn on the oven. They’re not just a snack. They’re a tiny, edible victory.
Why You’ll Love This Recipe
Let me tell you why these energy bites have become a staple in my kitchen and why they’ll become one in yours too. I’ve tested this recipe more times than I can remember, tweaking the ratios, trying different mix-ins, and even messing up a batch or two (too much honey is a sticky disaster, trust me). This version is the one that works every single time.
- Quick & Easy: Comes together in under 5 minutes. No baking, no waiting, no complicated steps. Just mix, roll, and eat.
- Simple Ingredients: You probably have everything in your pantry right now. Oats, peanut butter, honey, chocolate chips. That’s it.
- Perfect for Busy Days: Great for school lunches, road trips, hiking snacks, or that 4 PM energy crash when you need something fast.
- Crowd-Pleaser: Kids love them, adults love them, and they’re always the first thing to disappear at potlucks or playdates.
- Unbelievably Delicious: The combination of creamy peanut butter, chewy oats, and melty chocolate chips is pure comfort food in a bite-sized package.
What makes these different from every other energy ball recipe out there? It’s the texture. I’ve found that using old-fashioned rolled oats instead of quick oats gives you that perfect chewy bite without being mushy. And the ratio of peanut butter to honey is dialed in so the mixture holds together without being greasy or sticky. I’ve tried versions that were too dry, too wet, or just plain bland. This one is just right.
These aren’t just a snack. They’re the kind of thing that makes you feel like you’ve got your life together, even when you don’t. They’re homemade, they’re wholesome, and they taste like a treat. That’s a win in my book.
What Ingredients You Will Need
This recipe uses simple, wholesome ingredients that you probably already have in your kitchen. No fancy superfood powders or hard-to-find specialty items. Just real food that comes together to create something delicious and satisfying.
- 1 cup old-fashioned rolled oats (not quick oats—they get mushy. I prefer Bob’s Red Mill for consistent texture)
- 1/2 cup creamy peanut butter (use a natural kind without added sugar or oil for best results. Skippy Natural or Jif Natural both work great)
- 1/3 cup honey (or maple syrup for a vegan option. Local honey adds a nice floral note)
- 1/2 cup mini chocolate chips (I like Enjoy Life brand for allergen-friendly options, but any semi-sweet or dark chocolate chips work)
- 1/2 teaspoon vanilla extract (pure vanilla, not imitation, if you can swing it)
- 1/4 teaspoon salt (skip this if your peanut butter is already salted)
Optional Add-Ins:
- 1/4 cup ground flaxseed (adds fiber and omega-3s)
- 1/4 cup shredded coconut (unsweetened, for texture and flavor)
- 2 tablespoons chia seeds (extra protein and crunch)
- 1/4 cup dried cranberries or raisins (for a fruity twist)
When it comes to peanut butter, I’ve learned a few things through trial and error. Natural peanut butter that’s been sitting in the fridge can be too hard to mix, while the super oily stuff can make the bites fall apart. I aim for a creamy, room-temperature peanut butter that stirs easily. If yours is a little stiff, microwave it for 10 seconds before mixing.
For the oats, old-fashioned rolled oats are non-negotiable here. Quick oats will turn your energy bites into a pasty mess, and steel-cut oats are too hard to chew. Stick with the rolled oats and you’ll get that perfect chewy texture every time.
And the chocolate chips? Mini chips are my favorite because they distribute evenly throughout the mixture. But regular-sized chips work too. Just chop them up a bit if you want smaller pieces.
Equipment Needed
You don’t need a fancy kitchen setup for this recipe. In fact, you probably already have everything you need. Here’s the short list:
- Large mixing bowl (any size works, but a medium-large bowl makes mixing easier)
- Measuring cups and spoons (for accuracy—eyeballing it can lead to sticky disasters)
- Rubber spatula or wooden spoon (for mixing the dough)
- Baking sheet or plate (lined with parchment paper for easy cleanup)
- Small cookie scoop or tablespoon (for portioning even-sized bites)
If you don’t have a cookie scoop, just use your hands. I actually prefer rolling them by hand because I can feel the texture and adjust if the mixture is too dry or too sticky. A little tip: lightly wet your hands with cold water before rolling to prevent the mixture from sticking to your skin.
For storage, an airtight container is essential. I use a glass meal prep container with a tight-fitting lid, but any Tupperware or zip-top bag will work. If you’re making a big batch, a mason jar is a cute and functional option.
Preparation Method
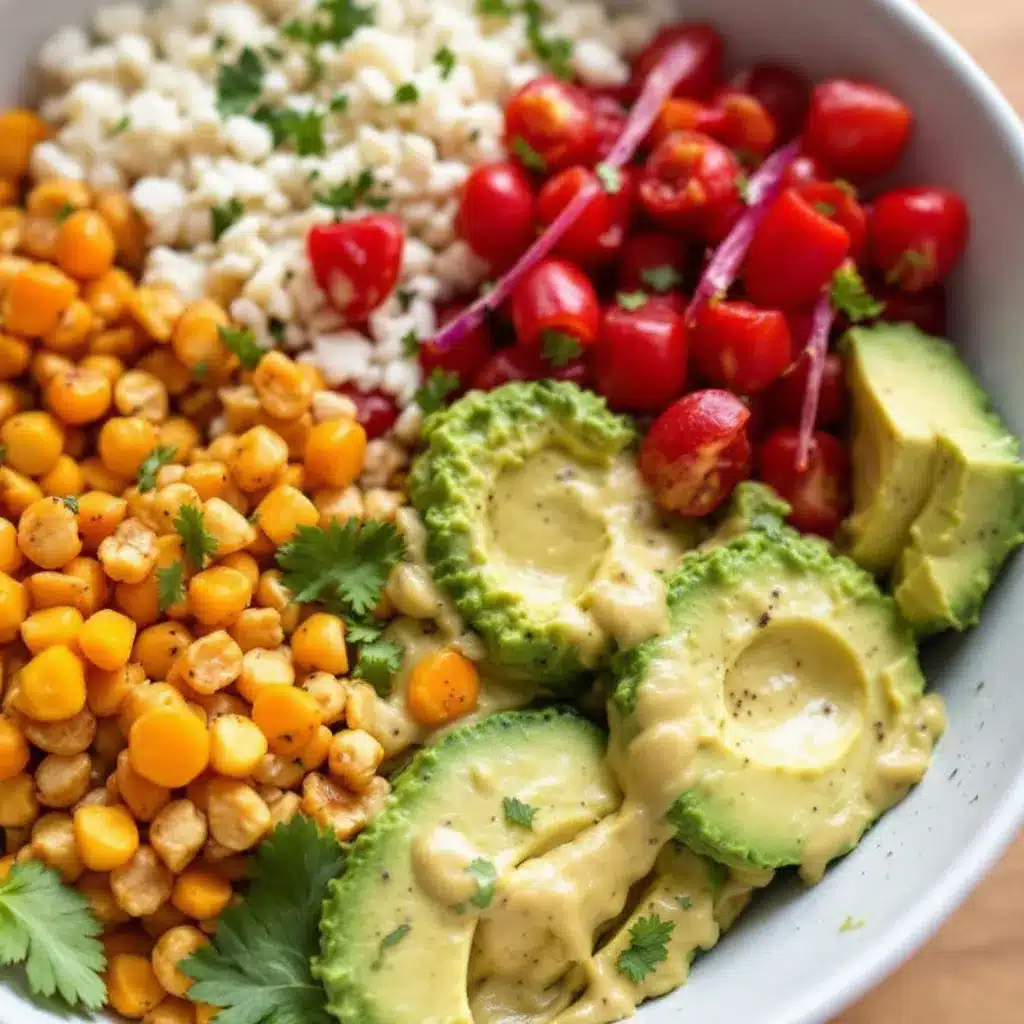
This is the easiest part. Seriously, if you can stir and roll, you can make these energy bites. Here’s exactly how I do it:
- Combine the dry ingredients. In your large mixing bowl, add the rolled oats, chocolate chips, and salt. If you’re using any optional add-ins like flaxseed or coconut, toss them in now too. Give everything a quick stir with your spatula to distribute evenly.
- Add the wet ingredients. Spoon the peanut butter on top, drizzle the honey over it, and add the vanilla extract. Don’t worry about mixing everything perfectly at this stage—just get it all in the bowl.
- Mix until combined. Using your rubber spatula or wooden spoon, stir everything together. Start slowly to avoid flinging oats everywhere. The mixture will look crumbly at first, then it will start to come together as the peanut butter and honey coat the oats. Keep stirring until you can’t see any dry patches. This usually takes about 30 seconds to a minute.
- Check the consistency. The mixture should hold together when you press it between your fingers. If it’s too dry, add a teaspoon of honey or peanut butter. If it’s too sticky, add a tablespoon of oats. I’ve had batches that were a little crumbly, and a few extra seconds of mixing usually fixes it.
- Chill the mixture. Pop the bowl in the fridge for 10-15 minutes. This step is optional, but it makes rolling the balls much easier. The mixture firms up just enough that it doesn’t stick to your hands as much.
- Roll into balls. Scoop out about a tablespoon of the mixture and roll it between your palms to form a smooth ball. Place each ball on your parchment-lined baking sheet. Repeat until all the mixture is used. You should get about 12-15 bites, depending on how big you make them.
- Final chill. Place the baking sheet in the fridge for at least 30 minutes to let the bites set. This helps them hold their shape and makes them easier to pack for lunches or grab on the go.
One thing I’ve learned the hard way: don’t skip the chilling step if you’re planning to pack these in a lunchbox. Unchilled bites can get a little soft and squishy, especially in warm weather. A good chill ensures they stay intact.
Also, if you’re making these with kids, expect some sticky hands and a few misshapen balls. That’s part of the fun. My daughter loves rolling them, even if half of them end up looking like lumpy potatoes. They still taste amazing.
Cooking Tips & Techniques
After making these energy bites more times than I can count, I’ve picked up a few tricks that make the process smoother and the results better. Here are my top tips:
Use room-temperature ingredients. Cold peanut butter straight from the fridge is a nightmare to mix. Let it sit out for 15-20 minutes before you start, or microwave it for 10 seconds to soften it. Same goes for honey if it’s crystallized.
Don’t overmix. I know it’s tempting to keep stirring until everything is perfectly uniform, but overmixing can make the oats break down and turn the texture mushy. Just mix until everything is combined and you can’t see dry spots.
Wet your hands. This is the single best tip I can give you. Before rolling each ball, dip your fingertips in cold water. The moisture prevents the mixture from sticking to your hands, and it helps the balls form more smoothly. I keep a small bowl of water nearby for this purpose.
Toast the oats for extra flavor. If you have an extra five minutes, spread the oats on a baking sheet and toast them at 350°F for 5-7 minutes. Let them cool completely before mixing. This adds a nutty, toasty flavor that takes the bites to another level.
Chill between batches. If you’re making a double batch, keep the unused mixture in the fridge while you roll the first batch. The mixture can get soft and sticky if it sits out too long, especially on a warm day.
I once made the mistake of using chunky peanut butter because I thought it would add texture. Big mistake. The chunks made the balls uneven and harder to roll. Stick with creamy peanut butter for the best results.
Variations & Adaptations
One of the best things about this recipe is how flexible it is. You can adapt it to fit almost any dietary need or flavor preference. Here are some of my favorite variations:
Vegan Version: Swap the honey for maple syrup or agave nectar. Use dairy-free chocolate chips. Everything else stays the same. The texture will be slightly different—maple syrup is a little thinner than honey—so you might need to add an extra tablespoon of oats to compensate.
Nut-Free Version: Substitute the peanut butter with sunflower seed butter or tahini. Sunflower seed butter works beautifully, though it can turn a little green when mixed with baking soda (not an issue here since we’re not baking). Tahini gives a more savory, earthy flavor that pairs well with chocolate.
High-Protein Version: Add 2 tablespoons of vanilla or chocolate protein powder to the dry ingredients. You might need to add an extra tablespoon of honey or peanut butter to keep the mixture from getting too dry. I’ve used collagen peptides successfully too—they dissolve right in without changing the texture.
Seasonal Twist: In the fall, add 1 teaspoon of pumpkin pie spice and swap the chocolate chips for dried cranberries. In the summer, use white chocolate chips and add a tablespoon of freeze-dried strawberry powder. In the winter, add a pinch of cinnamon and a dash of nutmeg.
Cookie Dough Inspired: Add 2 tablespoons of mini chocolate chips and 1 tablespoon of sprinkles. It tastes just like edible cookie dough, but with oats for a little more substance. My daughter’s personal favorite.
If you’re looking for more easy, no-fuss snack ideas, you might enjoy my peanut butter banana sushi roll-ups — they’re another kid-approved favorite that comes together in minutes.
Serving & Storage Suggestions
These energy bites are incredibly versatile when it comes to serving. Here’s how I like to enjoy them:
At Room Temperature: Straight from the counter, they’re soft and chewy. Perfect for a quick snack or an after-school treat. I often pack them in lunchboxes without any special prep.
Chilled: Straight from the fridge, they’re firmer and take a little longer to eat. This is my preferred way to enjoy them on a hot day or after a workout. The cold temperature makes the chocolate chips extra snappy.
Frozen: Believe it or not, these freeze beautifully. I pop a few in a zip-top bag and grab one straight from the freezer for a cold, chewy treat. They thaw in about 5 minutes at room temperature.
Pairings: Serve them alongside a glass of cold milk, a cup of coffee, or a smoothie. They also pair well with fresh fruit like apple slices or berries. For a more substantial snack, I sometimes crumble one over a bowl of Greek yogurt.
Storage: Keep the energy bites in an airtight container in the refrigerator for up to 2 weeks. They’ll stay fresh and chewy the whole time. If you’re packing them for lunches, place them in a small container or wrap them in parchment paper to prevent sticking.
Freezer Instructions: Arrange the bites in a single layer on a baking sheet and freeze for 1 hour. Transfer to a freezer-safe bag or container. They’ll keep for up to 3 months. To thaw, just leave them at room temperature for 10-15 minutes, or pop them in the microwave for 10 seconds.
One thing I’ve noticed: the flavors actually get better after a day or two in the fridge. The oats absorb some of the moisture from the peanut butter and honey, making the texture even more cohesive. So don’t be afraid to make a batch ahead of time.
Nutritional Information & Benefits
These energy bites aren’t just delicious—they’re actually pretty good for you. Here’s a rough breakdown per bite (based on 12 bites per batch):
| Nutrient | Amount Per Bite |
|---|---|
| Calories | 180 |
| Total Fat | 9g |
| Saturated Fat | 3g |
| Carbohydrates | 22g |
| Fiber | 3g |
| Sugar | 12g |
| Protein | 6g |
The oats provide complex carbohydrates for sustained energy, while the peanut butter offers healthy fats and protein to keep you full. Chocolate chips add a touch of antioxidants, and the honey gives you a quick natural energy boost. If you add flaxseed or chia seeds, you’ll get a nice dose of omega-3 fatty acids and extra fiber.
These bites are naturally gluten-free (just make sure your oats are certified gluten-free if that’s a concern) and can easily be made vegan. They’re also free of refined sugar if you use a natural sweetener like maple syrup.
I personally love having these on hand for those moments when I need something quick but don’t want to reach for processed snacks. They’re real food, made with ingredients I can pronounce, and they actually taste like a treat. That’s a win in my book.
Conclusion
These no-bake peanut butter oat energy bites are proof that you don’t need fancy ingredients or complicated techniques to make something truly delicious. They came out of a moment of desperation, and they’ve become a staple in our kitchen ever since. They’re quick, they’re easy, and they’re absolutely packed with flavor.
I love that I can make a batch in under five minutes and have snacks ready for the whole week. I love that my daughter asks for them instead of cookies. And I love that they make me feel like I’ve got my act together, even on the chaos days.
Now I want to hear from you. Have you tried making energy bites before? What’s your favorite mix-in combination? Drop a comment below and let me know. And if you give this recipe a try, tag me in your photos—I love seeing your creations!
If you’re in the mood for another easy, no-cook snack, check out my cold pepperoni pasta salad — it’s another lifesaver for busy weeks. Or for a sweet treat that’s just as quick, my matcha green tea tiramisu parfaits come together in 10 minutes flat.
Happy snacking, friends!
Frequently Asked Questions
Can I use quick oats instead of rolled oats?
I don’t recommend it. Quick oats are more finely processed and will absorb moisture differently, resulting in a mushy, pasty texture. Rolled oats give you that perfect chewy bite that makes these energy bites so satisfying.
How long do these energy bites last?
Stored in an airtight container in the refrigerator, they’ll stay fresh for up to 2 weeks. You can also freeze them for up to 3 months. Just make sure they’re in a freezer-safe bag or container.
Can I make these without chocolate chips?
Absolutely. You can leave them out entirely, or swap them for dried fruit like cranberries, raisins, or chopped dates. White chocolate chips, butterscotch chips, or even chopped nuts all work great too.
My mixture is too dry. What did I do wrong?
This usually happens if your peanut butter is too thick or if you used a different sweetener. Try adding an extra tablespoon of honey or a splash of milk (dairy or non-dairy) to bring it together. If it’s still too crumbly, add a little more peanut butter.
Can I use almond butter or other nut butters?
Yes! Almond butter, cashew butter, or even sunflower seed butter all work well. Just keep in mind that different nut butters have different consistencies, so you might need to adjust the amount of oats or sweetener slightly. Almond butter tends to be a little drier, so you may need an extra tablespoon of honey.
Pin This Recipe!
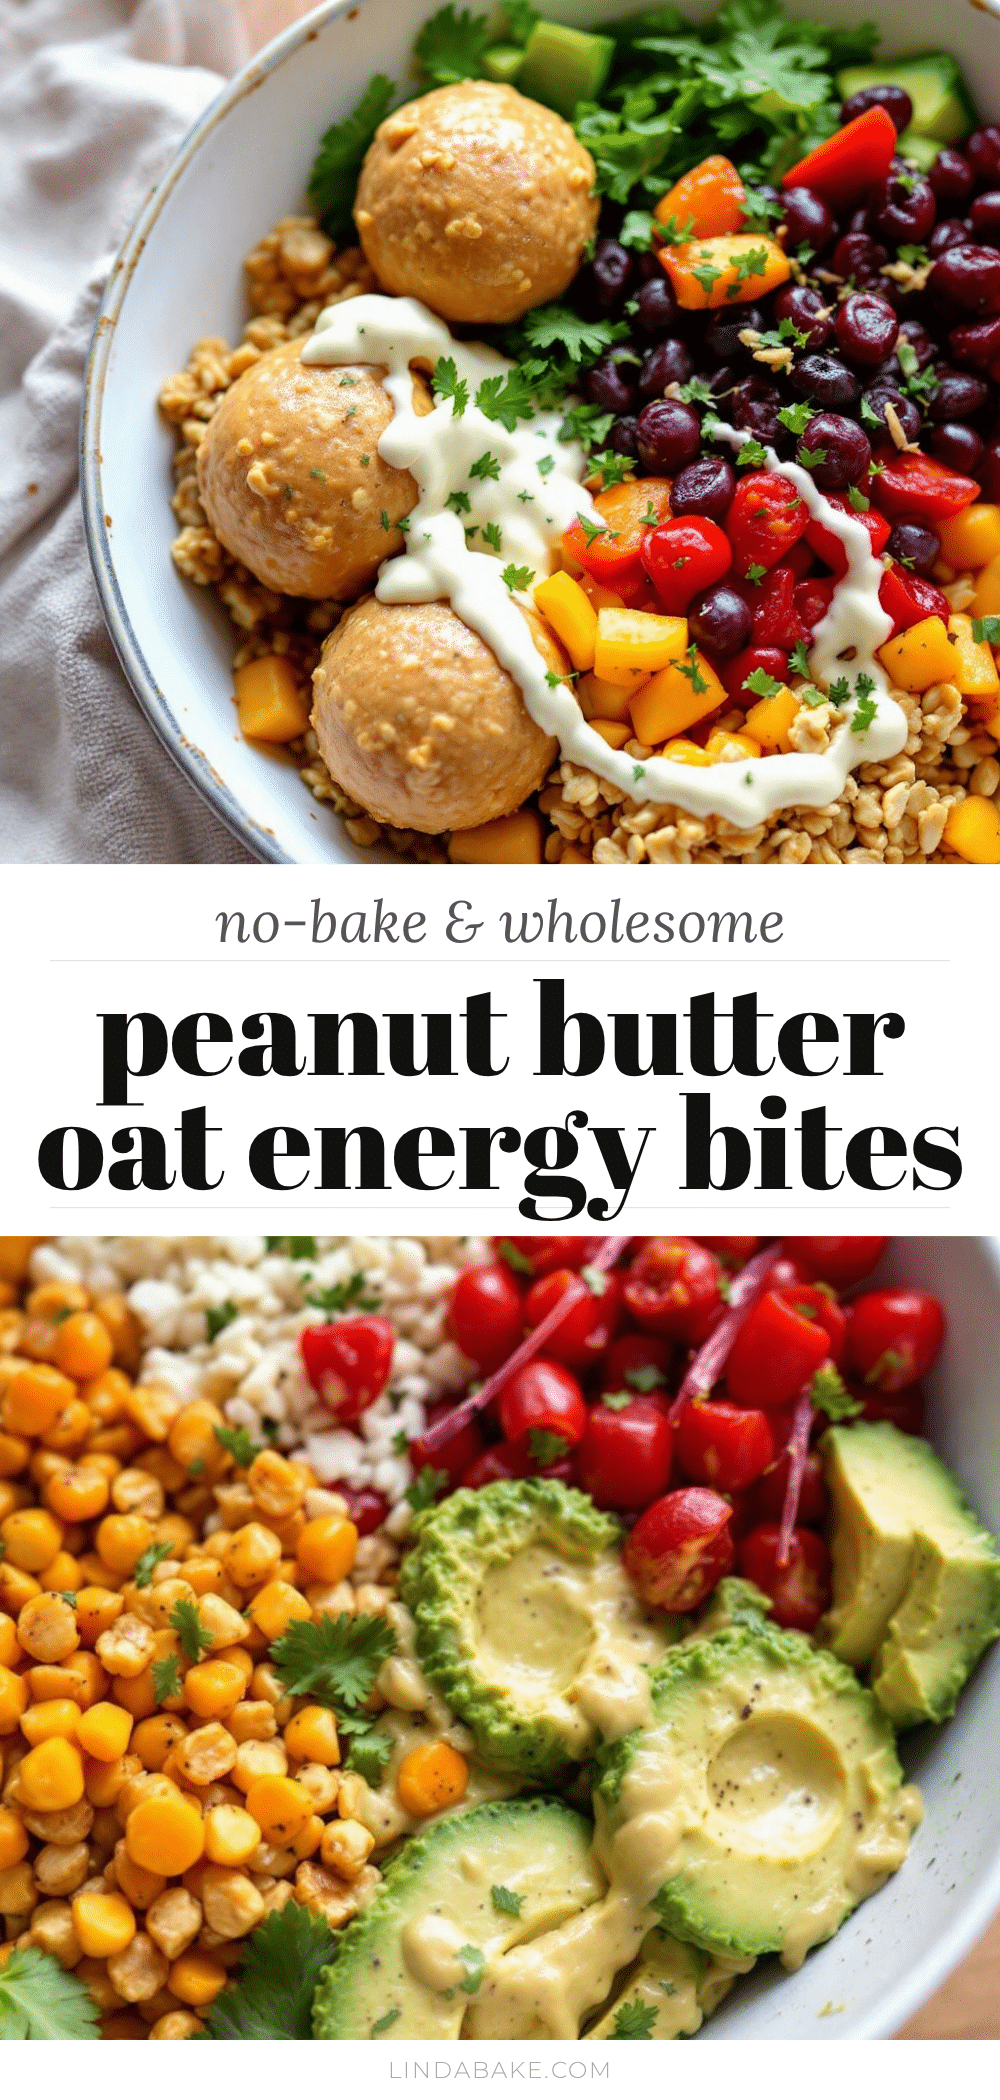
Easy No-Bake Peanut Butter Energy Bites (5-Minute Recipe)

These no-bake peanut butter oat energy bites are a quick, easy, and delicious snack made with simple pantry ingredients. Perfect for busy days, school lunches, or a post-workout refuel.
- Prep Time: 5 minutes
- Cook Time: 0 minutes
- Total Time: 5 minutes
- Yield: 12-15 bites 1x
- Category: Snack
- Cuisine: American
Ingredients
- 1 cup old-fashioned rolled oats
- 1/2 cup creamy peanut butter
- 1/3 cup honey
- 1/2 cup mini chocolate chips
- 1/2 teaspoon vanilla extract
- 1/4 teaspoon salt
- 1/4 cup ground flaxseed (optional)
- 1/4 cup shredded coconut (optional)
- 2 tablespoons chia seeds (optional)
- 1/4 cup dried cranberries or raisins (optional)
Instructions
- Combine the dry ingredients: In a large mixing bowl, add the rolled oats, chocolate chips, and salt. If using optional add-ins like flaxseed or coconut, add them now. Stir to distribute evenly.
- Add the wet ingredients: Spoon the peanut butter on top, drizzle the honey over it, and add the vanilla extract.
- Mix until combined: Using a rubber spatula or wooden spoon, stir everything together until no dry patches remain, about 30 seconds to 1 minute.
- Check the consistency: The mixture should hold together when pressed between your fingers. If too dry, add a teaspoon of honey or peanut butter. If too sticky, add a tablespoon of oats.
- Chill the mixture: Refrigerate the bowl for 10-15 minutes to make rolling easier.
- Roll into balls: Scoop about a tablespoon of the mixture and roll between your palms to form a smooth ball. Place on a parchment-lined baking sheet. Repeat until all mixture is used (about 12-15 bites).
- Final chill: Refrigerate the baking sheet for at least 30 minutes to let the bites set before serving or storing.
Notes
Use room-temperature peanut butter for easier mixing. Lightly wet your hands with cold water before rolling to prevent sticking. For extra flavor, toast the oats at 350°F for 5-7 minutes and let cool before mixing. Store in an airtight container in the refrigerator for up to 2 weeks, or freeze for up to 3 months.
Nutrition
- Serving Size: 1 bite
- Calories: 180
- Sugar: 12
- Sodium: 85
- Fat: 9
- Saturated Fat: 3
- Carbohydrates: 22
- Fiber: 3
- Protein: 6
Keywords: no-bake, peanut butter, energy bites, healthy snack, gluten-free, kid-friendly, 5-minute recipe


