“Mom, can we make the banana wheels again?” My four-year-old was already pulling the step stool toward the counter before I could even answer. That was the third time that week she’d asked for them—these funny little rounds of peanut butter and banana that I’d thrown together on a Tuesday morning when the cereal box was empty and the grocery run wasn’t happening until nap time.
Honestly? I didn’t think much of it the first time. I was just trying to get something into her stomach that wasn’t goldfish crackers. But there she was, reaching for the peanut butter jar like it held the secret to happiness. And maybe it does—when you’re four, anyway.
These Easy Peanut Butter Banana Sushi Roll-Ups for Kids have become our little ritual. They’re the thing we make when we need a win, when the afternoon feels too long, or when she wants to “help cook” without me panicking about sharp knives or hot stoves. There’s something about rolling, dipping, and sprinkling that makes her feel like a real chef. And honestly? I love watching her little face light up when she sees the plate.
So yeah, this recipe stuck. Not because it’s fancy or complicated, but because it’s the kind of simple that actually works. The kind you don’t have to think too hard about. And that’s exactly why I’m sharing it today.
Why You’ll Love This Recipe
Let me tell you why these roll-ups have earned a permanent spot in our snack rotation. I’ve tested this with my own kids, with neighbor kids, and even with a picky-eating nephew who usually survives on air and crackers. They all approved.
- Comes together in under 5 minutes: No joke. If you can spread peanut butter and slice a banana, you’ve got this. Perfect for those “I’m hungry right now” moments.
- Only 3 main ingredients: Peanut butter, banana, and a tortilla. That’s it. You probably have everything in your kitchen right this second.
- Kids can actually help make them: This is the part that sold me. My daughter spreads the peanut butter, places the banana, and rolls it up herself. No sharp tools, no heat, no stress. Just messy, happy kitchen time.
- Healthy enough to feel good about: Protein from the peanut butter, potassium from the banana, and fiber if you use a whole wheat tortilla. It’s snack time without the sugar crash.
- Endlessly customizable: Some days we add sprinkles. Some days we roll them in crushed cereal. Some days we drizzle honey. They never get boring.
What makes these different from other banana roll-up recipes? It’s the technique. I learned the hard way that if you don’t warm the tortilla first, it cracks and everything falls out. A quick 10 seconds in the microwave changes everything. That little trick makes the roll tight, the slices neat, and the whole experience way less frustrating—especially when little hands are helping.
These aren’t just a snack. They’re the snack that makes your kid feel proud because they made it themselves. And that’s worth more than any fancy recipe I’ve ever tried.
What Ingredients You Will Need
This recipe uses simple, everyday ingredients that you probably already have in your kitchen. No special trips to the store, no obscure items you’ll never use again. Just real food that works.
- 1 large flour tortilla (8-inch or 10-inch works best; whole wheat or spinach tortillas are great too)
- 2 tablespoons creamy peanut butter (I prefer natural peanut butter with no added sugar—just peanuts and salt. Jif and Skippy work fine too, but natural spreads tend to be less runny)
- 1 medium ripe banana (look for one that’s yellow with a few brown spots—firm enough to hold its shape but sweet enough to taste amazing)
Optional toppings and add-ins:
- 1 tablespoon mini chocolate chips (because sometimes you need chocolate)
- 1 tablespoon sprinkles (for birthday parties or “fun Friday” snacks)
- 1 teaspoon honey or maple syrup (drizzled on top for extra sweetness)
- 2 tablespoons crushed granola or cereal (for crunch—try crushed Cheerios or Rice Krispies)
- 1 tablespoon shredded coconut (unsweetened works best)
- 1 teaspoon chia seeds or flax seeds (I sneak these in sometimes for extra fiber)
Ingredient tips from my kitchen:
I’ve learned that room temperature peanut butter spreads way easier than cold peanut butter from the fridge. If yours has been sitting in the fridge, pop it in the microwave for 10 seconds before spreading. Also, if you’re using a natural peanut butter that separates, stir it really well first—otherwise the oil makes everything slippery and the roll won’t hold.
For the tortilla, I’ve tried corn tortillas and they just don’t work—they crack and fall apart. Stick with flour or whole wheat. If you need a gluten-free option, look for gluten-free flour tortillas or use a large lettuce leaf instead (though that’s a different beast entirely).
And the banana? Don’t use a green one. It won’t be sweet enough and the texture is weird. Overripe bananas are too mushy and make everything messy. You want that perfect middle ground—yellow with a few brown spots, firm but giving slightly when you squeeze it.
Equipment Needed
You don’t need much for this recipe. That’s kind of the point.
- Butter knife or offset spatula for spreading the peanut butter. A regular knife works fine, but an offset spatula makes spreading extra smooth, especially for little hands.
- Sharp knife for slicing the roll-ups. A serrated bread knife actually works best—it cuts through the tortilla without squishing the banana. I learned this after making too many flattened, sad-looking roll-ups.
- Cutting board (any size works, just make sure it’s stable)
- Small microwave-safe plate for warming the tortilla
- Measuring spoons (though honestly, I just eyeball the peanut butter at this point)
Nice-to-have but not necessary:
- Bento box or small containers for packing these in lunchboxes
- Cookie cutters if you want to cut the roll-ups into fun shapes (stars, hearts, animals—my daughter loves this)
- Small bowls for holding sprinkles, chocolate chips, or other toppings so kids can dip and decorate
I’ve made these at my mom’s house with a butter knife and a dinner plate and they turned out just fine. Don’t overthink the equipment. If you have a knife and a cutting board, you’re good to go.
Preparation Method
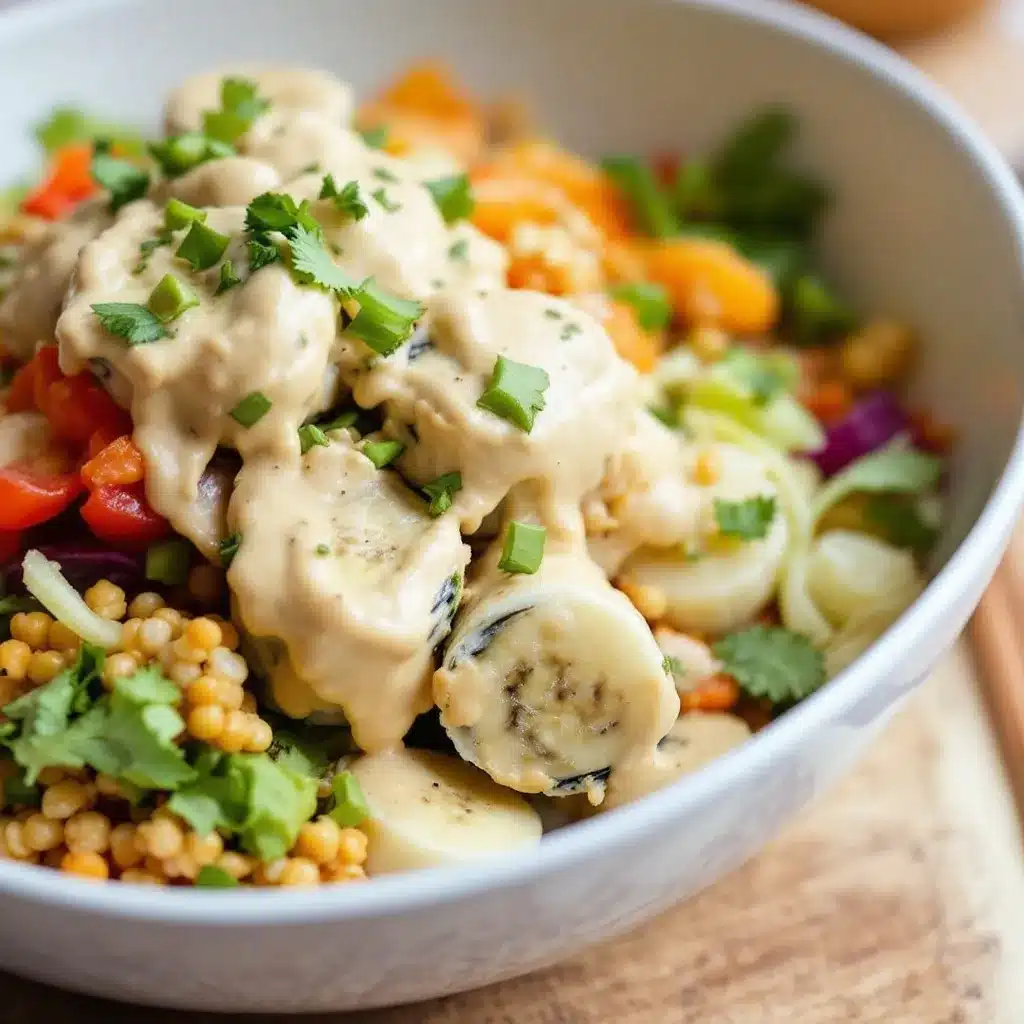
Alright, let’s make these roll-ups. I’ll walk you through every step so you get perfect little banana sushi every time.
Step 1: Warm the tortilla (10 seconds)
Place your tortilla on a microwave-safe plate and microwave it for 10 seconds. This is the secret step. A warm tortilla is flexible and easy to roll. A cold tortilla cracks and fights you. Trust me on this one—I’ve made both versions and the warm tortilla wins every time.
No microwave? Heat a dry skillet over medium heat for about 30 seconds per side, or wrap the tortilla in a damp paper towel and warm it in a 300°F oven for 2-3 minutes.
Step 2: Spread the peanut butter
Spread 2 tablespoons of peanut butter evenly over the entire surface of the tortilla. Leave about a half-inch border around the edges so it doesn’t squish out when you roll it. If your peanut butter is thick, warm it for 5-10 seconds first to make it spreadable.
Sensory cue: The peanut butter should look smooth and even, like butter on toast. If it’s patchy, your roll-ups will have dry spots. Take the extra 15 seconds to spread it well.
Step 3: Place the banana
Peel your banana and place it at one edge of the tortilla, about an inch from the edge. If your banana is longer than the tortilla, trim the ends so it fits. You want the banana to run straight along the edge, not diagonal.
Personal tip: I used to put the banana in the center of the tortilla and then try to roll it. That was a disaster. The banana kept sliding around and the roll was lopsided. Placing it at the edge gives you a tight, even roll every time.
Step 4: Roll it up tight
Fold the edge of the tortilla over the banana, tucking it snugly against the fruit. Then roll the tortilla away from you, keeping it tight as you go. Think of it like rolling a sleeping bag—firm but not so tight that the banana squishes out the ends.
Troubleshooting: If the tortilla starts to unroll, spread a tiny bit of peanut butter on the far edge before you finish rolling. It acts like glue and holds everything together.
Step 5: Slice into rounds (1-inch pieces)
Using a sharp knife, slice the rolled tortilla into 1-inch rounds. A serrated knife works best—it saws through the tortilla without squishing the banana. If you’re using a straight knife, use a gentle sawing motion rather than pressing straight down.
Pro tip for clean slices: Wipe the knife clean between cuts. The peanut butter builds up and makes the next cut messy. I keep a paper towel next to my cutting board and wipe after every 2-3 slices.
For little helpers: If your child is helping, let them do the spreading and rolling. You handle the cutting. Trust me on this one—I’ve had a few close calls and now I do all the knife work.
Step 6: Add toppings (optional but fun)
If you’re using toppings, now’s the time. You can either dip each round in sprinkles or chocolate chips, or sprinkle them over the top. For a more “sushi” look, roll the outer edge of each round in crushed cereal or coconut before serving.
My daughter’s favorite: She dips each round in mini chocolate chips and then drizzles honey on top. It’s messy and beautiful and she’s so proud of herself every time.
Step 7: Serve immediately
These are best eaten right away, while the tortilla is still soft and the banana is fresh. Arrange them on a plate like little sushi rolls and watch them disappear.
Cooking Tips & Techniques
I’ve made these roll-ups at least fifty times by now. Here’s everything I’ve learned the hard way so you don’t have to.
The warm tortilla is non-negotiable. I know I said this already, but I’m saying it again because it’s that important. A cold tortilla cracks when you try to roll it, and then the banana falls out and you’re left with a sad pile of ingredients. Ten seconds in the microwave changes everything. Don’t skip it.
Don’t overfill the tortilla. I know it’s tempting to add extra peanut butter or pile on the toppings, but if you overfill, the roll won’t close properly and everything squishes out when you slice it. Stick with 2 tablespoons of peanut butter and one banana. If you want more toppings, add them after slicing.
Use the right banana. A banana that’s too ripe will turn into mush when you roll it. A banana that’s too green won’t have enough flavor and will be hard to cut. You want that perfect middle ground—yellow with a few brown spots, firm but yielding slightly when you squeeze it.
Slice with a sawing motion. Pressing straight down with the knife squishes the banana and flattens your beautiful roll. Use a gentle sawing motion instead, letting the knife do the work. A serrated knife is your best friend here.
Make it a lunchbox hero. If you’re packing these for school lunch, slice them, arrange them in a single layer in a container, and add a small ice pack. They’ll stay fresh for a few hours. Don’t add toppings until right before eating, or they’ll get soggy.
My biggest failure: The first time I made these, I used a cold tortilla, an overripe banana, and I pressed straight down with a dull knife. The result was a flattened, mushy, cracked mess that looked nothing like sushi. My daughter ate it anyway and said “good job, Mommy,” which is why she’s my favorite person. But I learned my lesson.
Variations & Adaptations
Once you’ve mastered the basic roll-up, the possibilities are endless. Here are some of our favorite variations.
Nut-Free Version: Swap the peanut butter for sunflower seed butter (SunButter works great) or WowButter. They spread just like peanut butter and taste surprisingly similar. Just make sure to check the label if you’re sending these to a nut-free school.
Chocolate Lover’s Version: Spread Nutella or chocolate hummus instead of peanut butter. Add sliced strawberries along with the banana for a chocolate-covered strawberry vibe. My daughter calls these “dessert sushi” and requests them on weekends.
Crunchy Sushi Version: After spreading the peanut butter, sprinkle crushed granola, Rice Krispies, or chopped nuts over the peanut butter before adding the banana. The crunch against the soft banana is incredible.
Breakfast Sushi: Use a whole wheat tortilla, spread with peanut butter, add the banana, and roll. Slice and serve with a side of Greek yogurt for dipping. It’s a balanced breakfast that takes 3 minutes to make.
Frozen Treat Version: Make the roll-ups, slice them, place them on a parchment-lined baking sheet, and freeze for 30 minutes. Then transfer to a freezer bag. They make an amazing frozen snack on hot days—like banana sushi popsicles.
Seasonal Twist: In the fall, add a sprinkle of cinnamon and a drizzle of maple syrup. In the summer, use a strawberry banana or add fresh blueberries along with the banana. In the winter, add a sprinkle of crushed candy cane for a festive treat.
I’ve tried the chocolate version with strawberries and honestly? It’s dangerously good. I may or may not have eaten an entire batch by myself while standing in the kitchen.
Serving & Storage Suggestions
How to serve: Arrange the roll-ups on a plate like little sushi pieces—standing up or laying flat, either works. I like to serve them with a small bowl of dipping sauce (more peanut butter, honey, or yogurt) and watch the kids go to town.
What goes well with them: These roll-ups pair beautifully with a glass of milk, a fruit smoothie, or some yogurt. If I’m serving them for lunch, I add some carrot sticks and cheese cubes on the side for a balanced plate. For a fun party snack, arrange them on a platter with other finger foods like easy matcha green tea tiramisu parfaits for a sweet and savory combo.
Storage: These are best eaten fresh, but if you have leftovers (ha!), store them in an airtight container in the refrigerator for up to 24 hours. The tortilla will soften slightly, but they’re still tasty. Don’t leave them at room temperature for more than 2 hours, especially if you’re using natural peanut butter.
Reheating: I don’t recommend reheating these—the banana gets mushy and weird. If they’ve been in the fridge, let them sit at room temperature for 10-15 minutes before serving. They’ll taste much better.
Freezer instructions: You can freeze the unsliced roll (wrap tightly in plastic wrap and then foil) for up to 1 month. Thaw in the refrigerator overnight, then slice and serve. The texture won’t be quite as good as fresh, but it’s a great option for meal prep.
How flavors develop: Honestly, these are best within the first hour. The banana starts to brown and the tortilla softens over time. But if you’re packing them for lunch, they’ll still be delicious after a few hours in a lunchbox with an ice pack.
Nutritional Information & Benefits
Here’s the approximate nutritional breakdown for one serving (about 6 roll-ups, made with a standard flour tortilla and natural peanut butter):
| Nutrient | Amount per Serving |
|---|---|
| Calories | 280-320 |
| Protein | 9-11g |
| Carbohydrates | 35-40g |
| Fiber | 5-7g |
| Sugar | 12-15g (natural from banana and peanut butter) |
| Fat | 12-16g |
| Sodium | 200-300mg |
Health benefits: This snack is packed with good stuff. Bananas are rich in potassium, which supports heart health and muscle function. Peanut butter provides protein and healthy fats that keep kids full and focused. Whole wheat tortillas add fiber for digestive health.
Dietary considerations: This recipe is naturally vegetarian and can be made vegan by using a plant-based tortilla and maple syrup instead of honey. For gluten-free, use a certified gluten-free tortilla. For nut-free, swap the peanut butter for sunflower seed butter.
Potential allergens: Contains peanuts and wheat (if using standard tortillas). Check your tortilla label for other potential allergens.
I love that this snack gives my daughter energy without the sugar crash. She’s full, happy, and ready to play—which means I get a few minutes of peace. Win-win.
Conclusion
These Easy Peanut Butter Banana Sushi Roll-Ups for Kids have become more than just a snack in our house. They’re a moment. A way for my daughter to feel capable and proud. A way for us to connect in the middle of a busy day. And honestly? They’re delicious.
I hope you try them with your kids—or just for yourself, no judgment here. Let them spread the peanut butter. Let them sprinkle the toppings. Let them feel like the chef of their own little kitchen. It’s messy and imperfect and absolutely worth it.
If you make these, I’d love to hear how they turned out. Leave a comment below and tell me what toppings your kids loved, or tag me in your photos. And if you’re looking for more quick and easy recipes for busy families, check out my recipe collection for more inspiration. Happy rolling!
Frequently Asked Questions
Can I use almond butter instead of peanut butter?
Absolutely! Almond butter, cashew butter, or any nut or seed butter works great. Just keep in mind that some nut butters are thinner than peanut butter, so you might need to spread a little extra to get even coverage. Sunflower seed butter is a fantastic nut-free option that tastes surprisingly similar.
How do I keep the roll-ups from getting soggy in a lunchbox?
The key is to keep the toppings separate until eating time. Pack the roll-ups in a container with a small ice pack, and put any wet toppings (like honey or yogurt dip) in a separate small container. If you’re adding sprinkles or crushed cereal, pack those separately too and let your kid sprinkle them on at lunchtime.
Can I make these ahead of time for a party?
You can make the roll whole (unsliced) up to 4 hours ahead, wrap it tightly in plastic wrap, and store it in the refrigerator. Slice right before serving for the best texture. If you need to make them further in advance, freeze the unsliced roll for up to 1 month and thaw overnight in the fridge before slicing.
My tortilla keeps cracking when I roll it. What am I doing wrong?
Your tortilla is too cold! Pop it in the microwave for 10 seconds before you start. This makes the tortilla pliable and easy to roll without cracking. If you’re using corn tortillas, they’re naturally more brittle—stick with flour or whole wheat tortillas for best results.
Are these healthy enough for everyday snacking?
Yes! These roll-ups are made with whole food ingredients—banana, peanut butter, and a tortilla. They provide protein, healthy fats, fiber, and natural sugars. Compared to packaged snacks like granola bars or fruit snacks, these are a much better option. Just watch the portion size if you’re using a lot of sugary toppings like chocolate chips or honey.
Looking for another quick and healthy snack idea? Try this refreshing mango jalapeño agua fresca for a hydrating drink that pairs perfectly with these roll-ups.
Pin This Recipe!
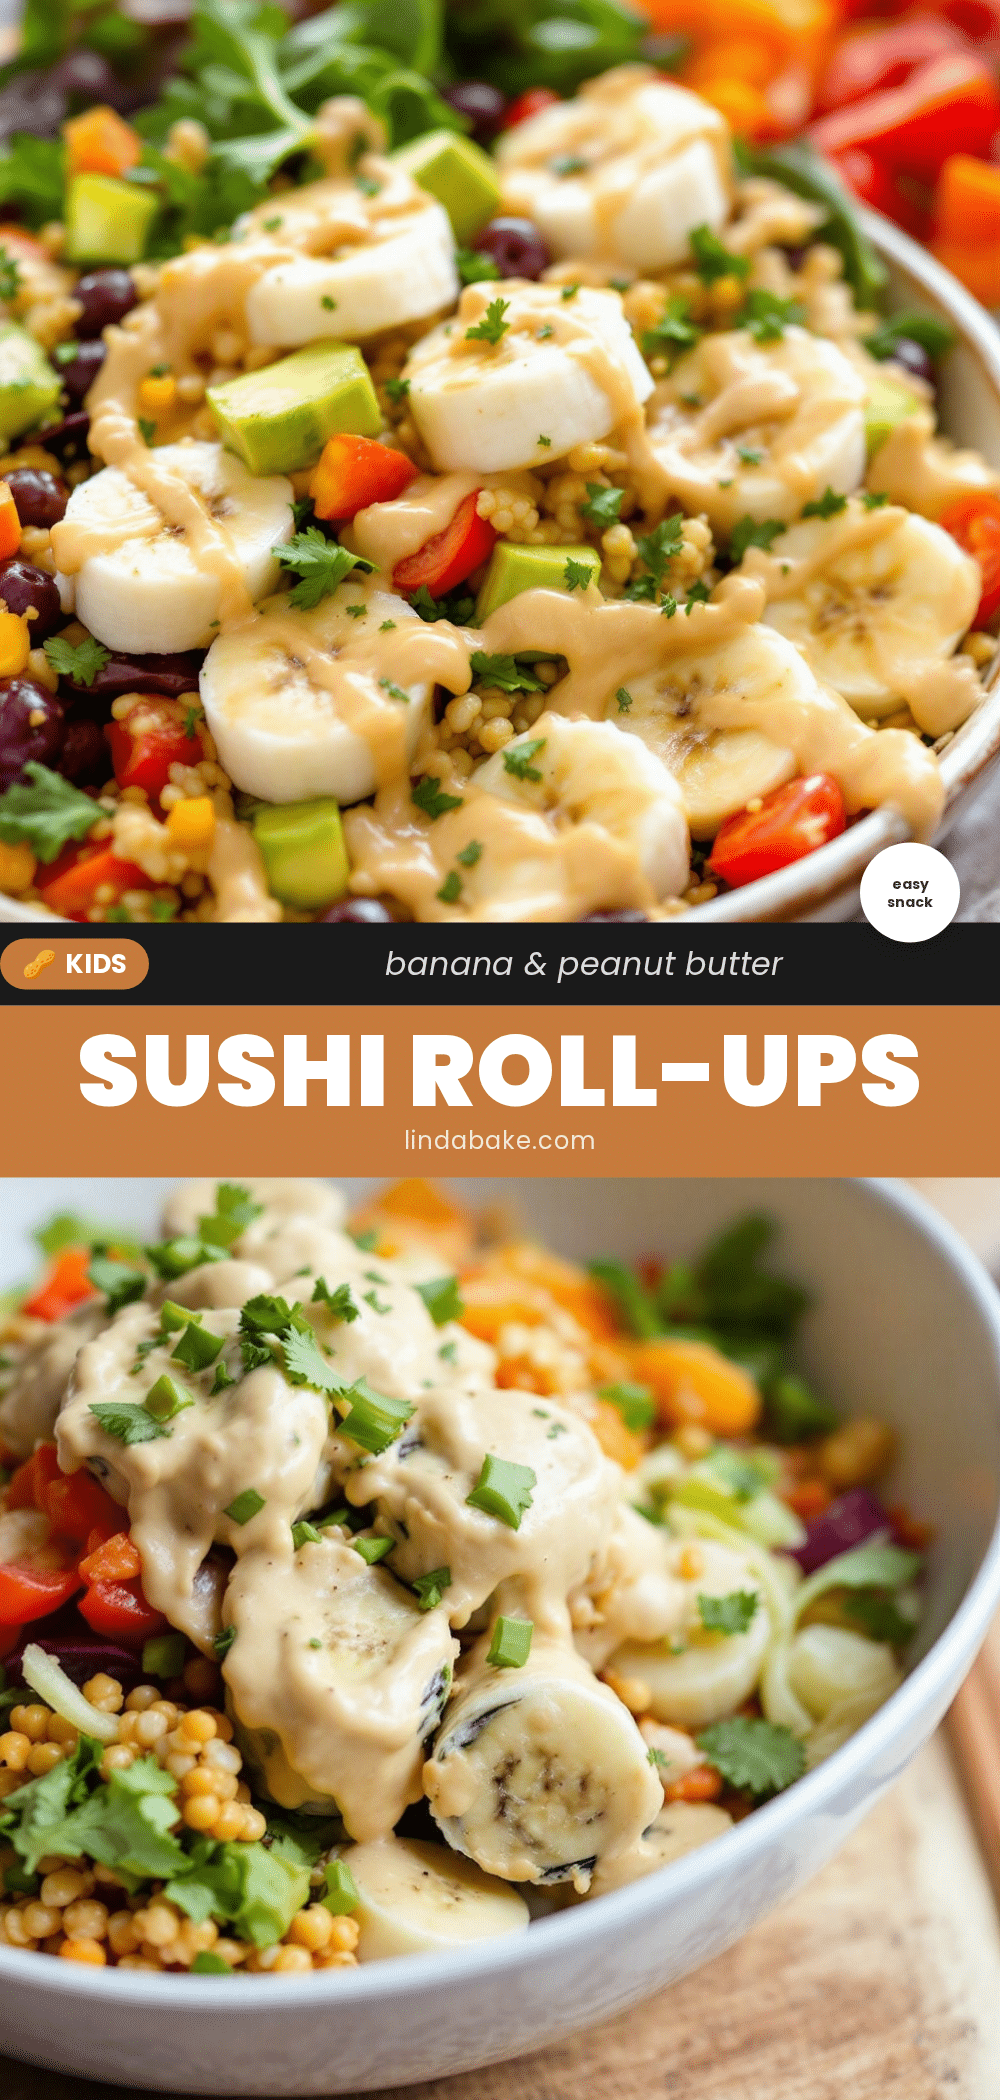
Easy Peanut Butter Banana Sushi Roll-Ups for Kids
These fun and easy peanut butter banana sushi roll-ups are a kid-friendly snack that comes together in under 5 minutes with just 3 main ingredients. Perfect for little hands to help make, they’re healthy, customizable, and always a hit.
- Prep Time: 5 minutes
- Cook Time: 0 minutes
- Total Time: 5 minutes
- Yield: 4 servings 1x
- Category: Snack
- Cuisine: American
Ingredients
- 1 large flour tortilla (8-inch or 10-inch; whole wheat or spinach tortillas work too)
- 2 tablespoons creamy peanut butter (natural preferred, room temperature)
- 1 medium ripe banana (yellow with a few brown spots, firm but slightly yielding)
- 1 tablespoon mini chocolate chips (optional)
- 1 tablespoon sprinkles (optional)
- 1 teaspoon honey or maple syrup (optional)
- 2 tablespoons crushed granola or cereal (optional)
- 1 tablespoon shredded coconut (optional, unsweetened)
- 1 teaspoon chia seeds or flax seeds (optional)
Instructions
- Warm the tortilla: Place tortilla on a microwave-safe plate and microwave for 10 seconds until pliable. (Alternative: heat in a dry skillet over medium heat for 30 seconds per side, or wrap in damp paper towel and warm in 300°F oven for 2-3 minutes.)
- Spread peanut butter: Spread 2 tablespoons of peanut butter evenly over the entire tortilla, leaving a half-inch border around the edges. If peanut butter is thick, warm for 5-10 seconds first.
- Place banana: Peel the banana and place it at one edge of the tortilla, about 1 inch from the edge. Trim ends if banana is longer than tortilla.
- Roll it up: Fold the edge of the tortilla over the banana, tucking snugly. Roll tightly away from you, keeping it firm but not so tight that banana squishes out. If needed, spread a tiny bit of peanut butter on the far edge to seal.
- Slice into rounds: Using a sharp serrated knife, slice the rolled tortilla into 1-inch rounds using a gentle sawing motion. Wipe knife clean between cuts for neat slices.
- Add toppings (optional): Dip each round in sprinkles, chocolate chips, or crushed cereal, or sprinkle over the top. For a sushi look, roll outer edges in crushed cereal or coconut.
- Serve immediately: Arrange on a plate like sushi rolls and enjoy fresh.
Notes
Warm the tortilla for 10 seconds in the microwave to prevent cracking. Use a serrated knife and sawing motion for clean slices. For nut-free version, substitute sunflower seed butter or WowButter. For gluten-free, use certified gluten-free tortilla. Best eaten fresh; store leftovers in airtight container in refrigerator for up to 24 hours. Do not reheat.
Nutrition
- Serving Size: 6 roll-ups
- Calories: 300
- Sugar: 14
- Sodium: 250
- Fat: 14
- Saturated Fat: 2.5
- Carbohydrates: 38
- Fiber: 6
- Protein: 10
Keywords: peanut butter banana sushi, kids snack, easy snack, no-cook snack, healthy snack for kids, banana roll-ups, peanut butter tortilla roll


