My son did not trust cold pasta salad for lunch. That’s the honest truth. He’d look at my carefully packed container, all those curly noodles and chunks of pepperoni, and give me that look—the one that says mom, you’re trying to pass off leftovers as a treat again. And honestly? I couldn’t blame him. Cold pasta always seemed sad to me too. Soggy noodles, bland dressing, everything stuck together in a clump. Not exactly the lunchroom flex you want your kid walking around with.
But here’s the thing about being a mom who packs school lunches five days a week—you get desperate. Easy cold pepperoni pasta salad for school lunches became my white whale. I needed something that wouldn’t get soggy by noon, something that actually tasted good cold, and something my picky eater would actually finish. I tried seven versions before this one stuck. Seven. Some were too oily, some were too dry, some just tasted like cold noodles with stuff on them. But this version? This one made him ask for seconds.
The moment I knew I had it right was when he came home from school and said, “Mom, can you make that pepperoni pasta thing again? Jake wanted to trade me his chips for it and I said no.” That’s when I knew. Not because he liked it, but because he refused to trade it. That’s a whole different level of approval. So if you’re tired of packing the same sad sandwiches and watching them come back half-eaten, this recipe might just be your lunchbox hero too.
Why You’ll Love This Recipe
Let me tell you why this one works when others don’t. I’ve tested this recipe on real kids, real picky eaters, and real adults who swear they don’t like cold pasta. The results speak for themselves.
- Quick & Easy : This comes together in under 20 minutes of active time. Cook the pasta while you chop the veggies, toss everything together, and you’re done. Perfect for Sunday meal prep or a quick weekday morning assembly.
- Simple Ingredients : You probably have most of these in your kitchen right now. No fancy grocery store trips, no specialty items that cost a fortune. Just real food that works.
- Perfect for School Lunches : This pasta salad sits beautifully in a lunchbox. It doesn’t get soggy, it doesn’t need reheating, and it actually tastes better after a few hours in the fridge as the flavors meld together.
- Crowd-Pleaser : I’ve served this at potlucks, picnics, and backyard barbecues. Kids love the pepperoni, adults love the tangy dressing, and everyone goes back for seconds. It’s one of those rare recipes that works for every age group.
- Unbelievably Delicious : The secret is in the balance. The salty pepperoni, the creamy cheese, the crunchy veggies, and that zesty Italian dressing all come together in a way that makes you forget you’re eating pasta salad. It’s comfort food that happens to be cold.
What makes this different from every other pasta salad recipe out there? It’s the ratio. Most recipes drown the pasta in dressing or leave it dry and sad. I spent weeks tweaking the proportions until I found that sweet spot where every bite has enough flavor without being a soggy mess. Plus, I add a little trick—marinating the pepperoni in the dressing for a few minutes before tossing everything together. It gives the meat a chance to soak up all that tangy goodness, and trust me, it makes a difference.
This isn’t just another pasta salad recipe. This is the one that gets requested. The one that disappears at parties. The one your kids will actually look forward to opening at lunchtime. And honestly? That’s the best feeling in the world.
What Ingredients You Will Need
This recipe uses simple, everyday ingredients that come together to create something genuinely delicious. No weird stuff, no hard-to-find items—just good food that works.
- Rotini pasta – 12 ounces (about 340 grams). I prefer rotini because the spirals catch the dressing and hold onto the pepperoni and cheese pieces. Fusilli or farfalle work great too. Just avoid long noodles like spaghetti—they don’t hold up well in a cold salad.
- Pepperoni – 6 ounces (170 grams), sliced and then quartered. I recommend getting the good stuff from the deli counter rather than the pre-packaged sticks. It has better flavor and a nicer texture. If you can find mini pepperonis, those work perfectly too and save you some chopping time.
- Mozzarella cheese – 8 ounces (225 grams), cut into small cubes. Fresh mozzarella pearls are ideal because they’re already bite-sized. If using a block, cut it into quarter-inch cubes so every bite gets a little cheese.
- Cherry tomatoes – 1 cup (about 150 grams), halved. Grape tomatoes work too. In winter when fresh tomatoes are sad, you can use sun-dried tomatoes packed in oil—just drain and chop them first.
- Black olives – 1/2 cup (about 70 grams), sliced. Canned or jarred both work. If your kids aren’t olive fans, you can leave them out or swap in chopped bell peppers for color and crunch.
- Red onion – 1/4 cup (about 40 grams), finely diced. Soak the diced onion in cold water for five minutes before adding it to the salad—it takes away the sharp bite while keeping the crunch. This is a game-changer for kids who hate raw onion.
- Green bell pepper – 1/2 cup (about 75 grams), diced small. Adds crunch and color. Yellow or orange bell peppers work too and give a sweeter flavor.
- Italian dressing – 1/2 cup (120 ml). I use store-bought for convenience—Ken’s Steakhouse Italian is my go-to—but homemade works beautifully too. Look for a dressing that’s tangy but not too oily.
- Parmesan cheese – 1/4 cup (25 grams), grated. The good stuff in the green can works fine, but freshly grated Parmigiano-Reggiano takes this to another level.
- Fresh parsley – 2 tablespoons, chopped. Optional but recommended for color and a fresh pop of flavor. Dried parsley works in a pinch—use half the amount.
- Salt and black pepper – To taste. Go easy on the salt since the pepperoni and cheese are already salty.
Equipment Needed
You don’t need a fancy kitchen to make this recipe. Here’s what you’ll need:
- Large pot – For boiling the pasta. A 6-quart pot works well. If you only have a smaller pot, cook the pasta in batches to avoid overcrowding.
- Colander – For draining the pasta. A fine-mesh colander is nice but not necessary—any colander will do.
- Large mixing bowl – For combining everything. I use a 4-quart bowl, but anything big enough to toss the ingredients without spilling works.
- Cutting board and sharp knife – For chopping the veggies and pepperoni. A dull knife makes this job frustrating—trust me, I learned that the hard way.
- Measuring cups and spoons – For the dressing and smaller ingredients. Eyeballing works for some things, but the dressing ratio matters here.
- Wooden spoon or spatula – For tossing everything together. A rubber spatula works great for scraping the sides of the bowl.
- Storage container – For refrigerating the pasta salad. A large airtight container or a bowl with plastic wrap works fine.
If you don’t have a colander, you can use the pot lid to drain the pasta—just hold it slightly ajar and pour carefully. I’ve done this more times than I’d like to admit, and it works in a pinch. Also, if you’re meal prepping for the week, grab a set of individual lunch containers with tight-fitting lids. It makes morning assembly so much easier.
Preparation Method
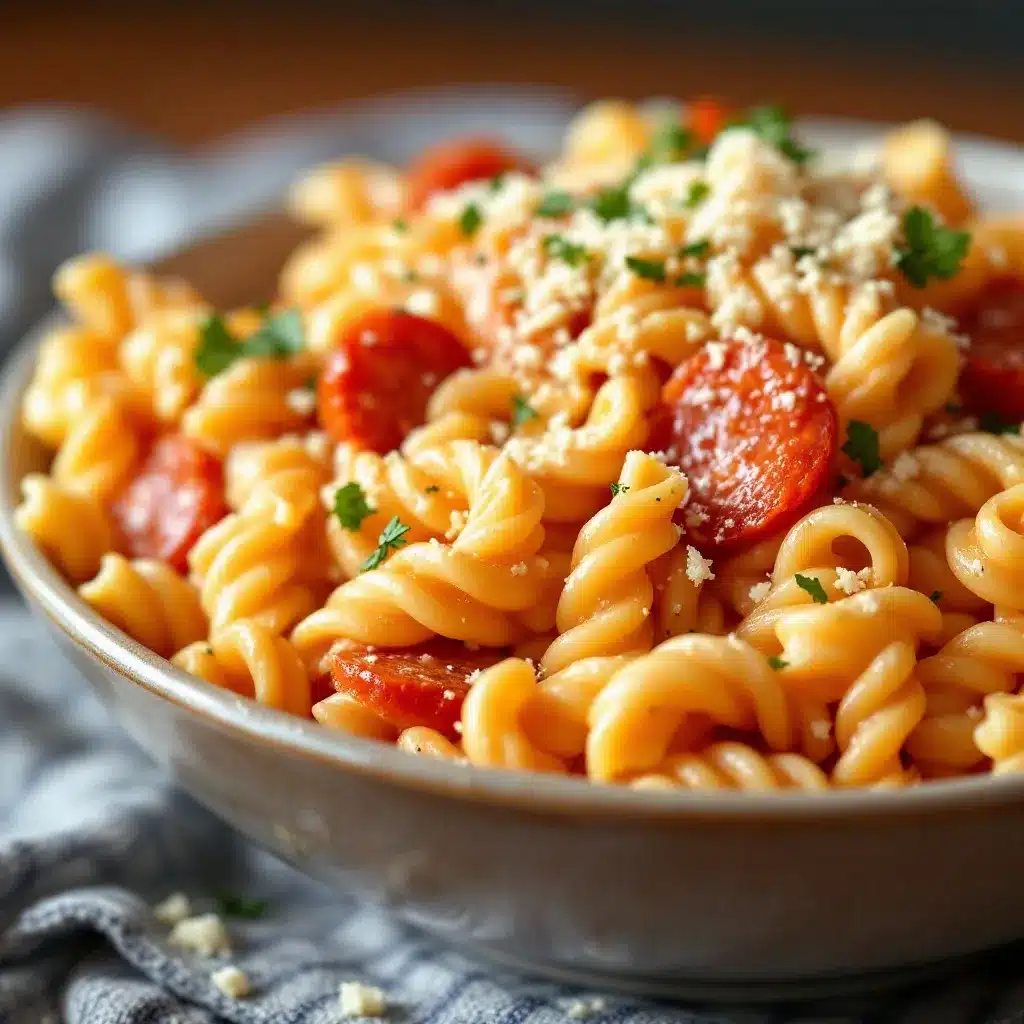
Alright, let’s get cooking. Or rather, let’s get assembling. This recipe is forgiving, so don’t stress about being perfect.
- Cook the pasta. Fill your large pot with water, add a generous pinch of salt, and bring it to a rolling boil. Add the rotini and cook according to the package directions until al dente—usually about 8 to 10 minutes. Al dente means the pasta is tender but still has a slight bite to it. Overcooked pasta gets mushy in cold salads, so set a timer. Drain the pasta in a colander and rinse it with cold water until it’s cool to the touch. This stops the cooking process and keeps the noodles from sticking together. Shake the colander well to remove excess water—wet pasta dilutes the dressing.
- Prep the pepperoni. While the pasta cooks, stack your pepperoni slices and cut them into quarters. If you’re using mini pepperonis, you can skip this step. Place the cut pepperoni in a small bowl and pour about 2 tablespoons of the Italian dressing over them. Stir to coat and set aside. This little marination step is my secret weapon—it infuses the pepperoni with extra flavor and keeps it from tasting bland against the other ingredients.
- Chop the veggies. Halve the cherry tomatoes, dice the red onion, chop the bell pepper, and slice the olives. If you’re using fresh parsley, give it a rough chop. Try to keep everything roughly the same size—about the size of the pepperoni quarters—so each bite has a little bit of everything. Pro tip: dice the red onion first and soak it in cold water while you prep the rest. It takes the edge off without losing the crunch.
- Cube the cheese. If you’re using a block of mozzarella, cut it into quarter-inch cubes. If you’re using mozzarella pearls, you’re all set. Fresh mozzarella is softer and creamier, while low-moisture mozzarella holds its shape better. Both work—it just depends on your preference.
- Combine everything. In your large mixing bowl, add the cooled pasta, marinated pepperoni (with any leftover dressing from the bowl), chopped veggies, olives, mozzarella cubes, and grated Parmesan. Pour the remaining Italian dressing over the top.
- Toss and season. Use your wooden spoon or spatula to gently toss everything together until the dressing coats every piece. Start from the bottom and fold upward to make sure nothing gets missed. Taste a bite and add salt and pepper as needed. Remember that the pepperoni and cheese add saltiness, so go easy.
- Let it rest. Cover the bowl with plastic wrap or a lid and refrigerate for at least 30 minutes before serving. This resting time is crucial—it lets the flavors meld together and the pasta absorb some of the dressing. The salad actually tastes better the next day, so don’t be afraid to make it ahead.
- Give it a final toss. Before serving or packing into lunchboxes, give the pasta salad a good stir. The dressing tends to settle at the bottom, so this redistributes everything. Sprinkle with fresh parsley for a pop of green if you’re feeling fancy.
One thing I learned the hard way: don’t skip the rinsing step. If you let the pasta sit in hot water while you prep the other ingredients, it keeps cooking and turns into a sticky mess. Rinse it immediately with cold water and you’ll get perfectly separate, tender noodles every time.
Cooking Tips & Techniques
After making this recipe more times than I can count, I’ve picked up a few tricks that make a real difference. Here’s what I’ve learned:
Don’t overdress the pasta. This was my biggest mistake in the early days. I thought more dressing meant more flavor, but it just meant soggy pasta. Start with half the dressing, toss, and add more if needed. The pasta will absorb some dressing as it sits, so what looks dry at first will be perfect after 30 minutes in the fridge. If you’re making this a day ahead, reserve a little extra dressing to toss in before serving—the pasta soaks up more overnight.
Salt your pasta water generously. This is the only chance you have to season the pasta itself. The water should taste like the sea—salty but not overwhelming. Undersalted pasta leads to bland salad, and no amount of dressing can fully fix that. I learned this from a chef friend who said, “Season every layer, not just the final dish.” She was right.
Cut everything the same size. This isn’t just about looks—it’s about getting a little bit of everything in each bite. When the pepperoni, cheese, and veggies are all roughly the same size, you don’t end up with one bite that’s all onion and another that’s all pasta. Uniform cuts make for a better eating experience, especially for kids who are picky about textures.
Layer your ingredients in the bowl. When I’m assembling, I put the pasta in first, then the veggies, then the cheese, then the pepperoni, and finally the dressing on top. Why? Because the heavy ingredients sink to the bottom when you toss, and this layering helps everything distribute more evenly. It sounds fussy, but it takes two seconds and makes a noticeable difference.
Let it come to room temperature before serving. Cold pasta salad straight from the fridge can be a bit stiff. Let it sit on the counter for 10 to 15 minutes before serving or packing. It softens the cheese slightly and lets the flavors wake up. For school lunches, I pack it straight from the fridge, and by lunchtime it’s perfect—the insulated lunchbox warms it just enough.
Variations & Adaptations
This recipe is incredibly flexible. Here are some of my favorite ways to switch it up:
Gluten-free version: Swap the rotini for your favorite gluten-free pasta. I’ve used Banza chickpea pasta and Jovial brown rice pasta with great results. Just be careful not to overcook gluten-free pasta—it gets mushy faster than regular pasta. Rinse with cold water immediately after draining.
Dairy-free version: Omit the mozzarella and Parmesan, or use dairy-free alternatives. Violife makes a pretty good mozzarella-style shred that holds up in cold salads. You can also add extra veggies like chopped cucumber or artichoke hearts to make up for the lost volume.
Add more protein: This salad is already hearty, but you can bulk it up with diced cooked chicken, salami, or even canned tuna. If adding chicken, use leftover rotisserie chicken for the best flavor. For a vegetarian protein boost, add canned chickpeas—rinsed and drained—or cubed firm tofu that’s been tossed in Italian dressing.
Make it spicy: Add a pinch of red pepper flakes to the dressing, or swap the regular pepperoni for spicy pepperoni. You can also toss in some sliced banana peppers or pepperoncini for a tangy kick. My husband loves this version—he says it’s like an Italian sub in pasta form.
Seasonal swaps: In summer, add fresh corn cut off the cob and chopped basil. In fall, swap the cherry tomatoes for roasted butternut squash cubes (cool them completely before adding). In spring, throw in some blanched asparagus tips and fresh peas. The base recipe is so versatile that you can adapt it to whatever looks good at the farmers market.
Dressing variations: If you’re not a fan of Italian dressing, try a creamy ranch version. Mix 1/2 cup ranch dressing with 2 tablespoons of milk to thin it out, then toss with the pasta. Or go Greek with a lemon-oregano vinaigrette: 1/4 cup olive oil, 2 tablespoons lemon juice, 1 teaspoon dried oregano, salt, and pepper. Each dressing gives the salad a completely different personality.
Serving & Storage Suggestions
This pasta salad shines at room temperature, but it’s also delicious straight from the fridge. Here’s how to serve and store it for the best results.
Serving temperature: For the best flavor, let the pasta salad sit at room temperature for 10 to 15 minutes before serving. If you’re packing it for school lunches, it will naturally come to temperature in the lunchbox by noon. For picnics and potlucks, keep it in a cooler with an ice pack until serving time.
Presentation ideas: Serve it in a large bowl with a sprinkle of fresh parsley and extra Parmesan on top. For individual servings, use small mason jars or compartment lunch boxes. The pasta salad looks beautiful layered in a jar—pasta on the bottom, veggies and pepperoni in the middle, cheese on top. Kids love the visual appeal, and it makes packing lunches feel special.
What to serve with it: This pasta salad is a complete meal on its own, but it pairs beautifully with a simple green salad, crusty bread, or fresh fruit. For school lunches, I pack it alongside carrot sticks, apple slices, and a yogurt tube. For dinner, I serve it with grilled chicken or harissa lamb meatballs for a more substantial meal. The tangy dressing cuts through the richness of the meatballs perfectly.
Storage instructions: Store the pasta salad in an airtight container in the refrigerator for up to 4 days. The flavors actually improve after the first day as the ingredients meld together. If the salad seems dry after a day or two, toss in an extra tablespoon of Italian dressing before serving. Do not leave it at room temperature for more than 2 hours—the dairy and pepperoni need to stay chilled.
Freezing instructions: I don’t recommend freezing this pasta salad. The texture of the pasta, cheese, and veggies changes dramatically after thawing, and you’ll end up with a watery, mushy mess. If you need to make it ahead, prepare it up to 3 days in advance and keep it in the fridge. It’s one of those recipes that gets better with time, so a day or two in advance is actually ideal.
Reheating tips: This is a cold pasta salad, so no reheating needed! That’s part of what makes it so perfect for school lunches and summer picnics. If you prefer it warm, you can microwave individual portions for 20 to 30 seconds, but honestly, it’s best cold. The texture of the pepperoni and cheese holds up much better when served chilled.
Nutritional Information & Benefits
Here’s a rough estimate of the nutritional values per serving (based on 8 servings):
| Nutrient | Amount Per Serving |
|---|---|
| Calories | 385 |
| Total Fat | 18g |
| Saturated Fat | 6g |
| Cholesterol | 35mg |
| Sodium | 720mg |
| Total Carbohydrates | 40g |
| Dietary Fiber | 3g |
| Sugars | 4g |
| Protein | 16g |
This pasta salad offers a good balance of carbohydrates for energy, protein from the pepperoni and cheese, and healthy fats from the olive oil in the dressing. The bell peppers and tomatoes provide vitamin C and antioxidants, while the red onion adds quercetin, a natural anti-inflammatory compound.
If you’re watching your sodium intake, look for low-sodium pepperoni and use a reduced-sodium Italian dressing. You can also rinse the olives to remove some of the brine. For a lower-carb option, swap the pasta for chickpea-based or lentil-based pasta—they add extra protein and fiber while reducing the net carbs.
This recipe is not gluten-free unless you use gluten-free pasta, and it contains dairy from the cheese. For dairy-free needs, check the variations section above. It’s nut-free and egg-free as written, making it a safe option for many school lunch programs.
Conclusion
This easy cold pepperoni pasta salad has become a staple in our house for good reason. It’s simple enough for a busy weekday morning, but tasty enough that my son refuses to trade it at lunch. That’s the kind of win every parent deserves.
I love this recipe because it feels like a secret weapon. When you’re tired of packing the same sandwiches, when the lunchbox comes back half-eaten for the third day in a row, when you need something that kids will actually enjoy and that won’t make a mess—this is the answer. It’s forgiving, flexible, and genuinely delicious. Plus, it’s one of those rare recipes that gets better with time, so you can make it on Sunday and have lunches sorted for half the week.
Try it with your favorite add-ins, adjust the dressing to your taste, and make it your own. That’s the beauty of pasta salad—it’s a template for creativity, not a rigid formula. And if your kids love it as much as mine does, you’ll find yourself making it on repeat. Trust me, I know from experience.
I’d love to hear how this recipe works for you! Drop a comment below and let me know what variations you tried, or tag me in your photos if you share them online. Your feedback helps other readers discover new ways to make this recipe their own. Happy cooking, and here’s to lunchboxes that come back empty!
Frequently Asked Questions
Can I make this pasta salad the night before?
Absolutely! In fact, it’s better the next day. The flavors have time to meld together, and the pasta absorbs just enough dressing to be flavorful without getting soggy. Just give it a good stir before packing or serving, and add a splash of extra dressing if it seems dry.
How long does this pasta salad last in the fridge?
Stored in an airtight container, this pasta salad stays fresh for 3 to 4 days. The texture of the pasta and veggies holds up well, though the tomatoes may soften slightly after day three. I usually make it on Sunday and we eat it through Wednesday with no issues.
Can I use a different type of pasta?
Yes, any short pasta shape works well. Fusilli, farfalle, penne, or even macaroni are great options. Avoid long noodles like spaghetti or fettuccine—they don’t hold the dressing well and can be awkward to eat cold. Whole wheat pasta adds more fiber but has a nuttier flavor that pairs nicely with the pepperoni.
Is this recipe safe for school nut-free policies?
Yes, as written, this recipe is nut-free and egg-free. However, always check the labels on your Italian dressing and Parmesan cheese, as some brands may be processed in facilities that handle nuts. Ken’s and Wish-Bone Italian dressings are generally nut-free, and the green can of Parmesan is as well. When in doubt, check the packaging or contact the manufacturer.
Can I add other vegetables to this pasta salad?
Definitely! This recipe is very adaptable. Some of my favorite additions include chopped cucumber (remove the seeds first so it doesn’t get watery), roasted red peppers, artichoke hearts, fresh spinach, or broccoli florets that have been blanched and cooled. Just keep the total volume of add-ins roughly the same so the dressing ratio stays balanced.
Pin This Recipe!
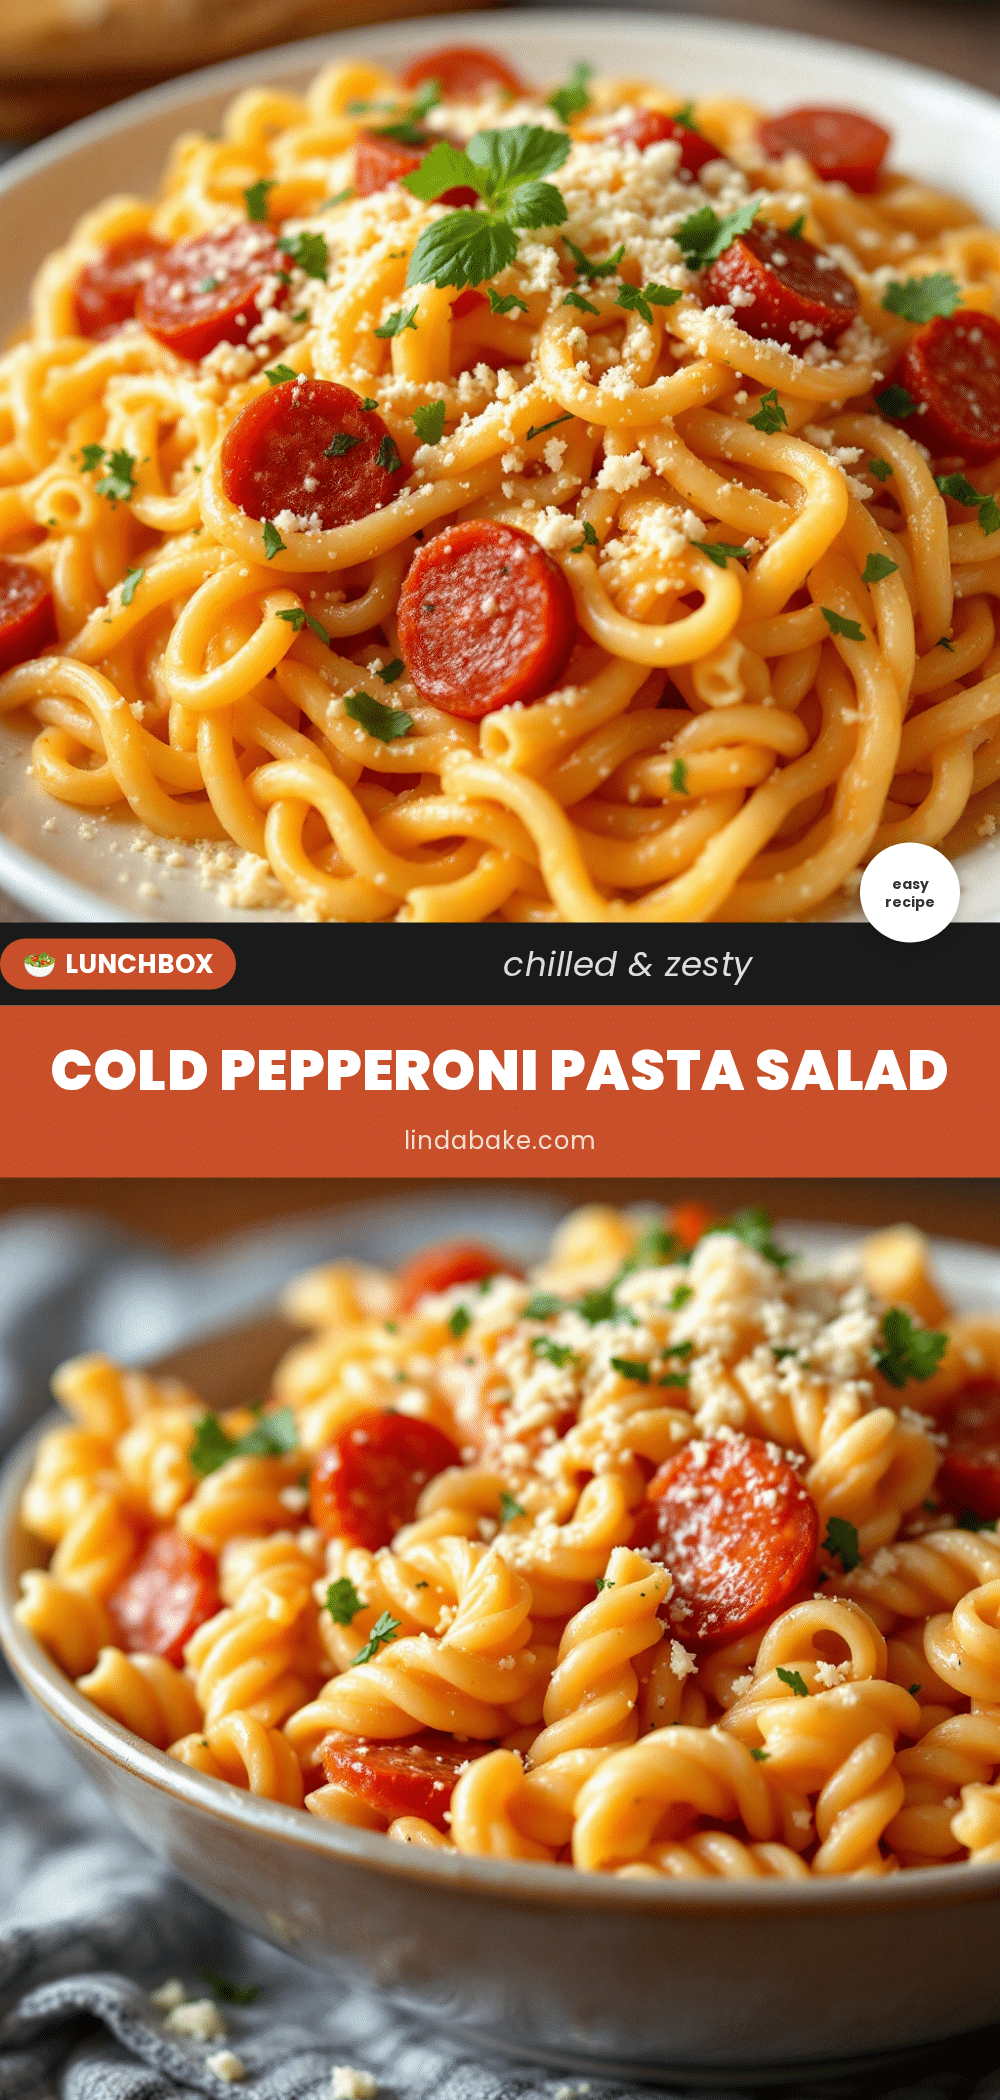
Easy Cold Pepperoni Pasta Salad Perfect for School Lunches
This easy cold pepperoni pasta salad is perfect for school lunches, picnics, and potlucks. It’s quick to make, uses simple ingredients, and tastes even better the next day.
- Prep Time: 20 minutes
- Cook Time: 10 minutes
- Total Time: 30 minutes
- Yield: 8 servings 1x
- Category: Main Course
- Cuisine: Italian-American
Ingredients
- 12 ounces rotini pasta
- 6 ounces pepperoni, sliced and quartered
- 8 ounces mozzarella cheese, cut into small cubes
- 1 cup cherry tomatoes, halved
- 1/2 cup black olives, sliced
- 1/4 cup red onion, finely diced
- 1/2 cup green bell pepper, diced small
- 1/2 cup Italian dressing
- 1/4 cup Parmesan cheese, grated
- 2 tablespoons fresh parsley, chopped
- Salt and black pepper to taste
Instructions
- Cook the pasta: Fill a large pot with water, add a generous pinch of salt, and bring to a rolling boil. Add the rotini and cook according to package directions until al dente (about 8 to 10 minutes). Drain in a colander and rinse with cold water until cool. Shake well to remove excess water.
- Prep the pepperoni: While the pasta cooks, stack pepperoni slices and cut into quarters. Place in a small bowl and pour about 2 tablespoons of Italian dressing over them. Stir to coat and set aside.
- Chop the veggies: Halve the cherry tomatoes, dice the red onion, chop the bell pepper, and slice the olives. If using fresh parsley, give it a rough chop.
- Cube the cheese: If using a block of mozzarella, cut into quarter-inch cubes. If using mozzarella pearls, they are ready to use.
- Combine everything: In a large mixing bowl, add the cooled pasta, marinated pepperoni (with any leftover dressing), chopped veggies, olives, mozzarella cubes, and grated Parmesan. Pour the remaining Italian dressing over the top.
- Toss and season: Gently toss everything together until the dressing coats every piece. Taste and add salt and pepper as needed.
- Let it rest: Cover the bowl and refrigerate for at least 30 minutes before serving to let the flavors meld.
- Give it a final toss: Before serving, stir well to redistribute the dressing. Sprinkle with fresh parsley if desired.
Notes
Don’t skip rinsing the pasta with cold water to stop cooking and prevent sticking. Marinating the pepperoni in dressing adds extra flavor. Let the salad rest for at least 30 minutes before serving for best flavor. If making ahead, reserve a little extra dressing to toss in before serving as pasta absorbs dressing overnight.
Nutrition
- Serving Size: 1 serving
- Calories: 385
- Sugar: 4
- Sodium: 720
- Fat: 18
- Saturated Fat: 6
- Carbohydrates: 40
- Fiber: 3
- Protein: 16
Keywords: cold pasta salad, pepperoni pasta salad, school lunch, easy pasta salad, kid-friendly, potluck, picnic


