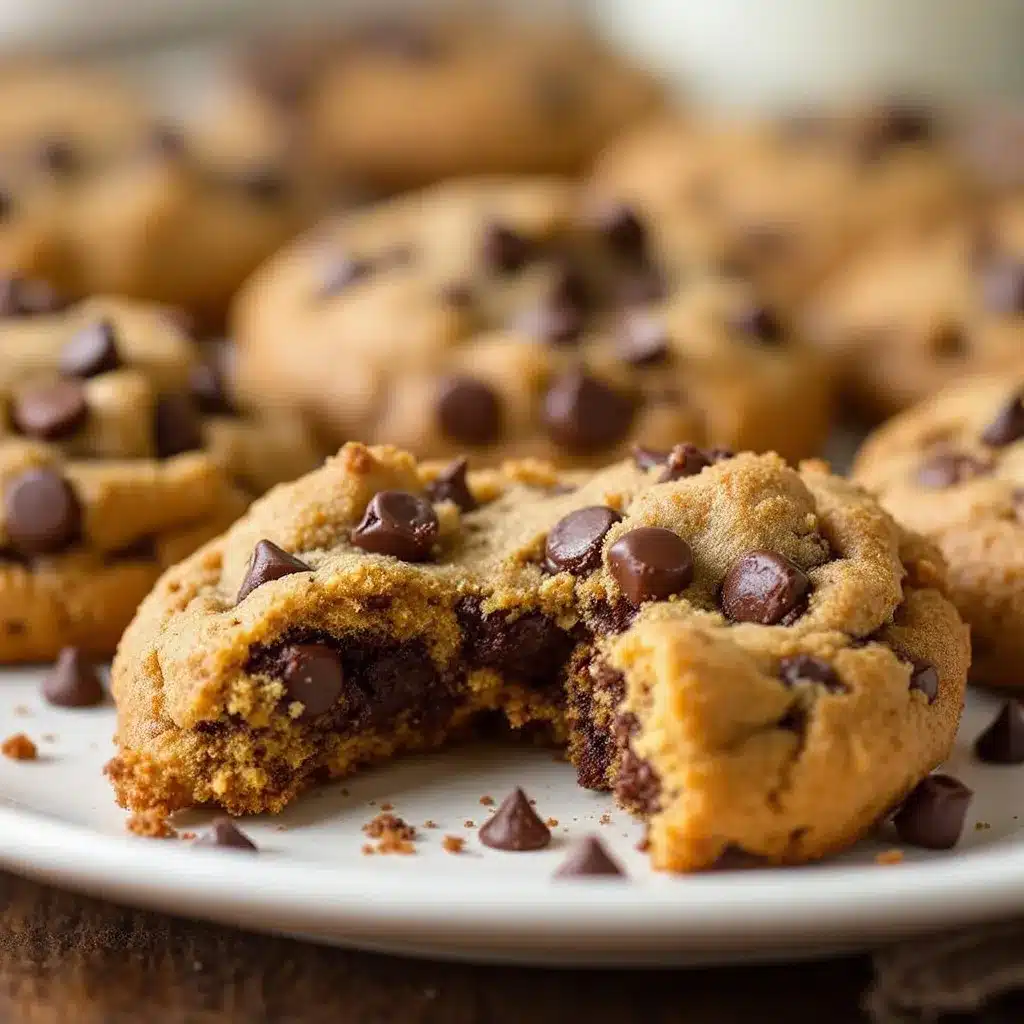
The crumble on top—craggy, almost architectural, with tiny exposed butter flecks catching the light—that’s what I was after. Everything else about these perfect small-batch chocolate chip cookies is just supporting cast. I wanted that one specific texture: a top that looks like a tiny, delicious landscape, cracked and uneven, before you even bite into it. And honestly, the rest of the cookie had to be good enough to back it up.
I’ve made more batches of cookies than I can count, and the problem with most recipes is they leave you with a mountain of dough. That’s great for a party, but on a random Tuesday night when you just want three or four warm cookies with a glass of milk? You’re stuck with a bowl full of temptation. That’s where this recipe comes in. It’s built for the quiet moments—the ones where you want something homemade but don’t want to commit to baking for an army.
These cookies have that perfect balance: chewy centers, crispy edges, and those little pools of melted chocolate that threaten to burn your tongue in the best way. The dough comes together in one bowl with no fancy equipment, and you get exactly six cookies. No leftovers to resist, no freezer dough to forget about. Just six perfect, warm cookies that taste like you spent way more effort than you actually did. That’s the whole point, really.
Why You’ll Love This Recipe
Let me tell you why this recipe has become my go-to for those late-night baking cravings. I’ve tested it more times than I care to admit, adjusting ratios and bake times until it was just right. The result is a cookie that delivers every single time.
- Quick & Easy: From start to finish, you’re looking at about 20 minutes. No chilling required, no stand mixer needed. Just a bowl, a spoon, and some serious willpower to let them cool.
- Simple Ingredients: You probably have everything in your pantry right now. Butter, sugar, an egg, flour, chocolate chips. That’s it. No weird extracts or specialty flours.
- Perfect for Small Cravings: This is the ideal recipe for when you want fresh cookies but don’t need three dozen of them. It’s also great for testing a new chocolate brand or trying out different mix-ins without committing to a huge batch.
- Consistently Delicious: The texture is what gets me every time. Soft in the middle, slightly crisp around the edges, with chocolate in every single bite. It’s not just another cookie recipe—it’s the one I keep coming back to.
- No Leftover Dough Drama: You make exactly six cookies. You eat exactly six cookies. There’s no awkward half-bag of dough in your fridge staring at you every time you open the door.
I remember the first time I made these for my husband. He took one bite, closed his eyes, and said, “These are dangerous.” That’s when I knew I had something special. They’re not fancy or complicated—they’re just really, really good cookies.
What Ingredients You Will Need
This recipe uses basic pantry staples, but the way they come together makes all the difference. Here’s what you’ll need and why each ingredient matters.
- Unsalted Butter (4 tablespoons, softened): I always use unsalted so I can control the salt level. Make sure it’s truly softened—not melted, not rock hard. You want it to be at room temperature so it creams properly with the sugar. If you forget to take it out ahead of time, cut it into small cubes and let it sit for about 15 minutes.
- Granulated Sugar (¼ cup): This gives the cookies their structure and helps with browning. It also contributes to that slight crispness on the edges.
- Light Brown Sugar (¼ cup, packed): This is where the magic happens. Brown sugar adds moisture and that deep, almost caramel-like flavor. It’s what makes the centers soft and chewy. I prefer light brown sugar for these, but dark brown works too if you want a richer flavor.
- Large Egg (1, room temperature): The egg binds everything together and adds richness. Room temperature is important—it emulsifies better with the butter and sugar, giving you a smoother dough. If you’re in a hurry, place the egg in a bowl of warm water for 5 minutes.
- Vanilla Extract (½ teaspoon): Pure vanilla makes a difference here. I know it’s more expensive, but the flavor is noticeably better than imitation. That said, if all you have is imitation, it’ll still work fine.
- All-Purpose Flour (¾ cup): Standard all-purpose flour is perfect for these cookies. Spoon it into your measuring cup and level it off—don’t scoop directly from the bag or you’ll end up with too much flour and dry cookies.
- Baking Soda (¼ teaspoon): This helps the cookies spread just enough and gives them a little lift. Make sure your baking soda is fresh—if it’s been sitting in your cabinet for two years, it might not work as well.
- Salt (¼ teaspoon): Don’t skip this. Salt balances the sweetness and enhances the chocolate flavor. I use fine sea salt for the dough and sometimes sprinkle a little flaky salt on top before baking.
- Semi-Sweet Chocolate Chips (½ cup): This is where you can really customize things. I love semi-sweet for these because they’re not too sweet and they melt beautifully. But you can use dark chocolate, milk chocolate, or even chop up a chocolate bar for those big, irregular chunks. The best chocolate chip cookies come from using a brand you actually enjoy eating on its own—I’m partial to Guittard or Ghirardelli.
One thing I’ve learned is that the quality of your chocolate really matters here. Since the batch is small, splurging on a good chocolate bar or high-quality chips makes a noticeable difference. It’s one of those small upgrades that takes the cookies from good to unforgettable.
Equipment Needed
You don’t need much for this recipe, which is part of its charm. Here’s what I use:
- Medium Mixing Bowl: Any bowl will work, but I prefer a medium-sized one so there’s room to mix without flour flying everywhere.
- Hand Mixer or Wooden Spoon: A hand mixer makes creaming the butter and sugar easier, but a sturdy wooden spoon works just fine. Sometimes I use the spoon just because it feels more intentional.
- Measuring Cups and Spoons: Accurate measurements matter in baking. Use dry measuring cups for the flour and sugar, and liquid measuring cups aren’t needed here.
- Baking Sheet: A standard half-sheet pan works perfectly. No need to grease it—the cookies have enough butter to prevent sticking.
- Parchment Paper or Silicone Baking Mat: This makes cleanup a breeze and helps the cookies bake evenly. I prefer parchment paper because it gives slightly crispier bottoms.
- Cookie Scoop (about 1.5 tablespoons): This isn’t essential, but it gives you evenly sized cookies. If you don’t have one, just use two spoons to portion the dough.
- Cooling Rack: Letting the cookies cool on a rack prevents soggy bottoms. If you don’t have one, transfer them to a plate after a few minutes on the baking sheet.
Honestly, I’ve made these with nothing but a bowl, a fork, and my hands when I was camping once. They turned out fine. But having the right tools makes the process smoother and more enjoyable.
Preparation Method
Alright, let’s get to the fun part. Follow these steps, and you’ll have warm cookies in about 20 minutes.
- Preheat your oven to 350°F (175°C). Line a baking sheet with parchment paper or a silicone mat. I always do this first so the oven is ready when I am.
- Cream the butter and sugars together. In your medium bowl, combine the softened butter, granulated sugar, and brown sugar. Beat with a hand mixer on medium speed for about 2 minutes, or stir vigorously with a wooden spoon for about 3 minutes. You want the mixture to be light, fluffy, and pale in color. Scrape down the sides of the bowl halfway through. This step is important—proper creaming incorporates air into the dough, which helps the cookies rise slightly and gives them a better texture.
- Add the egg and vanilla. Crack the egg into the butter-sugar mixture and add the vanilla extract. Beat until just combined, about 30 seconds. Don’t overmix here, or the cookies might turn out tough. The mixture might look slightly curdled at this point—that’s totally normal, especially if your egg was cold.
- Mix the dry ingredients separately. In a small bowl, whisk together the flour, baking soda, and salt. This ensures the baking soda and salt are evenly distributed throughout the flour. If you’re feeling lazy, you can skip this step and add them directly to the wet mixture, but whisking them separately gives more consistent results.
- Combine the wet and dry ingredients. Add the flour mixture to the butter mixture. Stir with a spatula or wooden spoon until just combined. You should still see a few streaks of flour at this point. Overmixing develops gluten, which makes cookies tough instead of tender.
- Fold in the chocolate chips. Add the chocolate chips and fold them in gently with your spatula. Make sure they’re evenly distributed throughout the dough. If you want chocolate in every bite, press a few extra chips onto the tops of the dough balls before baking.
- Portion the dough. Using a cookie scoop or two spoons, divide the dough into 6 equal portions. Each portion should be about 2 tablespoons. Roll them into balls and place them on the prepared baking sheet, spacing them about 2 inches apart. They’ll spread a bit, so give them room.
- Bake for 9-11 minutes. Place the baking sheet on the middle rack of your preheated oven. Bake for 9 minutes for softer, chewier cookies, or 11 minutes for slightly crisper edges. The cookies are done when the edges are golden brown and the centers still look slightly underdone and puffy. They’ll continue to set as they cool on the baking sheet.
- Cool on the baking sheet. Let the cookies rest on the hot baking sheet for 5 minutes. This is crucial—if you try to move them too soon, they’ll fall apart. After 5 minutes, transfer them to a cooling rack to finish cooling. Or, you know, eat one right away and burn your tongue a little. I won’t judge.
One thing I’ve learned the hard way: every oven runs a little differently. Your cookies might be perfect at 9 minutes, or they might need the full 11. I always check at the 8-minute mark and rotate the pan if one side is browning faster than the other. It’s a small step that makes a big difference.
Cooking Tips & Techniques
After making these cookies more times than I can count, I’ve picked up a few tricks that make a real difference. Here are my best tips for perfect small-batch chocolate chip cookies every time.
Use room temperature ingredients. This is the number one tip I give to anyone who asks about baking. Cold butter doesn’t cream properly with sugar, and cold egg can cause the butter to seize up. Take your butter and egg out of the fridge about 30 minutes before you start. If you forgot, cut the butter into small cubes and let it sit for 15 minutes, and place the egg in a bowl of warm water for 5 minutes.
Don’t overmix the dough. I know I’ve said this already, but it’s worth repeating. Once you add the flour, mix just until you don’t see any more dry flour. Overmixing develops gluten, which gives you tough, dense cookies instead of tender, chewy ones. I’ve ruined plenty of batches by being too enthusiastic with my mixing.
Chill the dough if you have time. These cookies are great without chilling, but if you can wait 30 minutes, the flavor deepens and the texture improves. Chilling allows the flour to fully hydrate and the flavors to meld together. It also prevents the cookies from spreading too much. I’ve made these both ways, and while the immediate version is delicious, the chilled version is noticeably better.
Use a cookie scoop for even baking. Evenly sized cookies bake evenly. A scoop ensures all your cookies are the same size, so they all finish baking at the same time. If you don’t have a scoop, use a measuring spoon to portion the dough.
Press extra chips on top. This is my secret for those gorgeous bakery-style cookies. After you portion the dough balls, press 3-4 extra chocolate chips onto the top of each one. This ensures every cookie has visible chocolate on top, which looks beautiful and guarantees chocolate in every bite.
Let them cool properly. The 5-minute rest on the baking sheet is non-negotiable. The cookies are still cooking during this time, and they need that time to set up. If you try to move them too soon, they’ll fall apart. Trust the process.
I once made these for a friend who was having a rough week, and she texted me later saying they were the best cookies she’d ever had. I almost told her my secret (the extra chips on top), but I decided to let her think I was just that talented. Sometimes it’s the small details that make all the difference.
Variations & Adaptations
One of the best things about this recipe is how adaptable it is. Here are some of my favorite variations to keep things interesting.
Double Chocolate Chip Cookies: Replace 1 tablespoon of the flour with unsweetened cocoa powder. Use dark chocolate chips instead of semi-sweet. The result is a rich, fudgy cookie that tastes like a brownie. I made these for a chocolate lover friend, and she asked for the recipe three times.
Peanut Butter Chocolate Chip Cookies: Reduce the butter to 3 tablespoons and add 2 tablespoons of creamy peanut butter. Cream it together with the butter and sugars. The peanut butter adds a subtle nutty flavor and makes the cookies even softer. For a fun twist, use peanut butter chips instead of some of the chocolate chips.
Oatmeal Chocolate Chip Cookies: Replace ¼ cup of the flour with rolled oats. Add ¼ teaspoon of cinnamon to the dry ingredients. The oats add a chewy texture and a bit of heartiness. These are great for breakfast—or at least that’s what I tell myself.
Gluten-Free Version: Substitute the all-purpose flour with a 1:1 gluten-free baking flour blend. I’ve tested this with Bob’s Red Mill and King Arthur brands, and both work well. Make sure your blend contains xanthan gum for structure. The cookies might spread a bit more, so keep an eye on them.
Vegan Adaptation: Use vegan butter (I like Earth Balance) and replace the egg with a flax egg (1 tablespoon ground flaxseed mixed with 3 tablespoons water, let sit for 5 minutes). The texture is slightly different—a bit more cakey—but they’re still delicious. Use dairy-free chocolate chips to keep them fully vegan.
Add-In Ideas: Once you’ve mastered the basic recipe, experiment with different add-ins. Chopped nuts (walnuts or pecans), dried cherries, toffee bits, or even crushed pretzels all work beautifully. I once added chopped bacon to a batch, and it was surprisingly amazing. Don’t knock it till you try it.
My personal favorite variation is the one with a sprinkle of flaky sea salt on top right after they come out of the oven. That little bit of saltiness against the sweet chocolate is absolutely perfect. It’s such a small change, but it makes the cookies taste incredibly sophisticated.
Serving & Storage Suggestions
These cookies are best enjoyed warm, but they’re still delicious at room temperature. Here’s how to serve and store them for maximum enjoyment.
Serving: Serve these cookies slightly warm with a cold glass of milk. The contrast between the warm, melty chocolate and the cold milk is unbeatable. For an extra treat, sandwich two cookies with a scoop of vanilla ice cream for the perfect mini ice cream sandwich. They’re also wonderful crumbled over a bowl of vanilla ice cream or served alongside a cup of coffee.
Storage: Store cooled cookies in an airtight container at room temperature for up to 3 days. Place a slice of bread in the container to keep them soft—the cookies will absorb moisture from the bread, staying chewy longer. Change the bread slice every day if you’re keeping them that long. Honestly, though, these cookies rarely last more than a day in my house.
Freezing: You can freeze the baked cookies for up to 3 months. Place them in a single layer in a freezer-safe bag or container, with parchment paper between layers to prevent sticking. Thaw at room temperature for about 30 minutes, or pop them in a 300°F oven for 5 minutes to warm them up. The texture after freezing is remarkably good—almost as good as fresh.
Freezing the Dough: This is my favorite trick for having fresh cookies on demand. Portion the dough into balls and place them on a parchment-lined baking sheet. Freeze until solid, then transfer to a freezer bag. You can bake them directly from frozen—just add 2-3 minutes to the baking time. This is perfect for those moments when you need a cookie emergency kit.
Reheating: For that fresh-from-the-oven experience, microwave a cookie for 10-15 seconds. It won’t be exactly the same as fresh-baked, but it’s pretty close. For a crispier exterior, reheat in a 350°F oven for 3-4 minutes.
I’ve noticed that these cookies actually get better on the second day. The flavors meld together, and the texture becomes even more chewy. If you can resist eating them all on day one, you’re in for a treat on day two.
Nutritional Information & Benefits
Let’s be real—these are cookies, not health food. But knowing what’s in them helps with mindful indulgence. Here’s the approximate nutritional breakdown per cookie (based on 6 cookies):
- Calories: Approximately 260
- Total Fat: 14g
- Saturated Fat: 8g
- Cholesterol: 45mg
- Sodium: 180mg
- Total Carbohydrates: 33g
- Dietary Fiber: 1g
- Sugars: 20g
- Protein: 3g
Health Considerations: While these aren’t health food, they do use simple, recognizable ingredients. There are no preservatives, artificial flavors, or weird additives. The butter provides some vitamin A, and the chocolate contains antioxidants (in the form of flavonoids). The small batch size also helps with portion control—you’re not staring down three dozen cookies.
Allergen Notes: This recipe contains wheat (gluten), dairy, and eggs. For allergen-friendly versions, see the variations section above. Always check your chocolate chips for potential cross-contamination if you have severe allergies.
Mindful Eating: I believe in enjoying treats in moderation. These cookies are meant to be savored, not scarfed down. Take the time to really taste them—the way the chocolate melts, the texture of the edges versus the center. When you eat mindfully, a single cookie can be just as satisfying as three eaten in a rush.
I’ve made these cookies for everything from birthday parties to quiet nights in. They’re not going to replace your salad, but they might just make your Tuesday night a little bit better.
Conclusion
These perfect small-batch chocolate chip cookies are exactly what they claim to be: a simple, reliable recipe for six incredible cookies. No fuss, no complicated techniques, no leftover dough begging you to bake just one more batch. Just warm, chewy, chocolatey goodness in under 20 minutes.
What I love most about this recipe is how it fits into real life. It’s there for the late-night craving, the rainy afternoon, the moment when you just need something homemade and comforting. It’s not about impressing anyone or showing off baking skills—it’s about making yourself a small, perfect treat exactly when you need it.
I’d love to hear how these turn out for you. Did you try any of the variations? Add your own twist? Burn your tongue on the first one because you couldn’t wait? Drop a comment below and let me know. And if you’re looking for more easy treats, check out these easy no-bake peanut butter granola bites for another quick snack option, or these cheddar ranch popcorn snack mix when you’re craving something savory.
Happy baking, friend. Go make yourself some cookies—you deserve them.
Frequently Asked Questions
Can I double this recipe?
Absolutely! This recipe scales perfectly. Just double all the ingredients and bake in batches. The bake time stays the same, but you might need to rotate the pans halfway through if baking two sheets at once.
Why did my cookies spread too much?
This usually happens when the butter is too soft or melted, or when the dough isn’t chilled. Make sure your butter is just softened, not melted. If your kitchen is warm, chill the dough balls for 15 minutes before baking.
Can I use margarine instead of butter?
You can, but the texture will be different. Margarine has more water and less fat than butter, so the cookies will spread more and be less tender. I recommend sticking with butter for the best results.
How do I know when the cookies are done?
The edges should be golden brown and the centers should look slightly underdone and puffy. They’ll continue to set as they cool on the baking sheet. If you’re unsure, it’s better to underbake slightly than overbake—nobody likes a crunchy cookie.
Can I make these cookies without a mixer?
Yes! A wooden spoon and a strong arm work perfectly. Just make sure your butter is very soft so you can cream it properly with the sugar. It might take a few extra minutes of stirring, but it’s totally doable.
Pin This Recipe!
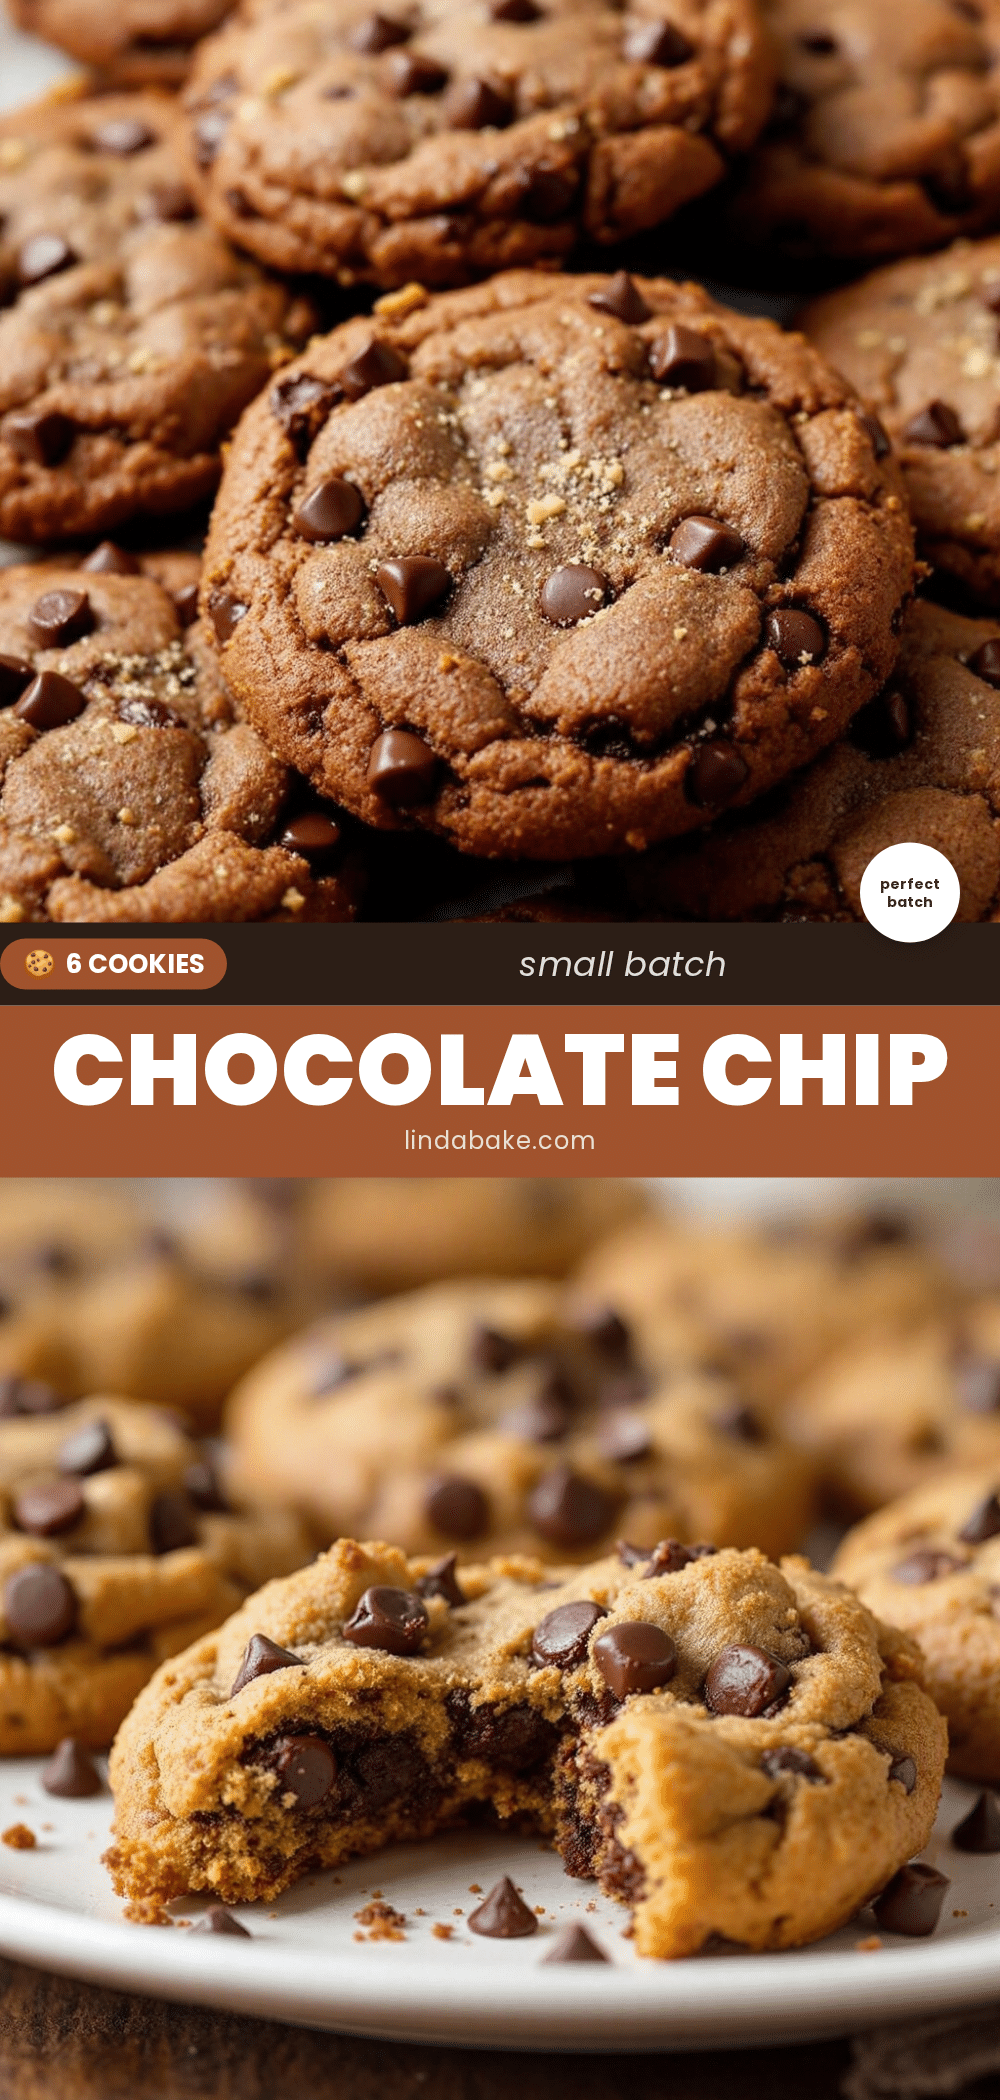
Perfect Small-Batch Chocolate Chip Cookies: Easy Recipe for 6

These perfect small-batch chocolate chip cookies deliver chewy centers, crispy edges, and melted chocolate in just 20 minutes. Made with simple pantry ingredients, this recipe yields exactly six cookies—ideal for quiet cravings without leftover dough.
- Prep Time: 10 minutes
- Cook Time: 10 minutes
- Total Time: 20 minutes
- Yield: 6 cookies 1x
- Category: Dessert
- Cuisine: American
Ingredients
- 4 tablespoons unsalted butter, softened
- ¼ cup granulated sugar
- ¼ cup light brown sugar, packed
- 1 large egg, room temperature
- ½ teaspoon vanilla extract
- ¾ cup all-purpose flour
- ¼ teaspoon baking soda
- ¼ teaspoon salt
- ½ cup semi-sweet chocolate chips
Instructions
- Preheat oven to 350°F (175°C). Line a baking sheet with parchment paper or a silicone mat.
- In a medium bowl, cream together softened butter, granulated sugar, and brown sugar with a hand mixer on medium speed for about 2 minutes (or vigorously with a wooden spoon for 3 minutes) until light, fluffy, and pale. Scrape down sides halfway through.
- Add the egg and vanilla extract; beat until just combined, about 30 seconds. Do not overmix.
- In a small bowl, whisk together flour, baking soda, and salt.
- Add the flour mixture to the butter mixture; stir with a spatula or wooden spoon until just combined (a few streaks of flour should remain).
- Fold in the chocolate chips gently until evenly distributed. For extra chocolate on top, press a few chips onto the dough balls before baking.
- Using a cookie scoop or two spoons, divide dough into 6 equal portions (about 2 tablespoons each). Roll into balls and place on prepared baking sheet, spacing 2 inches apart.
- Bake on the middle rack for 9–11 minutes: 9 minutes for softer/chewier cookies, 11 minutes for slightly crisper edges. Edges should be golden brown; centers should look slightly underdone and puffy.
- Let cookies rest on the hot baking sheet for 5 minutes (do not move them too soon). Then transfer to a cooling rack to finish cooling.
Notes
For best results, use room temperature butter and egg. Do not overmix after adding flour. Chilling the dough for 30 minutes deepens flavor and improves texture. Press extra chocolate chips on top for bakery-style cookies. Let cookies cool on the baking sheet for 5 minutes before moving.
Nutrition
- Serving Size: 1 cookie
- Calories: 260
- Sugar: 20
- Sodium: 180
- Fat: 14
- Saturated Fat: 8
- Carbohydrates: 33
- Fiber: 1
- Protein: 3
Keywords: small-batch chocolate chip cookies, easy cookie recipe, 6 cookies, chewy chocolate chip cookies, quick cookies


