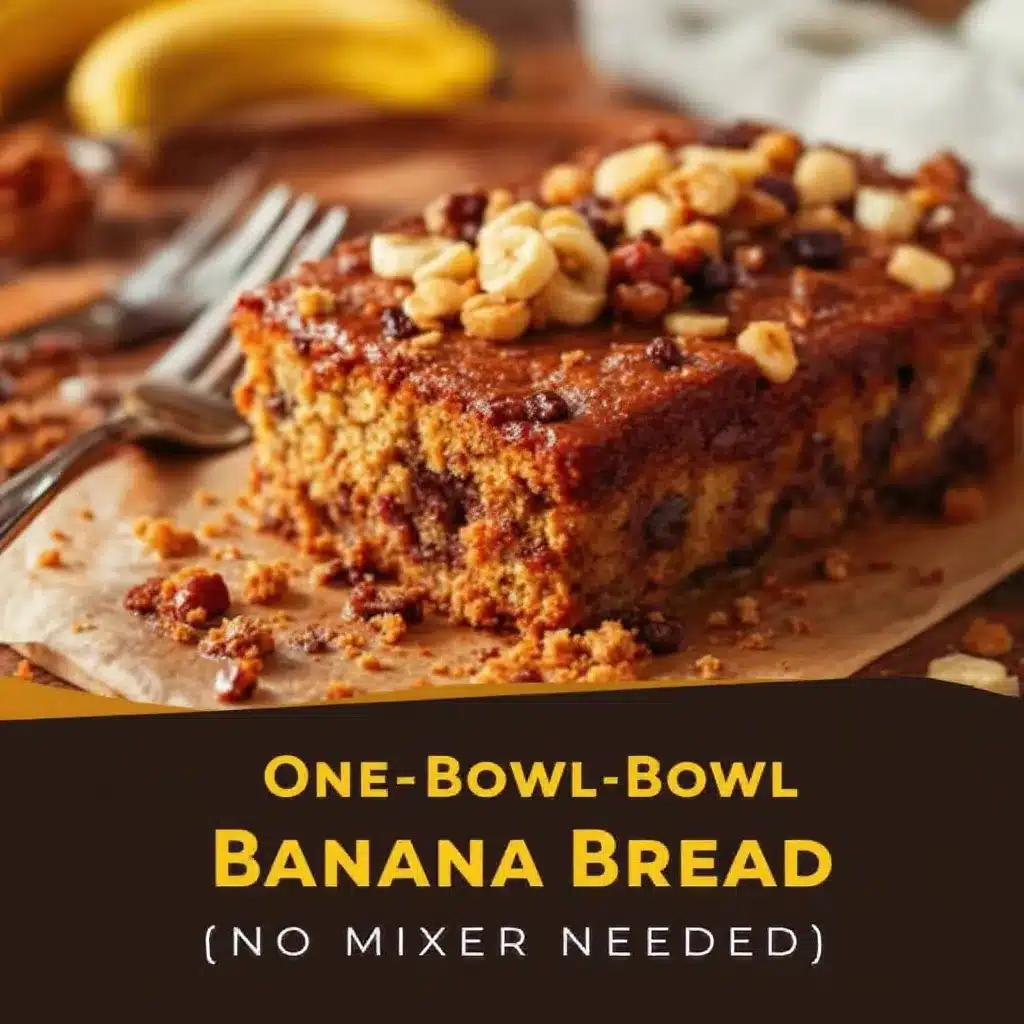
The crackled top—that web of pale golden fissures sitting over a dome of deep brown—is what I wait for. Every single time. I could talk about the tender crumb or the way banana perfume fills the whole kitchen, but honestly? That top is the whole point. It’s the thing that tells you, before you even slice in, that this loaf is going to be exactly right. Everything else—the mixing, the mashing, the waiting—is just the path to getting there.
I used to think banana bread needed a stand mixer. I’d drag the heavy thing out, dirty every attachment, and spend ten minutes scraping down the bowl. Then one morning, with a toddler tugging at my sleeve and three spotty bananas on the counter, I just grabbed a fork and a bowl. No mixer. No fuss. And you know what? That loaf was better than any I’d made before. The crumb was more tender, the texture more rustic—like something you’d pull from a farmhouse kitchen, not a test kitchen.
This easy one-bowl banana bread (no mixer needed) has become my go-to, and honestly, it’s the only banana bread recipe I use anymore. It’s forgiving enough for a sleepy morning and good enough to bring to a friend’s house. I’ve made it in rental cabins with a whisk and a spatula. I’ve made it at 10 p.m. just because the bananas were begging. It never fails, and that crackled top never disappoints. That’s the kind of recipe worth holding onto.
Why You’ll Love This Recipe
Let’s be real—there are a million banana bread recipes out there. But this one? It’s different. Not because it’s fancy, but because it’s smart. It cuts out the nonsense and leaves you with the best possible loaf using the least possible effort.
- No mixer required — Just a bowl, a fork, and a spatula. Less cleanup, more quiet mornings.
- One bowl only — Mix your wet ingredients, stir in the dry, and you’re done. No separate bowls for flour or sugar.
- Perfectly moist every time — The ratio of banana to fat to flour is dialed in so you get that dense, tender crumb without it turning gummy.
- Pantry-friendly ingredients — Butter, sugar, eggs, flour, baking soda, salt, and bananas. That’s it. Nothing weird.
- Customizable in seconds — Toss in chocolate chips, walnuts, or a swirl of peanut butter. It handles additions like a champ.
- Kid-approved and crowd-approved — I’ve brought this to school bake sales and book club meetings. It disappears fast.
This isn’t just another banana bread recipe. It’s the one that makes you wonder why you ever bothered with a mixer in the first place. The texture is so soft and almost pudding-like in the center, with that signature crackled top that shatters slightly when you cut into it. It’s comfort food at its simplest—no fuss, no stress, just a warm slice of something that feels like a hug.
What Ingredients You Will Need
This recipe uses simple, everyday ingredients that you probably already have in your kitchen. No specialty flours, no weird extracts, no trip to a fancy grocery store. Here’s what you’ll need and why each one matters.
For the Banana Bread
- 3 large ripe bananas, mashed — The riper, the better. You want them spotty and almost overripe. That’s where the sweetness and moisture come from. If your bananas aren’t quite ready, pop them in a 300°F oven for 10-12 minutes until the skins darken.
- 1/3 cup unsalted butter, melted — Melted butter gives a richer flavor than oil. I like using unsalted so I can control the salt level. If you only have salted butter, just reduce the added salt to 1/4 teaspoon.
- 3/4 cup granulated sugar — White sugar keeps the crumb light and helps that crackled top form. You can substitute up to half with brown sugar for a deeper flavor, but don’t swap it all—the texture changes.
- 1 large egg, room temperature — Room temperature egg blends more evenly into the melted butter. If you’re in a hurry, place the egg in a bowl of warm water for 5 minutes.
- 1 teaspoon vanilla extract — Pure vanilla adds warmth. Imitation works fine in a pinch, but pure is noticeably better here.
- 1 1/2 cups all-purpose flour — Spoon and level your flour. Scooping directly with the measuring cup packs in too much and makes the bread dry. If you need a gluten-free version, use a 1:1 gluten-free baking flour blend.
- 1 teaspoon baking soda — This is the only leavening agent. Make sure it’s fresh—test it by dropping a pinch into vinegar; it should fizz immediately.
- 1/2 teaspoon salt — Balances the sweetness and enhances the banana flavor. Don’t skip it.
Optional Add-Ins
- 1/2 cup chocolate chips — Semi-sweet or dark work best. They don’t overpower the banana.
- 1/2 cup chopped walnuts or pecans — Toast them lightly first for extra crunch and flavor.
- 1 tablespoon brown sugar for topping — Sprinkle on top before baking for a slightly crunchy crust.
That’s it. No buttermilk, no sour cream, no yogurt. This recipe keeps it minimal because the bananas do all the heavy lifting. If you love recipes that rely on simple, whole ingredients, you might also enjoy these easy no-bake peanut butter granola bites—they follow the same keep-it-simple philosophy.
Equipment Needed
One of the best things about this recipe is how little equipment it requires. Here’s what you’ll need:
- Large mixing bowl — Any bowl will do, but a wide one makes mashing and stirring easier.
- Fork or potato masher — For mashing the bananas. A fork works perfectly and is easier to clean.
- Wooden spoon or rubber spatula — For mixing the batter. A spatula is great for scraping the sides.
- 9×5-inch loaf pan — Standard size. If you use an 8×4-inch pan, increase the baking time by 5-10 minutes. Glass or metal both work, but metal gives a nicer crust.
- Parchment paper — Not strictly necessary, but it makes lifting the loaf out so much easier. I never skip it.
- Cooling rack — Lets air circulate around the bread so the bottom doesn’t get soggy.
If you don’t have a loaf pan, you can bake this in a 9-inch square pan—just reduce the baking time to 30-35 minutes and check for doneness earlier. I’ve also made it as muffins (about 18-20 minutes at 350°F) and it works beautifully. No special equipment needed, no fancy gadgets. Just your hands and a little patience.
Preparation Method
This is where the magic happens. Follow these steps, and you’ll have a loaf that’s tender, moist, and topped with that signature crackled crust.
- Preheat your oven to 350°F (175°C). Position the rack in the center. Grease a 9×5-inch loaf pan with butter or nonstick spray, then line it with parchment paper, leaving an overhang on the long sides. This makes lifting the bread out effortless.
- Mash the bananas. In a large mixing bowl, add the 3 ripe bananas. Mash them with a fork until mostly smooth with a few small lumps remaining. You want some texture—completely smooth bananas can make the bread dense. You should have about 1 to 1 1/4 cups of mashed banana.
- Add the wet ingredients. To the mashed bananas, add the 1/3 cup melted butter, 3/4 cup granulated sugar, 1 large egg, and 1 teaspoon vanilla extract. Stir with your wooden spoon or spatula until everything is well combined. The mixture will look a little grainy from the sugar—that’s normal.
- Add the dry ingredients. Sprinkle the 1 1/2 cups all-purpose flour, 1 teaspoon baking soda, and 1/2 teaspoon salt over the wet mixture. Stir gently until just combined. Do not overmix. A few streaks of flour are okay. Overmixing develops gluten and makes the bread tough. If you’re adding chocolate chips or nuts, fold them in now with a few light strokes.
- Pour the batter into the prepared pan. Use your spatula to spread it evenly. Tap the pan gently on the counter to release any air bubbles. If you want a crunchy top, sprinkle 1 tablespoon of brown sugar evenly over the surface.
- Bake for 50-60 minutes. Start checking at 50 minutes. The bread is done when a toothpick inserted into the center comes out clean or with a few moist crumbs. The top should be deep golden brown and cracked. If the top is browning too quickly but the center isn’t done, tent the pan loosely with foil for the last 10-15 minutes.
- Cool in the pan for 10 minutes. Then lift the bread out using the parchment paper overhang and transfer it to a cooling rack. Let it cool completely before slicing—about 1 hour. I know it’s hard to wait, but slicing too early will make the bread crumble and the texture will be gummy. Trust me, I’ve learned this the hard way.
The batter will be thick and slightly shaggy—that’s exactly how it should look. Don’t be tempted to add more liquid. The bananas provide plenty of moisture as they bake.
Cooking Tips & Techniques
After making this recipe dozens of times, I’ve picked up a few tricks that make a real difference. Here are the ones I swear by:
Use really ripe bananas. This is the number one tip. If your bananas aren’t spotty and soft, your bread will be less sweet and less moist. I keep a bag of overripe bananas in my freezer—just thaw them on the counter for an hour, then squeeze the mushy banana out of the skin. It’s almost easier than mashing fresh ones.
Don’t overmix the batter. Stir until the flour just disappears. A few lumps are fine. Overmixing develops gluten, which gives you a tough, rubbery loaf instead of a tender one. This is especially important since we’re not using a mixer—your arm will get tired before the batter is overmixed by hand, which is actually a good thing.
Check your baking soda. If your bread doesn’t rise properly, old baking soda is usually the culprit. Test it by dropping a pinch into a small bowl of vinegar—if it fizzes vigorously, it’s good. If not, buy a new box.
Room temperature ingredients matter. The egg mixes more evenly into melted butter if it’s not straight from the fridge. Cold egg can cause the butter to clump slightly. It won’t ruin the bread, but room temperature gives a smoother batter.
Let it cool completely. This is the hardest tip to follow, but it’s crucial. The bread continues to set as it cools. Slicing warm banana bread is tempting, but you’ll end up with a crumbly mess. I’ve done it more times than I care to admit. Wait the full hour.
If you’re looking for another quick and satisfying treat that comes together with minimal effort, these easy peanut butter banana sushi roll-ups are a fun twist on the banana theme and take just minutes to assemble.
Variations & Adaptations
This recipe is a blank canvas. Here are some of my favorite ways to change it up:
Chocolate Chip Banana Bread. Fold in 1/2 cup of semi-sweet chocolate chips after mixing the dry ingredients. The chocolate melts into little pockets of richness. For an extra indulgence, swirl in 2 tablespoons of chocolate hazelnut spread before baking.
Nutty Banana Bread. Toast 1/2 cup of chopped walnuts or pecans in a dry skillet over medium heat for 3-4 minutes until fragrant. Fold them into the batter. The toasting step makes a huge difference—raw nuts can taste a little bitter.
Vegan Banana Bread. Replace the egg with a flax egg (1 tablespoon ground flaxseed mixed with 3 tablespoons water, let sit for 5 minutes). Use melted coconut oil or vegan butter instead of regular butter. It works surprisingly well—the flax adds a nice tenderness.
Gluten-Free Banana Bread. Swap the all-purpose flour for a 1:1 gluten-free baking blend that contains xanthan gum. I’ve had good results with Bob’s Red Mill. The texture is slightly more crumbly but still delicious.
Spiced Banana Bread. Add 1 teaspoon of cinnamon, 1/2 teaspoon of nutmeg, and a pinch of cloves to the flour mixture. It gives the bread a warm, almost holiday-like flavor. Perfect for fall mornings.
Streusel-Topped Banana Bread. Mix 2 tablespoons cold butter, 3 tablespoons flour, 3 tablespoons brown sugar, and a pinch of cinnamon with your fingers until crumbly. Sprinkle over the batter before baking. It adds a buttery, crunchy crust that’s absolutely addictive.
I once made a version with shredded coconut and dried mango chunks—it was tropical and unexpected, and my kids still talk about it. Don’t be afraid to experiment. This recipe is forgiving enough to handle almost any addition.
Serving & Storage Suggestions
Banana bread is one of those things that tastes good at any temperature, but here’s how to get the most out of it.
Serving. Serve slices at room temperature or slightly warm. To reheat, pop a slice in a 300°F oven for 5-7 minutes, or microwave for 15-20 seconds. A pat of butter melting into a warm slice is pure heaven. For a fancy touch, drizzle with honey or sprinkle with flaky sea salt.
Storage. Wrap the cooled loaf tightly in plastic wrap or aluminum foil. Store at room temperature for up to 4 days. Do not refrigerate—the cold air dries out the bread and makes it stale faster. If you live in a humid climate, store it in an airtight container instead of wrapping it.
Freezing. Banana bread freezes beautifully. Wrap the whole loaf or individual slices tightly in plastic wrap, then place in a freezer-safe bag. Freeze for up to 3 months. To thaw, leave at room temperature for 2-3 hours, or microwave a frozen slice for 30-40 seconds. I always keep a few slices in the freezer for last-minute cravings.
Flavor development. Here’s a secret—banana bread actually tastes better the day after it’s baked. The flavors meld together and the texture becomes even more moist. So don’t be disappointed if you can’t eat it all on day one. It’s saving the best for later.
This bread also pairs beautifully with a hot cup of coffee or a cold glass of milk. If you’re packing it for lunch, try it alongside these easy ham and cream cheese pinwheels for a balanced and satisfying meal.
Nutritional Information & Benefits
Here’s the approximate nutritional breakdown for one slice (based on 10 slices per loaf, without add-ins):
- Calories: 210
- Fat: 8g
- Carbohydrates: 33g
- Fiber: 1g
- Sugar: 17g
- Protein: 3g
This recipe is a source of potassium from the bananas, which is great for muscle function and heart health. The butter provides a small amount of vitamin A, and the egg adds a bit of protein. If you use whole wheat flour instead of all-purpose, you’ll get a little extra fiber.
It’s not a health food, obviously. But it’s made with real, recognizable ingredients, and that counts for something. I love that I know exactly what’s in every slice—no preservatives, no weird stabilizers, just simple food. If you’re watching your sugar intake, you can reduce the sugar to 1/2 cup without drastically changing the texture. The bananas add natural sweetness, so it won’t taste bland.
For those with dietary restrictions, this recipe can easily be adapted. The vegan version mentioned earlier reduces saturated fat, and the gluten-free version makes it accessible for celiac-friendly diets. Always check your labels if you’re cooking for someone with allergies.
Conclusion
This easy one-bowl banana bread (no mixer needed) is the kind of recipe that earns a permanent spot in your rotation. It’s simple enough for a lazy Sunday morning, reliable enough for a bake sale, and delicious enough to make you close your eyes after the first bite. No fancy equipment, no complicated steps, no stress—just a perfect loaf every time.
I love that it’s adaptable. You can make it your own with chocolate chips, nuts, spices, or nothing at all. It’s forgiving when you’re tired and rewarding when you need a little comfort. And that crackled top? It never gets old.
I’d love to hear how yours turns out. Did you add something unexpected? Did you bake it as muffins? Share your version in the comments below—I read every single one. And if you loved this recipe, pass it along to a friend who needs a little baking therapy. Happy baking, friends!
Frequently Asked Questions
Can I use frozen bananas for this recipe?
Absolutely! Frozen bananas work great. Thaw them on the counter for about an hour, then squeeze the mushy banana out of the skin. They’ll be extra soft and sweet, which makes the bread even more moist. Just drain off any excess liquid before mashing.
Why did my banana bread sink in the middle?
This usually happens for one of three reasons: the batter was overmixed, the oven door was opened too early, or the bread wasn’t baked long enough. Overmixing creates too much air that collapses. Opening the oven door in the first 30 minutes lets cold air rush in. And underbaking means the center hasn’t set. Stick to the bake time and resist peeking!
Can I make this recipe into muffins instead?
Yes, and they’re fantastic. Grease a 12-cup muffin tin or line with paper liners. Divide the batter evenly among the cups (about 3/4 full). Bake at 350°F for 18-22 minutes, until a toothpick comes out clean. You’ll get about 12 muffins. The baking time is shorter, so start checking at 18 minutes.
How do I know when the banana bread is done?
Insert a toothpick or a thin knife into the center of the loaf. If it comes out clean or with just a few moist crumbs (not wet batter), it’s done. The top should be deep golden brown and cracked. You can also gently press the center—it should spring back slightly. If it feels jiggly, it needs more time.
Can I reduce the sugar in this recipe?
Yes, you can reduce the sugar to 1/2 cup without dramatically affecting the texture. The bananas provide natural sweetness, so it won’t taste bland. If you reduce it further, the bread may be slightly less tender and the top may not crackle as much. For a sugar-free version, try using a granulated monk fruit sweetener in the same amount.
Pin This Recipe!
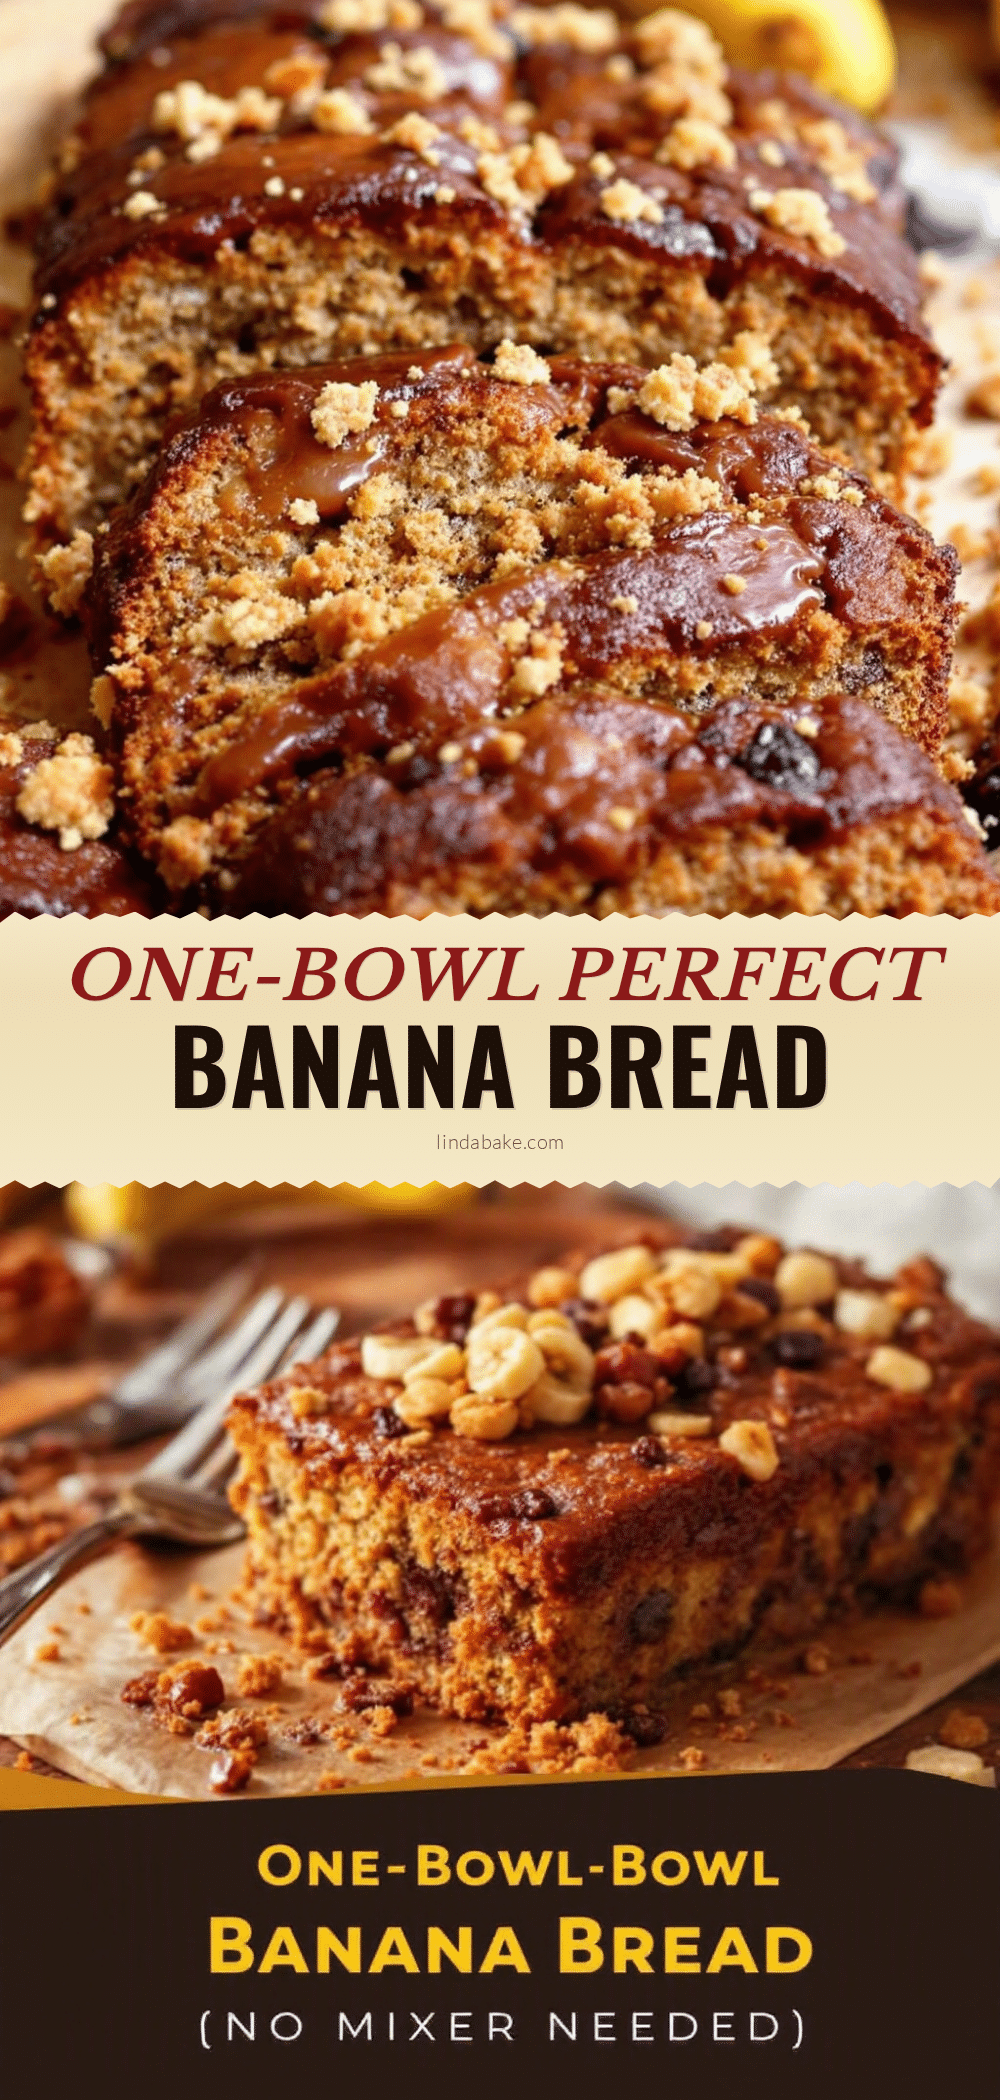
Easy One-Bowl Banana Bread Recipe (No Mixer Needed)
This easy one-bowl banana bread requires no mixer and delivers a perfectly moist loaf with a signature crackled top. Made with simple pantry ingredients, it’s forgiving, customizable, and always delicious.
- Prep Time: 15 minutes
- Cook Time: 55 minutes
- Total Time: 1 hour 10 minutes
- Yield: 10 servings 1x
- Category: Dessert
- Cuisine: American
Ingredients
- 3 large ripe bananas, mashed
- 1/3 cup unsalted butter, melted
- 3/4 cup granulated sugar
- 1 large egg, room temperature
- 1 teaspoon vanilla extract
- 1 1/2 cups all-purpose flour
- 1 teaspoon baking soda
- 1/2 teaspoon salt
- 1/2 cup chocolate chips (optional)
- 1/2 cup chopped walnuts or pecans (optional)
- 1 tablespoon brown sugar for topping (optional)
Instructions
- Preheat your oven to 350°F (175°C). Position the rack in the center. Grease a 9×5-inch loaf pan with butter or nonstick spray, then line it with parchment paper, leaving an overhang on the long sides.
- In a large mixing bowl, mash the 3 ripe bananas with a fork until mostly smooth with a few small lumps remaining.
- Add the melted butter, granulated sugar, egg, and vanilla extract to the mashed bananas. Stir until well combined.
- Sprinkle the flour, baking soda, and salt over the wet mixture. Stir gently until just combined. Do not overmix. If adding chocolate chips or nuts, fold them in now.
- Pour the batter into the prepared pan and spread evenly. Tap the pan gently on the counter to release air bubbles. If desired, sprinkle brown sugar on top.
- Bake for 50-60 minutes, until a toothpick inserted into the center comes out clean or with a few moist crumbs. If the top browns too quickly, tent with foil for the last 10-15 minutes.
- Cool in the pan for 10 minutes, then lift the bread out using the parchment paper and transfer to a cooling rack. Cool completely before slicing, about 1 hour.
Notes
Use really ripe bananas for best sweetness and moisture. Do not overmix the batter to avoid a tough loaf. Let the bread cool completely before slicing to prevent crumbling. Banana bread tastes even better the next day as flavors meld.
Nutrition
- Serving Size: 1 slice
- Calories: 210
- Sugar: 17
- Sodium: 220
- Fat: 8
- Saturated Fat: 4
- Carbohydrates: 33
- Fiber: 1
- Protein: 3
Keywords: banana bread, easy banana bread, one bowl banana bread, no mixer banana bread, moist banana bread, classic banana bread


