The last muffin hit the table and three little hands shot out for it at the same time. That was my first clue. By the time I turned around from the sink, the plate was empty and my four-year-old was licking a crumb off his thumb like it was the last thing he’d ever eat. I hadn’t even sat down yet.
Honestly, that moment caught me off guard. I’d thrown these Easy Mini Nut-Free Banana Muffin Bites together out of pure desperation — a couple of overripe bananas on the counter, a school lunch box that needed filling, and a strict nut-free rule that made most store-bought snacks a no-go. I wasn’t trying to create anything special. I was just trying to get through the afternoon without another snack negotiation.
But here’s the thing about this particular recipe. It’s not fancy. It doesn’t pretend to be. These little bites are just soft, sweet, and exactly what a hungry kid (or adult, let’s be real) actually wants to eat. And because they’re nut-free, they work for classrooms, daycare, playdates, and anyone with allergies. No stress, no special ingredients, no complicated steps.
What started as a last-minute kitchen experiment turned into the one snack my kids ask for by name. Every single week. And I keep making them because they take ten minutes to prep and I always have the ingredients on hand. That kind of reliability? That’s what makes a recipe stick around.
Why You’ll Love This Recipe
I’ve tested a lot of banana muffin recipes over the years. Some were too dry. Some fell apart. Some tasted great but took forever to make. These little bites hit that sweet spot where convenience meets actual deliciousness. Here’s why they keep ending up in my kitchen — and why they’ll end up in yours too.
- Quick & Easy : From start to finish, you’re looking at about 20 minutes total. Ten minutes to mix the batter, ten minutes to bake. That’s faster than driving to the store for a snack.
- Simple Ingredients : Flour, bananas, butter, sugar, eggs, baking soda, vanilla. That’s it. No strange ingredients, no specialty aisle hunting, no expensive nut flours.
- Perfect for School Lunches : These are completely nut-free, which means they’re classroom-safe, daycare-approved, and perfect for lunch boxes. No more worrying about allergy policies or ingredient labels.
- Crowd-Pleaser : I’ve served these at playdates, birthday parties, and even a grown-up brunch. Kids devour them. Adults sneak them when they think nobody’s looking. They disappear every single time.
- Unbelievably Soft : The texture is what gets people. They’re tender and moist without being gummy. Almost like a cross between a muffin and a little cake bite. My neighbor actually asked if I used a special mix. Nope. Just good old-fashioned ingredients done right.
What makes this recipe different from all the other banana muffin recipes out there? Two things. First, the baking time is intentionally short — we’re making mini bites, not full-sized muffins, so they cook through without drying out. Second, I use a specific banana-to-flour ratio that keeps them soft even on day three. No dry crumbly texture here. Just consistent, reliable results every time.
This isn’t just another snack recipe. It’s the kind that makes you feel like a good parent (or a good host, or a good friend) without spending your whole afternoon in the kitchen. And honestly? That feeling never gets old.
What Ingredients You Will Need
This recipe keeps things simple with basic pantry staples. Every ingredient plays a specific role in creating that soft, tender texture and sweet banana flavor. Here’s what you’ll need and why each one matters.
- All-purpose flour (1 cup / 120g) — The structure of these bites. I use unbleached all-purpose flour for the best texture. Spoon and level it into your measuring cup for accuracy. Scooping directly can pack the flour and make the bites dense.
- Ripe bananas (2 medium, about 1 cup mashed / 240g) — The more spots on the peel, the better. Overripe bananas are sweeter and softer, which means less added sugar and a more intense banana flavor. If your bananas are still yellow with green tips, they won’t mash smoothly and the bites won’t be as sweet.
- Unsalted butter (4 tablespoons / 57g, melted) — Butter adds richness and tenderness. I prefer unsalted so I can control the salt level. If you only have salted butter, just skip the added salt in the recipe.
- Granulated sugar (1/3 cup / 67g) — Just enough to complement the natural sweetness of the bananas. You can reduce this to 1/4 cup if your bananas are very ripe. I’ve tested it both ways and both work well.
- Large egg (1, room temperature) — The egg binds everything together and adds structure. Room temperature eggs mix more evenly into the batter. If you forgot to take yours out ahead of time, place it in a bowl of warm water for 5 minutes.
- Vanilla extract (1 teaspoon) — Pure vanilla extract makes a noticeable difference here. Imitation vanilla works in a pinch, but the flavor won’t be as warm and rounded. I personally recommend Nielsen-Massey for baking.
- Baking soda (1/2 teaspoon) — This is our leavening agent. It reacts with the acidity in the bananas to create lift. Make sure your baking soda is fresh — test it by dropping a bit into vinegar; if it fizzes vigorously, it’s good.
- Salt (1/4 teaspoon) — Salt balances the sweetness and enhances the banana flavor. Don’t skip it. Even a tiny pinch makes a difference.
That’s everything. No nuts, no nut flour, no nut butter. Just eight simple ingredients that come together in minutes. If you want to add mix-ins, I’ll cover those in the variations section below, but the base recipe is intentionally plain and versatile.
Equipment Needed
You don’t need fancy equipment for these bites. Here’s what I use every time I make them:
- Mini muffin tin (24-cup) — This is non-negotiable. You need a mini muffin pan to get the right size and bake time. Standard muffin tins will produce different results and require longer baking.
- Mixing bowls (one medium, one small) — Any bowls you have on hand work fine. I use glass or stainless steel because they don’t retain odors.
- Whisk or fork — For mashing the bananas and mixing the batter. A fork works perfectly for mashing. A whisk helps incorporate the egg smoothly.
- Measuring cups and spoons — Accuracy matters here. Use dry measuring cups for the flour and sugar, and liquid measuring cups if you ever scale up the recipe.
- Rubber spatula — For scraping every last bit of batter into the pan. I use a silicone spatula because it doesn’t scratch my bowls.
- Cooking spray or butter — For greasing the mini muffin tin. Even non-stick pans benefit from a light coating. I use a spray oil with flour for extra insurance.
- Cooling rack — Optional but helpful. Letting the bites cool in the pan for a few minutes, then transferring them to a rack prevents soggy bottoms.
If you don’t have a mini muffin tin, you can find them at most grocery stores for under $10. I bought mine at Target years ago and it’s still going strong. Just hand wash it to keep the non-stick coating intact.
Preparation Method
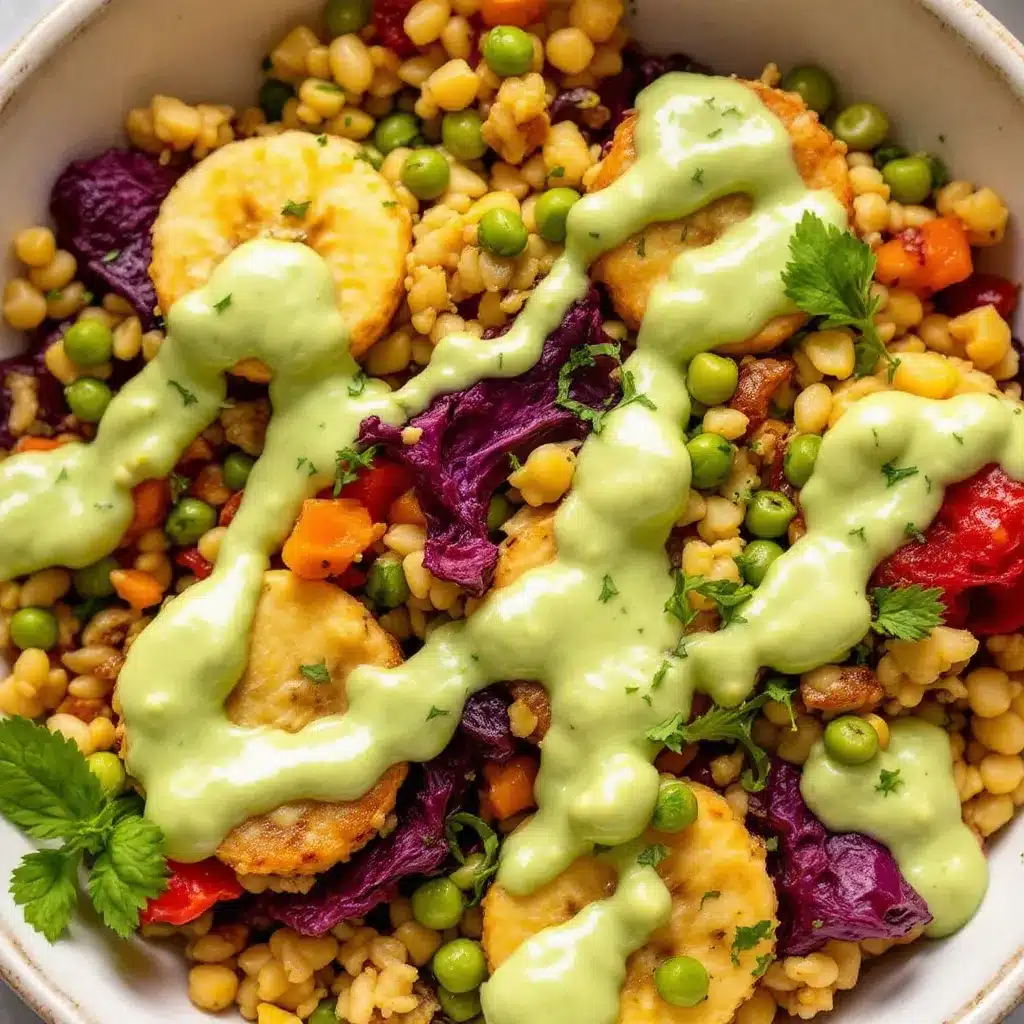
These Easy Mini Nut-Free Banana Muffin Bites come together faster than you’d expect. Follow these steps and you’ll have warm, soft bites in about 20 minutes flat.
- Preheat your oven to 350°F (175°C). Position the rack in the center of the oven. While it heats up, grease your mini muffin tin generously with cooking spray or butter. I like to use a spray that contains flour — it creates a nice golden crust on the outside of each bite.
- Mash the bananas. Peel both bananas and place them in a medium mixing bowl. Use a fork to mash them until they’re mostly smooth with a few small lumps remaining. You want about 1 cup of mashed banana. If you have a little more or less, don’t worry — the recipe is forgiving. The bananas should be very ripe with brown spots for the best sweetness and texture.
- Add the wet ingredients. To the mashed bananas, add the melted butter, granulated sugar, egg, and vanilla extract. Whisk everything together until smooth and well combined. The mixture should look uniform and slightly glossy. If it looks separated, keep whisking — the egg needs to be fully incorporated.
- Mix the dry ingredients separately. In a small bowl, whisk together the all-purpose flour, baking soda, and salt. This step ensures the baking soda and salt are evenly distributed throughout the flour. Don’t skip it — dumping baking soda directly into the wet mixture can create bitter pockets.
- Combine wet and dry ingredients. Pour the dry ingredients into the wet mixture. Use a rubber spatula to fold everything together gently. Stir just until no streaks of flour remain. A few small lumps are perfectly fine. Overmixing will make the bites tough and dense. Stop as soon as the batter comes together.
- Fill the mini muffin cups. Spoon the batter into the prepared mini muffin tin, filling each cup about three-quarters full. I use a small cookie scoop for this — it keeps the portions even and makes the process much faster. You should get about 24 mini bites from this batter. If you have extra, you can fill a couple more cups or just bake what you have.
- Bake for 10 to 12 minutes. Place the tin in the preheated oven and bake until the tops are golden brown and a toothpick inserted into the center of a bite comes out clean. Start checking at the 10-minute mark. My oven runs a little hot, so 10 minutes is usually perfect for me. If yours runs cool, you might need the full 12 minutes.
- Cool in the pan for 5 minutes. Remove the tin from the oven and let it sit on a wire rack or the stovetop for 5 minutes. This allows the bites to set and makes them easier to remove. After 5 minutes, gently run a butter knife around the edges of each bite and pop them out onto the cooling rack.
- Cool completely before storing. Let the bites cool completely on the rack before transferring them to an airtight container. If you stack them while they’re still warm, they’ll trap steam and become soggy. Patience here pays off.
And that’s it. Nine simple steps, about 20 minutes total, and you’ve got a batch of soft, sweet, nut-free banana bites that everyone will love.
Cooking Tips & Techniques
I’ve made these Easy Mini Nut-Free Banana Muffin Bites more times than I can count. And I’ve definitely made my share of mistakes along the way. Here’s what I’ve learned so you don’t have to repeat my errors.
Don’t overmix the batter. This is the number one mistake I see people make. When you combine the wet and dry ingredients, stir just until the flour disappears. Overmixing develops the gluten in the flour, which creates tough, rubbery bites instead of soft, tender ones. I learned this the hard way when I made a batch that came out more like hockey pucks than muffins. Now I stop mixing the second I don’t see any more white streaks.
Use room temperature ingredients. Cold eggs can seize the melted butter and create a lumpy batter. Cold butter won’t incorporate smoothly. If you forgot to set your egg out ahead of time, place it in a bowl of warm water for 5 minutes. Your butter should be melted and slightly cooled, not hot. If it’s too hot, it can cook the egg when you mix them together.
Check your baking soda freshness. Baking soda loses its potency over time. If your bites don’t rise properly or come out flat and dense, your baking soda might be old. Test it by dropping a small amount into vinegar — if it bubbles vigorously, it’s still active. If not, toss it and buy a new box. It’s cheap and makes a huge difference.
Fill the cups consistently. Evenly sized bites bake evenly. I use a small cookie scoop that holds about one tablespoon of batter. This gives me perfectly uniform portions every time. If you’re spooning the batter, try to make each cup look similar in volume. Bites that are too full will overflow; bites that aren’t full enough will be flat.
Let them cool properly. I know it’s tempting to eat one straight out of the oven. But the bites continue to set as they cool. If you try to remove them too early, they might fall apart. Give them those 5 minutes in the pan. Trust me, they’ll still be warm when you eat them.
Variations & Adaptations
One of the best things about this recipe is how easy it is to customize. Here are some variations I’ve tried and loved:
Chocolate Chip Banana Bites. Add 1/3 cup of mini chocolate chips to the batter before baking. Mini chips distribute more evenly than regular-sized ones. I use dairy-free chocolate chips when I’m making these for friends with dairy allergies. The chocolate melts into little pockets of sweetness throughout each bite.
Blueberry Banana Bites. Fold in 1/2 cup of fresh or frozen blueberries (don’t thaw them first). If using frozen blueberries, toss them in a tablespoon of flour before adding them to the batter. This prevents them from sinking to the bottom and turning the batter purple. Fresh blueberries work beautifully too, especially in summer.
Whole Wheat Version. Swap half the all-purpose flour for whole wheat pastry flour. Whole wheat pastry flour is finer than regular whole wheat flour and produces a lighter texture. The bites will be slightly denser and more rustic, but still soft and delicious. I make this version when I want a little extra fiber in our snacks.
Vegan Adaptation. Replace the egg with a flax egg (1 tablespoon ground flaxseed mixed with 3 tablespoons water, let sit for 5 minutes). Use melted coconut oil or vegan butter instead of regular butter. The texture will be slightly different — a bit more tender and crumbly — but still very good. I’ve tested this version for a friend’s vegan birthday party and it held up well.
Spiced Banana Bites. Add 1/2 teaspoon of cinnamon and a pinch of nutmeg to the dry ingredients. This gives the bites a warm, cozy flavor that’s perfect for fall. Sometimes I add a tiny pinch of cardamom too — it pairs beautifully with banana. My kids call these “fall muffins” and ask for them specifically when the weather turns cool.
If you’re looking for another quick snack idea that travels well, you might enjoy these easy peanut butter banana sushi roll-ups for kids. They’re similarly fast to make and perfect for lunch boxes.
Serving & Storage Suggestions
These bites are versatile enough for any time of day. Here’s how I like to serve and store them.
Serving Temperature. These are delicious at room temperature or slightly warm. If you’re serving them fresh from the oven, let them cool for at least 5 minutes first. They’re also great cold straight from the fridge — my husband actually prefers them that way. For a special treat, warm them in the microwave for 10 seconds and spread a little butter on top.
Presentation Ideas. For breakfast, arrange a few bites on a plate with fresh fruit and a side of yogurt. For lunch boxes, pop them into a container with some apple slices and cheese cubes. For parties, arrange them on a platter with a dusting of powdered sugar. They look cute and inviting no matter how you serve them.
Complementary Dishes. These pair beautifully with a cold glass of milk, a warm cup of coffee, or a smoothie. If you’re packing a lunch, try them alongside this easy cold pepperoni pasta salad for a complete meal that travels well. The savory pasta balances the sweet banana bites perfectly.
Storage Instructions. Store the bites in an airtight container at room temperature for up to 3 days. If your kitchen is warm or humid, refrigerate them instead — they’ll last up to 5 days in the fridge. Place a paper towel at the bottom of the container to absorb excess moisture, and another paper towel on top. Change the paper towels if they become soggy.
Freezing Instructions. These freeze beautifully. Arrange the cooled bites in a single layer on a baking sheet and freeze for 1 hour. Transfer the frozen bites to a freezer-safe bag or container. They’ll keep for up to 3 months. To thaw, leave them at room temperature for about 30 minutes, or microwave a single bite for 15 to 20 seconds. I always keep a batch in the freezer for last-minute lunch packing emergencies.
How Flavors Develop. Honestly, these bites taste even better on day two. The banana flavor deepens and the texture becomes slightly more moist as the ingredients settle. If you can resist eating them all on day one, you’re in for a treat on day two.
Nutritional Information & Benefits
Here’s the estimated nutritional breakdown for one mini bite (based on 24 bites per batch):
| Nutrient | Amount per Bite |
|---|---|
| Calories | 62 |
| Total Fat | 2.5g |
| Saturated Fat | 1.5g |
| Cholesterol | 12mg |
| Sodium | 58mg |
| Total Carbohydrates | 9g |
| Dietary Fiber | 0.5g |
| Sugars | 4.5g |
| Protein | 1g |
These values are estimates and will vary based on specific ingredients and portion sizes. If you use whole wheat flour or add mix-ins like chocolate chips, the numbers will shift slightly.
Health Benefits. Bananas are a great source of potassium, vitamin B6, and vitamin C. They also provide natural energy without the crash that comes from processed snacks. The butter and egg add a small amount of protein and healthy fats, which help keep little (and big) bellies satisfied between meals.
Dietary Considerations. This recipe is naturally nut-free, egg-free if you use the vegan adaptation, and can be made dairy-free with a few simple swaps. It’s also relatively low in sugar compared to many store-bought snack options. If you’re watching your sugar intake, reduce the granulated sugar to 1/4 cup when your bananas are very ripe.
Potential Allergens. This recipe contains wheat (gluten), dairy (butter), and eggs. For allergen-friendly versions, see the Variations section above. Always check your specific ingredients for cross-contamination risks if you’re cooking for someone with severe allergies.
Conclusion
These Easy Mini Nut-Free Banana Muffin Bites have become a staple in my kitchen for one simple reason: they work. They’re fast, they’re reliable, and they make everyone happy — from my picky four-year-old to my husband who claims he doesn’t like “healthy snacks.” The fact that they’re nut-free means I never have to worry about sending them to school or sharing them at a playdate.
I love this recipe because it proves that you don’t need complicated techniques or fancy ingredients to make something genuinely good. Just a few pantry staples, ten minutes of prep, and a little bit of patience while they bake. That’s all it takes.
I’d love to hear how these turn out for you. Did you add any mix-ins? Did your kids love them as much as mine do? Drop a comment below and let me know. And if you’re looking for more quick and easy snack ideas, check out my full recipe collection for more inspiration. Happy baking!
Frequently Asked Questions
Can I use frozen bananas for this recipe?
Yes, absolutely. Thaw them completely first, then drain off any excess liquid before mashing. Frozen bananas tend to release more water than fresh ones, which can make the batter too wet. Draining them helps maintain the right consistency. I’ve done this many times when I had a bunch of overripe bananas in the freezer.
Can I make these into regular-sized muffins instead?
You can, but you’ll need to adjust the baking time. Fill a standard muffin tin about two-thirds full and bake at 350°F for 15 to 18 minutes, or until a toothpick comes out clean. The texture will be slightly different — regular muffins are denser and take longer to bake through. I prefer the mini version because they bake faster and are easier for little hands to hold.
How do I know when the bananas are ripe enough?
Look for bananas with brown spots on the peel. The more spots, the sweeter and softer the banana. If the peel is still mostly yellow with green tips, the banana isn’t ripe enough. Green bananas are starchy and won’t mash smoothly or provide enough sweetness. If you’re in a hurry, you can ripen bananas quickly by placing them in a paper bag with an apple overnight.
Can I add protein powder to these bites?
Yes, but you’ll need to adjust the flour amount. Replace 2 tablespoons of the all-purpose flour with 2 tablespoons of protein powder. Whey protein works best for texture. Plant-based protein powders can make the bites dry, so you might need to add an extra tablespoon of melted butter or milk. I’ve tried this with vanilla protein powder and it worked well — just don’t overmix.
Why did my bites turn out dry?
Dry bites usually mean one of three things: you overmixed the batter, you baked them too long, or your bananas weren’t ripe enough. Overmixing develops gluten and creates toughness. Overbaking dries out the moisture. Under-ripe bananas don’t provide enough natural moisture. Check your oven temperature with an oven thermometer — many ovens run hotter than the dial says. Next time, pull the bites out at the 10-minute mark and test with a toothpick.
Pin This Recipe!
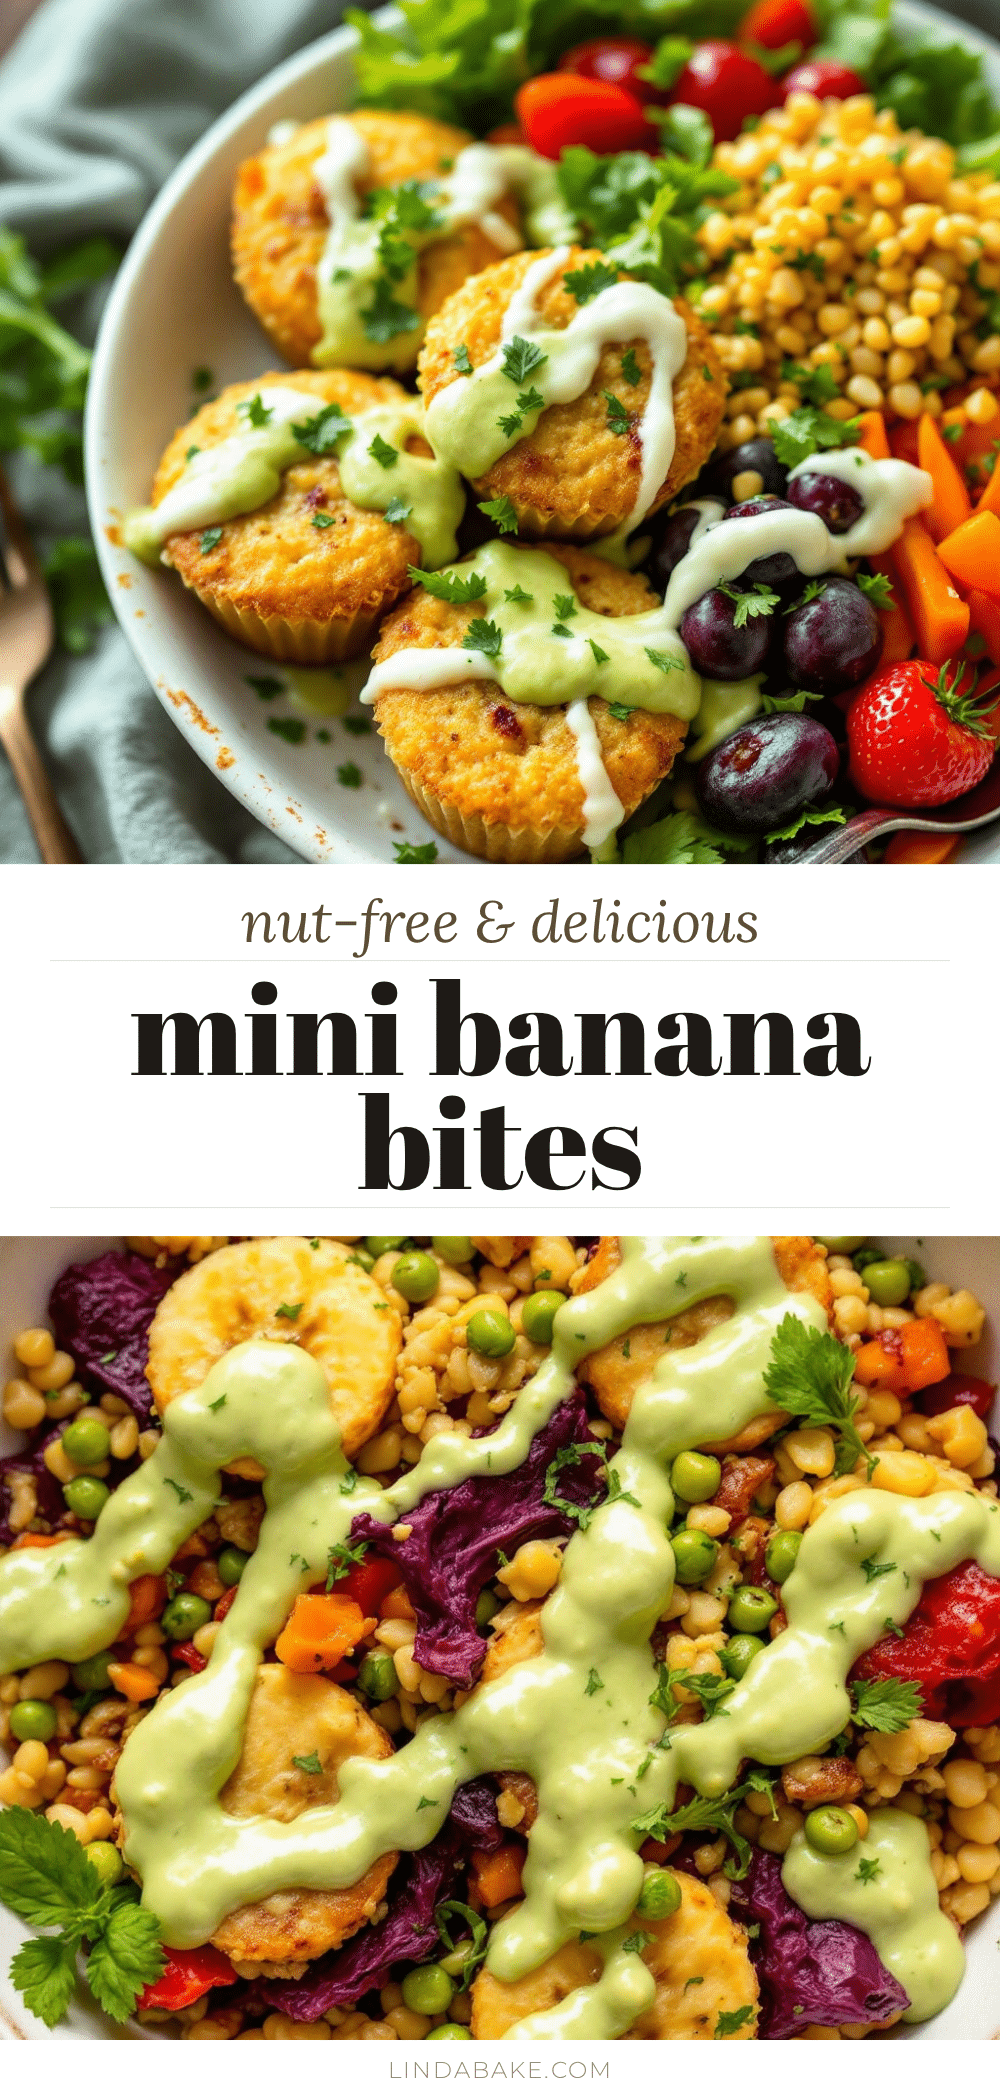
Easy Mini Nut-Free Banana Muffin Bites

Soft, sweet, and nut-free mini banana muffin bites that take just 10 minutes to prep and 10 minutes to bake. Perfect for school lunches, playdates, and quick snacks.
- Prep Time: 10 minutes
- Cook Time: 10 minutes
- Total Time: 20 minutes
- Yield: 24 mini bites 1x
- Category: Snack
- Cuisine: American
Ingredients
- 1 cup (120g) all-purpose flour
- 2 medium ripe bananas (about 1 cup mashed / 240g)
- 4 tablespoons (57g) unsalted butter, melted
- 1/3 cup (67g) granulated sugar
- 1 large egg, room temperature
- 1 teaspoon vanilla extract
- 1/2 teaspoon baking soda
- 1/4 teaspoon salt
Instructions
- Preheat your oven to 350°F (175°C). Position the rack in the center of the oven. Grease a 24-cup mini muffin tin generously with cooking spray or butter.
- Mash the bananas in a medium mixing bowl with a fork until mostly smooth with a few small lumps. You should have about 1 cup of mashed banana.
- Add the melted butter, granulated sugar, egg, and vanilla extract to the mashed bananas. Whisk until smooth and well combined.
- In a small bowl, whisk together the all-purpose flour, baking soda, and salt.
- Pour the dry ingredients into the wet mixture. Use a rubber spatula to fold gently until just combined and no streaks of flour remain. Do not overmix.
- Spoon the batter into the prepared mini muffin tin, filling each cup about three-quarters full. You should get about 24 mini bites.
- Bake for 10 to 12 minutes, until the tops are golden brown and a toothpick inserted into the center comes out clean.
- Cool in the pan for 5 minutes, then run a butter knife around the edges and transfer the bites to a wire rack to cool completely.
- Cool completely before storing in an airtight container.
Notes
Use very ripe bananas with brown spots for best sweetness. Do not overmix the batter to keep bites tender. For best results, let bites cool completely before storing to avoid sogginess. Bites taste even better on day two as flavors deepen.
Nutrition
- Serving Size: 1 mini bite
- Calories: 62
- Sugar: 4.5
- Sodium: 58
- Fat: 2.5
- Saturated Fat: 1.5
- Carbohydrates: 9
- Fiber: 0.5
- Protein: 1
Keywords: banana muffins, nut-free, mini muffins, kid-friendly, school lunch, easy snack, banana bites


