“Wait, you can make ice cream without a machine?” My neighbor Karen peered over my shoulder at the bowl of cream mixture I was whisking, her skepticism practically dripping off the words. That was three summers ago, and honestly, I hadn’t thought much about it until that moment. I just shrugged and said, “Yeah, you just whip it and freeze it.” She didn’t look convinced, but I didn’t have time to argue—I was trying to get this salted caramel situation into the freezer before my kids finished off the pretzels I’d stashed on the counter.
That first batch of no-churn ice cream was a happy accident. I had leftover heavy cream from a party, a jar of homemade caramel sauce that was threatening to crystallize, and a bag of pretzels my husband bought for a movie night that never happened. I figured, why not throw them all together and see what happens? The result was this ridiculously good Easy No-Churn Salted Caramel Pretzel Ice Cream. It was creamy, salty, sweet, and had that perfect crunch that made every spoonful interesting.
Now, this recipe has become my go-to for summer gatherings, lazy weekends, and honestly, any day that feels like it needs a little extra something. It is the kind of dessert that makes people close their eyes after the first bite. And the best part? You don’t need a fancy ice cream maker or any special skills. Just a whisk, a bowl, and a little patience while it freezes. Trust me on this one.
Why You’ll Love This Recipe
I have tested this recipe at least a dozen times, tweaking the caramel-to-cream ratio, adjusting the salt level, and figuring out the best way to keep those pretzels crunchy. After all that trial and error, I can confidently say this is the version that works every single time. Here is why you are going to love it:
- No Machine Required: Seriously, no ice cream maker, no churning, no fuss. Just a hand mixer or a whisk and some elbow grease.
- Simple Ingredients: You probably already have most of these in your kitchen. Heavy cream, sweetened condensed milk, vanilla, salt, caramel sauce, and pretzels. That is it.
- Perfect for Any Occasion: Summer barbecues, birthday parties, movie nights, or just a Tuesday that needs a little sweetness. This ice cream fits in everywhere.
- Crowd-Pleaser: I have served this to kids, adults, picky eaters, and dessert snobs. It gets rave reviews every single time. The salty-sweet combo is just irresistible.
- Unbelievably Creamy: The texture is so smooth and rich, you would never guess it is no-churn. It is honestly better than most store-bought ice creams.
What makes this recipe different from all the other no-churn ice creams out there? It is the little details. I add a pinch of flaky sea salt right before freezing to really make the caramel pop. I also fold the pretzels in at just the right moment so they stay crunchy instead of getting soggy. And the caramel sauce is swirled in, not mixed in, so you get those beautiful ribbons of sweetness in every scoop. This isn’t just another ice cream recipe—it is the one you will come back to again and again.
I remember the first time I brought this to a family gathering. My aunt, who is notoriously picky about desserts, took one bite and asked for the recipe. That moment told me I had something special. It is comfort food at its finest, but it feels a little fancy without all the work. Perfect for impressing guests without breaking a sweat.
What Ingredients You Will Need
This recipe uses simple, pantry-friendly ingredients to create something that tastes anything but basic. Here is everything you will need:
For the Ice Cream Base
- 2 cups heavy whipping cream (cold, straight from the fridge—this is key for getting stiff peaks)
- 1 can (14 ounces) sweetened condensed milk (I prefer the regular version, but you can use dairy-free if needed)
- 1 teaspoon vanilla extract (pure vanilla makes a difference here, but imitation works in a pinch)
- 1/4 teaspoon salt (just regular table salt to balance the sweetness)
For the Salted Caramel Swirl
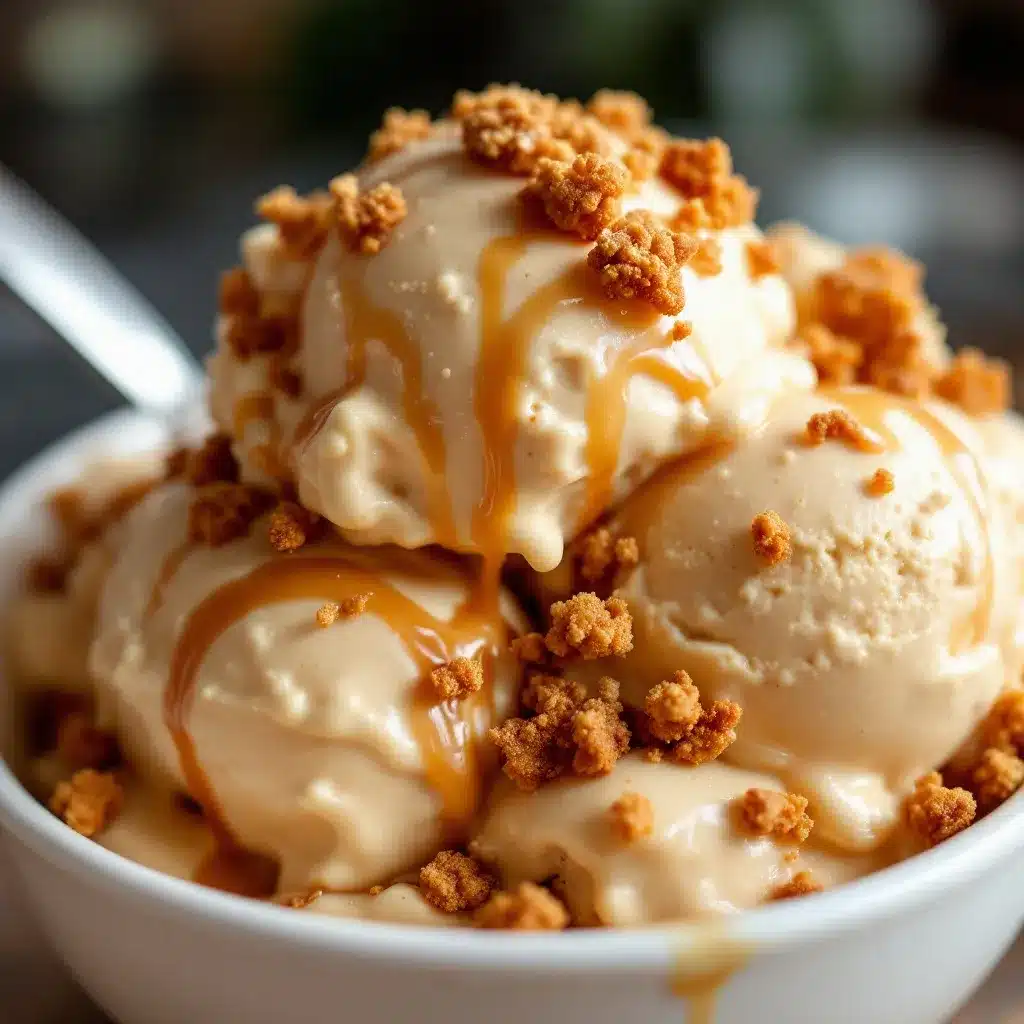
- 1/2 cup caramel sauce (store-bought is fine, but homemade takes it to another level. I like using a thick, gooey one)
- 1/2 teaspoon flaky sea salt (like Maldon or fleur de sel—do not skip this, it makes the caramel sing)
For the Pretzel Crunch
- 1 cup mini pretzels (crushed into small pieces, not dust. You want some texture left)
- 1/2 cup whole mini pretzels (for folding in whole, so you get those satisfying chunks)
Ingredient Tips from My Kitchen:
For the heavy cream, I always use a brand like Horizon or Organic Valley. They whip up beautifully and hold their shape. If you are using a dairy-free alternative, look for a coconut cream-based heavy cream substitute, but be aware the texture might be slightly different.
When it comes to caramel sauce, I have tested this with several brands. My personal favorite is Trader Joe’s salted caramel sauce—it is thick, rich, and has just the right amount of salt. But any good-quality caramel sauce will work. If you want to go homemade, a simple caramel made with sugar, butter, and cream is incredible here.
For the pretzels, I recommend using the mini twist pretzels. They are easy to crush and have a great salty crunch. You can also use gluten-free pretzels if needed—they work just as well.
Substitution Options:
- Dairy-Free: Use a dairy-free heavy cream alternative and a can of coconut condensed milk. The texture will be a bit softer, but still delicious.
- Less Sweet: Use a sugar-free caramel sauce and reduce the condensed milk slightly. The texture might be a little less creamy, but it will still be good.
- Different Crunch: Swap the pretzels for salted peanuts, toffee bits, or even crushed graham crackers for a different twist.
Equipment Needed
One of the best things about this recipe is how little equipment it requires. Here is what you will need:
- Large mixing bowl: A glass or stainless steel bowl works best. Make sure it is clean and dry.
- Hand mixer or stand mixer: A hand mixer is perfect for this. If you do not have one, you can whisk by hand, but it will take a bit of arm workout. A stand mixer with the whisk attachment also works great.
- Rubber spatula: For folding the ingredients together gently.
- Loaf pan or freezer-safe container: A standard 9×5-inch loaf pan is ideal. You can also use a metal or glass dish. I prefer glass because I can see the layers as I build them.
- Plastic wrap or parchment paper: To cover the surface of the ice cream and prevent ice crystals from forming.
- Measuring cups and spoons: For accuracy—trust me, measuring the cream correctly makes a difference.
- Zester or grater (optional): If you want to add a little lemon or orange zest to brighten the flavor.
I have made this recipe with a cheap hand mixer I bought at a discount store, and it worked perfectly. You do not need fancy equipment. The only thing I would recommend is using a deep bowl for whipping the cream, or you will end up with splatters all over your counter. Ask me how I know.
Preparation Method
Let us walk through this step by step. I will share all the little tricks I have learned along the way so your ice cream turns out perfect every time.
- Chill your bowl and beaters (optional but helpful): If you have time, pop your mixing bowl and beaters in the freezer for 10-15 minutes before you start. This helps the cream whip up faster and fluffier. I do this on hot summer days when my kitchen is warm.
- Whip the heavy cream: Pour the 2 cups of cold heavy cream into your chilled bowl. Beat on medium-high speed until stiff peaks form. This usually takes about 3-5 minutes with a hand mixer. You will know it is ready when you lift the beaters and the cream stands up in firm peaks without collapsing. Be careful not to over-whip, or you will end up with butter. If you see the cream starting to look grainy, stop immediately.
- Mix the condensed milk base: In a separate small bowl, stir together the sweetened condensed milk, vanilla extract, and 1/4 teaspoon of salt. Give it a good stir until everything is smooth and combined. This is your flavor base.
- Fold it all together: Pour the condensed milk mixture into the bowl of whipped cream. Use your rubber spatula to gently fold everything together. Do not stir vigorously—you want to keep as much air in the cream as possible. Fold until you see no more white streaks. It should look like a thick, creamy cloud.
- Prepare the pretzels: Take your cup of mini pretzels and crush them into small pieces. I put them in a zip-top bag and gently crush them with a rolling pin. You want some larger chunks and some smaller bits. Do not turn them into dust—you want texture. Set aside the whole mini pretzels for later.
- Layer it up: Spread about one-third of the cream mixture into your loaf pan. Drizzle about 2 tablespoons of caramel sauce over the top. Sprinkle with a pinch of flaky sea salt. Add a layer of crushed pretzels (about one-third of them). Repeat this process two more times, ending with a final layer of cream mixture on top.
- Swirl the caramel: Take the remaining caramel sauce and drizzle it over the top of the ice cream. Use a knife or skewer to gently swirl it into the top layer. Do not over-swirl—you want ribbons of caramel, not a fully mixed-in mess. Sprinkle the remaining flaky sea salt on top.
- Add the whole pretzels: Gently press the whole mini pretzels into the top layer of the ice cream. This creates those beautiful crunchy chunks you will find as you scoop.
- Cover and freeze: Press a piece of plastic wrap directly onto the surface of the ice cream. This prevents ice crystals from forming. Alternatively, you can use parchment paper. Freeze for at least 6 hours, but overnight is best. The longer it freezes, the firmer and creamier it gets.
- Let it soften before serving: When you are ready to serve, take the ice cream out of the freezer and let it sit at room temperature for 5-10 minutes. This makes scooping so much easier. Trust me on this one—I have broken more than a few spoons trying to scoop rock-hard ice cream.
Pro Tip: If you are in a hurry, you can pour the mixture into a metal pan instead of glass. Metal conducts cold faster, so your ice cream will freeze in about 4 hours instead of 6.
Cooking Tips & Techniques
I have learned a few things the hard way so you do not have to. Here are my best tips for making this Easy No-Churn Salted Caramel Pretzel Ice Cream perfect every time:
Whip the cream properly: This is the most important step. If your cream is not cold enough, it will not whip properly. If you over-whip it, you get butter. Aim for stiff peaks that hold their shape. I usually stop just short of that point because the folding process will firm it up a little more.
Use room temperature condensed milk: Take the condensed milk out of the fridge about 30 minutes before you start. Cold condensed milk can seize up when you mix it with the whipped cream, making it lumpy. Room temperature blends in smoothly.
Do not skip the salt: The flaky sea salt is not just for decoration. It balances the sweetness of the caramel and the cream, making every flavor pop. Without it, the ice cream can taste one-dimensional. I learned this the hard way when I made a batch without salt and it was just… sweet. Boring.
Keep the pretzels crunchy: The biggest challenge with pretzels in ice cream is keeping them from getting soggy. The key is to fold them in at the very last minute and not over-mix. Also, using a mix of crushed and whole pretzels helps—the whole ones stay crunchier longer.
Timing is everything: Make this the day before you plan to serve it. Overnight freezing gives the flavors time to meld together and the texture to set perfectly. I have made it in the morning for an evening party and it was good, but the overnight version is always better.
My biggest failure: I once tried to speed things up by using a higher speed on my mixer to whip the cream. Bad idea. I ended up with butter in about 30 seconds. I had to start over with a new carton of cream. Lesson learned: medium-high speed is your friend, not high speed.
Variations & Adaptations
This recipe is incredibly versatile. Here are some ways you can switch it up:
Chocolate Lovers Version
Add 1/4 cup of cocoa powder to the condensed milk mixture before folding it into the cream. You can also drizzle chocolate sauce along with the caramel for a double-chocolate-salted-caramel situation. I have tried this and it is dangerously good.
Peanut Butter Pretzel Ice Cream
Swirl in 1/3 cup of creamy peanut butter along with the caramel. The peanut butter adds a richness that pairs beautifully with the salty pretzels. If you love peanut butter and chocolate, add some mini chocolate chips too. This variation reminds me of those peanut butter pretzel snacks you can buy at the store, but way better.
Vegan & Dairy-Free Option
Use a can of full-fat coconut cream (chilled) instead of heavy cream. Whip it the same way—it will not get as stiff, but it will still work. Use a dairy-free sweetened condensed coconut milk. For the caramel, look for a vegan caramel sauce. The texture will be a bit softer, but the flavor is still amazing.
Spiced Caramel Version
Add 1/2 teaspoon of cinnamon and a pinch of nutmeg to the condensed milk mixture. This gives the ice cream a warm, cozy flavor that is perfect for fall. I made this for Thanksgiving one year and it was a hit. You can also add a pinch of cayenne for a little heat if you are feeling adventurous.
Different Crunch Options
Not a pretzel fan? Try using crushed salted peanuts, toffee bits, or even crushed graham crackers. For a tropical twist, use toasted coconut flakes and macadamia nuts. Each variation gives the ice cream a completely different personality.
Serving & Storage Suggestions
Serving: This ice cream is best served slightly softened. Take it out of the freezer about 5-10 minutes before you plan to scoop it. I like to serve it in chilled bowls or cones. For a fun presentation, drizzle a little extra caramel sauce on top and sprinkle with a pinch of flaky sea salt. A dollop of whipped cream never hurts either.
Perfect Pairings: This ice cream is amazing on its own, but it also pairs beautifully with warm desserts. Try it on top of a warm brownie, a slice of apple pie, or even a simple chocolate chip cookie. The contrast between the cold ice cream and the warm dessert is pure magic. If you are hosting a party, consider serving it alongside some of my other favorite treats. For a game day spread, this ice cream goes great with my Easy Loaded Pulled Pork Nacho Bar for a sweet and savory combo. Or, for a lighter option, pair it with my Fresh Quinoa Avocado Sushi Salad Bowl for a refreshing contrast.
Storage: Store any leftover ice cream in an airtight container in the freezer. Press a piece of plastic wrap directly onto the surface before sealing the lid. This prevents ice crystals from forming and keeps the texture creamy. The ice cream will keep for up to 2 weeks, but honestly, it never lasts that long in my house.
Reheating/Softening: If your ice cream gets too hard in the freezer, let it sit at room temperature for 10-15 minutes. You can also microwave it for 10-15 seconds on low power to soften it up. Just be careful not to melt it too much.
Flavor Development: The flavors actually get better after a day or two in the freezer. The caramel melds into the cream, and the salt balances out the sweetness. I actually prefer the ice cream on day two compared to day one. The pretzels do lose a little crunch over time, but the crushed ones stay relatively crunchy for the first week.
Nutritional Information & Benefits
Here is the estimated nutritional breakdown per serving (based on 8 servings):
| Nutrient | Amount per Serving |
|---|---|
| Calories | 380 |
| Total Fat | 24g |
| Saturated Fat | 15g |
| Cholesterol | 85mg |
| Sodium | 320mg |
| Total Carbohydrates | 38g |
| Dietary Fiber | 1g |
| Sugars | 30g |
| Protein | 4g |
Health Benefits: While this is definitely a treat, it does have a few redeeming qualities. The heavy cream provides calcium and vitamin A, which are good for bone health and immune function. The pretzels add a small amount of iron and B vitamins. And let’s be honest—sometimes you just need a little indulgence for your mental health. I firmly believe that a balanced life includes room for dessert.
Dietary Considerations: This recipe contains dairy and gluten (from the pretzels). For a dairy-free version, use the substitutions mentioned above. For a gluten-free version, use gluten-free pretzels. The recipe can also be made lower in sugar by using a sugar-free caramel sauce and a reduced-sugar condensed milk, though the texture will be slightly different.
Allergen Note: This recipe contains milk and wheat (gluten). It may also contain traces of soy depending on the caramel sauce you use. Always check labels if you are serving someone with allergies.
Conclusion
This Easy No-Churn Salted Caramel Pretzel Ice Cream is the kind of recipe that makes you feel like a kitchen rockstar without any of the stress. It is creamy, crunchy, salty, sweet, and absolutely irresistible. Whether you are making it for a summer barbecue, a cozy movie night, or just because you deserve a treat, this ice cream delivers every single time.
What I love most about this recipe is how adaptable it is. You can make it your own by swapping in different mix-ins, trying different caramel sauces, or adjusting the salt level to your taste. The first time I made it, I used a cheap caramel sauce and it was still amazing. Now I have perfected it with my favorite ingredients, and it has become a staple in my freezer.
I would love to hear how yours turns out! Did you try any variations? Did your family love it as much as mine does? Drop a comment below and let me know. And if you are looking for more easy, crowd-pleasing recipes, be sure to check out some of my other favorites on the blog. Happy scooping, friends!
Frequently Asked Questions
Can I make this without a hand mixer?
Absolutely! You can whip the cream by hand with a whisk, but it will take some elbow grease. It usually takes about 8-10 minutes of vigorous whisking to get stiff peaks. Alternatively, you can use a stand mixer with the whisk attachment.
Why did my ice cream turn out icy instead of creamy?
Icy ice cream usually means the cream was not whipped enough, or the mixture was not frozen quickly enough. Make sure your cream is very cold and whip it to stiff peaks. Also, pressing plastic wrap directly onto the surface helps prevent ice crystals from forming.
Can I use homemade caramel sauce?
Yes, homemade caramel sauce works beautifully in this recipe. Just make sure it is thick enough to swirl, not too runny. If your homemade caramel is thin, simmer it for a few extra minutes to thicken it up before using.
How long does this ice cream last in the freezer?
This ice cream will keep for up to 2 weeks in an airtight container. The texture is best within the first week. After that, the pretzels may start to soften, but the flavor will still be delicious.
Can I double this recipe?
Yes! This recipe doubles beautifully. Just make sure you have a large enough bowl to whip the cream, and use a bigger container for freezing. A 9×13-inch dish works well for a double batch. You may need to freeze it a little longer since there is more volume.
Pin This Recipe!
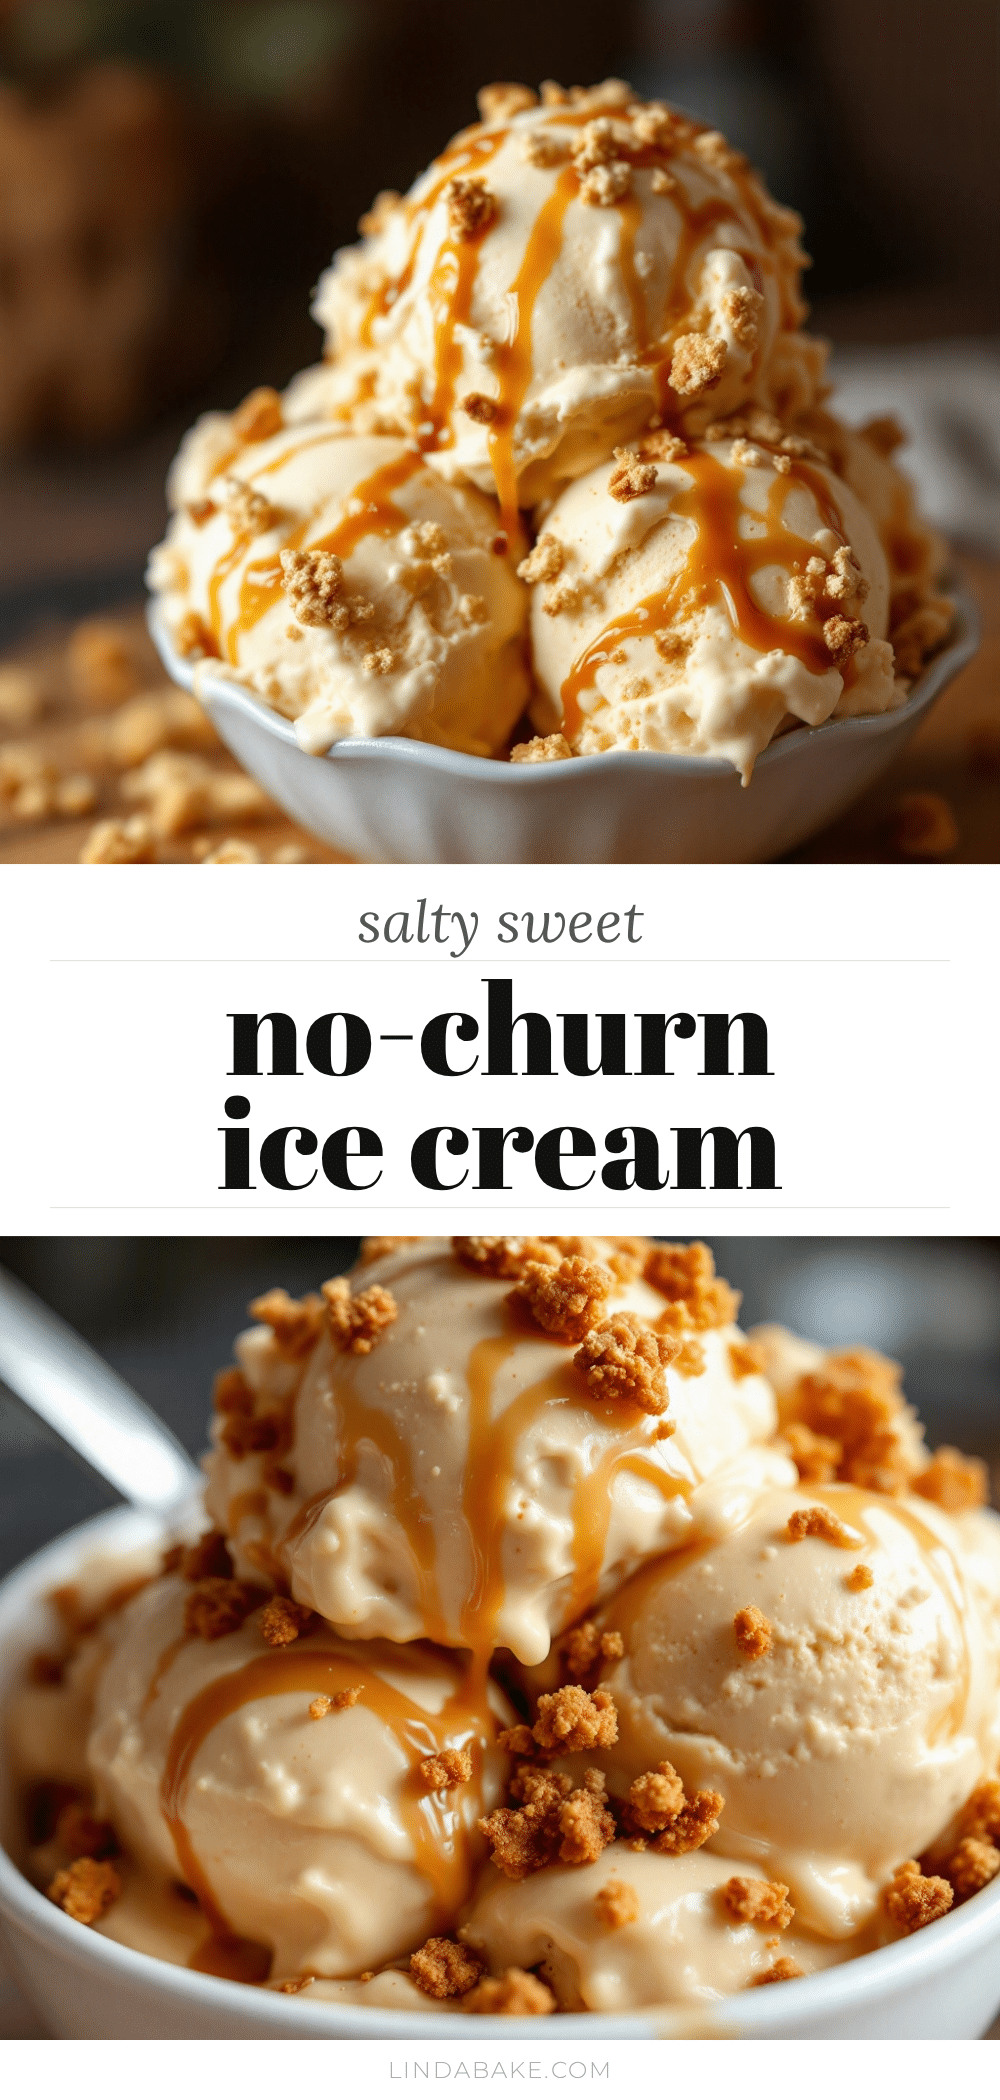
Easy No-Churn Salted Caramel Pretzel Ice Cream

This creamy, salty-sweet no-churn ice cream is made without a machine, featuring ribbons of caramel, crunchy pretzels, and a touch of flaky sea salt. It’s the perfect homemade treat for any occasion.
- Prep Time: 15 minutes
- Cook Time: 0 minutes
- Total Time: 6 hours 15 minutes (includes freezing)
- Yield: 8 servings 1x
- Category: Dessert
- Cuisine: American
Ingredients
- 2 cups heavy whipping cream (cold)
- 1 can (14 ounces) sweetened condensed milk
- 1 teaspoon vanilla extract
- 1/4 teaspoon salt
- 1/2 cup caramel sauce
- 1/2 teaspoon flaky sea salt
- 1 cup mini pretzels (crushed into small pieces)
- 1/2 cup whole mini pretzels
Instructions
- Chill your mixing bowl and beaters in the freezer for 10-15 minutes (optional but helpful).
- Pour the cold heavy cream into the chilled bowl and beat on medium-high speed until stiff peaks form, about 3-5 minutes.
- In a separate small bowl, stir together the sweetened condensed milk, vanilla extract, and 1/4 teaspoon salt until smooth.
- Pour the condensed milk mixture into the whipped cream and gently fold with a rubber spatula until no white streaks remain.
- Crush 1 cup of mini pretzels into small pieces (not dust) using a rolling pin or your hands. Set aside.
- Spread about one-third of the cream mixture into a loaf pan. Drizzle with 2 tablespoons of caramel sauce, sprinkle with a pinch of flaky sea salt, and add one-third of the crushed pretzels. Repeat layers two more times, ending with a final layer of cream mixture.
- Drizzle the remaining caramel sauce over the top and gently swirl with a knife or skewer. Sprinkle with the remaining flaky sea salt.
- Gently press the whole mini pretzels into the top layer.
- Press plastic wrap directly onto the surface of the ice cream and freeze for at least 6 hours, preferably overnight.
- Before serving, let the ice cream sit at room temperature for 5-10 minutes to soften slightly.
Notes
For best results, use cold heavy cream and whip to stiff peaks. Press plastic wrap directly onto the surface to prevent ice crystals. Let the ice cream soften for 5-10 minutes before serving for easier scooping. The flavors develop even more after a day in the freezer.
Nutrition
- Serving Size: 1 serving (about 1/2
- Calories: 380
- Sugar: 30
- Sodium: 320
- Fat: 24
- Saturated Fat: 15
- Carbohydrates: 38
- Fiber: 1
- Protein: 4
Keywords: no-churn ice cream, salted caramel, pretzel ice cream, easy ice cream, homemade ice cream, no machine ice cream


