My youngest came home from preschool with a sniffle that turned into a full-blown, couch-bound cold by dinner. I was already mentally preparing for the sleepless nights and the inevitable round of sick days when I remembered the bag of dried elderberries sitting in my pantry. I had bought them weeks ago with the best intentions, but life got busy and they got pushed to the back of the shelf. Now, with a sick kid and a desperate need for something—anything—that might help, I finally pulled them out.
I wasn’t trying to be a hero. I just wanted a way to get some immune support into her that didn’t involve a spoonful of something that tasted like cough syrup. The idea of making gummies popped into my head while I was chopping ginger for tea. Honestly, it felt a little ambitious for a Tuesday night with a feverish toddler attached to my leg. But twenty minutes later, I had a pot of deep purple syrup simmering on the stove, and the whole house smelled like a cozy apothecary. It wasn’t fancy, but it felt like a small act of rebellion against the inevitable.
These Homemade Elderberry Immune Gummies became our little secret weapon. They’re not a cure—I’m not claiming that—but they are a delicious, gentle way to get a daily dose of immune-supporting goodness into even the pickiest eaters. And honestly, knowing exactly what went into them made me feel a thousand times better than any store-bought supplement ever could. That first batch was a sticky, slightly imperfect success, and the look on her face when she asked for “more berry candy” made every bit of mess worth it. Sometimes the best recipes come from a place of pure necessity, and this one stuck because it actually worked for us.
Why You’ll Love These Gummies
Let me tell you why these little purple gems have become a staple in my kitchen. I’ve tested this recipe more times than I can count, tweaking the sweetness and the texture until it was just right. It’s not just another healthy snack idea—it’s a recipe that actually delivers on its promise.
- So Much Better Than Store-Bought: You control exactly what goes in. No high-fructose corn syrup, no artificial colors, no mystery ingredients. Just real food.
- Kid-Approved (and Adult-Approved): The natural sweetness from the elderberries and a touch of honey or maple syrup makes these taste like a treat. My kids genuinely ask for them.
- Incredibly Easy: If you can boil water and stir, you can make these. The active cooking time is maybe 15 minutes. The rest is just waiting for them to set.
- Perfect for Busy Families: I make a big batch on a Sunday afternoon, and we have a week’s worth of immune support ready to go. It’s way easier than convincing a toddler to take a dropperful of syrup.
- Gentle and Effective: Elderberries are packed with antioxidants and vitamins. This is a wonderful, natural way to support your family’s wellness, especially during cold and flu season.
What makes this recipe different from all the others I’ve tried? It’s the texture. Nobody likes a rubbery, weirdly firm gummy. I spent a lot of time figuring out the perfect ratio of gelatin to liquid so these come out soft, bouncy, and melt-in-your-mouth tender. They’re not sticky or hard to chew. They feel like a real gummy candy, which is exactly what you need when you’re trying to get a reluctant child to take their vitamins. This is comfort food for your immune system, and it works.
What Ingredients You Will Need
This recipe uses simple, wholesome ingredients that you can find at most grocery stores or online. The magic is in how they come together to create a powerful, tasty little gummy. Each ingredient has a specific role, and I’ve tested plenty of swaps to give you the best options.
- Dried Elderberries (½ cup): These are the star of the show. You’ll find them in the bulk spice section or online. I prefer Mountain Rose Herbs brand for their quality and potency. Look for deep, dark purple berries that smell slightly fruity and earthy. Don’t use fresh elderberries, as they need to be cooked to be safe.
- Filtered Water (2 cups): Use filtered or distilled water for the best flavor. Tap water can sometimes have a slight chlorine taste that might affect the final gummy.
- Fresh Ginger (1-inch piece, sliced): A little goes a long way. Ginger adds a gentle warmth and is fantastic for digestion and immune support. I leave the skin on for extra nutrients, but you can peel it if you prefer.
- Raw Honey or Maple Syrup (¼ cup): This sweetens the gummies and helps balance the tartness of the elderberries. Raw honey is great for its own immune benefits, but maple syrup works perfectly for a vegan version. Add more or less to taste.
- Gelatin (3 tablespoons): This is what gives the gummies their signature chewy texture. I use Great Lakes or NOW Foods beef gelatin for the best results. Do not use collagen peptides, as they won’t set properly. For a plant-based option, you can try agar agar, but the texture will be much firmer and less gummy-like.
- Lemon Juice (2 tablespoons, freshly squeezed): A splash of lemon juice brightens the flavor and helps preserve the gummies. It also adds a little vitamin C.
Equipment Needed
You don’t need a fancy kitchen to make these. Here’s what you’ll need to get started:
- Small to Medium Saucepan: For simmering the elderberries and making the syrup. A non-reactive pot like stainless steel or enamel is best.
- Fine-Mesh Strainer or Cheesecloth: To strain out the berries and ginger pieces. A nut milk bag works great too.
- Measuring Cups and Spoons: Accuracy is key, especially with the gelatin.
- Whisk or Fork: For mixing the gelatin into the warm liquid without clumps.
- Silicone Gummy Molds: These are a game-changer. I love the bear-shaped ones from Amazon, but any small silicone mold works. They make popping the gummies out so easy. If you don’t have molds, you can pour the mixture into a small, greased glass dish and cut it into squares later (it’s a bit messier but works).
- Small Dropper or a Liquid Measuring Cup with a Spout: For filling the molds without spilling everywhere. A small squeeze bottle is my secret weapon for this step.
- Baking Sheet: To hold the filled molds in the fridge.
Preparation Method
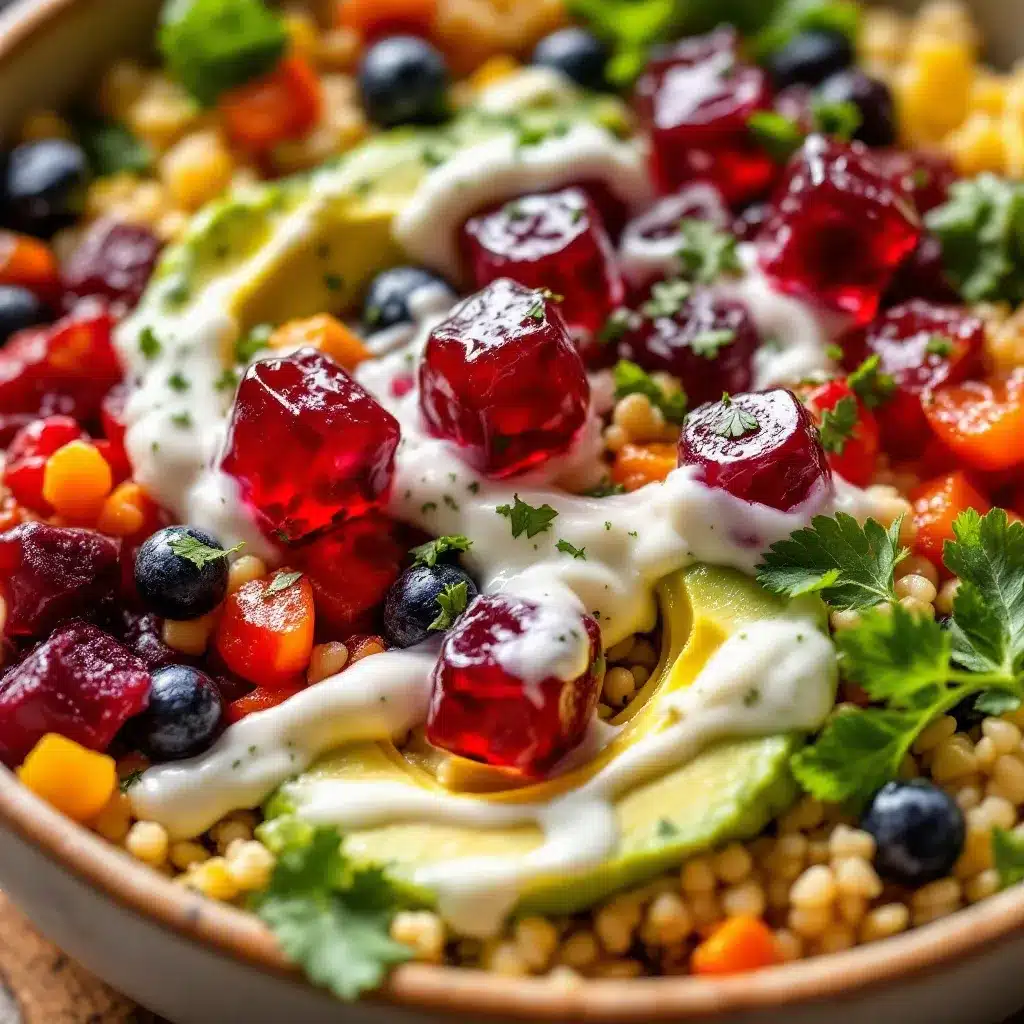
Here’s the step-by-step process. I promise it’s easier than it looks. The whole active cooking part takes about 20 minutes, and then you just wait for them to set.
- Make the Elderberry Concentrate (15 minutes): In your small saucepan, combine the dried elderberries, sliced ginger, and 2 cups of filtered water. Bring it to a boil over medium-high heat, then reduce the heat to low and let it simmer, uncovered, for about 15-20 minutes. The liquid will reduce by about half, and the berries will look plump and soft. Your kitchen will smell amazing at this point.
- Strain the Liquid (5 minutes): Place your fine-mesh strainer over a large bowl or a 4-cup liquid measuring cup. Carefully pour the mixture through the strainer. Use the back of a spoon to press down on the berries and extract as much of that deep purple liquid as possible. You should have about 1 to 1¼ cups of concentrated elderberry tea. Let it cool for 5 minutes until it’s warm but not hot.
- Add the Sweetener and Lemon: While the liquid is still warm, whisk in your honey or maple syrup and the fresh lemon juice. Taste it! It should be pleasantly sweet and tart. If you want it sweeter, add a little more honey now.
- Bloom the Gelatin (Crucial Step!): This is where a lot of people get nervous, but it’s simple. Pour about ½ cup of the warm elderberry liquid into a small bowl. Sprinkle the 3 tablespoons of gelatin evenly over the top. Do not stir yet! Let it sit for 2-3 minutes. The gelatin will absorb the liquid and look like a spongy, thick paste. This is called “blooming,” and it prevents lumps.
- Combine and Heat (2 minutes): Pour the bloomed gelatin mixture back into the saucepan with the rest of the elderberry liquid. Place the saucepan over the lowest possible heat. Whisk constantly for 1-2 minutes, until the gelatin has fully dissolved and the mixture is smooth and glossy. Do not let it boil! High heat can damage the gelatin’s setting power. You’ll know it’s ready when it’s completely liquid and there are no grainy bits.
- Fill the Molds (10 minutes): This is the fun part. Place your silicone molds on a small baking sheet (this makes it easier to move them). Using your dropper or a small measuring cup with a spout, carefully fill each cavity of the mold. Work quickly, as the mixture will start to thicken as it cools. If it gets too thick to pour easily, just warm it very gently on the stove for a few seconds.
- Set the Gummies (2-4 hours): Carefully transfer the baking sheet with the filled molds to the refrigerator. Let them set, undisturbed, for at least 2 hours, but 4 hours is better for a firm, bouncy texture. Don’t rush this step!
- Pop Them Out: Once set, the gummies should pop out of the silicone molds easily. If they’re sticking, pop the mold in the freezer for 5 minutes. Store them in an airtight container in the fridge.
Cooking Tips & Techniques
I’ve made a few batches that didn’t turn out perfectly, so let me save you the trouble. Here are my hard-earned lessons.
Don’t Boil the Gelatin Mixture. This is the number one mistake. If you boil the liquid after adding the gelatin, it will break down the protein structure and your gummies will never set properly. You want to gently warm it just enough to dissolve the gelatin. Low and slow is the name of the game.
The “Sprinkle” Technique is Non-Negotiable. I know it’s tempting to just dump the gelatin powder into the hot liquid, but that’s how you get lumpy, gritty gummies. Always sprinkle it over the surface of a cool or warm liquid and let it bloom first. It takes two extra minutes and makes a world of difference.
Work Fast When Filling Molds. The mixture will start to thicken as it cools. I like to have all my molds laid out and ready before I even start the gelatin step. If you’re making a large batch, you can keep the saucepan on a very low burner (like the “warm” setting) while you fill the molds, just make sure you keep whisking so it doesn’t form a skin.
My Biggest Failure: I once tried to double the recipe and used a pot that was too small. The mixture bubbled over, and I spent an hour scrubbing sticky, purple syrup off my stovetop. Use a pot that’s much larger than you think you need.
Variations & Adaptations
This recipe is super flexible. Here are a few ways I’ve changed it up depending on what I have on hand or what my family needs.
- Vegan Version: Replace the gelatin with 1½ teaspoons of agar agar powder. The process is a bit different—you need to boil the agar agar in the liquid for 2-3 minutes to activate it. The texture will be much firmer and less gummy-like, more like a pâte de fruit. It’s still delicious, just different.
- Citrus Immune Boost: Add the zest of one orange to the simmering elderberries along with the ginger. The orange flavor pairs beautifully with the elderberry and adds an extra hit of vitamin C.
- Spiced Winter Gummies: Throw a cinnamon stick, a star anise, and a few cloves into the pot while the elderberries simmer. This gives the gummies a warm, holiday-spiced flavor that’s so cozy during cold months.
- Less Sweet: If you prefer a tarter gummy, start with just 2 tablespoons of honey or maple syrup. You can always add more, but you can’t take it out.
- Gummy “Jelly” Squares: If you don’t have silicone molds, pour the final mixture into a small, greased glass dish (like an 8×4 loaf pan) to a depth of about ½ inch. Refrigerate until firm, then cut into small squares with a sharp knife or a pizza cutter. Roll them in a little arrowroot powder or coconut sugar to prevent sticking.
Serving & Storage Suggestions
These gummies are best enjoyed straight from the fridge. The cold temperature keeps them firm and chewy. I like to take a couple out and let them sit on the counter for 5 minutes before eating so they soften up just a little.
Storage: Store your gummies in an airtight container in the refrigerator. They will last for up to 2 weeks, though they rarely last that long in my house. Do not leave them out at room temperature for more than a few hours, as they can become sticky and start to melt.
Freezing: These freeze beautifully! Place the set gummies on a baking sheet lined with parchment paper and freeze for 1 hour until solid. Transfer them to a freezer-safe bag or container. They will keep for up to 3 months. You can eat them straight from the freezer (they’re like little frozen fruit chews) or let them thaw in the fridge for an hour.
How to Serve: For adults, 2-3 gummies a day is a good maintenance dose. For kids over 2, 1-2 gummies is plenty. I always remind myself that they are a food supplement, not a medicine. They’re meant to be part of a healthy diet. They pair wonderfully with a warm cup of tea on a sick day or as a fun, healthy treat in a lunchbox. If you’re packing a lunch, I love adding a few of these alongside something like our Peanut Butter Banana Sushi Roll-Ups for a balanced, kid-friendly meal.
Nutritional Information & Benefits
These gummies are a powerhouse of immune-supporting nutrients. Please remember these are estimates and will vary based on your specific ingredients.
Per Gummy (approx. 1 teaspoon sized): Calories: 15-20, Total Fat: 0g, Carbohydrates: 4g, Sugars: 3g, Protein: 1g.
Key Benefits:
- Elderberries: Packed with antioxidants called anthocyanins, which help fight inflammation and support the immune system. They are traditionally used to reduce the severity and duration of cold and flu symptoms.
- Ginger: A natural anti-inflammatory that can soothe sore throats and aid digestion.
- Raw Honey: Contains natural antibacterial properties and can help calm a cough. (Note: Not suitable for children under 1 year old).
- Gelatin: Great for gut health, skin, hair, and nails. It’s a wonderful source of protein.
Dietary Considerations: This recipe is naturally gluten-free, dairy-free, and nut-free. It can easily be made vegan with agar agar. Always check your labels, especially on the gelatin, to ensure it meets your dietary needs.
Conclusion
These Homemade Elderberry Immune Gummies have honestly been a game-changer for our family during cold season. They’re not a miracle cure, but they are a delicious, proactive way to support our health that my kids actually enjoy. I love that I can make a batch on a lazy Sunday and feel a little bit more prepared for whatever germs come our way.
Don’t be afraid to make them your own. Play with the flavors, adjust the sweetness, and find the combination that your family loves. That’s the beauty of homemade food—it’s yours. I’d love to hear how they turn out for you. Did you add a special spice? Did your kids gobble them up? Drop a comment below and share your experience. And if you’re looking for another easy, feel-good recipe to batch prep, you might enjoy our Refreshing Mango Jalapeño Agua Fresca for a hydrating, vitamin-packed drink. Happy cooking, and here’s to a healthy season!
Frequently Asked Questions
Can I use elderberry syrup instead of dried berries?
You can, but the result will be different. You would need to skip the simmering step and use a high-quality, unsweetened elderberry syrup. However, the flavor and concentration will be weaker, and you’ll need to adjust the liquid ratio. I highly recommend starting with dried berries for the best results and potency.
Why didn’t my gummies set?
This usually happens for one of two reasons: either the liquid was too hot when you added the gelatin (which can destroy its setting power), or you didn’t use enough gelatin. Make sure you’re using exactly 3 tablespoons of gelatin for every 1 to 1¼ cups of liquid. Also, be patient—they need at least 2-4 hours in the fridge to fully set.
Can I use a different sweetener?
Absolutely! Maple syrup is my go-to for a vegan option. You can also use agave nectar, coconut sugar (dissolved in the warm liquid), or even a few drops of stevia. Just keep in mind that liquid sweeteners work best as they dissolve easily.
How many gummies should I eat per day?
For general immune support, 2-3 gummies per day for adults and 1-2 for children over 2 is a good guideline. They are a food supplement, so listen to your body. If you feel a cold coming on, you can increase the amount slightly, but don’t overdo it. Always consult with a healthcare professional before starting any new supplement routine.
Can I make these without a stove?
Yes! You can make the elderberry concentrate in a slow cooker or an Instant Pot. For the Instant Pot, pressure cook the berries and water on high for 10 minutes, then do a natural release. Strain and proceed with the recipe as written. You can also just steep the berries in boiling water like a strong tea for 30 minutes, though the flavor will be less concentrated.
Pin This Recipe!
Easy Homemade Elderberry Immune Gummies
These Homemade Elderberry Immune Gummies are a delicious, gentle way to get a daily dose of immune-supporting goodness into even the pickiest eaters. They’re not a cure, but they are a tasty, natural alternative to store-bought supplements.
- Prep Time: 15 minutes
- Cook Time: 20 minutes
- Total Time: 2 hours 35 minutes (including setting time)
- Yield: Approximately 60 gummies (1 teaspoon sized) 1x
- Category: Snack, Supplement
- Cuisine: American
Ingredients
- ½ cup dried elderberries
- 2 cups filtered water
- 1-inch piece fresh ginger, sliced
- ¼ cup raw honey or maple syrup
- 3 tablespoons gelatin (beef gelatin recommended)
- 2 tablespoons freshly squeezed lemon juice
Instructions
- Make the Elderberry Concentrate: In a small saucepan, combine dried elderberries, sliced ginger, and 2 cups of filtered water. Bring to a boil over medium-high heat, then reduce heat to low and simmer, uncovered, for 15-20 minutes until liquid reduces by about half.
- Strain the Liquid: Place a fine-mesh strainer over a large bowl or 4-cup liquid measuring cup. Carefully pour the mixture through the strainer, pressing on the berries with the back of a spoon to extract as much liquid as possible. You should have about 1 to 1¼ cups of concentrated elderberry tea. Let cool for 5 minutes until warm but not hot.
- Add Sweetener and Lemon: While the liquid is still warm, whisk in honey or maple syrup and lemon juice. Taste and adjust sweetness if desired.
- Bloom the Gelatin: Pour about ½ cup of the warm elderberry liquid into a small bowl. Sprinkle 3 tablespoons of gelatin evenly over the top. Do not stir. Let sit for 2-3 minutes until the gelatin absorbs the liquid and forms a spongy paste.
- Combine and Heat: Pour the bloomed gelatin mixture back into the saucepan with the remaining elderberry liquid. Place over the lowest possible heat and whisk constantly for 1-2 minutes until the gelatin is fully dissolved and the mixture is smooth and glossy. Do not let it boil.
- Fill the Molds: Place silicone molds on a small baking sheet. Using a dropper or small measuring cup with a spout, carefully fill each cavity of the mold. Work quickly as the mixture will thicken as it cools. If it gets too thick, gently warm it on the stove for a few seconds.
- Set the Gummies: Transfer the baking sheet with filled molds to the refrigerator. Let set, undisturbed, for at least 2 hours, preferably 4 hours, for a firm, bouncy texture.
- Pop Them Out: Once set, pop the gummies out of the silicone molds. If sticking, place the mold in the freezer for 5 minutes. Store in an airtight container in the refrigerator.
Notes
Do not boil the gelatin mixture as it will prevent setting. Always sprinkle gelatin over the surface of a cool or warm liquid and let it bloom first to avoid lumps. Work fast when filling molds as the mixture thickens quickly. For vegan version, replace gelatin with 1½ teaspoons agar agar powder and boil for 2-3 minutes to activate. Store gummies in an airtight container in the refrigerator for up to 2 weeks, or freeze for up to 3 months.
Nutrition
- Serving Size: 1 gummy (approximate
- Calories: 1520
- Sugar: 3
- Carbohydrates: 4
- Protein: 1
Keywords: elderberry gummies, immune gummies, homemade gummies, elderberry recipe, immune support, healthy snacks, kid-friendly, natural remedy


