You know how some cookies are just too crisp? You bite into them and they shatter, leaving crumbs on your shirt and a hollow feeling in your stomach because there’s no substance, just crunch. I hate that. I’ve always been obsessed with the kind of texture that yields. The kind that gives way under your teeth with a gentle resistance, not a fight.
That’s what I was looking for when I decided to make these Easy Festive Christmas Sugar Cookie Bars. Honestly, I wanted something that felt like a hug in dessert form. Not just sweet, but substantial. Chewy in the middle, tender around the edges, and dusted with enough powdered sugar to look like it just fell from the sky.
I remember testing the first batch on a Tuesday night in December. The house was cold, the lights were up, and I was tired of baking things that required twenty-six separate bowls and three hours of chilling. I just wanted a bar that came together fast but didn’t taste like it did.
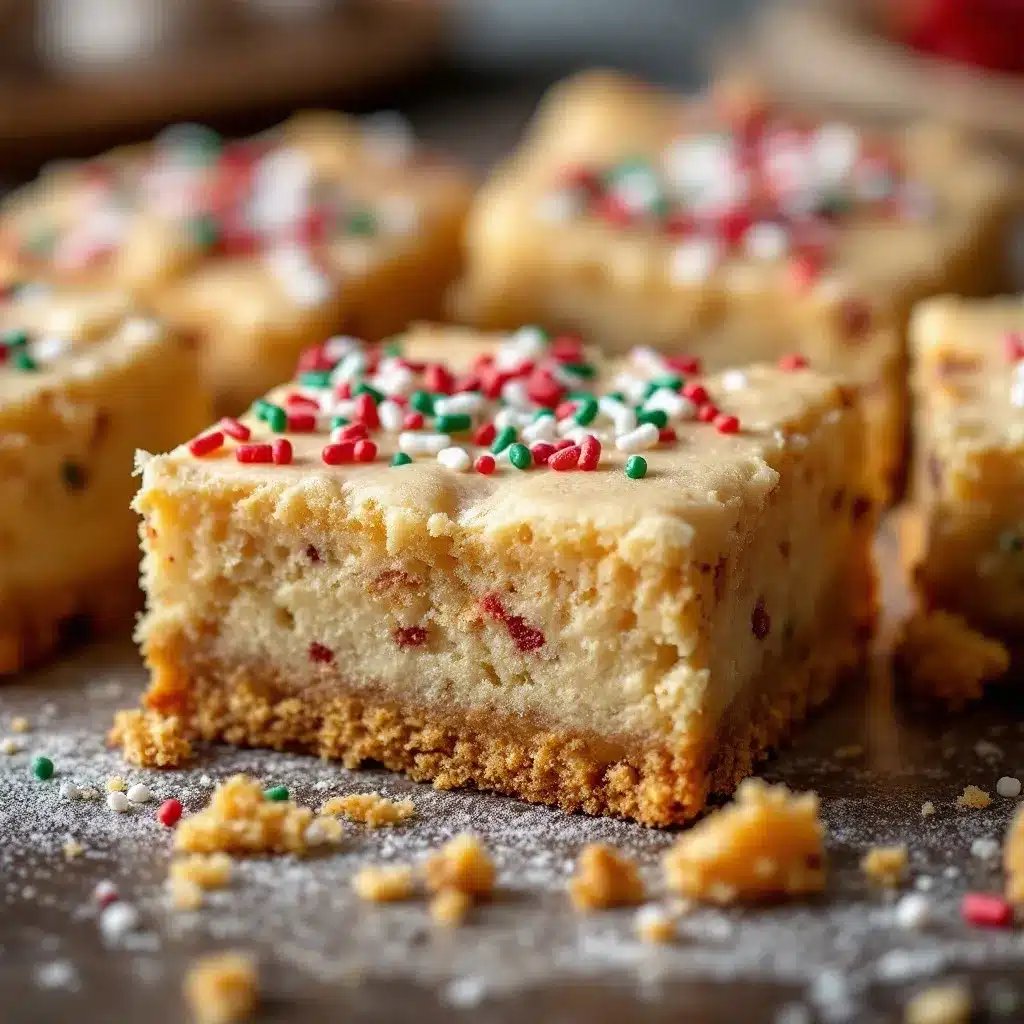
The magic is in the crust. It has to be that perfect balance of buttery and soft. Not cakey, not tough. Just… right. When you pull the pan out of the oven, the edges should be barely golden, while the center stays pale and pillowy. That contrast is everything.
I also love how these look on a plate. The red and green sprinkles aren’t just for show; they add a little crunch against the soft dough. It’s visual and textural play. You see the sparkle, you feel the dusting of sugar, and then you take a bite.
This recipe stuck with me because it’s reliable. You know it’s going to work. No weird chemistry experiments, no tempering chocolate. Just simple ingredients mixed, pressed, baked, and decorated. It’s the kind of treat that disappears in minutes during a holiday party.
I like that it feels homemade but looks professional. People think you spent hours on it. But really, you just needed a 9×13 pan and some patience while it cooled. That’s the real secret. Letting it set so the layers hold together.
It’s not about being fancy. It’s about being good. And these bars are just good. Simple, festive, and incredibly soft.
Why You’ll Love This Recipe
There is a specific kind of comfort that only a sheet pan of sugar cookies can provide. After years of testing recipes, tweaking butter ratios, and adjusting baking times, I’ve landed on this version. It’s the one that makes my family stop talking and start eating. Here is why this recipe stands out from the rest of the holiday bake sale lineup.
- Quick & Easy: You can have these from start to finish in under an hour. No chilling overnight. No complicated rolling and cutting. Just mix, press, and bake. It’s perfect for busy weeknights or last-minute holiday potlucks when you realize you forgot to bring dessert.
- Simple Ingredients: You likely already have everything in your pantry. Flour, sugar, butter, eggs, vanilla, and baking powder. No fancy imports or obscure flours. This is honest, everyday baking that tastes like a treat.
- Perfect for Holiday Gatherings: Whether it’s a school party, an office Christmas party, or just a cozy dinner at home, these bars fit the occasion. The festive sprinkles make them look special without the effort of decorating individual cookies.
- Crowd-Pleaser: Kids love them because they are sweet and colorful. Adults love them because they aren’t overly sweet and have a soft, cake-like texture. They get rave reviews from everyone, which is rare.
- Unbelievably Delicious: The texture is the star. It’s tender, moist, and slightly chewy. The vanilla flavor is rich but not overpowering. It’s the kind of cookie that makes you close your eyes after the first bite.
What makes these Easy Festive Christmas Sugar Cookie Bars different is the method. Most bar recipes use too much flour, making them dry. I use a higher ratio of butter and sugar to create a softer crumb. The addition of a little sour cream (optional, but recommended) keeps them moist for days.
It’s comfort food reimagined for the holidays. Healthier? Maybe not. But soul-soothing? Absolutely. It’s the kind of dessert that brings people together.
What Ingredients You Will Need
This recipe relies on simple, wholesome ingredients to deliver bold flavor and satisfying texture without the fuss. You don’t need a specialty store to make these. Just good quality basics.
- Unsalted Butter: Use high-quality butter, like Kerrygold or Plugra. It adds a richer flavor than generic brands. Soften it to room temperature so it creams easily with the sugar.
- Granulated Sugar: This provides the structure and the slight crispness to the edges. Don’t substitute with brown sugar if you want that classic sugar cookie taste and texture.
- Eggs: Large eggs, room temperature. They bind the dough and add moisture. Room temperature eggs emulsify better with the butter, creating a smoother batter.
- Vanilla Extract: Use real vanilla, not imitation. It makes a huge difference in the flavor profile. I prefer pure vanilla bean paste for a speckled look, but extract works fine.
- All-Purpose Flour: Spoon and level your flour. Packing it in makes the bars dense. I use Gold Medal flour because it has a consistent protein content that yields a tender crumb.
- Baking Powder: Make sure it’s fresh. Old baking powder won’t give the bars the lift they need, resulting in flat, tough bars.
- Salt: A pinch of salt balances the sweetness. It’s essential, even in a dessert.
- Sour Cream (Optional): Adds tang and moisture. It keeps the bars soft for longer. If you don’t have it, plain Greek yogurt works in a pinch.
- Festive Sprinkles: Red and green jimmies or sanding sugar. Look for non-staining sprinkles if you want to keep your fingers clean.
- Powdered Sugar: For the final dusting. It’s not just for looks; it adds a touch of sweetness on the tongue.
If you need to substitute, you can use dairy-free butter and milk yogurt. For a gluten-free option, use a 1:1 gluten-free flour blend, though the texture may be slightly more crumbly.
Equipment Needed
You don’t need much to make these bars. A few basic tools will get you through.
- 9×13 Inch Baking Pan: A metal pan is best for even baking. Glass pans may require a lower oven temperature.
- Mixer: A hand mixer or stand mixer with a paddle attachment. Creaming the butter and sugar is key for texture.
- Rubber Spatula: For scraping down the sides of the bowl and spreading the dough.
- Cooling Rack: Essential for letting the bars cool completely before slicing.
- Parchment Paper: Liner the pan for easy removal. It’s a lifesaver for cleanup.
If you don’t have a mixer, you can use a wooden spoon, but it will take more arm strength. A pastry cutter can also work for creaming the butter and sugar. Keep your equipment clean and dry to ensure proper emulsification.
Preparation Method
Let’s walk through the steps. It’s straightforward, but pay attention to the details.
- Preheat and Prep: Preheat your oven to 350°F (175°C). Line a 9×13 inch baking pan with parchment paper, leaving an overhang on the sides. This makes removing the bars easy.
- Cream Butter and Sugar: In a large bowl, beat the softened butter and granulated sugar together on medium speed for about 2-3 minutes. The mixture should be light and fluffy. This step incorporates air, which helps the bars rise.
- Add Wet Ingredients: Beat in the eggs one at a time, then add the vanilla extract and sour cream (if using). Mix until just combined. Don’t overmix here.
- Combine Dry Ingredients: In a separate bowl, whisk together the flour, baking powder, and salt. Sifting is optional but recommended for a smoother batter.
- Mix Dough: Gradually add the dry ingredients to the wet ingredients. Mix on low speed until just combined. The dough will be thick and sticky.
- Press into Pan: Spread the dough evenly into the prepared pan. Use your hands or a spatula to press it down firmly. Make sure the corners are filled.
- Bake: Bake for 20-25 minutes, or until the edges are lightly golden and the center is set. Do not overbake. The center should still look slightly soft.
- Cool: Let the bars cool in the pan for 10 minutes, then transfer to a wire rack to cool completely. This step is crucial for slicing.
- Decorate: Once cool, sprinkle with festive sprinkles and dust with powdered sugar. Slice into squares and serve.
If the dough is too sticky to spread, wet your hands slightly. It helps prevent sticking.
Cooking Tips & Techniques
Here are some tips from my kitchen to yours.
- Don’t Overmix: Overmixing develops gluten, making the bars tough. Mix until just combined.
- Room Temperature Ingredients: Cold butter and eggs won’t cream properly. Plan ahead and let them sit out.
- Check Early: Ovens vary. Check the bars at 20 minutes. If the edges are browning too fast, cover with foil.
- Cool Completely: Cutting warm bars will result in messy slices. Patience pays off.
- Use Parchment: It’s not just for cleanup. It helps the bars release from the pan cleanly.
I once baked a batch without lining the pan. The bottom stuck, and I ruined half of them. Learn from my mistake. Always use parchment.
Variations & Adaptations
You can customize these bars to suit your taste.
- Gluten-Free: Use a 1:1 gluten-free flour blend. Add a teaspoon of xanthan gum if the blend doesn’t include it.
- Dairy-Free: Use dairy-free butter and yogurt. The texture will be slightly different but still delicious.
- Flavor Variations: Add lemon zest or almond extract for a different flavor profile. Or swirl in some raspberry jam for a fruity twist.
- Chocolate Chip: Fold in semi-sweet chocolate chips for a chocolate sugar cookie bar.
- Red Velvet: Add red food coloring and a tablespoon of cocoa powder for a festive red version.
I tried adding orange zest once, and it was amazing. It cut through the sweetness nicely.
Serving & Storage Suggestions
Serve these bars at room temperature. They pair well with hot coffee or milk. For a holiday twist, serve with a side of eggnog.
Store leftovers in an airtight container at room temperature for up to 3 days. For longer storage, refrigerate for up to a week. You can also freeze them for up to 3 months. Wrap them tightly in plastic wrap and then foil.
Reheat in the microwave for 10 seconds to soften. The flavors develop over time, so they taste even better on day two.
Nutritional Information & Benefits
These bars are a treat, so enjoy them in moderation. Each bar contains approximately 250 calories, with 12g of fat and 35g of carbohydrates. They are a source of energy and comfort.
For dietary considerations, they are not gluten-free or dairy-free unless modified. They contain eggs and gluten.
From a wellness perspective, they are a joy to eat. Happiness is a nutrient too.
Conclusion
These Easy Festive Christmas Sugar Cookie Bars are a holiday staple for a reason. They are simple, delicious, and visually appealing. I love them because they bring back memories of family gatherings and cozy winters.
I encourage you to try this recipe. Customize it with your favorite sprinkles or flavors. Share them with friends and family.
Leave a comment below to let me know how they turned out. I’d love to hear your variations.
Happy baking!
FAQs
Can I use brown sugar instead of white sugar?
It’s not recommended. Brown sugar will make the bars chewy and dense, changing the texture significantly. Stick to granulated sugar for the classic soft texture.
Why are my bars dry?
You likely overbaked them. Check them early and remove them when the center still looks slightly soft. They will continue to cook in the pan.
Can I freeze the dough?
Yes, you can freeze the dough in the pan for up to a month. Thaw in the refrigerator before baking. Add 5 minutes to the baking time.
Do I need to sift the flour?
It’s not necessary, but it helps remove lumps and ensures a smoother batter. If you’re in a hurry, whisking is fine.
Can I use a glass pan?
Yes, but reduce the oven temperature by 25°F. Glass retains heat longer, so the bars may bake faster on the bottom.
Pin This Recipe!
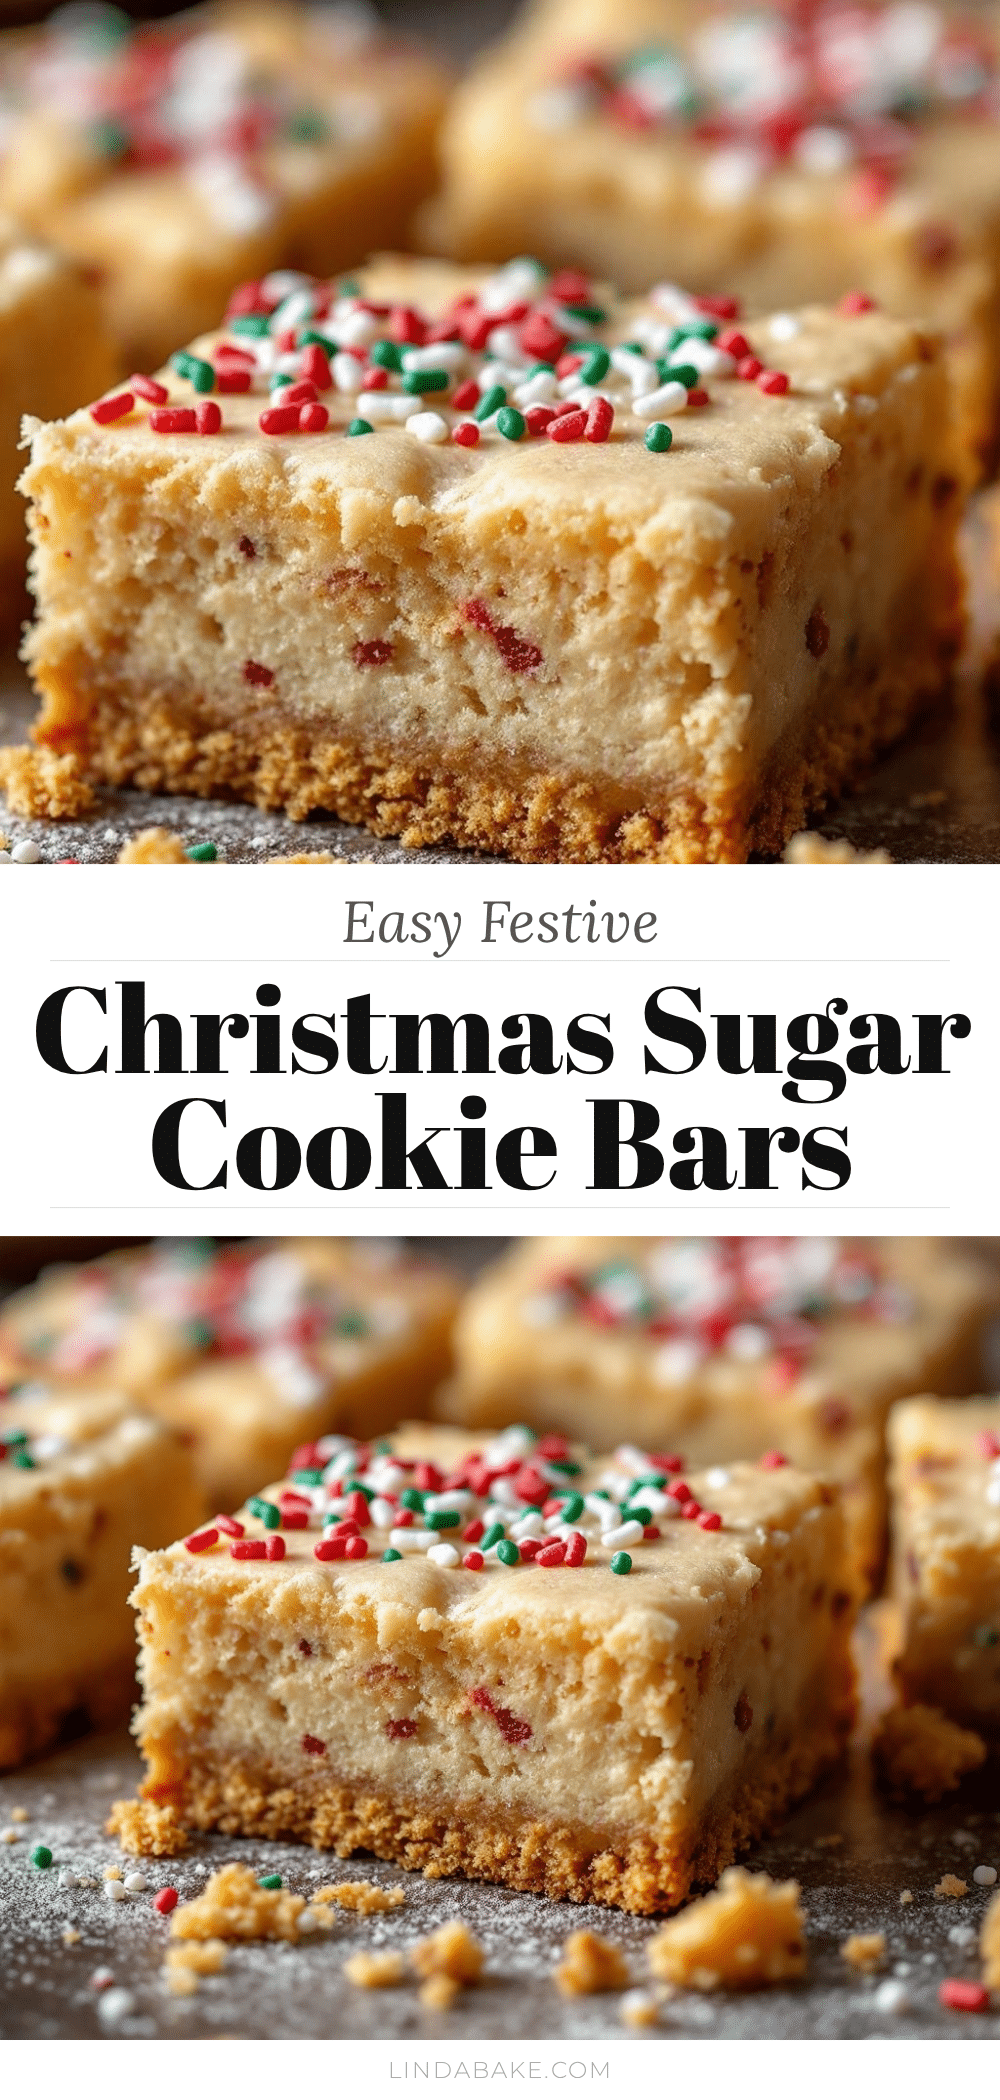
Easy Festive Christmas Sugar Cookie Bars: Perfect Holiday Treat
Soft, chewy, and festive sugar cookie bars that are quick to make and perfect for holiday gatherings. These bars feature a tender, pillowy texture with a buttery crust, topped with red and green sprinkles and a dusting of powdered sugar.
- Prep Time: 15 minutes
- Cook Time: 25 minutes
- Total Time: 40 minutes
- Yield: 12 servings 1x
- Category: Dessert
- Cuisine: American
Ingredients
- 1 cup unsalted butter, softened to room temperature
- 1 cup granulated sugar
- 2 large eggs, room temperature
- 1 teaspoon vanilla extract (or vanilla bean paste)
- 2 tablespoons sour cream (optional, but recommended)
- 2 1/2 cups all-purpose flour
- 1 teaspoon baking powder
- 1/2 teaspoon salt
- Red and green festive sprinkles
- Powdered sugar, for dusting
Instructions
- Preheat oven to 350°F (175°C). Line a 9×13 inch baking pan with parchment paper, leaving an overhang on the sides.
- In a large bowl, beat the softened butter and granulated sugar together on medium speed for 2-3 minutes until light and fluffy.
- Beat in the eggs one at a time, then add the vanilla extract and sour cream (if using). Mix until just combined.
- In a separate bowl, whisk together the flour, baking powder, and salt.
- Gradually add the dry ingredients to the wet ingredients, mixing on low speed until just combined. The dough will be thick and sticky.
- Spread the dough evenly into the prepared pan, pressing it down firmly to fill the corners.
- Bake for 20-25 minutes, or until the edges are lightly golden and the center is set but still slightly soft.
- Let the bars cool in the pan for 10 minutes, then transfer to a wire rack to cool completely.
- Once cool, sprinkle with festive sprinkles and dust with powdered sugar. Slice into squares and serve.
Notes
Do not overmix the dough to avoid tough bars. Ensure ingredients are at room temperature for proper emulsification. Check bars at 20 minutes as oven temperatures vary. Cool completely before slicing to ensure clean cuts. For gluten-free option, use a 1:1 gluten-free flour blend. For dairy-free, use dairy-free butter and yogurt.
Nutrition
- Serving Size: 1 bar
- Calories: 250
- Sugar: 22
- Sodium: 150
- Fat: 12
- Saturated Fat: 7
- Carbohydrates: 35
- Fiber: 1
- Protein: 3
Keywords: Christmas cookies, sugar cookie bars, holiday baking, easy dessert, festive treats, soft cookies, sheet pan cookies


