I burned the first batch of pumpkin dip before I figured out why it kept separating. It was 2018, and I was trying to impress a group of friends who were already debating whether to order pizza. I had read a recipe online that said to heat the pumpkin puree with spices in a saucepan first. I thought that sounded smart. You know, bloom the spices, get the flavors warm and cozy. I didn’t realize that heating the pumpkin too much made it watery. When I added the cream cheese and goat cheese to that hot, watery mess, it curdled. It looked like cottage cheese soup. I was mortified. I served it anyway because I didn’t want to admit defeat. My friend took one bite and politely said it was “interesting.” I knew what that meant. It was a disaster.
That failure haunted me for a whole autumn. I kept making it wrong, thinking I just needed more cheese to fix the texture. I was wrong. The issue wasn’t the cheese amount; it was the temperature. You have to keep everything cold until the very last second. That’s the secret nobody tells you about creamy fall harvest pumpkin goat cheese dip. It’s not about cooking the ingredients together. It’s about blending them into a smooth, cold emulsion that holds together.
I spent the next two years tweaking the ratio of sweet pumpkin to tangy goat cheese. I tried using canned pumpkin pie filling, but that was too sweet and gelatinous. I switched to plain, 100% pure pumpkin puree. I also started using a food processor instead of a hand mixer. The blades chop the cheese into tiny pieces, which prevents lumps. The result is a dip that is thick, rich, and stable. It doesn’t weep liquid if you let it sit for an hour. It stays creamy.
This dip became my go-to for every gathering after that. It’s not just a snack; it’s a conversation starter. People ask me how I made it so smooth. I always smile and tell them it took a few failures to get it right. Now, I can whip this up in five minutes. It’s the perfect balance of savory, sweet, and spicy. It feels fancy, but it’s incredibly simple. You just need a few ingredients and a blender. No heating required. No standing over a stove. Just blend, taste, and adjust.
I still remember the look on my friend’s face when I served the second version. She took a bite of the pumpernickel bread, dipped it in the orange swirl, and her eyes went wide. She didn’t say anything for a full minute. Then she said, “This is it. This is the one.” That’s the moment I knew I had cracked the code. It’s not just a dip; it’s a comfort food that works for any season, but it shines brightest in the fall.
Why You’ll Love This Recipe
There is a specific kind of magic that happens when you combine the earthiness of roasted pumpkin with the sharp tang of fresh goat cheese. It’s not just good; it is the kind of appetizer that makes you close your eyes after the first bite. This creamy fall harvest pumpkin goat cheese dip is different from the usual party fare because it doesn’t rely on heavy cream or processed cheese spreads. Instead, it uses the natural thickness of the cheese to create a luxurious texture that coats every chip or cracker.
Here is why this recipe has earned a permanent spot in my rotation:
* **Quick & Easy**: You don’t need to turn on the oven. This comes together in under five minutes using just a food processor or blender. It’s perfect for busy weeknights or last-minute cravings when guests show up unexpectedly.
* **Simple Ingredients**: No fancy grocery trips needed. You likely already have pumpkin puree, goat cheese, and spices in your kitchen. It uses pantry staples to deliver bold flavor without the fuss.
* **Perfect for Autumn Gatherings**: Great for game day, Thanksgiving appetizers, or cozy dinner parties. It captures the essence of the season without the heavy carb load of a full pie.
* **Crowd-Pleaser**: Always gets rave reviews from kids and adults alike. The sweetness appeals to children, while the savory kick of cayenne and garlic satisfies adults.
* **Unbelievably Delicious**: The texture and flavor combo is next-level comfort food. It’s smooth, rich, and slightly spicy, creating a balance that keeps people coming back for more.
What makes this recipe stand out is the technique. Many people make pumpkin dips by mixing everything by hand, which leaves you with grainy, uneven chunks of cheese. By using a food processor, you break down the goat cheese into a fine, uniform paste. This creates a silky mouthfeel that feels expensive, even though it’s budget-friendly. It’s comfort food reimagined—healthier, faster, but with the same soul-soothing satisfaction. Perfect for impressing guests without stress, or turning a simple meal into something memorable.
What Ingredients You Will Need
This recipe uses simple, wholesome ingredients to deliver bold flavor and satisfying texture. The beauty of this dip lies in the quality of its components. Since there are only five main ingredients, each one plays a critical role. You can’t skip the spices, and you can’t substitute the cheese with something that lacks tang. Here is what you need to make it work:
* **100% Pure Pumpkin Puree**: Not pumpkin pie filling. Pie filling has sugar and spices added, which will throw off the balance. You want plain puree. I prefer brands like Libby’s or organic store brands that have a thick, dense consistency. If your puree is watery, drain it in a fine-mesh sieve for 10 minutes before using.
* **8 oz Fresh Goat Cheese (Chèvre)**: This is the star. Look for firm, small-curd goat cheese logs. Soft, spreadable goat cheese in a tub can sometimes have added stabilizers that affect the texture. I recommend Kite Hill or Cabot for best texture. It needs to be room temperature for about 15 minutes before blending, or it won’t mix smoothly.
* **2 tbsp Cream Cheese**: This adds stability and richness. It helps bind the dip so it doesn’t separate. Use full-fat brick-style cream cheese, softened.
* **1/2 tsp Ground Cinnamon**: Adds that warm, nostalgic fall aroma. Don’t use pumpkin pie spice unless you want it sweeter. Pure cinnamon lets the pumpkin flavor shine.
* **1/4 tsp Ground Ginger**: Adds a subtle zing. It complements the cinnamon without overpowering the dish.
* **1/4 tsp Cayenne Pepper**: This is the secret weapon. It adds a gentle heat that cuts through the richness of the cheese. Start with a pinch if you are sensitive to spice.
* **1 Clove Garlic, Minced**: Raw garlic can be sharp, so mince it finely. If you prefer a milder flavor, you can skip it, but it adds a nice savory depth.
* **1 tbsp Maple Syrup**: Optional, but recommended. It enhances the natural sweetness of the pumpkin. Use pure maple syrup, not pancake syrup.
* **Salt and Black Pepper**: To taste. Always taste before serving and adjust seasoning as needed.
You can swap the goat cheese for cream cheese if you need a dairy-free option, but the flavor profile will change significantly. The tang of the goat cheese is essential for balancing the sweetness. For a vegan version, use cashew cream and nutritional yeast.
Equipment Needed
You don’t need much to make this dip, which is part of its appeal. The most important tool is a **food processor** or a high-speed **blender**. A food processor is better because it chops the cheese into tiny pieces without incorporating too much air. If you use a blender, be careful not to over-process, or the dip might become too thin.
You will also need a **measuring cup set** and **measuring spoons**. Precision matters here, especially with the spices. Too much cayenne will make the dip spicy, while too little might make it bland. A **small spatula** is useful for scraping down the sides of the bowl to ensure everything is evenly mixed.
If you don’t have a food processor, you can use a hand mixer, but you will need to beat the cream cheese and goat cheese together for several minutes to remove lumps. It takes more effort, but it works in a pinch. Avoid using a fork or spoon to mix by hand; it will never get smooth enough.
I’ve tried making this with a cheap, old blender, and it left chunks of cheese. Upgrading to a decent food processor made a huge difference in texture. You don’t need a fancy model; a basic one with a pulse function is sufficient. Just make sure the blades are sharp. If your blades are dull, they will crush the cheese rather than chop it, leading to a greasy dip.
Preparation Method
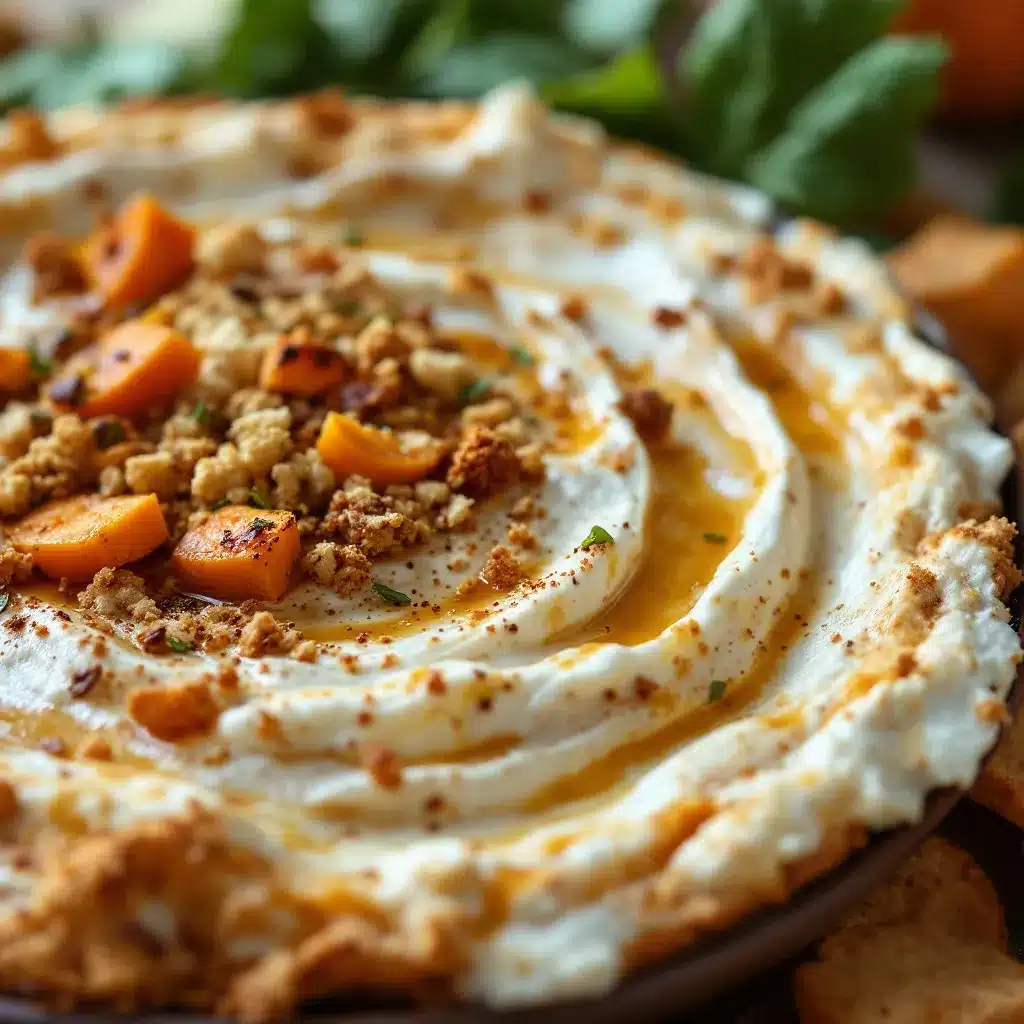
Making this dip is straightforward, but the order of operations matters. Follow these steps carefully to ensure a smooth, lump-free result.
1. **Prep the Goat Cheese**: Remove the goat cheese from the refrigerator and let it sit on the counter for 15 minutes. It should be soft enough to press with your finger but still hold its shape. If it’s too cold, it won’t blend well.
2. **Combine Base Ingredients**: Place the softened goat cheese, cream cheese, and pumpkin puree into the bowl of your food processor. Pulse three times to break up the large chunks. This helps the blades get a grip on the ingredients.
3. **Add Spices and Sweeteners**: Add the cinnamon, ginger, cayenne pepper, minced garlic, maple syrup, salt, and black pepper. Close the lid tightly.
4. **Blend Until Smooth**: Turn the food processor on to medium-high speed. Blend for about 60 to 90 seconds. Stop and scrape down the sides of the bowl with a spatula. Blend again for another 30 seconds. The mixture should be completely smooth and uniform in color. There should be no visible streaks of white cheese.
5. **Taste and Adjust**: This is the most important step. Taste the dip. Does it need more salt? Add a pinch. Is it too sweet? Add a dash more cayenne or lemon juice. Is it too thick? Add a teaspoon of milk or heavy cream to thin it out.
6. **Chill Before Serving**: Transfer the dip to a serving bowl. Cover it with plastic wrap and refrigerate for at least 30 minutes. Chilling helps the flavors meld together and firms up the dip, making it easier to serve.
7. **Garnish and Serve**: Before serving, you can drizzle a little extra maple syrup or sprinkle a pinch of cinnamon on top for visual appeal. Serve with pumpernickel crisps, apple slices, or sturdy crackers.
The entire process takes about 10 minutes, including the chilling time. If you are in a hurry, you can skip the chilling, but the flavors will be sharper. Letting it rest allows the spices to soften and blend into the cheese.
Cooking Tips & Techniques
The biggest mistake people make with this dip is using warm ingredients. Heat is the enemy of a smooth emulsion. If your cheese is too warm, it can become oily. Keep everything cool until you are ready to blend.
Another common error is using pumpkin pie filling. I made this mistake early on. The added sugar and thickeners in pie filling make the dip cloyingly sweet and gelatinous. Always use plain pumpkin puree. If you buy fresh pumpkin, roast it and puree it yourself. It takes more time, but the flavor is superior.
When blending, don’t rush. If you pulse too quickly, you might not catch all the lumps. Blend in short bursts, scraping the sides frequently. This ensures a uniform texture. If you see small white bits, keep blending. It might take a few extra seconds, but it’s worth it.
If your dip is too thick, don’t add water. Water will separate from the fat in the cheese. Instead, add a small amount of heavy cream, milk, or even a splash of orange juice. The liquid should be cold. Add it one teaspoon at a time until you reach the desired consistency.
I once added too much cayenne pepper and ended up with a dip that burned my tongue. I learned to start with a pinch and add more gradually. You can always add more heat, but you can’t take it out. Taste as you go.
Multitasking is key here. While the dip chills, you can prepare your serving vessels. Have your crackers, chips, or veggie sticks ready. This dip is best served within two hours of chilling. If you leave it out for too long, it might soften too much.
Consistency is achieved through patience. Don’t skip the scraping step. It ensures that every part of the mixture is processed evenly. This technique works for any cheese-based dip, not just this one. It’s a fundamental skill in the kitchen.
Variations & Adaptations
You can customize this dip to suit different tastes and dietary needs. Here are a few variations I’ve tried:
* **Spicy Kick**: Add a diced jalapeño or a dash of hot sauce. This pairs well with the sweetness of the pumpkin. It’s great for those who like heat.
* **Herbal Twist**: Stir in some fresh chopped thyme or rosemary after blending. This adds a savory, earthy note that complements the goat cheese.
* **Nutty Crumble**: Top the dip with toasted pecans or walnuts before serving. The crunch adds texture and richness.
* **Vegan Option**: Use vegan cream cheese and a dairy-free goat cheese alternative. The texture might be slightly different, but the flavor will still be delicious.
* **Low-Carb**: Serve with cucumber slices or bell pepper strips instead of crackers. This reduces the carb count significantly.
I tried adding bacon bits to one batch, and it was surprisingly good. The smokiness paired well with the pumpkin. It’s a bit heavy, but perfect for a game day snack. You can also swap the maple syrup for honey if you prefer a different floral note.
For a gluten-free version, ensure your crackers and chips are certified gluten-free. Many pumpernickel crisps are naturally gluten-free, but check the label. This dip is inherently gluten-free, so you just need to watch your accompaniments.
If you are making this for a large crowd, double the recipe. It scales up well. Just make sure your food processor is large enough to handle the volume. If it’s too full, the blades won’t circulate properly, and you’ll end up with uneven blending.
Serving & Storage Suggestions
This dip is best served chilled. It tastes best when the flavors have had time to meld together. Serve it in a shallow bowl to maximize the surface area for dipping. Garnish with a drizzle of olive oil or a sprinkle of paprika for color.
Pair it with sturdy crackers, pumpernickel crisps, or apple slices. Apple slices add a fresh, crisp contrast to the creamy dip. I also like serving it with roasted butternut squash wedges. It’s a nice twist on the usual chip-and-dip format.
For beverages, this dip pairs well with a crisp white wine, like a Sauvignon Blanc, or a light cider. The acidity in the wine cuts through the richness of the cheese. For non-alcoholic options, try sparkling water with lemon.
Store leftovers in an airtight container in the refrigerator. It will keep for up to 3 days. The dip may thicken in the fridge, so let it sit at room temperature for 15 minutes before serving. You can also freeze it, but the texture may change slightly. Thaw it in the refrigerator overnight and blend it again to restore the smoothness.
The flavors develop over time. It often tastes better the next day. The spices have more time to infuse into the cheese. If you make it ahead of time, you will be rewarded with a deeper, more complex flavor profile.
Nutritional Information & Benefits
This dip is relatively low in calories compared to other appetizers. Goat cheese is lower in fat than cheddar or cream cheese, making it a lighter option. Pumpkin is rich in fiber and vitamins A and C. It’s a nutrient-dense addition to your party spread.
Each serving contains approximately 120 calories. It’s a good source of protein and calcium. The spices, like cinnamon and ginger, have anti-inflammatory properties. This dip is a guilt-free way to enjoy seasonal flavors.
It is naturally gluten-free, but check your accompaniments. If you use dairy-free alternatives, it can be made vegan. The maple syrup adds natural sweetness without refined sugar. It’s a wholesome choice for health-conscious guests.
Conclusion
This creamy fall harvest pumpkin goat cheese dip is a game-changer for any autumn gathering. It’s easy to make, delicious, and visually appealing. I hope you try it and enjoy it as much as I do. Customize it to suit your taste, and don’t be afraid to experiment with spices.
I love this recipe because it brings people together. It’s simple, yet sophisticated. Share it with friends and family, and let me know how it turns out. Leave a comment below with your favorite pairing. I read every comment and love hearing your stories.
Enjoy the season, and happy dipping!
FAQs
Can I make this dip ahead of time?
Yes, you can make it up to 24 hours in advance. Store it in an airtight container in the fridge. It often tastes better the next day as the flavors meld.
What can I serve with this dip?
Pumpernickel crisps, apple slices, sturdy crackers, or veggie sticks like carrots and celery work well. It pairs nicely with both sweet and savory accompaniments.
Can I use pumpkin pie filling instead of puree?
No, pumpkin pie filling contains added sugar and spices that will make the dip too sweet and alter the texture. Always use 100% pure pumpkin puree.
How long does this dip last in the fridge?
It will last for up to 3 days when stored in an airtight container. The flavor may deepen over time.
Can I freeze this dip?
You can freeze it, but the texture may change slightly. Thaw it in the fridge overnight and blend it again to restore smoothness. It’s best enjoyed fresh.
Pin This Recipe!
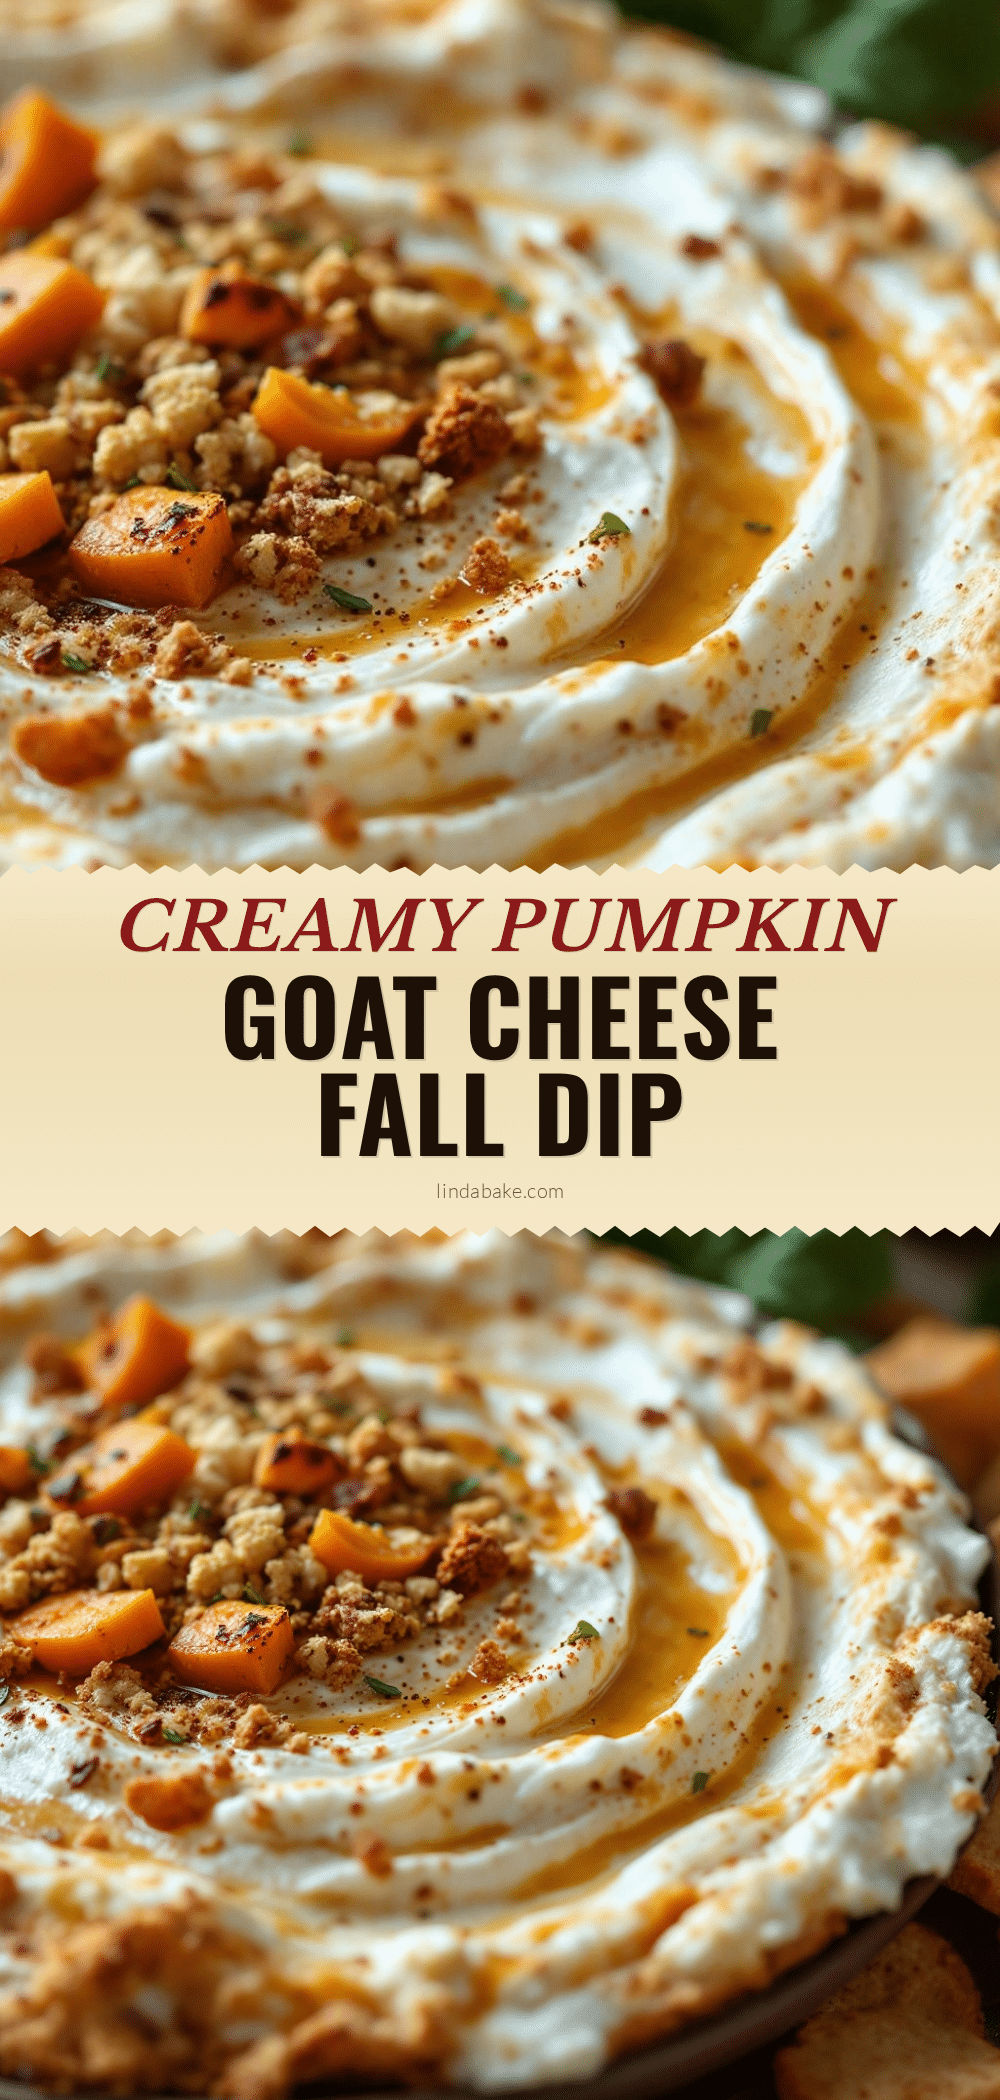
Creamy Fall Harvest Pumpkin Goat Cheese Dip

A smooth, cold emulsion of pure pumpkin puree and tangy goat cheese, blended with warm spices for a rich, creamy appetizer that comes together in minutes without cooking.
- Prep Time: 10 minutes
- Cook Time: 0 minutes
- Total Time: 40 minutes
- Yield: 4 servings 1x
- Category: Appetizer
- Cuisine: American
Ingredients
- 8 oz fresh goat cheese (Chèvre), softened
- 2 tbsp cream cheese, softened
- 1 cup 100% pure pumpkin puree
- 1/2 tsp ground cinnamon
- 1/4 tsp ground ginger
- 1/4 tsp cayenne pepper
- 1 clove garlic, minced
- 1 tbsp maple syrup
- Salt and black pepper to taste
Instructions
- Remove goat cheese from refrigerator and let sit at room temperature for 15 minutes until soft but holding shape.
- Place softened goat cheese, cream cheese, and pumpkin puree into a food processor. Pulse three times to break up large chunks.
- Add cinnamon, ginger, cayenne pepper, minced garlic, maple syrup, salt, and black pepper to the processor.
- Blend on medium-high speed for 60-90 seconds. Stop to scrape down the sides with a spatula, then blend for another 30 seconds until completely smooth and uniform.
- Taste the dip and adjust seasoning with more salt, cayenne, or a splash of milk/cream if too thick.
- Transfer to a serving bowl, cover with plastic wrap, and refrigerate for at least 30 minutes to allow flavors to meld.
- Garnish with extra maple syrup or cinnamon and serve chilled with crackers, pumpernickel crisps, or apple slices.
Notes
Do not heat the ingredients; heat causes the dip to separate and become watery. Ensure the goat cheese is softened but not melted. If using watery pumpkin puree, drain it in a fine-mesh sieve for 10 minutes before use. The dip tastes better after chilling as flavors meld. If the dip is too thick, add cold heavy cream or milk one teaspoon at a time.
Nutrition
- Serving Size: Approximately 1/4 cu
- Calories: 120
- Sugar: 6
- Sodium: 150
- Fat: 8
- Saturated Fat: 5
- Carbohydrates: 8
- Fiber: 1
- Protein: 4
Keywords: pumpkin dip, goat cheese dip, fall appetizer, party dip, no-cook recipe, autumn snacks, creamy dip, gluten-free appetizer


