The casserole dish came back to the kitchen with nothing but a smear of cream clinging to the edges. My aunt held it up, almost confused. “Who made the green beans?” she asked. I raised my hand from the corner of the table. She just shook her head and scraped the last bit into her own plate. That was the first time my Best Green Bean Casserole with Crispy Shallots had ever been the first thing to disappear at a family dinner.
Honestly, I didn’t set out to reinvent anything. I just got tired of the same sad, soggy green bean situation that shows up every November. You know the one—mushy beans swimming in a can of soup, topped with those fried onions that taste more like cardboard than onion. I wanted something that actually tasted like someone cared. Something with texture. Something with actual green beans in it.
So I started testing. First batch was too dry. Second batch, the sauce broke. Third batch? The shallots burned. But by the fourth try, I had something. The beans were still bright. The sauce was creamy but not heavy. And those crispy shallots on top? They were a total game-changer. This version has been my go-to ever since, and honestly, I don’t think I could go back to the old way even if I tried.
This is the green bean casserole that makes people stop mid-conversation and ask what’s in it. And honestly? That feels pretty good.
Why You’ll Love This Recipe
Let me tell you why this particular version of green bean casserole is worth your time. I’ve tested this recipe more times than I care to admit, and every single tweak was made with one goal in mind—making it the kind of side dish people actually fight over.
- Real Ingredients, Real Flavor: No canned soup here. We’re using fresh cream, real mushrooms, and actual shallots. The difference is night and day.
- That Crunch Factor: Those crispy shallots aren’t just a topping—they’re the whole reason this dish works. They stay crunchy even after baking, which is basically magic.
- Make-Ahead Friendly: You can prep this the day before and just pop it in the oven when you’re ready. Perfect for holiday chaos.
- Bright, Not Mushy: The beans stay tender-crisp because we blanch them first. No sad, limp green beans here.
- Crowd-Pleasing Without Trying: I’ve served this at Thanksgiving, Easter, and random Tuesday dinners. It disappears every single time.
What makes this recipe different from every other green bean casserole out there? It’s the technique. Blanching the beans keeps them vibrant. The homemade mushroom cream sauce actually tastes like mushrooms, not like flour and salt. And those crispy shallots? They’re fried low and slow until they’re golden and shatteringly crisp. This isn’t just another version. It’s the one you’ll keep coming back to.
There’s something about a dish that looks humble but tastes incredible. This is that casserole. It’s comfort food that actually feels special—without requiring a ton of effort.
What Ingredients You Will Need
This recipe uses simple, whole ingredients that come together to create something genuinely delicious. Most of these are pantry staples, but a few key players make all the difference.
For the Green Beans
- Fresh green beans – 2 pounds, trimmed and cut into 2-inch pieces. Look for bright, firm beans without any brown spots. I prefer thinner beans for this—they cook faster and feel more tender.
- Salt – For the blanching water. Don’t skip this; it seasons the beans from the inside out.
- Ice – For the ice bath. This stops the cooking immediately and locks in that bright green color.
For the Mushroom Cream Sauce
- Unsalted butter – 4 tablespoons. I use Kerrygold here because the flavor is richer, but any good unsalted butter works.
- Cremini mushrooms – 12 ounces, sliced. Baby bellas work great too. White mushrooms are fine, but creminis have more earthy flavor.
- Yellow onion – 1 medium, finely diced. Adds sweetness and depth.
- Garlic – 3 cloves, minced. Fresh only—don’t use the jarred stuff here.
- All-purpose flour – 3 tablespoons. This thickens the sauce without making it pasty.
- Chicken or vegetable broth – 1 cup. Low-sodium is best so you can control the salt.
- Heavy cream – 1 cup. Don’t substitute with milk here; the cream gives the sauce its luxurious texture.
- Fresh thyme – 1 teaspoon, chopped. Adds that subtle herbal note that makes everything taste more sophisticated.
- Salt and black pepper – To taste.
- Nutmeg – A tiny pinch. Trust me on this—it brightens the cream sauce in a way you can’t quite identify.
For the Crispy Shallots
- Shallots – 4 large, thinly sliced into rings. Use a mandoline if you have one for even slices.
- All-purpose flour – 1/2 cup. For coating the shallots.
- Salt – 1/2 teaspoon.
- Black pepper – 1/4 teaspoon.
- Neutral oil – For frying. Canola, vegetable, or avocado oil work well.
For the Topping (Optional but Recommended)
- Panko breadcrumbs – 1/2 cup. Adds extra crunch on top.
- Parmesan cheese – 1/4 cup, grated. Optional, but it adds a nice salty, nutty layer.
I recommend using fresh green beans here. Frozen ones release too much water and make the sauce watery. Trust me, I learned that the hard way.
Equipment Needed
You don’t need a fancy kitchen to make this recipe, but a few key tools will make your life easier.
- Large pot – For blanching the green beans. You need enough water to fully submerge them.
- Large bowl with ice water – For the ice bath. This stops the cooking process immediately.
- Large skillet or sauté pan – For making the mushroom cream sauce. A 12-inch pan gives you enough room.
- Medium saucepan – For frying the shallots. A heavy-bottomed pan works best for even heat.
- 9×13-inch baking dish – Standard size works perfectly. You can also use a 2-quart casserole dish.
- Mandoline or sharp knife – For slicing the shallots thinly and evenly. A mandoline is faster and gives you consistent slices.
- Slotted spoon or spider strainer – For removing the fried shallots from the oil.
- Paper towels – For draining the shallots.
- Whisk – For smoothing out the cream sauce.
If you don’t have a mandoline, just use a sharp knife and take your time slicing the shallots. Even slices matter for even frying. Also, a good thermometer isn’t required but helps if you’re nervous about frying. I use a cheap instant-read one and it works fine.
Preparation Method
Let’s walk through this step by step. I’ll include all the little details I wish someone had told me the first time I made this.
Step 1: Blanch the Green Beans
Bring a large pot of salted water to a rolling boil. Add the trimmed green beans and cook for exactly 2 minutes. You want them bright green and still crisp. While they cook, fill a large bowl with ice water. After 2 minutes, use a slotted spoon or tongs to transfer the beans directly into the ice bath. Let them sit for 3 minutes, then drain well. Pat them dry with a clean kitchen towel. Set aside.
Pro tip: Don’t skip the ice bath. If you don’t stop the cooking, the beans will keep softening and turn that sad olive color. Nobody wants that.
Step 2: Make the Crispy Shallots
While the beans are cooling, start on the shallots. Slice them into thin rings—about 1/8-inch thick. In a shallow bowl, whisk together the flour, salt, and pepper. Toss the shallot rings in the flour mixture until they’re evenly coated. Shake off any excess.
Heat about 1 inch of oil in a medium saucepan to 325°F. If you don’t have a thermometer, test by dropping a shallot ring in—it should sizzle gently but not aggressively. Fry the shallots in batches, being careful not to crowd the pan. Cook for 2-3 minutes, stirring occasionally, until golden brown. Use a slotted spoon to transfer them to a paper towel-lined plate. Season immediately with a pinch of salt. Let them cool completely—they’ll get crunchier as they cool.
Honest moment: My first batch of shallots burned because I had the heat too high. Low and slow is the way to go. They should be golden, not dark brown.
Step 3: Sauté the Mushrooms and Onions
In a large skillet, melt the butter over medium-high heat. Add the sliced mushrooms and cook, stirring occasionally, for 5-6 minutes until they release their liquid and start to brown. Add the diced onion and cook another 3-4 minutes until softened. Stir in the minced garlic and cook for 30 seconds until fragrant.
Don’t crowd the pan. If the mushrooms are too crowded, they’ll steam instead of brown. Cook them in two batches if your pan isn’t big enough.
Step 4: Make the Cream Sauce
Sprinkle the flour over the mushroom mixture and stir constantly for 1 minute. This cooks out the raw flour taste. Slowly pour in the broth while whisking, then add the heavy cream. Keep whisking until the sauce thickens, about 3-4 minutes. Stir in the fresh thyme, a pinch of nutmeg, and salt and pepper to taste.
The sauce should be thick enough to coat the back of a spoon. If it’s too thick, add a splash more broth. If it’s too thin, let it simmer another minute.
Step 5: Assemble the Casserole
Preheat your oven to 375°F. In a large bowl, combine the blanched green beans with the mushroom cream sauce. Stir gently until the beans are evenly coated. Transfer everything to a greased 9×13-inch baking dish and spread it into an even layer.
If you’re using the panko and parmesan topping, mix them together in a small bowl and sprinkle over the casserole. This adds even more crunch on top.
Step 6: Bake
Bake for 20-25 minutes until the casserole is bubbly and the top is golden. Remove from the oven and let it rest for 5 minutes. Just before serving, sprinkle the crispy shallots generously over the top. This keeps them crunchy—if you add them before baking, they’ll soften.
Important: The casserole will be very hot. Let it sit for a few minutes so the sauce sets slightly. It makes serving much easier.
Cooking Tips & Techniques
I’ve made this casserole more times than I can count, and I’ve definitely made my share of mistakes. Here’s what I’ve learned so you don’t have to repeat them.
Don’t overcook the beans. Blanching for exactly 2 minutes is non-negotiable. Any longer and they lose that bright color and crisp texture. The beans will continue cooking slightly in the oven, so starting with them undercooked is actually perfect.
Low heat for shallots. I cannot stress this enough. If your oil is too hot, the shallots will burn before they’re crispy. If it’s too low, they’ll absorb too much oil and turn greasy. Aim for 325°F and watch them closely. They go from golden to burnt in about 30 seconds.
Season as you go. Season the blanching water, season the shallots, season the sauce. Each layer of flavor builds on the last. If you wait until the end to season, it won’t taste as deep.
Make the sauce thick enough. The cream sauce should be slightly thicker than you think it needs to be, because the beans will release some moisture during baking. If the sauce is too thin going in, you’ll end up with a watery casserole.
Let it rest before serving. I know it’s tempting to dig in right away, but letting the casserole sit for 5-10 minutes allows the sauce to set and the flavors to meld. Plus, it won’t burn your mouth.
One time I forgot to blanch the beans and just threw them in raw. They came out crunchy in a bad way. Another time I skipped the ice bath and the beans turned that sad olive color. Learn from my mistakes, friends.
Variations & Adaptations
This recipe is flexible, and I’ve tried quite a few variations over the years. Here are some of my favorites.
Make it gluten-free: Use a gluten-free all-purpose flour blend in the sauce and swap the panko for gluten-free breadcrumbs. The shallots can be coated in rice flour or cornstarch instead of all-purpose flour.
Add bacon: Because everything is better with bacon. Cook 4-5 slices of bacon until crispy, crumble them, and sprinkle over the top along with the shallots. I’ve done this for a tailgating party and it was a huge hit.
Make it dairy-free: Use a good quality vegan butter and replace the heavy cream with full-fat coconut cream or a thick cashew cream. The flavor will be slightly different but still delicious.
Add cheese: Stir in 1/2 cup of shredded Gruyère or sharp cheddar into the cream sauce before baking. It adds a whole new level of richness.
Spice it up: Add a pinch of red pepper flakes or a dash of cayenne to the cream sauce for a little heat. I’ve also added a tablespoon of Hatch chili salsa verde for a smoky kick.
Make it a main dish: Add cooked chicken or leftover turkey to turn this side dish into a full meal. It’s a great way to use up holiday leftovers.
I personally love the version with Gruyère and bacon. It’s indulgent, but sometimes you just need that.
Serving & Storage Suggestions
This casserole is at its best when served hot, straight from the oven. The sauce should be bubbly and the top should be golden. Let it rest for 5 minutes before serving so the sauce sets slightly.
What to serve with it: This green bean casserole is the perfect side for roasted turkey, ham, or even a simple roast chicken. It also pairs beautifully with creamy mashed potatoes and creamy hatch green chile chicken enchiladas for a cozy dinner. For a holiday spread, I’d serve it alongside stuffing and cranberry sauce.
Storage: Leftovers can be stored in an airtight container in the refrigerator for up to 4 days. The shallots will soften over time, but the flavor is still great.
Reheating: Reheat in a 350°F oven for 10-15 minutes until warmed through. The microwave works too, but the texture won’t be as good. If you want to refresh the crunch, add a fresh batch of crispy shallots on top after reheating.
Freezing: You can freeze the unbaked casserole (without the shallots) for up to 3 months. Thaw overnight in the refrigerator, then bake as directed. Add fresh crispy shallots after baking.
Make ahead: Assemble the casserole completely (without the shallots) up to 24 hours in advance. Cover and refrigerate. When ready to bake, add 5-10 minutes to the baking time since it’s starting from cold. Add the crispy shallots right before serving.
The flavors actually deepen overnight, so leftovers the next day are almost better than the fresh version. Almost.
Nutritional Information & Benefits
Here’s the approximate nutritional breakdown for one serving (based on 8 servings):
| Nutrient | Amount |
|---|---|
| Calories | 285 |
| Total Fat | 18g |
| Saturated Fat | 10g |
| Cholesterol | 55mg |
| Sodium | 420mg |
| Total Carbohydrates | 24g |
| Dietary Fiber | 4g |
| Sugars | 6g |
| Protein | 6g |
Health benefits: Green beans are a great source of vitamin C, vitamin K, and fiber. They’re also low in calories, so you can enjoy a generous serving without guilt. Mushrooms provide B vitamins and selenium, which supports immune function. Shallots are rich in antioxidants and have anti-inflammatory properties.
Dietary considerations: This recipe can be made gluten-free and dairy-free with simple substitutions (see variations above). It’s not suitable for vegan diets in its current form, but a vegan version is possible with the right swaps.
Potential allergens: This recipe contains dairy (butter, cream, cheese) and gluten (flour, panko). If you have allergies, please check the substitutions section.
I don’t pretend this is health food, but it’s made with real ingredients and that counts for something. A serving of vegetables with your holiday dinner? That’s a win in my book.
Conclusion
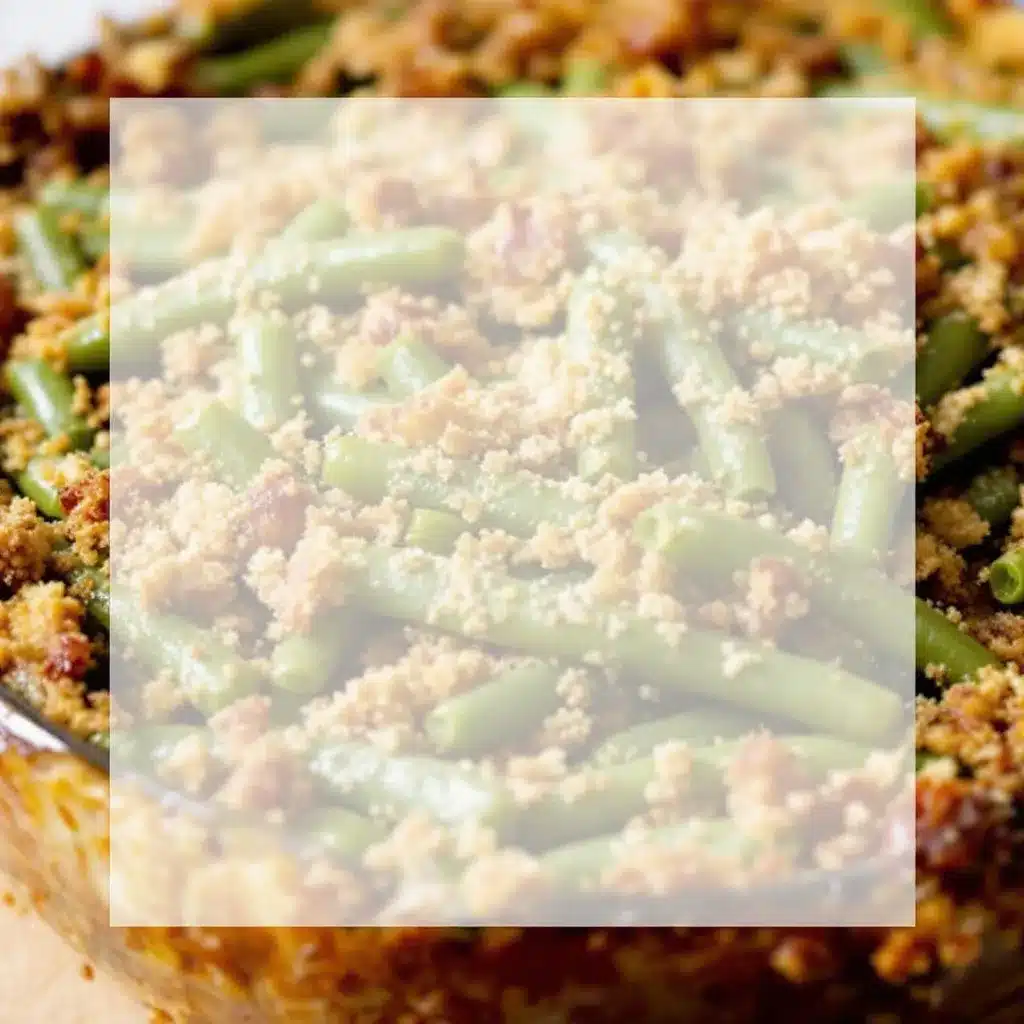
This Best Green Bean Casserole with Crispy Shallots is the kind of recipe that makes people ask for the details. It’s not complicated, but it feels special. The bright green beans, the creamy mushroom sauce, and those impossibly crunchy shallots on top—it all comes together in a way that’s greater than the sum of its parts.
I love this recipe because it proves that you don’t need shortcuts to make something delicious. A little extra effort—blanching the beans, frying the shallots, making the sauce from scratch—makes all the difference. And honestly, it’s still easy enough for a weeknight dinner.
I’d love to hear how this turns out for you. Did you add bacon? Try it with Gruyère? Make it for a holiday dinner and watch it disappear? Drop a comment below and let me know. And if you share it on social media, tag me—I love seeing your creations.
Here’s to green bean casserole that actually tastes like something. You’ve got this.
Frequently Asked Questions
Can I use frozen green beans instead of fresh?
You can, but I don’t recommend it. Frozen beans release a lot of water as they thaw and cook, which will make your sauce watery. If you’re in a pinch, thaw them completely and pat them very dry before using. But fresh beans really are worth the extra step here.
How do I keep the crispy shallots from getting soggy?
The key is adding them right before serving. If you add them before baking, they’ll soften in the oven. Fry them, let them cool completely, and store them in an airtight container at room temperature until you’re ready to use them. Sprinkle them on top of the baked casserole just before bringing it to the table.
Can I make this casserole ahead of time?
Absolutely. Assemble the casserole completely (without the crispy shallots) up to 24 hours in advance. Cover and refrigerate. When you’re ready to bake, add about 5-10 minutes to the baking time since it’s starting from cold. Add the crispy shallots right before serving.
Why did my cream sauce turn out grainy?
Grainy sauce usually happens when the heat is too high or the dairy curdles. Make sure you’re cooking the sauce over medium heat, not high heat. Also, add the cream slowly while whisking constantly. If you’re using a dairy-free substitute, some brands are more prone to separating than others.
Can I freeze this casserole?
Yes! Freeze the unbaked casserole (without the shallots) for up to 3 months. Thaw overnight in the refrigerator, then bake as directed. Add fresh crispy shallots after baking. I wouldn’t recommend freezing after baking—the texture of the beans and sauce changes too much.
Pin This Recipe!
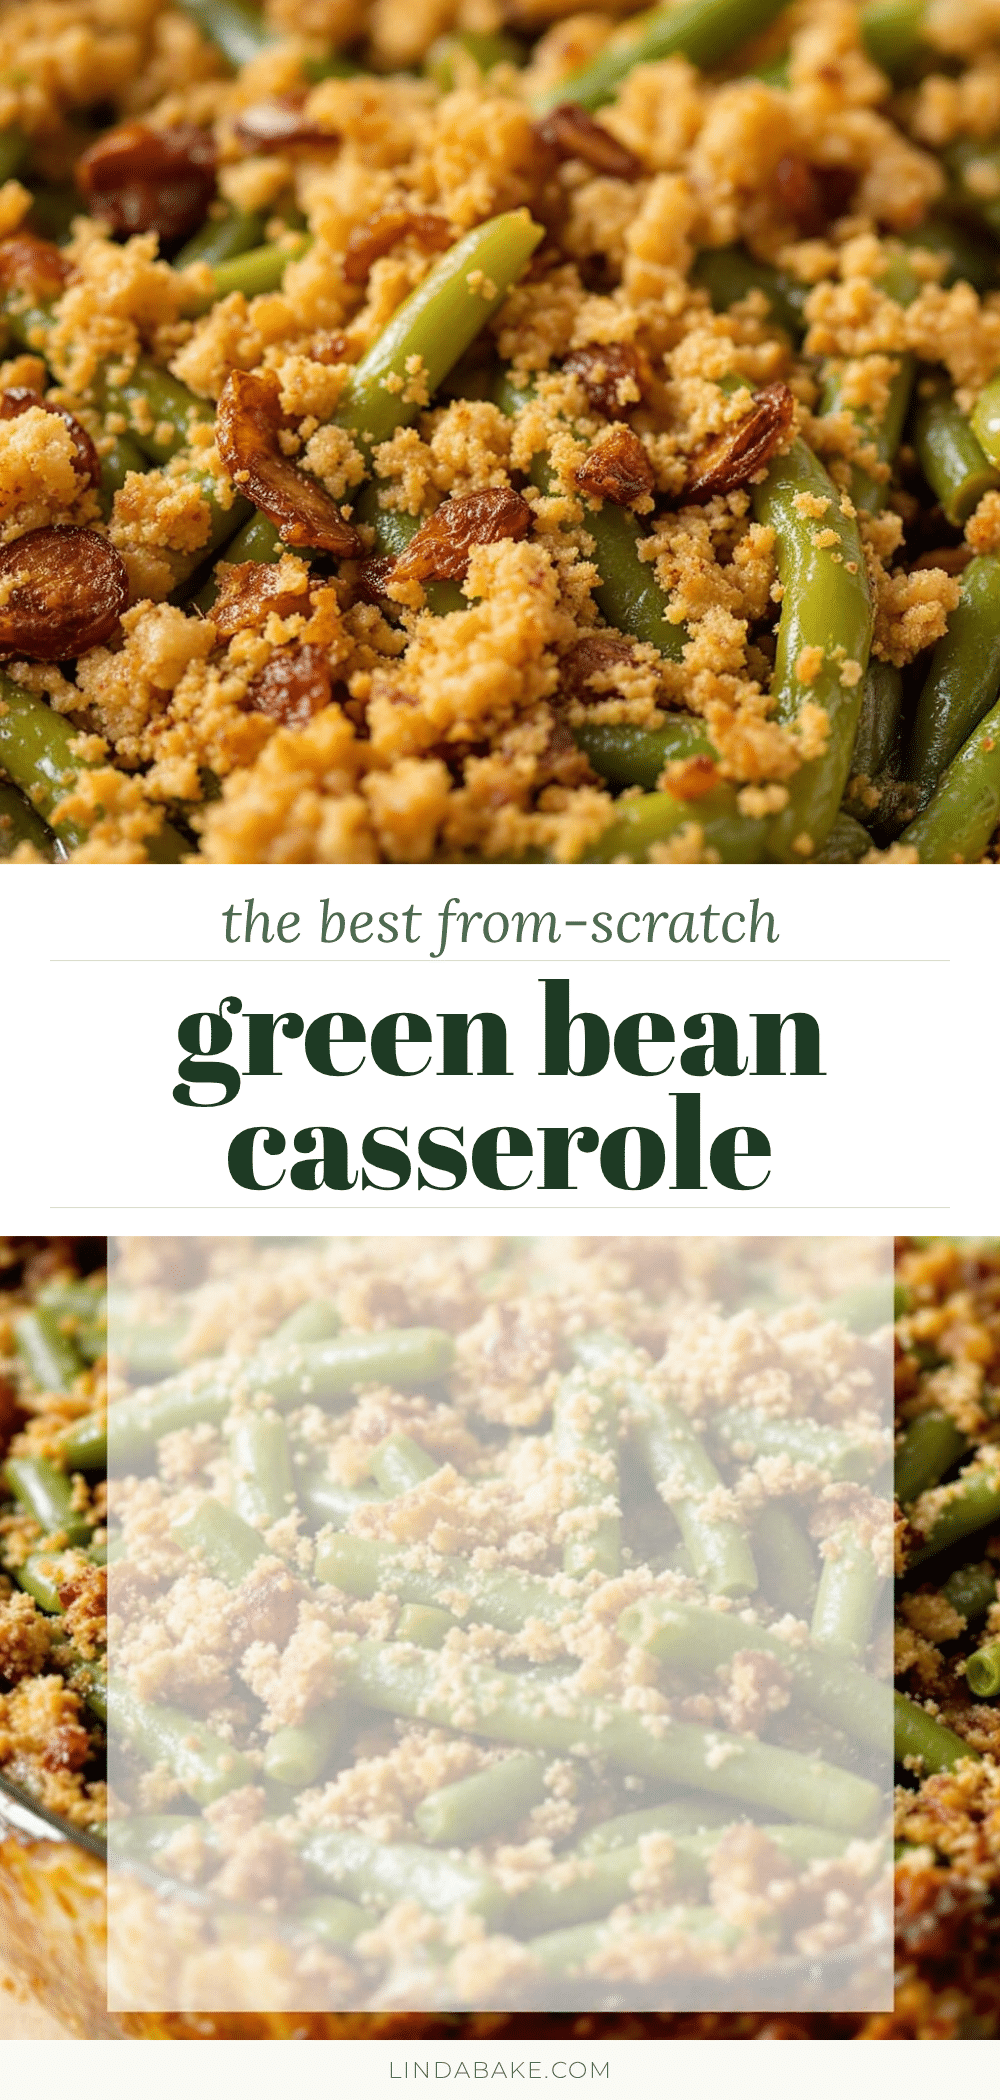
Best Green Bean Casserole with Crispy Shallots – Easy Holiday Side
This green bean casserole features fresh green beans, a creamy homemade mushroom sauce, and crispy fried shallots. It’s a make-ahead friendly side dish that stays crunchy and bright, perfect for holiday dinners.
- Prep Time: 20 minutes
- Cook Time: 30 minutes
- Total Time: 50 minutes
- Yield: 8 servings 1x
- Category: Side Dish
- Cuisine: American
Ingredients
- 2 pounds fresh green beans, trimmed and cut into 2-inch pieces
- Salt for blanching water
- Ice for ice bath
- 4 tablespoons unsalted butter
- 12 ounces cremini mushrooms, sliced
- 1 medium yellow onion, finely diced
- 3 cloves garlic, minced
- 3 tablespoons all-purpose flour
- 1 cup low-sodium chicken or vegetable broth
- 1 cup heavy cream
- 1 teaspoon fresh thyme, chopped
- Salt and black pepper to taste
- A tiny pinch of nutmeg
- 4 large shallots, thinly sliced into rings
- 1/2 cup all-purpose flour (for shallots)
- 1/2 teaspoon salt (for shallots)
- 1/4 teaspoon black pepper (for shallots)
- Neutral oil for frying (canola, vegetable, or avocado)
- 1/2 cup panko breadcrumbs (optional)
- 1/4 cup grated Parmesan cheese (optional)
Instructions
- Bring a large pot of salted water to a rolling boil. Add the trimmed green beans and cook for exactly 2 minutes. While they cook, fill a large bowl with ice water. After 2 minutes, transfer the beans to the ice bath. Let them sit for 3 minutes, then drain well and pat dry. Set aside.
- Slice shallots into thin rings (about 1/8-inch thick). In a shallow bowl, whisk together 1/2 cup flour, 1/2 teaspoon salt, and 1/4 teaspoon pepper. Toss shallot rings in the flour mixture until evenly coated. Shake off excess.
- Heat about 1 inch of oil in a medium saucepan to 325°F. Fry shallots in batches for 2-3 minutes, stirring occasionally, until golden brown. Transfer to a paper towel-lined plate and season immediately with a pinch of salt. Let cool completely.
- In a large skillet, melt butter over medium-high heat. Add sliced mushrooms and cook for 5-6 minutes until they release liquid and start to brown. Add diced onion and cook 3-4 minutes until softened. Stir in minced garlic and cook for 30 seconds until fragrant.
- Sprinkle 3 tablespoons flour over the mushroom mixture and stir constantly for 1 minute. Slowly pour in broth while whisking, then add heavy cream. Continue whisking until sauce thickens, about 3-4 minutes. Stir in fresh thyme, nutmeg, and salt and pepper to taste.
- Preheat oven to 375°F. In a large bowl, combine blanched green beans with mushroom cream sauce. Stir gently until beans are evenly coated. Transfer to a greased 9×13-inch baking dish and spread into an even layer. If using, mix panko and Parmesan and sprinkle over the top.
- Bake for 20-25 minutes until bubbly and golden. Remove from oven and let rest for 5 minutes. Just before serving, sprinkle crispy shallots generously over the top.
Notes
Don’t skip the ice bath after blanching—it locks in the bright green color. Fry shallots low and slow (325°F) to avoid burning. Add crispy shallots just before serving to keep them crunchy. The sauce should be slightly thicker than desired before baking, as beans release moisture. Let casserole rest 5-10 minutes before serving to allow sauce to set.
Nutrition
- Serving Size: 1 serving
- Calories: 285
- Sugar: 6
- Sodium: 420
- Fat: 18
- Saturated Fat: 10
- Carbohydrates: 24
- Fiber: 4
- Protein: 6
Keywords: green bean casserole, crispy shallots, holiday side dish, Thanksgiving, mushroom cream sauce, easy side dish


