The hatch chiles had been sitting in my shopping bag for three days, getting riper and more wrinkled by the hour. I bought a bushel at the farmers market—way too many, honestly, because the smell of them roasting made me lose all sense of portion control. My fridge was packed with tomatillos from a neighbor’s garden overflow, and I had this jar of roasted garlic I made last week sitting on the counter. That’s when it clicked: I needed to make a salsa that didn’t just taste good but actually made you stop mid-chip and go, “Wait, what’s in this?”
I’ve made a lot of salsas in my day—some that were too watery, some that were too acidic, and a few that were so spicy they basically counted as a dare. But this Hatch chili salsa verde? It’s different. It’s the kind of salsa that makes you want to put it on everything, not just chips. I poured it over eggs the next morning, and let me tell you, that was a decision I’m still proud of.
The trick is roasting everything until it’s genuinely charred, not just lightly toasted. You want that smoky depth that makes people think you spent hours on this. The truth is, from start to finish, you’re looking at about 30 minutes of active work. The oven does the heavy lifting, and you just get to be the hero who brought the best salsa to the party.
This isn’t one of those recipes that’s trying to be fancy. It’s honest, it’s bold, and it’s the kind of thing that makes you wonder why you ever bought salsa from a jar. Once you taste this, you’ll understand why I buy hatch chiles by the bushel.
Why You’ll Love This Recipe
Let me tell you why this salsa has become my most-requested recipe for gatherings, tailgates, and even just Tuesday night taco dinners. I’ve tested this version at least six times, tweaking the roast times and the ratio of tomatillos to chiles until it hit that perfect balance of smoky, tangy, and just a little bit fiery.
- Quick & Easy: This comes together in about 30 minutes of active time. The oven does most of the work while you prep your chips and pour yourself a drink.
- Simple Ingredients: You probably have most of these in your kitchen right now. No fancy grocery store runs required—just fresh produce and pantry staples.
- Perfect for Entertaining: This salsa is a crowd-pleaser that works for game day, summer barbecues, or even as a fancy addition to your taco night spread.
- Unbelievably Versatile: I’ve used this as a sauce for enchiladas, a topping for grilled chicken, and even stirred it into soups for an instant flavor boost.
- Better Than Store-Bought: Once you taste the difference that fresh-roasted chiles make, you’ll never go back to jarred salsa verde.
What makes this recipe different from the dozens of other salsa verde recipes out there? It’s the roasting technique. I char the tomatillos, onions, and garlic until they’re actually blackened in spots—not just lightly browned. That deep char adds a smokiness that you can’t get from a can or a jar. Plus, I use a combination of roasted hatch chiles and a small amount of fresh jalapeño for brightness. It’s a trick I picked up from years of trial and error in my own kitchen.
This is the kind of salsa that makes you close your eyes after the first bite. It’s comfort food reimagined—fresher, smokier, and more satisfying than anything you’ll find in the grocery store aisle.
What Ingredients You Will Need
This recipe uses simple, wholesome ingredients that come together to create something truly special. Most of these are pantry staples or easy to find at any grocery store, especially during hatch chile season.
For the Roasted Vegetables
- Fresh Hatch Chiles (6-8 medium, about 1 pound) – Look for chiles that are firm and glossy. If you can’t find hatch chiles, Anaheim or poblano peppers make good substitutes, though the flavor will be milder.
- Tomatillos (1.5 pounds, about 8-10 medium) – Remove the papery husks and rinse them well. They should be firm and bright green. The stickiness is normal—just wash it off.
- White Onion (1 large, cut into thick slices) – I prefer white onion for its sharpness that mellows beautifully when roasted.
- Garlic Cloves (4-5 cloves, peeled) – Leave them whole so they don’t burn too quickly. I’ve used pre-peeled garlic in a pinch, but fresh is better here.
- Jalapeño Pepper (1 medium, stem removed) – This adds a fresh, grassy heat that complements the smokiness of the hatch chiles. Remove the seeds if you want less heat.
For the Salsa Base
- Fresh Lime Juice (2-3 tablespoons, about 1 large lime) – Always use fresh lime juice. The bottled stuff has a flat taste that throws off the whole salsa.
- Fresh Cilantro (1/2 cup packed, roughly chopped) – I’m firmly in the pro-cilantro camp. If you’re not, you can use flat-leaf parsley or just leave it out.
- Ground Cumin (1 teaspoon) – This adds warmth and depth. I recommend toasting whole cumin seeds and grinding them yourself if you have time—it makes a noticeable difference.
- Salt (1 teaspoon, or to taste) – I use kosher salt because it dissolves evenly and doesn’t have the metallic taste of iodized salt.
- Olive Oil (2 tablespoons) – Use a good-quality extra virgin olive oil for drizzling over the vegetables before roasting.
Ingredient Selection Tip: When choosing hatch chiles, look for ones that are firm and have a bit of give when you squeeze them gently. Avoid any that are wrinkled or have soft spots. For the tomatillos, the tighter the husk, the fresher they are. I personally prefer Hatch brand chiles when I can find them, but any fresh hatch chiles from a reputable source will work beautifully.
Substitution Guidance: If you can’t find fresh hatch chiles, you can use canned roasted green chiles in a pinch—just use about 1 cup and skip the roasting step for them. For a milder version, remove all seeds from the jalapeño and hatch chiles. For extra heat, add a serrano pepper or two to the roasting tray.
Equipment Needed
You don’t need a fancy kitchen to make this salsa, but having the right tools makes the process smoother and more enjoyable.
- Baking Sheet – A rimmed baking sheet works best to catch any juices from the roasting vegetables. I use a half-sheet pan for even roasting.
- Blender or Food Processor – Either works, but a food processor gives you more control over the texture. I prefer my Cuisinart for this because it lets me pulse to my desired consistency.
- Tongs – For flipping the vegetables halfway through roasting. Trust me, you don’t want to do this with your fingers—they’re hot!
- Cutting Board and Knife – A sharp chef’s knife makes quick work of the onions and cilantro.
- Mixing Bowl – For combining the salsa after blending. I use a glass bowl so I can see the color and consistency.
- Measuring Spoons and Cups – For precise measurements, though honestly, I often eyeball the lime juice and salt once I’ve made this a few times.
Budget-Friendly Alternative: If you don’t have a food processor, an immersion blender works great, or you can even chop everything by hand for a chunkier salsa. The texture will be different, but the flavor will still be amazing.
Maintenance Tip: After roasting, let your baking sheet cool completely before washing. The charred bits can be stubborn, so I soak mine in hot soapy water for about 10 minutes before scrubbing.
Preparation Method
This is where the magic happens. Follow these steps carefully, and you’ll end up with the best salsa verde you’ve ever tasted.
- Preheat your oven to 425°F (220°C). Get it nice and hot—this high heat is what creates that beautiful char.
- Prepare the vegetables for roasting. Remove the husks from the tomatillos and rinse them under warm water to remove the sticky residue. Cut the onion into 1/2-inch thick rounds. Peel the garlic cloves but leave them whole. Remove the stems from the hatch chiles and jalapeño.
- Arrange everything on the baking sheet. Spread the tomatillos, hatch chiles, onion slices, jalapeño, and garlic cloves in a single layer. Drizzle with olive oil and toss gently to coat. Sprinkle with a pinch of salt.
- Roast for 20-25 minutes, flipping halfway through. You want the vegetables to be soft and charred in spots. The tomatillos should look blistered and slightly collapsed. The chiles should have blackened skin. Don’t be afraid of the char—that’s where the flavor comes from.
- Let the vegetables cool slightly. Transfer them to a cutting board or plate and let them rest for about 5 minutes. This makes them easier to handle and prevents steam burns.
- Remove the skins from the hatch chiles. Once they’re cool enough to touch, peel off the blackened skin. It should come off easily. Remove the seeds and stems if you want a milder salsa. I leave some seeds in for extra heat.
- Transfer everything to a food processor. Add the roasted tomatillos, hatch chiles, onion, garlic, and jalapeño. Add the fresh lime juice, cilantro, cumin, and salt.
- Pulse until you reach your desired consistency. I like my salsa with some texture, so I pulse about 8-10 times. For a smoother salsa, let it run for 15-20 seconds. Taste and adjust seasoning—add more lime juice for acidity, more salt for depth, or more cumin for warmth.
- Let the salsa rest for at least 15 minutes. This is the hardest step because you’ll want to dive in immediately, but the flavors need time to meld. The salsa will taste noticeably better after resting.
- Serve or store. Transfer to a bowl and serve with warm tortilla chips, or store in an airtight container in the refrigerator.
Sensory Cue: When the tomatillos are done roasting, they should look like little deflated balloons—soft, blistered, and releasing their juices onto the pan. The smell at this point is incredible: smoky, sweet, and slightly tangy.
Troubleshooting Tip: If your salsa tastes too acidic, add a pinch of sugar to balance it out. If it’s too spicy, stir in a tablespoon of plain yogurt or sour cream when serving. If it’s too thin, you can simmer it on the stovetop for 5-10 minutes to reduce it.
Cooking Tips & Techniques
Over the years, I’ve learned a few things the hard way so you don’t have to. Here are my best tips for making this salsa perfect every time.
Don’t skip the char. I know it’s tempting to pull the vegetables out of the oven as soon as they look cooked, but that char is what gives this salsa its signature smoky flavor. Let them get properly blackened—think dark spots, not just golden brown. The first time I made this, I pulled them too early, and the salsa was good but not great. Now I let them go until I see real color.
Use a hot oven. 425°F is non-negotiable here. Lower temperatures will cook the vegetables without charring them, and you’ll miss out on that roasted depth. If your oven runs cool, bump it up to 450°F.
Let the salsa rest. This is the tip I can’t stress enough. The salsa will taste one-dimensional right after blending, but after 15-30 minutes, the flavors will meld and deepen. I’ve made the mistake of serving it immediately, and it’s never as good. Patience pays off here.
Toast your cumin. If you have whole cumin seeds, toast them in a dry skillet over medium heat for about 60 seconds until fragrant, then grind them. The difference is night and day. I learned this trick from a chef friend, and now I can’t go back to pre-ground cumin for this recipe.
Multitask like a pro. While the vegetables are roasting, you can prep your chips, chop any garnishes, and clean up your workspace. The active time on this recipe is minimal, so use the oven time wisely.
Common mistake to avoid: Over-blending the salsa. You want some texture—little bits of onion, tiny pieces of chile. If you turn it into a puree, it loses that rustic charm that makes homemade salsa so special.
Variations & Adaptations
This recipe is incredibly flexible, and I’ve tried several variations over the years. Here are some of my favorites.
Mild Version
Remove all seeds and membranes from the hatch chiles and jalapeño before roasting. You’ll still get the smoky flavor without the heat. This version is perfect for kids or spice-sensitive guests. I made this for a family gathering where my aunt claimed she “can’t handle any heat,” and she went back for thirds.
Extra Smoky Version
Add 1-2 dried chipotle peppers to the roasting tray for the last 5 minutes of cooking. Rehydrate them in hot water for 10 minutes before adding to the blender. The chipotle adds a deep, almost bacon-like smokiness that’s incredible with grilled meats.
Herb Garden Version
Substitute half the cilantro with fresh mint or basil. This might sound weird, but trust me—the mint adds a freshness that’s amazing in the summer. I discovered this by accident when I ran out of cilantro and had mint growing in my garden. Now it’s my go-to summer version.
Fruit-Infused Version
Add 1/2 cup of roasted pineapple or mango to the blender with the other ingredients. The sweetness balances the heat and adds a tropical twist. This is amazing on fish tacos or grilled shrimp.
Dairy-Free Creamy Version
Stir in 1/4 cup of cashew cream or avocado after blending for a creamy, dairy-free sauce. This turns the salsa into more of a dressing or sauce, perfect for drizzling over tacos or grain bowls.
Serving & Storage Suggestions
This salsa is incredibly versatile, and I’ve found countless ways to enjoy it beyond just chips and dip.
Serving Temperature: This salsa is best served at room temperature or slightly chilled. If you’ve refrigerated it, let it sit out for 15-20 minutes before serving. Cold temperatures mute the flavors, so letting it warm up a bit makes a big difference.
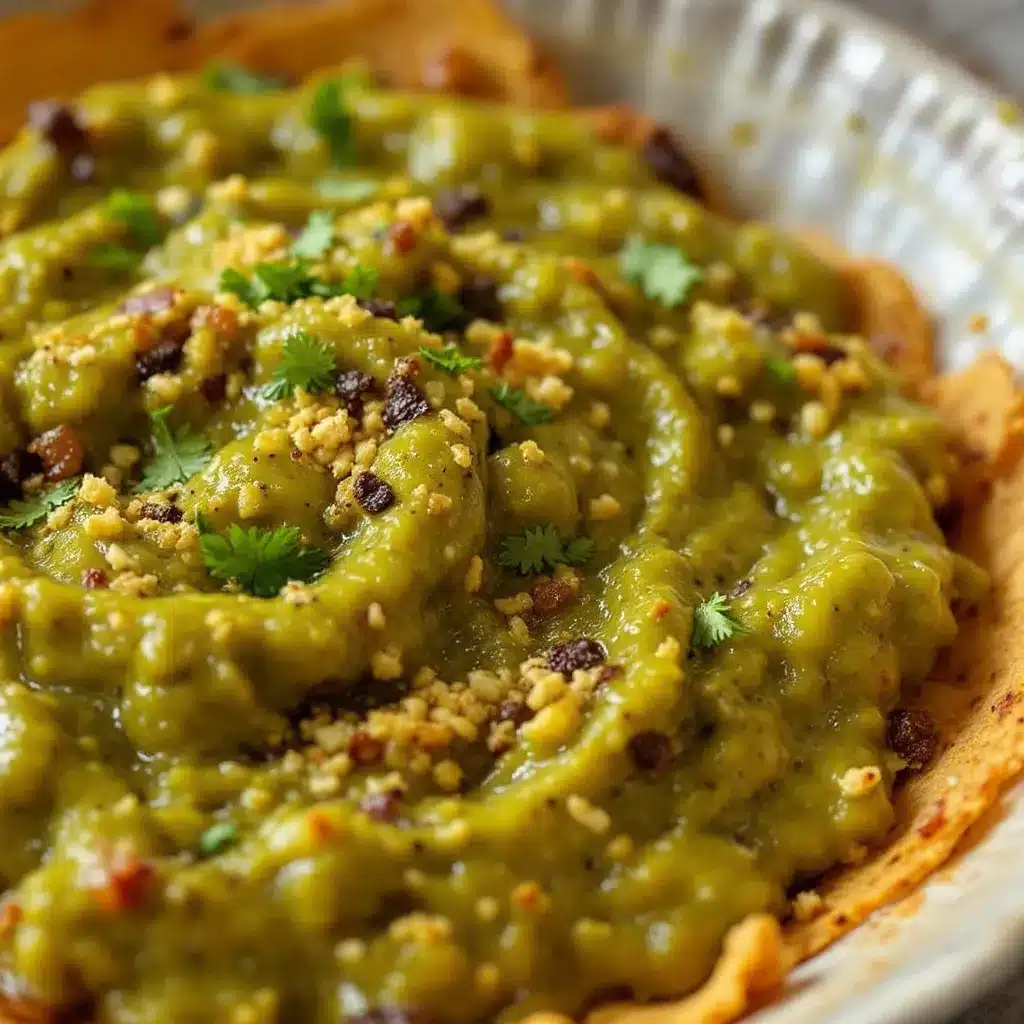
Presentation Ideas: Serve in a wide, shallow bowl so guests can see the texture. Garnish with a few cilantro leaves and a lime wedge. For parties, I sometimes serve it in a hollowed-out bread bowl or a small cast iron skillet for a rustic look.
Complementary Dishes: This salsa is amazing with warm tortilla chips, but don’t stop there. Use it as a sauce for enchiladas, a topping for grilled chicken or fish, a dressing for taco salads, or stirred into soups for an instant flavor boost. I’ve even used it as a marinade for chicken thighs—just blend it with a little olive oil and let the chicken sit for 30 minutes before grilling.
Storage Instructions: Store in an airtight container in the refrigerator for up to 5 days. The flavors will continue to develop, and it often tastes even better on day two. I don’t recommend freezing this salsa because the texture changes—the vegetables become watery and mushy upon thawing.
Reheating Notes: This salsa is typically served cold or at room temperature, but if you want it warm, gently heat it in a saucepan over low heat. Don’t boil it—just warm it through. You can also microwave it in 15-second intervals, stirring between each.
Flavor Development: The salsa will be at its peak 24 hours after making it. The flavors meld and deepen, and the heat becomes more integrated. If you can plan ahead, make this the day before you need it.
If you love bold, smoky flavors, you might also enjoy this spicy Korean-Mexican street corn dip for your next gathering. And for a refreshing drink to pair with the heat, try this mango jalapeño agua fresca—the sweetness balances the salsa perfectly.
Nutritional Information & Benefits
This salsa is not just delicious—it’s packed with nutrients that make you feel good about eating it by the spoonful.
| Nutrient | Amount Per Serving (1/4 cup) |
|---|---|
| Calories | 35 |
| Total Fat | 2g |
| Saturated Fat | 0.3g |
| Sodium | 180mg |
| Total Carbohydrates | 5g |
| Dietary Fiber | 1.5g |
| Sugars | 3g |
| Protein | 1g |
| Vitamin C | 15% DV |
| Vitamin A | 8% DV |
Health Benefits: Hatch chiles are rich in capsaicin, which has anti-inflammatory properties and can boost metabolism. Tomatillos are an excellent source of vitamin C and fiber. Garlic and onions contain compounds that support heart health and immune function. This salsa is naturally gluten-free, vegan, and low in calories, making it a smart choice for anyone watching their diet.
Dietary Considerations: This recipe is naturally gluten-free, dairy-free, vegan, and paleo-friendly. It’s also Whole30 compliant if you use a compliant oil. The only potential allergen is the cilantro, which some people have a genetic aversion to—if that’s you, simply omit it or substitute with flat-leaf parsley.
Personal Wellness Perspective: I love that this salsa lets me eat something incredibly flavorful without any guilt. It’s whole foods at their finest—just vegetables, herbs, and spices. When I’m trying to eat healthier, I put this on everything from eggs to salads to grilled proteins.
Conclusion
This Hatch chili salsa verde is the kind of recipe that becomes a staple in your kitchen. It’s simple enough for a weeknight, impressive enough for company, and versatile enough to use in countless ways. The smoky depth from the roasted chiles, the brightness from the lime and cilantro, and the subtle warmth from the cumin come together in a way that feels both familiar and exciting.
I love this recipe because it reminds me that the best food doesn’t have to be complicated. It’s about letting good ingredients shine and not overthinking things. Every time I make this salsa, I’m amazed at how something so simple can taste so incredible.
I’d love to hear how this turns out for you! Leave a comment below and let me know if you tried any variations or what you served it with. If you’re looking for another bold, flavorful recipe, check out this harissa lamb meatballs with couscous for a meal that pairs beautifully with this salsa. And don’t forget to share this recipe with your friends—good salsa deserves to be shared!
Frequently Asked Questions
Can I use canned hatch chiles instead of fresh?
Yes, you can use canned roasted green chiles in a pinch. Use about 1 cup and skip the roasting step for them. The flavor won’t be as smoky, but it will still be delicious. Just drain them well before adding to the blender.
How long does this salsa last in the refrigerator?
This salsa will keep for up to 5 days in an airtight container in the refrigerator. The flavors actually get better after a day or two as they meld together. Just give it a stir before serving.
Can I freeze this salsa?
I don’t recommend freezing this salsa because the texture changes significantly. The vegetables become watery and mushy upon thawing. If you have too much, it’s better to share it with friends or use it as a cooking sauce within the week.
How can I make this salsa less spicy?
Remove all seeds and membranes from the hatch chiles and jalapeño before roasting. You can also use only mild hatch chiles or substitute with Anaheim peppers, which are much milder. For extra insurance, add a tablespoon of plain yogurt or sour cream when serving to cut the heat.
What else can I use this salsa for besides chips?
This salsa is incredibly versatile! Use it as a sauce for enchiladas, a topping for grilled chicken or fish, a dressing for taco salads, stirred into soups, as a marinade for meats, drizzled over eggs, or even as a sauce for grain bowls. I’ve even used it as a base for a quick chicken soup—just add broth and shredded chicken and simmer for 10 minutes.
Pin This Recipe!
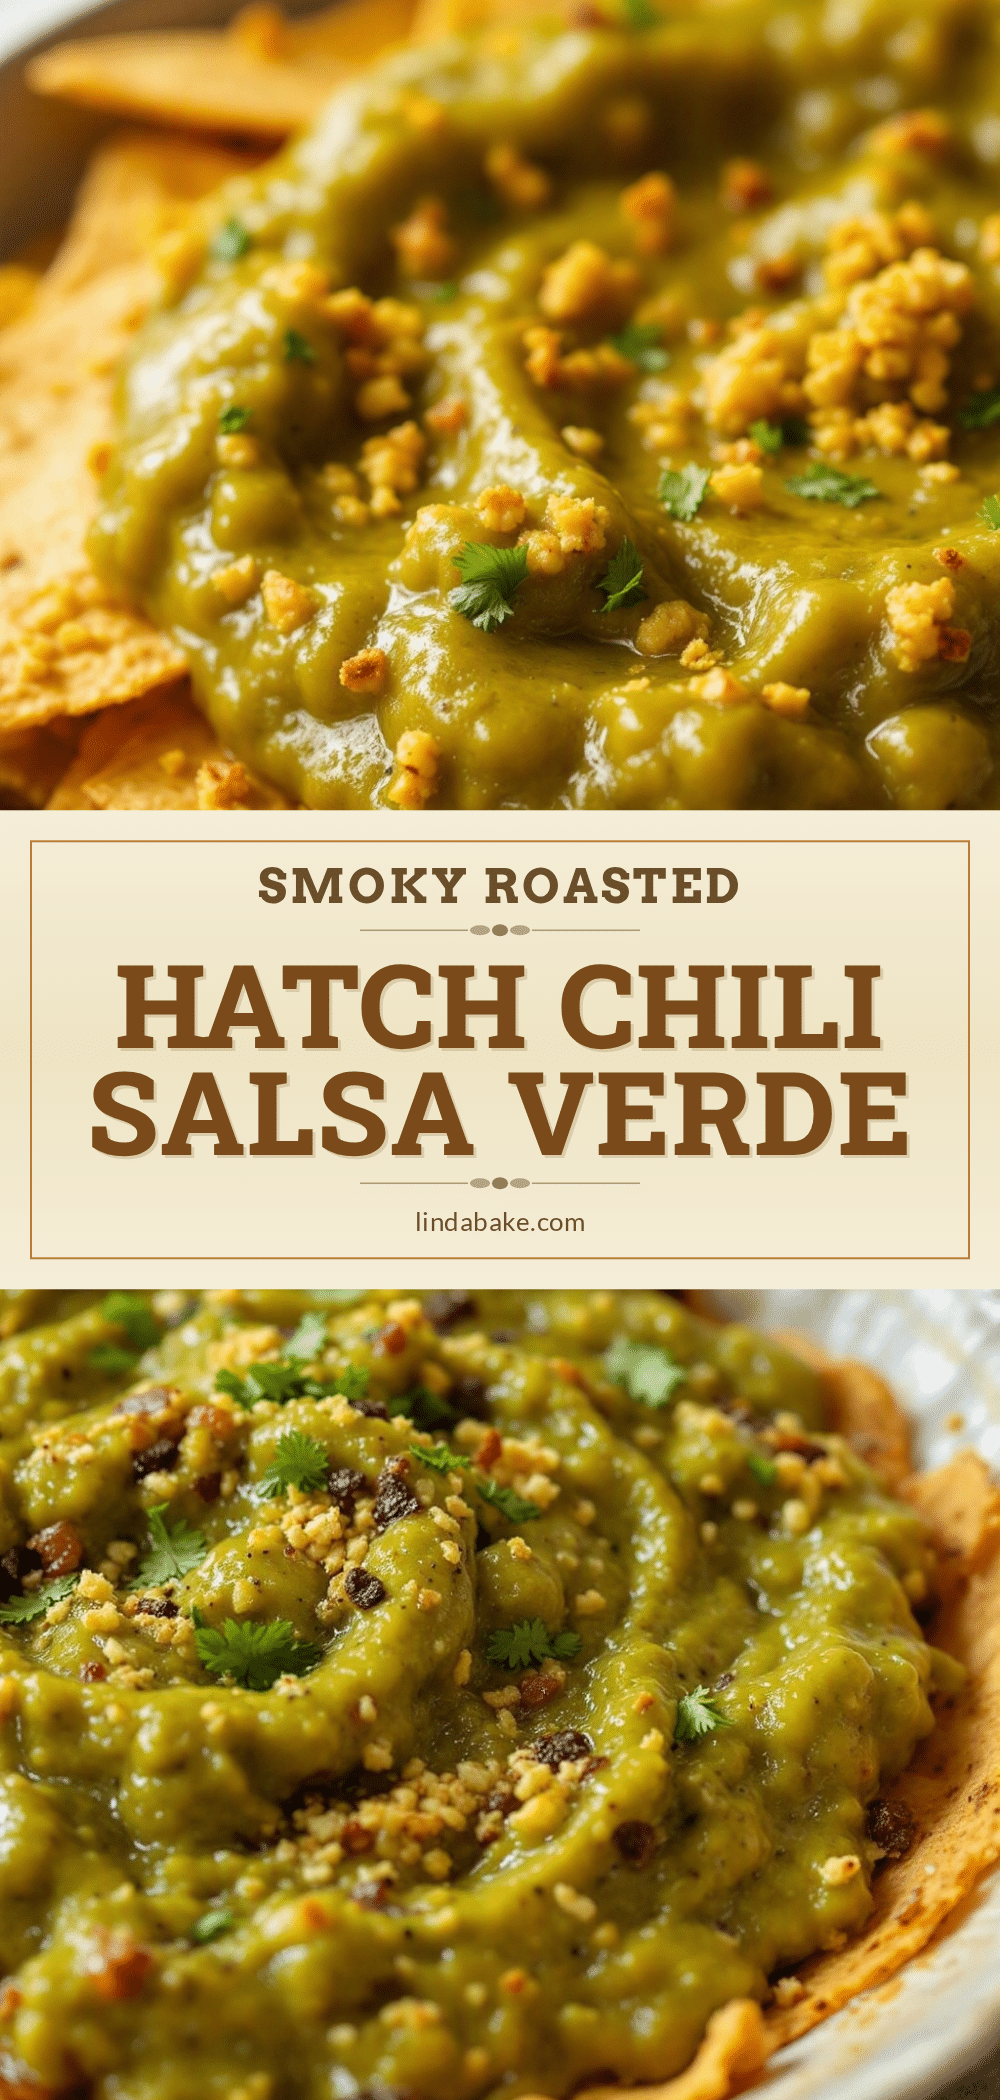
Best Easy Hatch Chili Salsa Verde Recipe

This smoky, tangy salsa verde uses roasted hatch chiles and tomatillos for a bold flavor that’s perfect on chips, eggs, tacos, and more. Ready in about 30 minutes of active time, it’s a crowd-pleaser that’s better than store-bought.
- Prep Time: 10 minutes
- Cook Time: 25 minutes
- Total Time: 35 minutes
- Yield: 8 servings (about 2 cups) 1x
- Category: Appetizer, Sauce
- Cuisine: Mexican, Southwestern
Ingredients
- 6–8 medium fresh Hatch chiles (about 1 pound)
- 1.5 pounds tomatillos (about 8–10 medium), husked and rinsed
- 1 large white onion, cut into thick slices
- 4–5 garlic cloves, peeled
- 1 medium jalapeño pepper, stem removed
- 2–3 tablespoons fresh lime juice (about 1 large lime)
- 1/2 cup packed fresh cilantro, roughly chopped
- 1 teaspoon ground cumin
- 1 teaspoon kosher salt (or to taste)
- 2 tablespoons extra virgin olive oil
Instructions
- Preheat your oven to 425°F (220°C).
- Prepare the vegetables: remove husks from tomatillos and rinse; cut onion into 1/2-inch thick rounds; peel garlic cloves; remove stems from hatch chiles and jalapeño.
- Arrange tomatillos, hatch chiles, onion slices, jalapeño, and garlic cloves in a single layer on a rimmed baking sheet. Drizzle with olive oil and toss gently to coat. Sprinkle with a pinch of salt.
- Roast for 20-25 minutes, flipping halfway through, until vegetables are soft and charred in spots (tomatillos should be blistered and collapsed; chiles should have blackened skin).
- Let vegetables cool for about 5 minutes on a cutting board or plate.
- Once cool enough to handle, peel the blackened skin from the hatch chiles. Remove seeds and stems if desired (leave some seeds for extra heat).
- Transfer roasted tomatillos, hatch chiles, onion, garlic, and jalapeño to a food processor. Add lime juice, cilantro, cumin, and salt.
- Pulse 8-10 times for a chunky salsa, or run for 15-20 seconds for a smoother consistency. Taste and adjust seasoning (add more lime juice, salt, or cumin as needed).
- Let the salsa rest for at least 15 minutes to allow flavors to meld.
- Serve at room temperature or slightly chilled with warm tortilla chips, or store in an airtight container in the refrigerator.
Notes
Don’t skip the char on the vegetables—it’s key for smoky flavor. Let the salsa rest for at least 15 minutes before serving; flavors meld and deepen over time. For a milder version, remove all seeds from chiles and jalapeño. If salsa is too acidic, add a pinch of sugar. Store in refrigerator for up to 5 days; freezing is not recommended due to texture changes.
Nutrition
- Serving Size: 1/4 cup
- Calories: 35
- Sugar: 3
- Sodium: 180
- Fat: 2
- Saturated Fat: 0.3
- Carbohydrates: 5
- Fiber: 1.5
- Protein: 1
Keywords: hatch chili salsa verde, roasted salsa, green salsa, hatch chile recipe, easy salsa, homemade salsa, smoky salsa, vegan salsa, gluten-free salsa


