That sharp, sweet crackle of the sugar crust — the kind that hits you before you even pull the loaf from the tin — still takes me straight to a rainy Tuesday in November, ten years ago, when I was trying to pretend my life was together. I had three bananas sitting on the counter, brown and begging for mercy, and a box of flour that had been sitting open for too long. I didn’t have time to preheat the oven properly, or to wash three different bowls, or to care about anything other than warmth. So I just dumped it all in one bowl. Honestly, it was a disaster waiting to happen if I hadn’t paid attention, but somehow, it worked. It smelled like comfort and burnt sugar and safety. That easy one-bowl banana bread changed how I think about baking. It taught me that you don’t need a stand mixer or a degree in culinary arts to make something that feels like a hug. You just need ripe fruit and a willingness to trust the process. Now, whenever I see those spotted bananas, I don’t panic. I smile, grab a whisk, and remember that sometimes the best things in life are the ones you make without thinking too hard about the details.
Why You’ll Love This Recipe
Let’s face it, life gets busy. We don’t always have an hour to sift flour and cream butter until our arms ache. This recipe is different because it respects your time while still delivering that dense, moist crumb we all crave. I’ve tested this version dozens of times, tweaking the ratios until the balance was just right. It’s not just another banana bread; it’s the kind of recipe that feels like a cheat code for home baking.
- Quick & Easy: Comes together in under 10 minutes of prep. You literally dump ingredients into a bowl and whisk. Perfect for busy weeknights or when you need a last-minute treat.
- Simple Ingredients: No fancy grocery trips needed. You likely already have everything in your kitchen right now. Flour, sugar, eggs, butter, and bananas. That’s it.
- Perfect for Meal Prep: Great for breakfast on the go, or as a healthy-ish afternoon snack that actually keeps you full.
- Crowd-Pleaser: Always gets rave reviews from kids and adults alike. Even the pickiest eaters can’t say no to this soft texture.
- Unbelievably Delicious: The texture and flavor combo is next-level comfort food. It’s moist without being greasy, and sweet without being cloying.
What makes this recipe stand out from the rest is the simplicity of the method. Most banana bread recipes require you to cream butter and sugar separately, or melt butter and mix it in carefully. This one just works. The chemical reaction happens in the bowl itself. It’s the kind of recipe that makes you close your eyes after the first bite because it just tastes like home. It’s comfort food reimagined—faster, easier, but with the same soul-soothing satisfaction. Plus, if you’re looking for other ways to use up bananas, these easy peanut butter banana sushi roll-ups are a fun alternative for lunchboxes.
What Ingredients You Will Need
This recipe uses simple, wholesome ingredients to deliver bold flavor and satisfying texture without the fuss. The magic here is in the ratio of wet to dry, and specifically, the quality of your bananas. You want them as brown as possible. Green bananas will ruin this recipe, so don’t be shy about the spots.
- Ripe Bananas (3 large): The star of the show. Look for bananas that are almost entirely black on the peel. They need to be very soft so they mash easily. (Adds natural sweetness and moisture)
- All-Purpose Flour (1 ½ cups): Standard flour works best here. It provides the structure. Don’t use self-rising flour unless you adjust the baking powder, but honestly, just stick to regular AP flour for consistency.
- Baking Soda (1 teaspoon): This is what makes the bread rise. Make sure it’s fresh! If your baking soda has been in the cabinet for two years, it might not work. Test it with a little vinegar if you’re unsure.
- Salt (½ teaspoon): Essential. It balances the sweetness. Never skip the salt in baking; it makes the banana flavor pop.
- Sugar (¾ cup): I prefer a mix of brown and white sugar, but plain white sugar works too. Brown sugar adds a bit of molasses depth and keeps the crumb moist.
- Unsalted Butter (½ cup, melted): Melted butter makes the batter smoother. Let it cool for a minute before adding it so it doesn’t cook the eggs. I recommend using real butter, not margarine, for the best flavor.
- Large Eggs (2 large): Room temperature eggs blend better into the batter. If you’re in a rush, just drop them in a bowl of warm water for 5 minutes.
- Vanilla Extract (1 teaspoon): Pure vanilla extract makes a huge difference. Artificial stuff can taste chemical. A good splash here adds warmth.
For substitution guidance, you can swap the butter for coconut oil if you’re dairy-free, though the flavor will be slightly different. You can also use almond flour for a gluten-free option, but you’ll need to add a bit more liquid since almond flour absorbs differently. In summer, if you have extra bananas, freeze them in their peels for later use in this recipe.
Equipment Needed
You really don’t need much for this recipe, which is part of its charm. The only essential items are a large mixing bowl, a whisk, and a loaf pan. A standard 9×5 inch loaf pan is perfect. If you don’t have one, you can use a smaller 8×4 pan, but your baking time will decrease, so check it early.
I use a non-stick loaf pan for this because it makes cleanup a breeze. If you’re using a metal pan that isn’t non-stick, you must grease it well or use parchment paper. Parchment paper is my best friend here. It allows you to lift the bread out easily once it’s cooled, so you don’t have to fight with stuck crusts. A silicone loaf pan works too, but the crust won’t get as nice and golden. If you’re on a budget, a simple aluminum loaf pan from the dollar store works just fine. Just remember to maintain your pans by washing them gently to preserve the non-stick coating. Avoid steel wool; a soft sponge is all you need.
Preparation Method
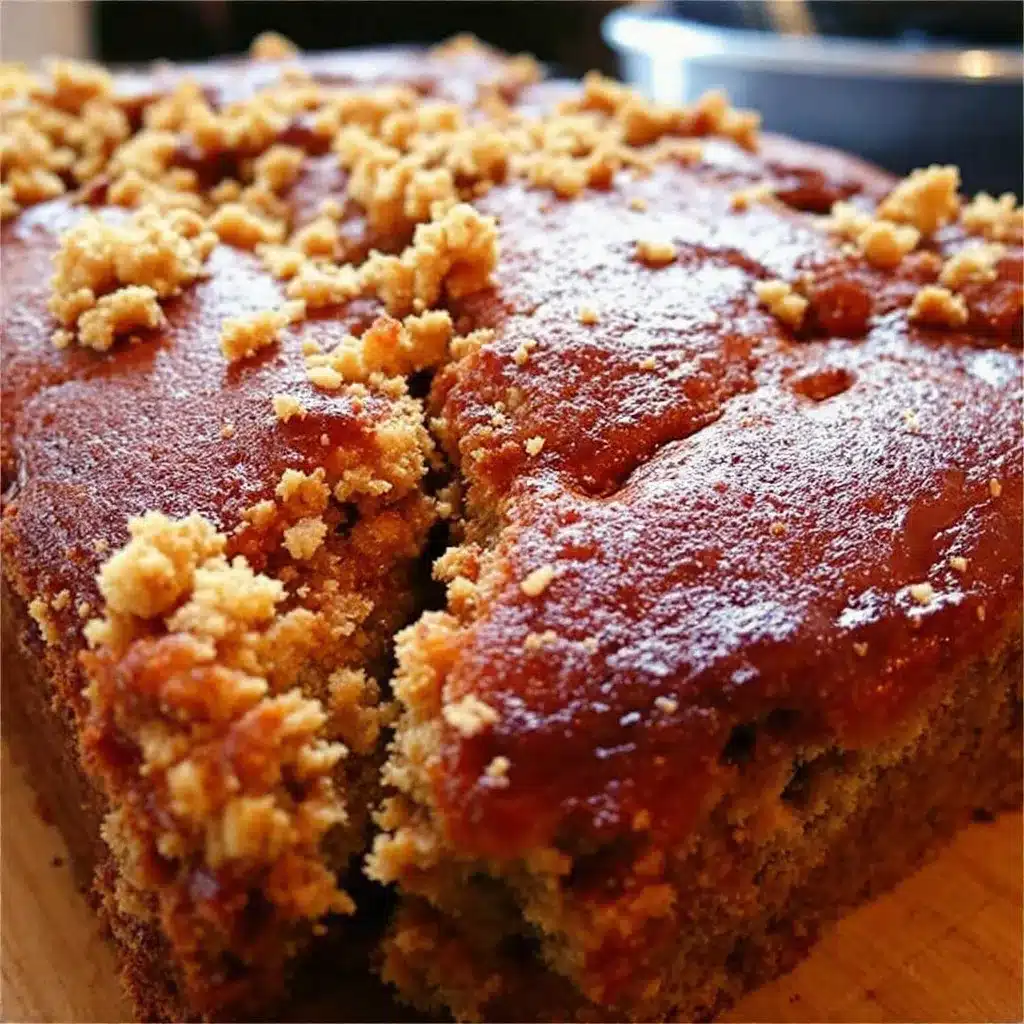
Let’s get this bread into the oven. This part is straightforward, but there are a few tricks to ensure it comes out perfect every time.
- Preheat and Prep (2 minutes): Start by heating your oven to 350°F (175°C). While it heats, grab your loaf pan. Grease it generously with butter or cooking spray. If you’re using parchment paper, cut a strip that fits the bottom and sides, leaving a little overhang on the long sides to act as handles. This step is crucial for easy removal later.
- Mash the Bananas (3 minutes): Peel your three ripe bananas and place them in your large mixing bowl. Use a fork or a potato masher to mash them until they are mostly smooth. I like to leave a few small chunks for texture, but if you prefer a uniform bread, mash them until they’re almost liquid. This should take about two minutes of elbow grease.
- Combine Wet Ingredients (2 minutes): Pour the melted butter into the mashed bananas. Whisk it in until combined. Then, crack in the two eggs and add the vanilla extract. Whisk vigorously. You want the eggs to be fully incorporated so the batter looks smooth and glossy. This might take another minute or two. Don’t rush this; good emulsion means a better texture.
- Mix Dry Ingredients (1 minute): Add the sugar, baking soda, and salt to the wet mixture. Sprinkle the flour over everything. Now, switch to a spatula or a wooden spoon. Fold the ingredients together. You don’t want to overmix here. Stop as soon as you no longer see streaks of white flour. The batter will be thick and sticky. That’s exactly what you want. If you mix too much, the bread will be tough.
- Bake (55-65 minutes): Pour the batter into your prepared loaf pan. Smooth the top with your spatula. Place it in the center of the oven. Bake for 55 to 65 minutes. Do not open the oven door for the first 45 minutes! This lets the structure set. After 55 minutes, check it. Insert a toothpick into the center. If it comes out clean or with just a few moist crumbs, it’s done. If it has wet batter, give it another 5-10 minutes.
- Cool Completely (1 hour): This is the hardest part. Remove the loaf from the oven and let it sit in the pan for 10 minutes. Then, use the parchment handles to lift it out onto a wire rack. Let it cool completely before slicing. If you cut it warm, it will be gummy. Patience pays off here.
Why is my banana bread dense?
This usually happens if you overmix the batter. Once you add the flour, mix until just combined. Also, make sure your baking soda is fresh. Old baking soda won’t give you that lift.
Can I use frozen bananas?
Absolutely. Frozen bananas are actually sweeter because the cold breaks down the cell walls more. Just let them thaw completely and drain any excess water before mashing.
Cooking Tips & Techniques
Having baked hundreds of loaves, I’ve learned that banana bread is all about temperature control and ingredient quality. Here are some professional tips to take your loaf from good to great.
First, the ripeness of your bananas is non-negotiable. I know it’s tempting to use yellow bananas to save money or because you haven’t eaten them yet, but it won’t work. The sugar content in bananas increases as they brown. Brown bananas = sweet bread. Green bananas = bland bread. If your bananas aren’t brown enough, you can bake them on a tray at 300°F for 15 minutes until the skins turn black. It’s a great trick.
Second, don’t skip the cooling step. I see so many people cutting into warm banana bread, and it’s a tragedy. The structure is still setting. When you cut it warm, the steam escapes too quickly, and the crumb collapses. Let it cool on a rack. It’s worth the wait.
Third, if your kitchen is very cold, your butter might re-solidify in the batter. That’s okay. Just mix it well. But if it’s too cold, your loaf might bake unevenly. Make sure your butter is melted but not piping hot. Lukewarm is the sweet spot.
One common mistake is using too much flour. If you scoop your flour directly from the bag, you’re packing it down. Always spoon your flour into the measuring cup and level it off with a knife. This simple habit can make your bread lighter and fluffier.
Variations & Adaptations
While the classic version is perfect, I love playing with this base recipe. It’s a blank canvas for your creativity.
Chocolate Chip Banana Bread: Add ½ cup of semi-sweet chocolate chips to the batter. Fold them in gently at the end. This is my personal favorite variation. The bitterness of the chocolate balances the sweet banana perfectly.
Walnut or Pecan Banana Bread: Add ½ cup of toasted nuts. Toasting them in a dry pan for 3 minutes before adding them enhances their flavor significantly. This adds a nice crunch that contrasts with the soft bread.
Vegan Banana Bread: Swap the eggs for two flax eggs (2 tablespoons ground flaxseed mixed with 6 tablespoons water). Use coconut oil instead of butter. The texture will be slightly denser, but still delicious.
Gluten-Free Option: Use a 1-to-1 gluten-free flour blend. Make sure it contains xanthan gum, or add ½ teaspoon yourself. This helps bind the bread so it doesn’t crumble apart.
I once tried adding a swirl of peanut butter into the batter before baking. It looked beautiful, like a marble cake, and tasted incredible. It’s a great way to use up that jar of peanut butter sitting in your pantry.
Serving & Storage Suggestions
How you serve this bread matters. Slice it thick, about half an inch. This gives you that satisfying chewy texture. I like to serve it plain, but if you want to treat yourself, warm a slice in the microwave for 10 seconds and top it with a pat of butter. It melts right into the crumb.
For storage, this bread keeps well at room temperature for up to 3 days if wrapped tightly in plastic wrap or stored in an airtight container. If you live in a humid climate, refrigerate it to prevent mold. It will last up to a week in the fridge.
You can also freeze banana bread. Wrap individual slices in plastic wrap and then place them in a freezer bag. They will last for up to 3 months. To eat, just thaw them on the counter or warm them in the toaster. The texture holds up surprisingly well after freezing.
If you’re making this for a party, consider serving it with a side of fruit or yogurt. It pairs well with coffee or tea. It’s also a great addition to a breakfast bar. For a savory contrast, you might pair it with something like easy cheddar ranch popcorn for a unique snack combo.
Nutritional Information & Benefits
While banana bread is a treat, it does have some nutritional merits. Bananas are a great source of potassium, which is good for heart health and muscle function. They also provide vitamin B6 and fiber, especially if you leave some of the skin on (just kidding, don’t eat the skin, but the fiber is in the fruit).
One slice of this bread contains approximately 250-300 calories, depending on the size of your slice and the exact amount of sugar and butter used. It’s not a diet food, but it’s not a calorie bomb either. It’s a moderate indulgence.
For those watching their sugar intake, you can reduce the sugar to ½ cup without affecting the texture too much. The bananas provide plenty of sweetness. This recipe is naturally free of nuts if you don’t add them, making it safer for school lunches, though always check for cross-contamination in your kitchen.
I view this recipe as a way to reduce food waste. Instead of throwing away overripe bananas, you turn them into something delicious. That’s a win for your wallet and your health in its own way. It’s a mindful way to bake.
Conclusion
This easy one-bowl banana bread is more than just a recipe; it’s a reminder that cooking can be simple and joyful. You don’t need fancy tools or complicated techniques to make something that brings people together. It’s reliable, forgiving, and incredibly tasty. I hope you try this version and find your own memories in the kitchen while making it. Customize it with your favorite add-ins, share it with friends, or just enjoy it quietly with a cup of coffee. I’d love to hear how it turns out for you. Leave a comment below with your variations or tips. Happy baking!
Frequently Asked Questions
Can I use self-rising flour instead of all-purpose flour?
It’s not recommended. Self-rising flour already contains baking powder and salt, which can throw off the balance of leavening agents in this recipe. It might cause the bread to rise too much and then collapse. Stick to all-purpose flour for the best results.
Why is the top of my banana bread cracked?
A cracked top is actually normal for banana bread! It often happens if the oven temperature is slightly too high or if the batter rises quickly. It doesn’t affect the taste or texture. If you want a smoother top, try lowering the oven temperature by 25°F and baking for a longer time.
Can I make mini banana breads?
Yes! You can use a mini muffin tin. Fill the cups about ¾ full. The baking time will be much shorter, around 15-20 minutes. Check them with a toothpick after 15 minutes to avoid overbaking.
How do I know when the bread is done without a toothpick?
Look at the edges of the loaf. They should be pulling away slightly from the sides of the pan. The top should be golden brown and spring back when you gently press it with your finger. If it feels firm, it’s likely done.
Can I add other fruits to this recipe?
You can add blueberries or chopped apples, but keep in mind that extra moisture from fresh fruit can make the bread denser. If you add fruit, toss it in a little flour first to prevent it from sinking to the bottom. Add about ½ cup of fruit for this recipe size.
Pin This Recipe!
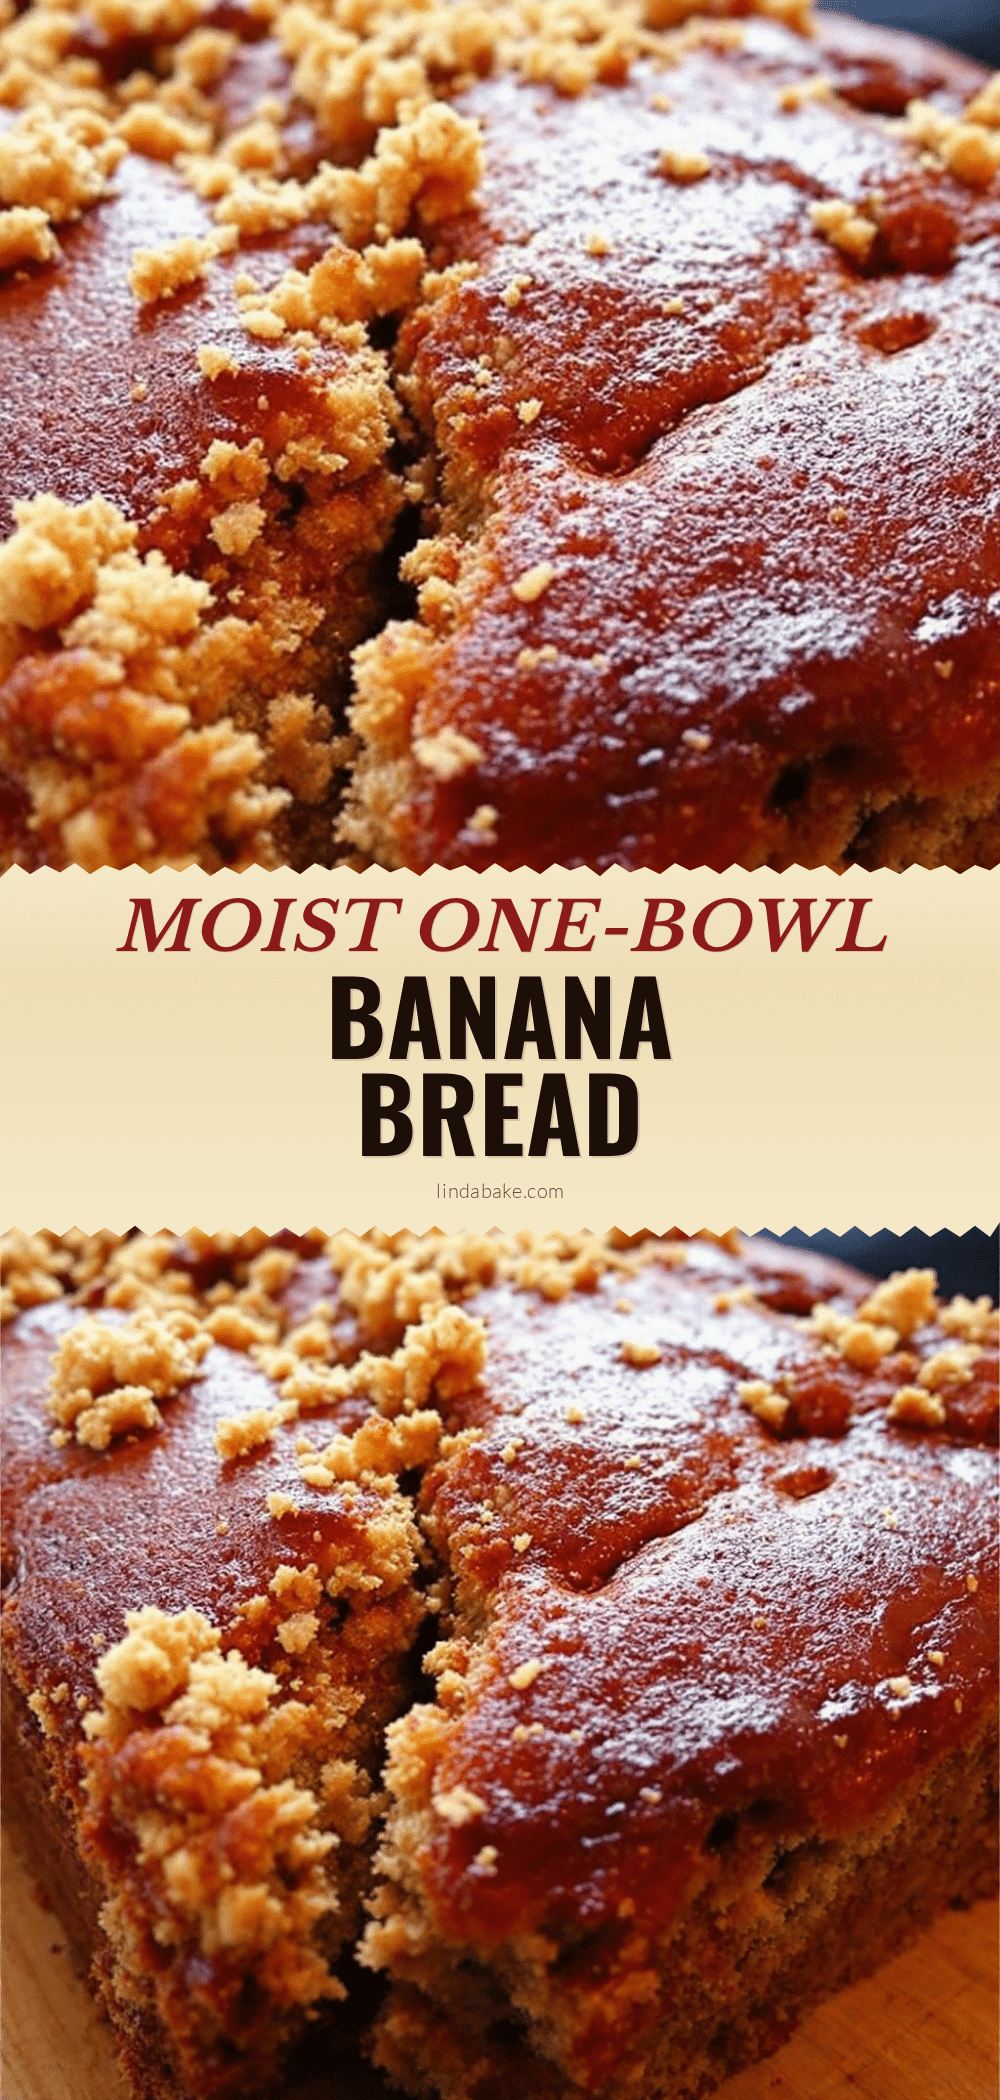
Easy One-Bowl Banana Bread: 5-Ingredient Recipe
A simple, moist banana bread made in just one bowl with minimal prep time. This recipe uses ripe bananas, flour, sugar, eggs, and butter for a comforting treat that is perfect for busy weeknights.
- Prep Time: 10 minutes
- Cook Time: 55-65 minutes
- Total Time: 1 hour 15 minutes
- Yield: 1 loaf (8-10 servings) 1x
- Category: Dessert
- Cuisine: American
Ingredients
- 3 large ripe bananas (almost entirely black on the peel)
- 1 ½ cups all-purpose flour
- 1 teaspoon baking soda
- ½ teaspoon salt
- ¾ cup sugar (white or brown)
- ½ cup unsalted butter, melted
- 2 large eggs, room temperature
- 1 teaspoon vanilla extract
Instructions
- Preheat oven to 350°F (175°C). Grease a 9×5 inch loaf pan generously or line with parchment paper.
- Mash the ripe bananas in a large mixing bowl until mostly smooth, leaving a few small chunks for texture if desired.
- Whisk the melted butter into the mashed bananas until combined.
- Add the eggs and vanilla extract to the bowl and whisk vigorously until the batter is smooth and glossy.
- Add the sugar, baking soda, and salt to the wet mixture. Sprinkle the flour over everything.
- Fold the ingredients together with a spatula or wooden spoon until just combined. Do not overmix.
- Pour the thick, sticky batter into the prepared loaf pan and smooth the top.
- Bake for 55 to 65 minutes. Do not open the oven door for the first 45 minutes. Check for doneness by inserting a toothpick into the center; it should come out clean or with moist crumbs.
- Let the bread cool in the pan for 10 minutes, then lift it out using parchment handles and let it cool completely on a wire rack before slicing.
Notes
Ensure bananas are very ripe (black spots) for maximum sweetness and moisture. Do not overmix the batter once flour is added to avoid a tough texture. Let the bread cool completely before slicing to prevent a gummy crumb. For gluten-free, use a 1-to-1 gluten-free flour blend. For vegan, swap eggs for flax eggs and butter for coconut oil.
Nutrition
- Serving Size: 1 slice
- Calories: 275
- Sugar: 22
- Sodium: 250
- Fat: 12
- Saturated Fat: 7
- Carbohydrates: 38
- Fiber: 2
- Protein: 4
Keywords: banana bread, one bowl recipe, easy baking, moist banana bread, quick breakfast, comfort food, ripe bananas


