It’s 11:45 PM on Thanksgiving night, and the house is finally quiet. The turkey is carved, the dishwasher is humming its low, steady tune, and the kids are asleep upstairs. Honestly, I just want a snack. Not a full meal, not something that requires heating up the oven or turning on the stove—just something small, salty, and satisfying to eat while I stare out the dark window. The only thing I want is these easy individual thanksgiving charcuterie cups, stacked neatly in the fridge, ready for a midnight raid.
People think holiday entertaining is all about the big centerpiece platter. You know, the massive board with the brie wheel and the fancy crackers. But let’s face it, those things get messy. People hover around them. They touch everything. It’s stressful. I found this little ritual a few years ago when I was hosting for the first time and realized I didn’t have the energy for a twenty-piece grazing table. I just wanted to serve food that was self-contained. Something you could grab with one hand while holding a glass of wine with the other.
These cups started as a way to use up the leftovers from my lunch meat tray. I had a few slices of turkey, some cheddar, and half a bag of pretzels. I piled them into little plastic cups because I was lazy. But then my husband came downstairs, saw them, and ate three of them before I even finished plating the dinner. That was the moment I knew. This wasn’t just a leftover hack; it was a better way to serve appetizers. It’s quiet. It’s personal. It’s just you, the fridge light, and a perfect little bite of comfort.
Why You’ll Love This Recipe
There is a specific kind of magic in making food that looks complicated but takes almost no effort at all. I’ve spent years testing appetizers for holiday parties, and I can tell you that the ones that get eaten the fastest are usually the ones that require zero cleanup for the guest. This recipe is built on that principle. It’s not just about convenience; it’s about creating a stress-free experience for both the host and the eater. When you serve these, you’re giving people permission to relax. They don’t need a plate. They don’t need to worry about dripping sauce on their nice shirt. It’s just clean, tasty bites.
- Quick & Easy: These come together in under 15 minutes. If you buy pre-sliced meats and cheeses, it’s basically just assembly. Perfect for those chaotic weeknights or when you’re hosting last-minute guests.
- Simple Ingredients: You likely already have most of this in your fridge. Deli turkey, cheddar cubes, crackers, and maybe some fruit. No fancy grocery trips needed unless you want to splurge on prosciutto.
- Perfect for Thanksgiving: These fit the theme perfectly without being heavy. They are great for holiday mornings, pre-dinner snacking, or even as a light lunch for the next day.
- Crowd-Pleaser: Kids love the cup format because it feels like a treat. Adults love it because it’s portion-controlled. Everyone wins.
- Unbelievably Delicious: The combo of salty meat, sharp cheese, and crunchy cracker is a classic for a reason. It hits every texture note you crave.
What makes this different from a regular charcuterie board is the portability. A board requires social interaction; a cup is independent. It allows people to mingle without being tethered to a table. I’ve served these at bridal showers, office parties, and quiet family dinners. They always get rave reviews. It’s the kind of recipe that makes you close your eyes after the first bite because the flavors are so balanced. It’s comfort food reimagined—smaller, faster, but with the same soul-soothing satisfaction. Plus, if you pair them with something like easy ham and cream cheese pinwheels, you’ve got a whole spread of no-cook options that look impressive but took zero time to make.
What Ingredients You Will Need
This recipe uses simple, wholesome ingredients to deliver bold flavor and satisfying texture without the fuss. The beauty of the charcuterie cup is that it’s a framework, not a rigid rulebook. You can swap items based on what’s in your pantry or what your family prefers. For Thanksgiving, we lean into warm, savory, and slightly sweet flavors. I recommend using high-quality deli meats if you can find them, as the flavor difference is noticeable. For the cheeses, stick to firm varieties that won’t melt or slide around in the cup.
For the Base Layer:
- Crackers: Use sturdy crackers that can hold weight without breaking. Water crackers or plain wheat crackers work best. I prefer Triscuits for their sturdy crunch, but any brand will do.
- Spread (Optional): A thin layer of cream cheese or hummus helps glue everything together and adds moisture. If you want a dairy-free option, use a savory hummus.
For the Protein Layer:
- Deli Turkey: Roasted turkey slices are the classic choice. Fold them loosely so they take up less space and look fluffy.
- Deli Ham or Salami: For variety, you can use honey ham or pepperoni. If you want to try something different, check out easy copycat pepperoni pizza lunchable ideas for other protein pairings.
For the Cheese Layer:
- Sharp Cheddar Cubes: Cut into small, bite-sized cubes. Sharp cheddar holds its shape better than mild cheddar.
- Gouda or Brie: For a more sophisticated touch, use small cubes of smoked gouda. Avoid soft brie unless you plan to eat the cup immediately.
For the Crunch & Sweet Layer:
- Pretzels: Small pretzel rods or twists add a great salty crunch.
- Dried Fruit: Cranberries or apricots add a pop of color and sweetness that cuts through the salt. Fresh grapes work too, but they can make crackers soggy if assembled too far in advance.
- Nuts: Walnuts or pecans add a rich, earthy flavor that fits the Thanksgiving theme perfectly.
I always keep a stash of these ingredients on hand because they work for lunchboxes too. For example, if you’re packing lunches for kids, you can swap the fancy crackers for goldfish and use easy turkey and cheese sushi roll-ups for variety. But for this specific cup recipe, sticking to the classic savory-sweet balance is key. Look for firm, small-curd cheeses for best texture. If you’re using dried fruit, make sure it’s not too sticky, or it will gum up your fingers.
Equipment Needed
You don’t need much to make these, which is part of the appeal. The main tool you’ll need is a set of small, clear plastic cups. You can find these at most party supply stores or online. I recommend the 3-ounce or 4-ounce size. Anything smaller feels too tiny, and anything larger loses the “appetizer” vibe. Clear cups are essential because you want to see the layers. It makes the food look like a dessert, which is visually appealing.
You’ll also need a small spoon or a butter knife for spreading the cream cheese or hummus. A regular teaspoon works fine, but a small offset spatula gives you more control if you’re layering thinly. For assembling the meats and cheeses, your hands are the best tool. Try not to use tongs; they’re clumsy for small items. Just use your fingers to fold and place.
If you plan to make these a day ahead, you’ll need a large container with a lid to store the cups in the fridge. This keeps them from drying out or absorbing other smells. I usually use a large Tupperware bin. Make sure the cups fit snugly so they don’t tip over. Budget-friendly options include using reusable plastic containers you already have at home, or buying bulk cups from a restaurant supply store, which is much cheaper than buying them at a party shop.
Preparation Method
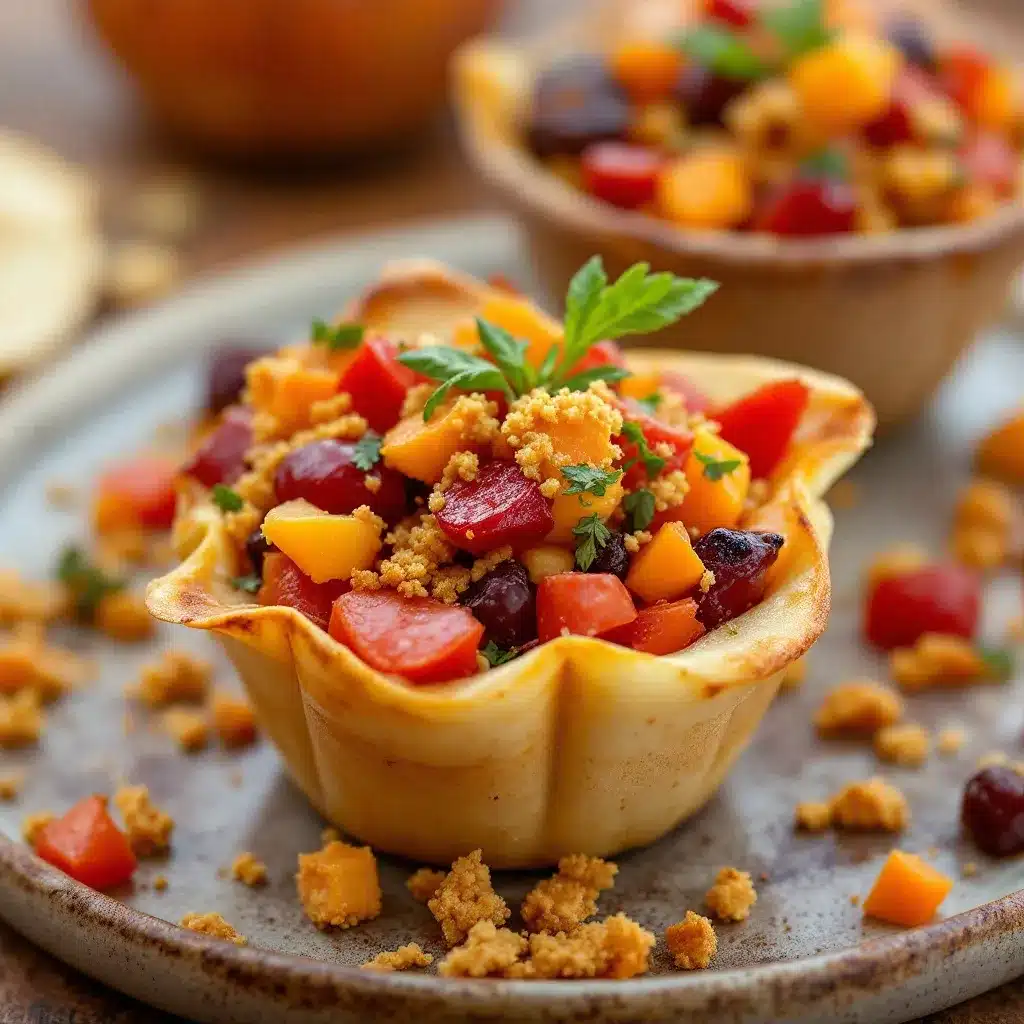
Making these cups is straightforward, but there is a right way and a wrong way to do it. The goal is to create a stable structure that doesn’t collapse when you pick it up. Here is the step-by-step process I use to ensure every cup is perfect.
- Prep Your Ingredients: Start by cutting your cheese into uniform cubes. Aim for about 1/2 inch cubes. This size is easy to eat and fits well in the cup. If your deli meat comes in large slices, you can leave them whole or cut them in half. Fold the meat loosely into a fan shape. This takes up less space and looks nicer than just piling it flat. Prepare your crackers by breaking them if they are too large to fit comfortably. You want them to fit in one or two layers at the bottom.
- Spread the Base: Take your first cup. Spoon about half a teaspoon of cream cheese or hummus onto the bottom. Spread it evenly with the back of the spoon. This acts as a glue for the crackers and adds a creamy texture contrast. If you skip this step, the crackers might slide around and the cup will feel dry.
- Add the Crackers: Place 2-3 crackers on top of the spread. Press them down gently so they adhere to the spread. This forms the foundation of your cup. Make sure they cover the bottom completely so the cup doesn’t leak if you add wetter ingredients later.
- Layer the Meat: Take your folded turkey or ham slices and place them on top of the crackers. Fold them slightly so they rise up the sides of the cup. This creates a “wall” that holds the other ingredients in place. You want the meat to cover the crackers completely. This step adds the savory protein element.
- Add the Cheese: Place 2-3 cubes of cheese on top of the meat. Nestle them into the folds of the meat if possible. This keeps them from rolling out when you tilt the cup. If you’re using a softer cheese like brie, place it last, right at the top.
- Top with Crunch: Add your pretzels, nuts, or dried fruit. This is the finishing touch. You can arrange these on top for a nice presentation, or tuck them into the sides for a more rustic look. The dried fruit adds a pop of color that makes the cup look festive.
- Repeat: Continue this process for all your cups. Work efficiently so the ingredients don’t sit out too long. If you’re using fresh fruit like grapes, add them last, right before serving, to prevent sogginess.
The whole process should take about 10-15 minutes for a batch of 12 cups. It’s rhythmic and calming. You can put on some music and just assemble. The key is consistency. Try to make each cup look similar so the final presentation looks tidy. If one cup is slightly taller than another, that’s fine. It adds to the handmade charm.
Cooking Tips & Techniques
There are a few tricks I’ve learned over the years to make these cups look professional and taste better. First, temperature matters. Cold ingredients hold their shape better. If your cheese is too warm, it will smear. If your meat is too warm, it will get slimy. Keep everything refrigerated until the moment you start assembling. I usually take everything out of the fridge 10 minutes before I start to let it come to room temperature slightly, but not too much.
Another tip is to balance the flavors in each cup. Don’t put all the salty items in one cup and all the sweet items in another. Mix it up. Each bite should have a bit of everything: salty meat, sharp cheese, crunchy cracker, and sweet fruit. This keeps the palate interested. I once made a batch where I put all the cranberries in the middle cups. My guests complained that the first few were too bland. Lesson learned: mix it evenly.
Timing is also crucial. These cups are best served fresh. If you make them too far in advance, the crackers will absorb moisture from the meat and cheese and become soggy. I recommend assembling them no more than 2-3 hours before serving. If you need to prep ahead, you can prepare the ingredients the night before and store them in separate containers. Then, assemble them just before guests arrive.
For variety, try adding a small dollop of mustard or jam. A tiny spoonful of whole-grain mustard or cranberry sauce on top of the cheese adds a gourmet touch. But be careful not to add too much liquid, or the cup will leak. Use a small melon baller to scoop the jam for a neat presentation. This technique works well for easy loaded pulled pork nacho bar setups too, where small portions are key.
Variations & Adaptations
One of the best things about these cups is how adaptable they are. You can change them up based on dietary needs, seasons, or just what you have on hand. Here are a few variations I love:
- Vegetarian Option: Skip the meat and add roasted vegetables. Roasted red peppers, artichoke hearts, or grilled zucchini work well. You can also add a layer of hummus or tzatziki as the base. This makes the cup lighter and fresher.
- Keto/Low-Carb: Skip the crackers and use cucumber slices or bell pepper strips as the base. Use high-fat cheeses like brie or cream cheese. Add nuts and cured meats like salami or prosciutto. This is a great option for guests watching their carb intake.
- Spicy Kick: Add pepperoni or spicy salami. Include pickled jalapeños or a spicy mustard. This adds a heat element that balances the sweetness of the fruit. If you like heat, try adding a slice of easy cold pepperoni pasta salad inspired ingredients like olives and pepperoncini.
- Seasonal Twist: For fall, use apple slices instead of dried fruit. The crunch of a fresh apple pairs beautifully with cheddar and turkey. For spring, use strawberries and brie. It’s a classic French combination that works perfectly in a cup.
I also like to experiment with international flavors. Try adding hummus and falafel bits for a Middle Eastern twist. Or use pesto and mozzarella for an Italian vibe. The cup format is a blank canvas for flavor experimentation. Just make sure the textures work together. You want a mix of soft, crunchy, and chewy elements in every bite.
Serving & Storage Suggestions
These cups are best served at room temperature or slightly chilled. If you make them in the fridge, let them sit out for 10 minutes before serving to let the flavors bloom. Present them on a tray lined with a napkin or parchment paper. This catches any crumbs and makes cleanup easier. You can also place them in a muffin tin for a stable display.
For storage, keep the cups covered in the refrigerator for up to 24 hours. The crackers may soften slightly, but the flavors will meld together nicely. If you notice the crackers getting too soft, serve them immediately. Do not freeze these cups, as the texture of the crackers and fresh fruit will be ruined upon thawing.
Pair these cups with a glass of white wine or a sparkling water with lemon. They are light enough not to fill you up before dinner, but substantial enough to tide you over. If you’re serving them as a main lunch, add a side of soup or a green salad. I often serve these alongside best copycat pumpkin cream cheese muffins for a complete autumn-themed meal.
Nutritional Information & Benefits
While these cups are indulgent, they can be part of a balanced diet. The protein from the turkey and cheese helps keep you full. The nuts and seeds provide healthy fats. The crackers offer carbohydrates for energy. However, portion control is key. Each cup is designed to be a single serving, which helps manage calorie intake.
Key ingredients like turkey are high in protein and low in fat. Cheddar cheese provides calcium and protein. Dried fruits offer fiber and antioxidants. If you choose whole-grain crackers, you get added fiber. For those with gluten sensitivities, use gluten-free crackers or rice cakes. For dairy-free needs, use almond cheese or hummus. Always check labels for allergens, especially if serving guests with specific dietary restrictions.
I find that these cups are a great way to introduce kids to new foods. They can see exactly what they are eating, which reduces pickiness. It’s a fun, interactive way to enjoy a meal. Plus, the visual appeal makes them more inviting than a plain sandwich.
Conclusion
Easy individual thanksgiving charcuterie cups are more than just a snack; they are a solution for modern holiday stress. They allow you to serve delicious, attractive food without spending hours in the kitchen. They are versatile, customizable, and universally loved. Whether you’re hosting a large party or just feeding your family a quiet night in, these cups are a reliable go-to.
I encourage you to try this recipe and make it your own. Experiment with different ingredients, flavors, and presentations. Share your creations with friends and family. I’d love to hear how you customize them. Leave a comment below with your favorite combination. Did you add something unexpected? Did you swap an ingredient? Let’s share ideas and help each other make holiday entertaining easier and more enjoyable.
Thank you for reading. Happy cooking, and enjoy your quiet moments in the kitchen.
FAQs
Can I make these cups ahead of time?
Yes, you can assemble them up to 24 hours in advance. Store them in an airtight container in the fridge. Keep in mind that crackers may soften slightly over time, so for best texture, serve them within a few hours of assembly.
What size cups should I use?
3-ounce or 4-ounce clear plastic cups are ideal. They are small enough to be appetizers but large enough to hold a good variety of ingredients. Avoid cups that are too small, as they won’t hold enough food.
Can I use fresh fruit instead of dried fruit?
Yes, fresh fruit like grapes, apple slices, or berries work well. However, fresh fruit adds moisture, so add it right before serving to prevent the crackers from getting soggy.
Are these cups suitable for kids?
Absolutely. Kids love the cup format because it’s fun and easy to hold. You can customize the ingredients to their preferences, using mild cheeses and familiar crackers.
How do I prevent the meat from sliding out?
Fold the meat loosely and tuck it into the layers. Place a spread like cream cheese or hummus at the bottom to help the crackers adhere. This creates a stable base that holds everything in place.
Pin This Recipe!
Easy Individual Thanksgiving Charcuterie Cups: 6 Mini Party Apps

These easy individual charcuterie cups are a stress-free, no-cook appetizer perfect for Thanksgiving or any holiday gathering. They offer a portable, portion-controlled way to enjoy savory meats, cheeses, and crunchy crackers without the mess of a traditional board.
- Prep Time: 15 minutes
- Cook Time: 0 minutes
- Total Time: 15 minutes
- Yield: 12 servings 1x
- Category: Appetizer
- Cuisine: American
Ingredients
- 3–4 ounce clear plastic cups (approx. 12 cups)
- Cream cheese or hummus (for base layer)
- Sturdy crackers (e.g., Triscuits, water crackers, or wheat crackers)
- Deli turkey slices (roasted turkey)
- Sharp cheddar cheese, cut into 1/2 inch cubes
- Small pretzel rods or twists
- Dried cranberries or apricots
- Walnuts or pecans
Instructions
- Prep ingredients by cutting cheese into uniform 1/2 inch cubes and folding deli meat loosely into fan shapes.
- Spoon about half a teaspoon of cream cheese or hummus onto the bottom of each cup and spread evenly.
- Place 2-3 crackers on top of the spread, pressing gently to adhere.
- Layer folded turkey or ham slices on top of the crackers, folding them slightly to rise up the sides.
- Place 2-3 cubes of cheese on top of the meat, nestling them into the folds.
- Top with pretzels, nuts, or dried fruit for crunch and sweetness.
- Repeat for all cups, ensuring consistency in layering and presentation.
- Serve immediately or store covered in the refrigerator for up to 24 hours.
Notes
Keep ingredients cold until assembly to maintain texture. Assemble no more than 2-3 hours before serving to prevent crackers from getting soggy. For a spicy kick, add pepperoni or pickled jalapeños. For a vegetarian option, skip meat and add roasted vegetables or hummus.
Nutrition
- Serving Size: 1 cup
- Calories: 150
- Sugar: 3
- Sodium: 250
- Fat: 8
- Saturated Fat: 3
- Carbohydrates: 12
- Fiber: 1
- Protein: 6
Keywords: Thanksgiving appetizers, charcuterie cups, no-cook party food, easy appetizers, holiday snacks, individual charcuterie, turkey appetizers, cheese cups


