By the third time I made these pumpkin baked oatmeal cups in a single week, I realized I had a problem. Or maybe a solution—depends on how you look at it. The first batch disappeared before my Sunday meal prep was even finished, and the second batch? Let’s just say I ate two for “quality control” at 9 PM standing over the kitchen counter.
It started innocently enough. I had half a can of pumpkin puree staring at me from the fridge (leftover from a pumpkin cream cheese muffins experiment), and I needed something portable for those chaotic weekday mornings. You know the ones—where you’re hunting for matching socks while simultaneously trying to remember if you packed a lunch.
These oatmeal cups became my anchor. They’re not fancy, not fussy, and honestly? They taste better than they have any right to. The pumpkin keeps them ridiculously moist, the oats give them that chewy satisfaction, and the warm spices make your kitchen smell like fall even when it’s still technically summer outside.
I kept coming back to this recipe because it actually worked. Not just “this is decent for healthy food” worked, but “I’d choose this over a muffin from the bakery” worked. And that’s a pretty high bar in my book.
Why You’ll Love This Recipe
Let me tell you why these pumpkin baked oatmeal cups have earned a permanent spot in my weekly rotation. I’ve tested this recipe more times than I care to admit, tweaking the ratios, playing with mix-ins, and yes, burning a batch or two along the way. Here’s what makes them genuinely worth your time:
- Meal prep friendly – Make a batch on Sunday, grab and go all week. They actually get better after a day or two in the fridge as the flavors meld together.
- No weird ingredients – You probably have everything already. Oats, pumpkin, eggs, milk, spices. That’s it. No protein powder, no obscure flours, no trips to specialty stores.
- Kid-approved – My friend’s picky eater devoured three in one sitting. She didn’t even realize they were “healthy” until I mentioned it. Oops.
- Customizable – Throw in chocolate chips, nuts, dried fruit, or leave them plain. They’re forgiving like that.
- Actually filling – Unlike some breakfast options that leave you hungry by 10 AM, these have staying power. The oats and protein keep you satisfied until lunch.
What sets this recipe apart from other oatmeal cup versions is the texture. I spent weeks perfecting the oat-to-liquid ratio so you get a tender, almost muffin-like interior with that signature oatmeal chewiness. No dry crumbly disasters here. And the pumpkin? It adds moisture without making things soggy—a delicate balance that took me way too many batches to figure out.
These aren’t just another healthy breakfast option. They’re the kind of recipe that makes you actually look forward to Monday morning. And honestly? That’s worth something.
What Ingredients You Will Need
This recipe uses simple, wholesome ingredients that work together to create something genuinely delicious. Nothing fancy, nothing complicated—just good food that happens to be good for you.
- Rolled oats – 2 cups (180g). Not quick oats or steel-cut. Rolled oats give the best texture—chewy but tender. I prefer Bob’s Red Mill or Quaker old-fashioned.
- Pumpkin puree – 1 cup (245g). Make sure it’s 100% pumpkin, not pumpkin pie filling. Libby’s is my go-to, but any brand works. The pumpkin adds moisture, fiber, and that gorgeous orange color.
- Eggs – 2 large, room temperature. They help bind everything together. For a vegan version, use flax eggs (2 tablespoons ground flaxseed mixed with 6 tablespoons water).
- Milk – ½ cup (120ml). Any milk works—dairy, almond, oat, or coconut. I’ve used all of them with great results.
- Maple syrup – ⅓ cup (80ml). Pure maple syrup adds sweetness without refined sugar. Honey works too, but maple complements the pumpkin flavor better.
- Coconut oil – 2 tablespoons, melted. Or any neutral oil like avocado or melted butter. Keeps the cups moist without making them greasy.
- Vanilla extract – 1 teaspoon. Pure vanilla makes a difference here.
- Pumpkin pie spice – 2 teaspoons. Or make your own: 1 teaspoon cinnamon, ½ teaspoon ginger, ¼ teaspoon nutmeg, ¼ teaspoon cloves.
- Cinnamon – 1 teaspoon. Because you can never have too much cinnamon.
- Baking powder – 1 teaspoon. Helps them rise just a bit.
- Salt – ¼ teaspoon. Balances the sweetness and enhances all the flavors.
- Optional mix-ins – ½ cup chocolate chips, chopped nuts, dried cranberries, or raisins. I usually add dark chocolate chips because, well, chocolate.
For the best results, use room temperature eggs and milk. Cold ingredients can make the coconut oil seize up, leaving you with clumpy batter. Learned that one the hard way.
Equipment Needed
Nothing too fancy here—just standard kitchen tools you probably already own.
- Muffin tin – Standard 12-cup tin. I like using a non-stick one, but any will work.
- Muffin liners – Paper or silicone. Silicone ones are reusable and nothing sticks to them. Paper liners work great too, just give them a quick spray with cooking spray.
- Large mixing bowl – For combining wet ingredients.
- Medium mixing bowl – For mixing dry ingredients separately.
- Whisk – For smooth, lump-free batter.
- Rubber spatula – For scraping every last bit of batter into the cups.
- Measuring cups and spoons – Accurate measurements matter in baking.
- Ice cream scoop or cookie scoop – Not essential, but makes filling the cups so much neater.
If you don’t have a muffin tin, you can bake this as a single dish in an 8×8 baking pan. Just increase the baking time by 10-15 minutes and cut into squares. I’ve done it when my muffin tin was in the dishwasher, and it worked beautifully.
Preparation Method
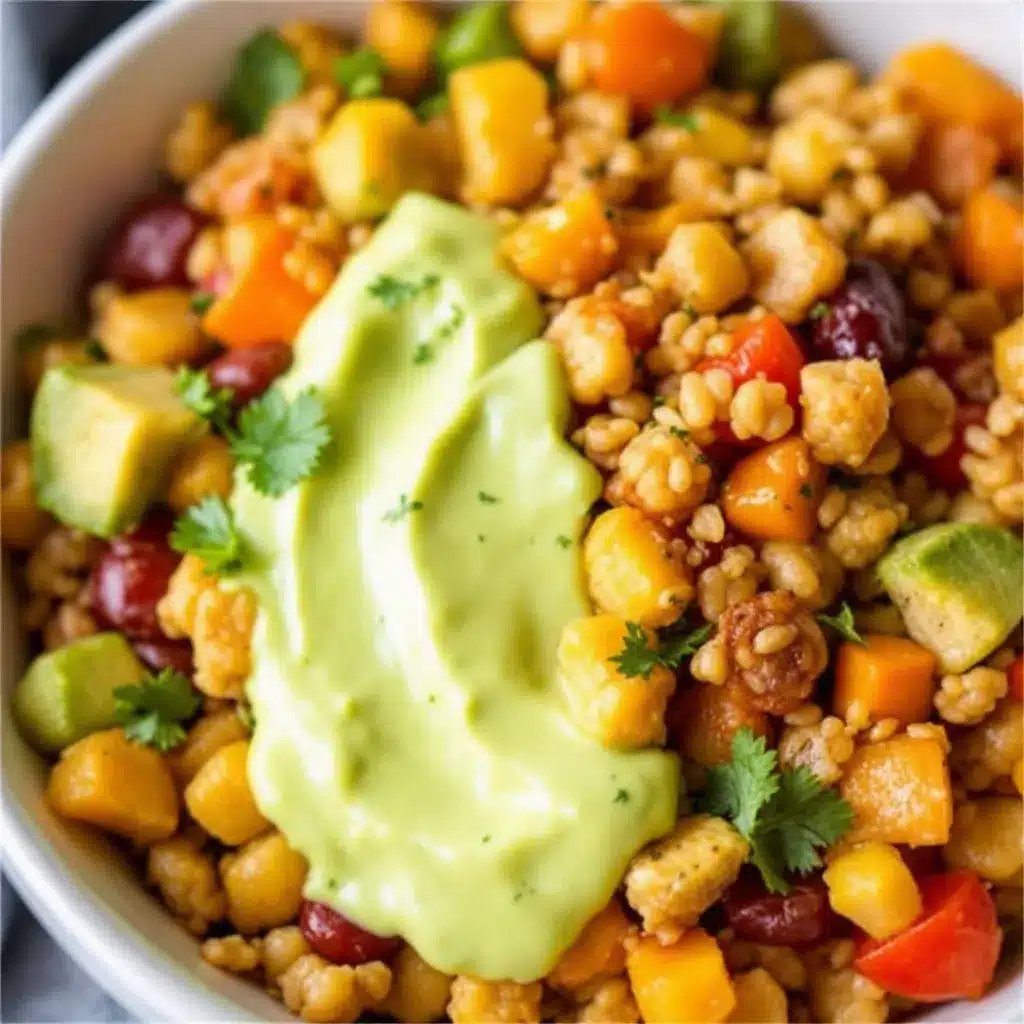
These pumpkin baked oatmeal cups come together in about 35 minutes from start to finish. Here’s how to make them perfect every time.
- Preheat your oven to 375°F (190°C). Line your muffin tin with paper liners or lightly grease with cooking spray. Trust me on the liners—they make cleanup so much easier.
- Mix the dry ingredients. In a medium bowl, combine 2 cups rolled oats, 1 teaspoon baking powder, 2 teaspoons pumpkin pie spice, 1 teaspoon cinnamon, and ¼ teaspoon salt. Whisk until everything is evenly distributed. The spices should smell amazing at this point—if they don’t, your spices might be old.
- Whisk the wet ingredients. In a large bowl, whisk together 1 cup pumpkin puree, 2 eggs, ½ cup milk, ⅓ cup maple syrup, 2 tablespoons melted coconut oil, and 1 teaspoon vanilla extract. Whisk until smooth and fully combined. The mixture should be a beautiful golden orange color.
- Combine wet and dry. Pour the dry ingredients into the wet mixture. Fold together with a rubber spatula until just combined. Don’t overmix—a few streaks of flour are fine. Overmixing makes the oatmeal cups tough.
- Add mix-ins if using. Gently fold in ½ cup chocolate chips, nuts, or dried fruit. I usually add chocolate chips because they melt into little pockets of goodness throughout the cups.
- Let the batter rest. Here’s a tip I learned through trial and error: let the batter sit for 5-10 minutes before baking. This allows the oats to absorb some of the liquid, resulting in a more tender, cohesive texture. The batter will thicken noticeably.
- Fill the muffin cups. Divide the batter evenly among the 12 muffin cups. An ice cream scoop makes this effortless. Fill each cup almost to the top—these don’t rise much, so you want them full.
- Bake. Place the muffin tin in the preheated oven and bake for 18-22 minutes. They’re done when the tops are set and lightly golden, and a toothpick inserted in the center comes out clean or with a few moist crumbs. The edges should be slightly browned.
- Cool properly. Let the oatmeal cups cool in the pan for 5 minutes, then transfer to a wire rack to cool completely. This step is crucial—if you leave them in the pan too long, they can get soggy on the bottom.
Your kitchen will smell like fall during baking—warm pumpkin, cinnamon, and maple. It’s the kind of smell that makes you want to curl up with a blanket and a good book.
Cooking Tips & Techniques
After making these pumpkin baked oatmeal cups more times than I can count, I’ve picked up a few tricks that make a real difference.
Don’t skip the rest time. I know it’s tempting to pop them in the oven immediately, but that 5-10 minute rest is where the magic happens. The oats absorb the liquid, which means they bake up tender instead of having that raw, crunchy texture. I learned this after pulling out a batch that was somehow both undercooked and dry. Not my finest moment.
Watch your oven temperature. Every oven runs differently. My old oven ran hot, and I burned two batches before I figured it out. Start checking at 18 minutes, and if the tops are browning too fast, tent loosely with foil for the last few minutes.
Use fresh spices. Pumpkin pie spice that’s been sitting in your cabinet for two years won’t give you the same flavor. I’m guilty of this more than I’d like to admit. If your spices don’t smell punchy when you open the jar, they’re probably past their prime.
Line your muffin tin properly. Even with non-stick pans, these can stick. Use paper liners sprayed lightly with cooking spray, or invest in silicone liners. I prefer silicone because they pop right off and are reusable.
Make them uniform. Use a cookie scoop to portion the batter. This ensures even baking and consistent results. Plus, it’s faster than eyeballing it.
Multitask like a pro. While the oatmeal cups are baking, wash your dishes and prep your other meal prep containers. The 20-minute bake time is perfect for getting ahead on kitchen cleanup.
Variations & Adaptations
One of the best things about this recipe is how adaptable it is. Here are some variations I’ve tried and loved.
Chocolate chip pumpkin oatmeal cups. Add ½ cup dark chocolate chips to the batter. The chocolate melts into little pockets of richness that pair beautifully with the pumpkin and spices. This is my personal favorite.
Apple pumpkin oatmeal cups. Fold in ½ cup finely diced apple (I prefer Honeycrisp or Granny Smith). The apple adds little bursts of sweetness and a slightly different texture. You might need to add an extra tablespoon of milk if the batter seems too thick.
Nutty pumpkin oatmeal cups. Add ½ cup chopped pecans or walnuts. Toast them first for extra flavor—just 5 minutes in a dry pan or the oven. The crunch is a nice contrast to the soft oatmeal cups.
Vegan version. Replace eggs with flax eggs (2 tablespoons ground flaxseed mixed with 6 tablespoons water, let sit for 5 minutes). Use plant-based milk and maple syrup. They turn out slightly denser but still delicious.
Gluten-free version. Use certified gluten-free rolled oats. That’s literally the only change. Oats are naturally gluten-free, but some brands are processed in facilities that handle wheat, so check the label if you’re sensitive.
Lower sugar version. Reduce maple syrup to ¼ cup. The pumpkin adds natural sweetness, and if you add chocolate chips or dried fruit, you won’t miss the extra sugar.
I once made a batch with pumpkin seeds sprinkled on top for extra crunch. It was an accident—I was trying to make no-bake peanut butter granola bites at the same time and grabbed the wrong bag. But it worked! Sometimes the best discoveries come from kitchen chaos.
Serving & Storage Suggestions
These pumpkin baked oatmeal cups are incredibly versatile when it comes to serving and storing.
Serving. Enjoy them warm or at room temperature. I like mine slightly warm with a pat of butter or a drizzle of extra maple syrup. They’re perfect for breakfast on the go, a mid-morning snack, or even dessert with a scoop of vanilla ice cream. For a more substantial breakfast, serve alongside a hard-boiled egg or a quinoa avocado sushi salad bowl for a balanced meal.
Storage. Store in an airtight container in the refrigerator for up to 5 days. Place a paper towel at the bottom of the container to absorb excess moisture, and another on top. This keeps them from getting soggy. I’ve also stored them at room temperature for up to 2 days, but they stay fresher longer in the fridge.
Freezing. These freeze beautifully. Let them cool completely, then place in a single layer on a baking sheet and freeze for 1 hour. Transfer to a freezer-safe bag or container. They’ll keep for up to 3 months. To thaw, leave them in the fridge overnight or microwave for 30-45 seconds from frozen.
Reheating. Microwave for 20-30 seconds for that just-baked warmth. Or pop them in a 350°F oven for 5-7 minutes if you want the edges to crisp up slightly. I don’t recommend toasting them—they can dry out.
Flavor development. Here’s something interesting—these actually taste better on day two or three. The flavors meld together, the texture evens out, and they become almost muffin-like. So don’t worry if they seem a bit rustic right out of the oven. Patience pays off.
I’ve packed these for road trips, picnics, and even as a quick breakfast before early morning flights. They travel well and don’t crumble or fall apart, which is more than I can say for some of my other baking attempts.
Nutritional Information & Benefits
Here’s the approximate nutritional breakdown for one pumpkin baked oatmeal cup (without mix-ins):
| Nutrient | Amount per serving |
|---|---|
| Calories | 145 |
| Total Fat | 5g |
| Saturated Fat | 3g |
| Carbohydrates | 22g |
| Fiber | 3g |
| Sugar | 9g |
| Protein | 5g |
These oatmeal cups pack some serious nutritional benefits. The pumpkin puree is loaded with vitamin A (great for eye health) and fiber (keeps you full). Rolled oats provide complex carbohydrates for sustained energy, plus beta-glucan, a type of soluble fiber that supports heart health. Eggs add high-quality protein, and the maple syrup offers a more natural sweetener option with a lower glycemic impact than refined sugar.
They’re naturally dairy-free if you use plant-based milk, and easily made vegan or gluten-free. The only potential allergen to note is eggs and oats (some people with celiac disease react to oats, even gluten-free ones).
From a wellness perspective, I love that these give me a satisfying breakfast that doesn’t spike my blood sugar. The fiber and protein balance out the natural sugars, so I stay energized without that mid-morning crash.
Conclusion
These healthy pumpkin baked oatmeal cups have become my go-to for busy mornings, and I think they’ll become yours too. They’re simple enough for a beginner baker, flexible enough for endless variations, and genuinely delicious enough to satisfy even the pickiest eaters.
What I love most about this recipe is how it makes healthy eating feel effortless. No complicated steps, no obscure ingredients, no hours in the kitchen. Just good food that happens to be good for you, ready whenever you need it.
I’d love to hear how yours turn out. Did you add chocolate chips? Try a new spice combination? Burn a batch and learn something valuable? Share your experience in the comments below, and don’t forget to tag me in your photos. Happy baking, friends—and may your meal prep be ever in your favor.
Frequently Asked Questions
Can I use quick oats instead of rolled oats?
You can, but the texture will be different. Quick oats absorb liquid faster and create a softer, almost mushy texture. Rolled oats give you that satisfying chewiness. If you only have quick oats, reduce the rest time to 5 minutes and check for doneness a few minutes earlier.
Can I make these without eggs?
Absolutely. Use a flax egg (1 tablespoon ground flaxseed mixed with 3 tablespoons water per egg, let sit for 5 minutes). The texture will be slightly denser, but they’ll still be delicious. I’ve also used chia eggs with similar results.
How do I keep them from sticking to the liners?
Spray your paper liners lightly with cooking spray before adding the batter. Or better yet, use silicone liners—they’re non-stick, reusable, and nothing sticks to them. I switched to silicone last year and haven’t looked back.
Can I double this recipe?
Yes, it doubles beautifully. Just use a larger bowl and bake in batches or use two muffin tins. The baking time stays the same. I often double the batch and freeze half for later.
Why are my oatmeal cups dry?
You probably overbaked them or used too many oats. Check your oven temperature with an oven thermometer—many run hot. Also, make sure you’re measuring your oats correctly (spoon into the measuring cup, don’t scoop straight from the bag). And don’t skip the rest time—it helps the oats absorb moisture properly.
Pin This Recipe!
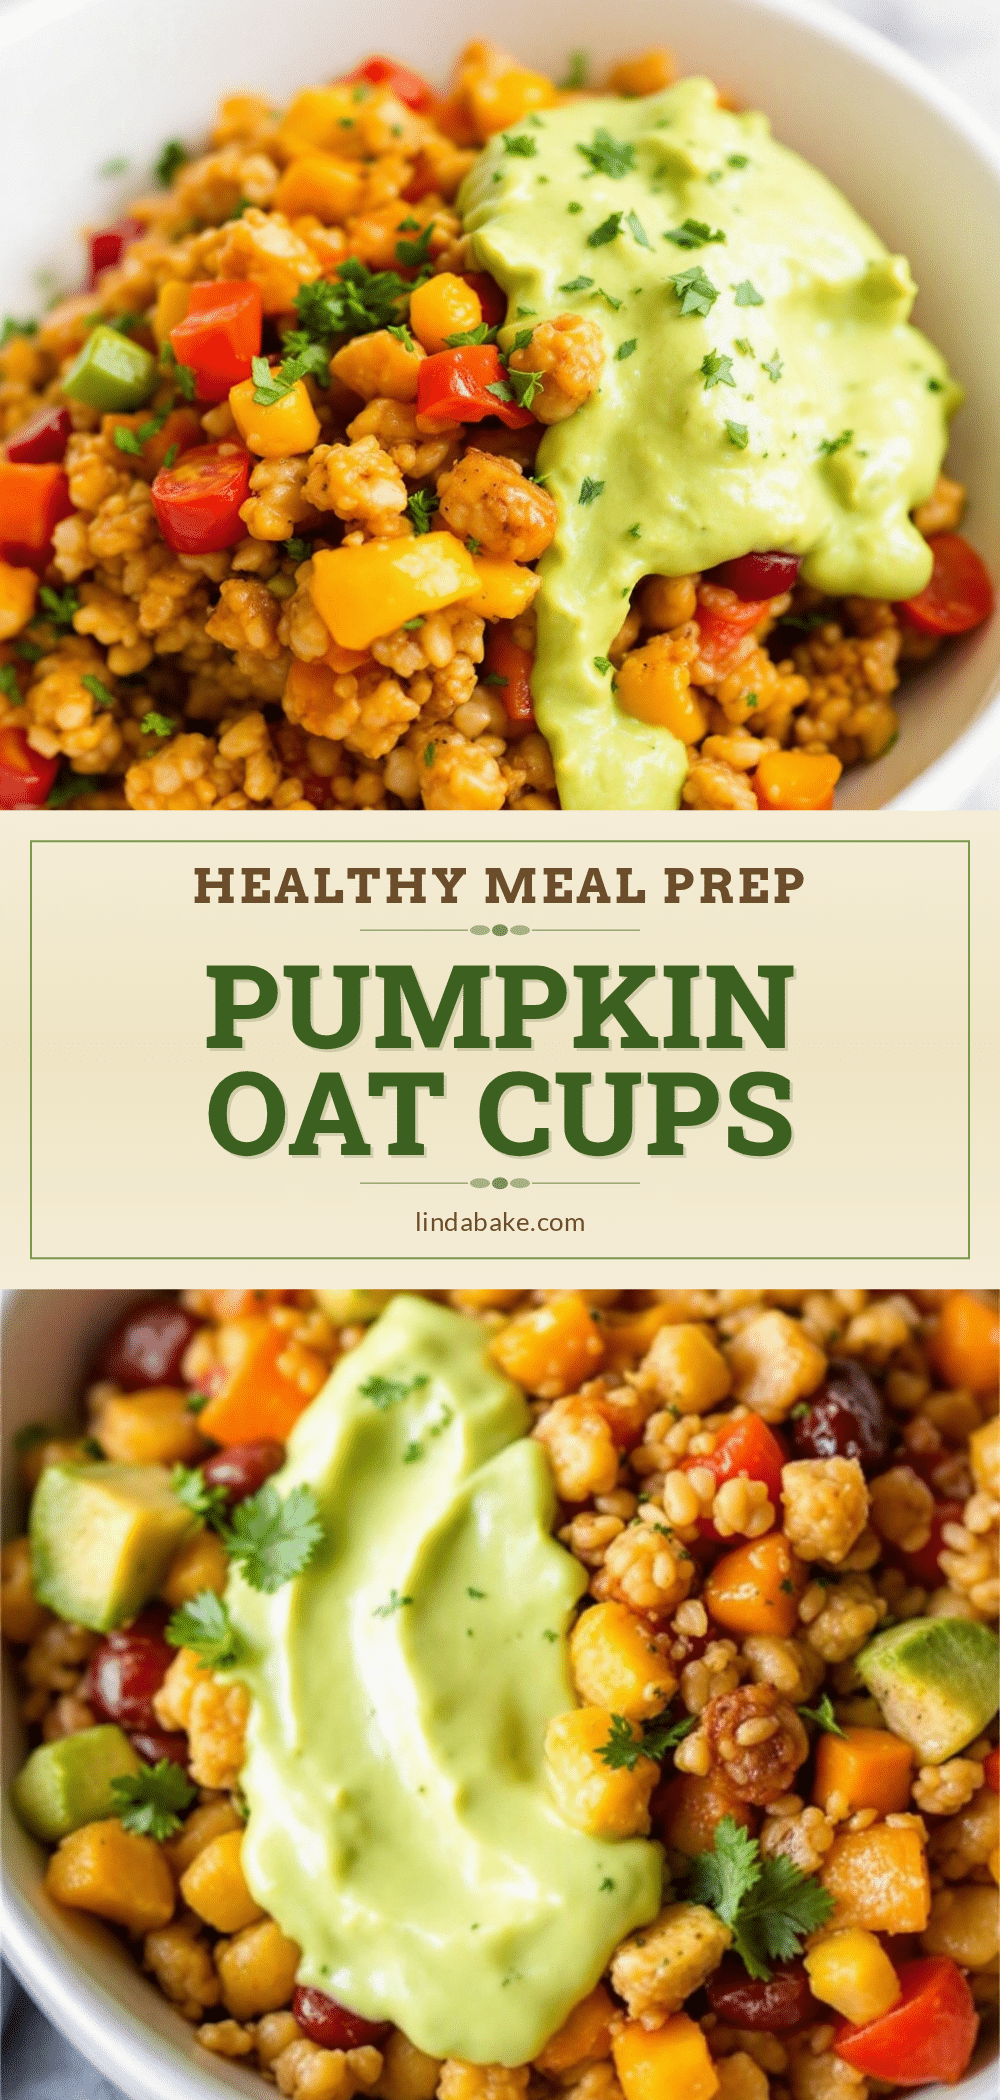
Healthy Pumpkin Baked Oatmeal Cups: Easy Meal Prep

These healthy pumpkin baked oatmeal cups are perfect for meal prep—easy to make, portable, and delicious. Made with simple ingredients like rolled oats, pumpkin puree, and warm spices, they’re a filling breakfast or snack that tastes better than it has any right to.
- Prep Time: 10 minutes
- Cook Time: 20 minutes
- Total Time: 35 minutes
- Yield: 12 servings 1x
- Category: Breakfast
- Cuisine: American
Ingredients
- 2 cups (180g) rolled oats
- 1 cup (245g) pumpkin puree (100% pumpkin, not pie filling)
- 2 large eggs, room temperature
- ½ cup (120ml) milk (dairy or plant-based)
- ⅓ cup (80ml) pure maple syrup
- 2 tablespoons melted coconut oil (or neutral oil/butter)
- 1 teaspoon vanilla extract
- 2 teaspoons pumpkin pie spice
- 1 teaspoon cinnamon
- 1 teaspoon baking powder
- ¼ teaspoon salt
- ½ cup chocolate chips, chopped nuts, dried cranberries, or raisins (optional)
Instructions
- Preheat your oven to 375°F (190°C). Line a 12-cup muffin tin with paper liners or lightly grease with cooking spray.
- In a medium bowl, combine 2 cups rolled oats, 1 teaspoon baking powder, 2 teaspoons pumpkin pie spice, 1 teaspoon cinnamon, and ¼ teaspoon salt. Whisk until evenly distributed.
- In a large bowl, whisk together 1 cup pumpkin puree, 2 eggs, ½ cup milk, ⅓ cup maple syrup, 2 tablespoons melted coconut oil, and 1 teaspoon vanilla extract until smooth and fully combined.
- Pour the dry ingredients into the wet mixture. Fold together with a rubber spatula until just combined. Do not overmix.
- If using, gently fold in ½ cup chocolate chips, nuts, or dried fruit.
- Let the batter rest for 5-10 minutes to allow the oats to absorb liquid.
- Divide the batter evenly among the 12 muffin cups, filling each almost to the top.
- Bake for 18-22 minutes, until tops are set and lightly golden, and a toothpick inserted in the center comes out clean or with a few moist crumbs.
- Let the oatmeal cups cool in the pan for 5 minutes, then transfer to a wire rack to cool completely.
Notes
For best results, use room temperature eggs and milk. Let the batter rest for 5-10 minutes before baking for a more tender texture. These actually taste better on day two or three as flavors meld. Store in an airtight container in the refrigerator for up to 5 days, or freeze for up to 3 months. Reheat in microwave for 20-30 seconds.
Nutrition
- Serving Size: 1 oatmeal cup
- Calories: 145
- Sugar: 9
- Sodium: 95
- Fat: 5
- Saturated Fat: 3
- Carbohydrates: 22
- Fiber: 3
- Protein: 5
Keywords: pumpkin baked oatmeal cups, healthy breakfast, meal prep, oatmeal cups, pumpkin oatmeal, easy breakfast recipe


