“Wait—these are pumpkin cookies?” My neighbor Sarah stood at my kitchen door, holding a paper plate, looking genuinely confused. She had texted me earlier that morning, desperate for something—anything—to bring to her daughter’s fall-themed class party. I’d mumbled something about having just baked and to come over. Now she was staring at the tray of perfectly round, iced orange cookies on my counter, her skepticism practically radiating. “I thought pumpkin cookies were always those soft, cakey ones that fall apart,” she said, peeking closer. I handed her one—crisp edges, royal icing set firm, a tiny sugared leaf on top. She took a bite, and I watched her expression shift from polite curiosity to something else entirely. That quiet little hum people make when food surprises them. “Okay,” she said, already reaching for another. “I need this recipe.” And honestly? That’s how I feel every time I make these iced pumpkin sugar cookies. They’re not what you expect—and that’s exactly the point.
I’ve always loved the idea of pumpkin desserts, but I struggled with the texture problem for years. Most pumpkin cookies are more like little cakes—soft, almost muffin-like, impossible to decorate with detail. But sometimes you want a cookie that crunches when you bite into it, you know? One that holds its shape, carries a clean royal icing design, and still tastes unmistakably like fall. After more failed batches than I care to admit—flat cookies, puffy cookies, cookies that looked like sad orange blobs—I finally found the balance. A little cornstarch for tenderness, just enough pumpkin purée for flavor without moisture overload, and a chilling step that makes all the difference. These cookies are sturdy enough to ice, soft enough to enjoy, and pumpkin-spiced in that warm, cozy way that makes you want to curl up with a blanket.
Why You’ll Love This Recipe
Let me tell you why these cookies have become my go-to for everything from Halloween parties to Thanksgiving dessert tables. I’ve tested this recipe more times than I can count—my family has been very patient taste-testers—and every time, the response is the same: genuine surprise followed by requests for the recipe.
- Perfect for Decorating: Unlike soft pumpkin cookies that crumble under royal icing, these hold their shape beautifully. The edges stay sharp, the surface stays flat, and your icing designs actually look like what you intended.
- Real Pumpkin Flavor: We’re not talking about that barely-there spice blend pretending to be pumpkin. One tablespoon of actual pumpkin purée gives these cookies a subtle earthy sweetness without making them puffy or cakey.
- Crisp Yet Tender: The texture is that perfect sugar cookie balance—crisp on the outside, soft in the middle, with just enough bite to satisfy. No one will guess there’s pumpkin in there until they taste it.
- Make-Ahead Friendly: The dough freezes beautifully, and baked cookies store well for days. You can prep everything in stages, which is a lifesaver during the busy holiday season.
- Crowd-Pleasing: I’ve brought these to potlucks, school events, and family gatherings. Kids love decorating them, adults appreciate the sophisticated flavor, and everyone eats them before I can bring the tray home.
What really sets these apart from other pumpkin cookie recipes is the technique. Most recipes dump in half a can of pumpkin and end up with something closer to a muffin top than a cookie. By using just one tablespoon—yes, that little—we get the flavor without the moisture problem. It’s a subtle trick I learned after my third failed batch, and honestly, it changed everything. These cookies taste like fall, look like something from a bakery, and come together with ingredients you probably already have in your pantry.
What Ingredients You Will Need
This recipe keeps things simple. No weird specialty ingredients, no trips to three different stores. Just basic baking staples with one seasonal star.
- Unsalted butter, softened (1 cup / 226g) — I prefer using European-style butter like Kerrygold for richer flavor, but any unsalted butter works. Just make sure it’s truly softened to room temperature, not melted. Cold butter won’t cream properly, and melted butter will make flat cookies.
- Granulated sugar (1 cup / 200g) — Regular white sugar gives these cookies their crisp edges. Don’t substitute brown sugar here; it adds too much moisture and changes the texture.
- Large egg (1, room temperature) — Room temperature eggs incorporate more evenly into the creamed butter and sugar. If you forgot to take yours out ahead of time, place it in warm water for 5 minutes.
- Pumpkin purée (1 tablespoon / 15g) — This is the secret ingredient. Use pure pumpkin purée, not pumpkin pie filling. Libby’s is my go-to brand because it’s consistently thick and not watery. One tablespoon is all you need for that subtle pumpkin flavor without compromising the cookie texture.
- Vanilla extract (1 teaspoon) — Pure vanilla extract makes a noticeable difference here. Save the imitation stuff for baking with strong flavors like chocolate.
- All-purpose flour (2 cups / 240g) — Spoon and level your flour. Scooping directly from the bag packs in too much and makes dry cookies. I cannot stress this enough—it’s the most common baking mistake I see.
- Cornstarch (1 teaspoon) — This little addition keeps the cookies tender. It’s my secret weapon for sugar cookies that aren’t rock-hard.
- Baking powder (½ teaspoon) — Just enough lift to keep these from being dense hockey pucks.
- Salt (¼ teaspoon) — Balances the sweetness and enhances the pumpkin spice flavors.
- Pumpkin pie spice (1½ teaspoons) — You can use store-bought or make your own with cinnamon, nutmeg, ginger, and cloves. I actually prefer making my own blend because I like extra cinnamon.
- Powdered sugar (for royal icing, 2 cups / 240g) — Sift it first to avoid lumpy icing. Trust me on this one.
- Meringue powder (2 tablespoons) — This stabilizes the royal icing and gives it that smooth, hard finish. Wilton brand is reliable and easy to find at craft stores or online.
- Water (3-4 tablespoons, for royal icing) — Add slowly. You can always add more water, but you can’t take it out.
- Food coloring (orange, green, brown — gel colors work best) — Gel colors give vibrant shades without thinning the icing. Americolor is my favorite brand.
Equipment Needed
You don’t need a professional bakery setup for these cookies, but a few key tools make the process much smoother.
- Stand mixer or hand mixer — Creaming butter and sugar by hand is possible but exhausting. A mixer saves time and gives better results.
- Pumpkin-shaped cookie cutter — This is the star of the show. I found mine at a craft store for about $3, but you can also find cute sets online. If you don’t have one, round scalloped cutters work too.
- Rolling pin with thickness rings — These are game-changers for even cookies. I use a wooden rolling pin with adjustable rings set to ¼ inch. No more uneven cookies that bake at different rates.
- Parchment paper or silicone baking mats — Silpat mats are my preference because cookies slide right off and cleanup is effortless. Parchment paper works great too.
- Cooling rack — Essential for letting cookies cool completely before icing. Hot cookies will melt royal icing into a sad puddle.
- Piping bags and small round tips — Wilton #2 and #3 tips are perfect for outlining and flooding. If you’re new to piping, disposable bags are easier to handle than reusable ones.
- Offset spatula — Not strictly necessary, but it makes flooding royal icing so much easier. A butter knife works in a pinch.
Preparation Method
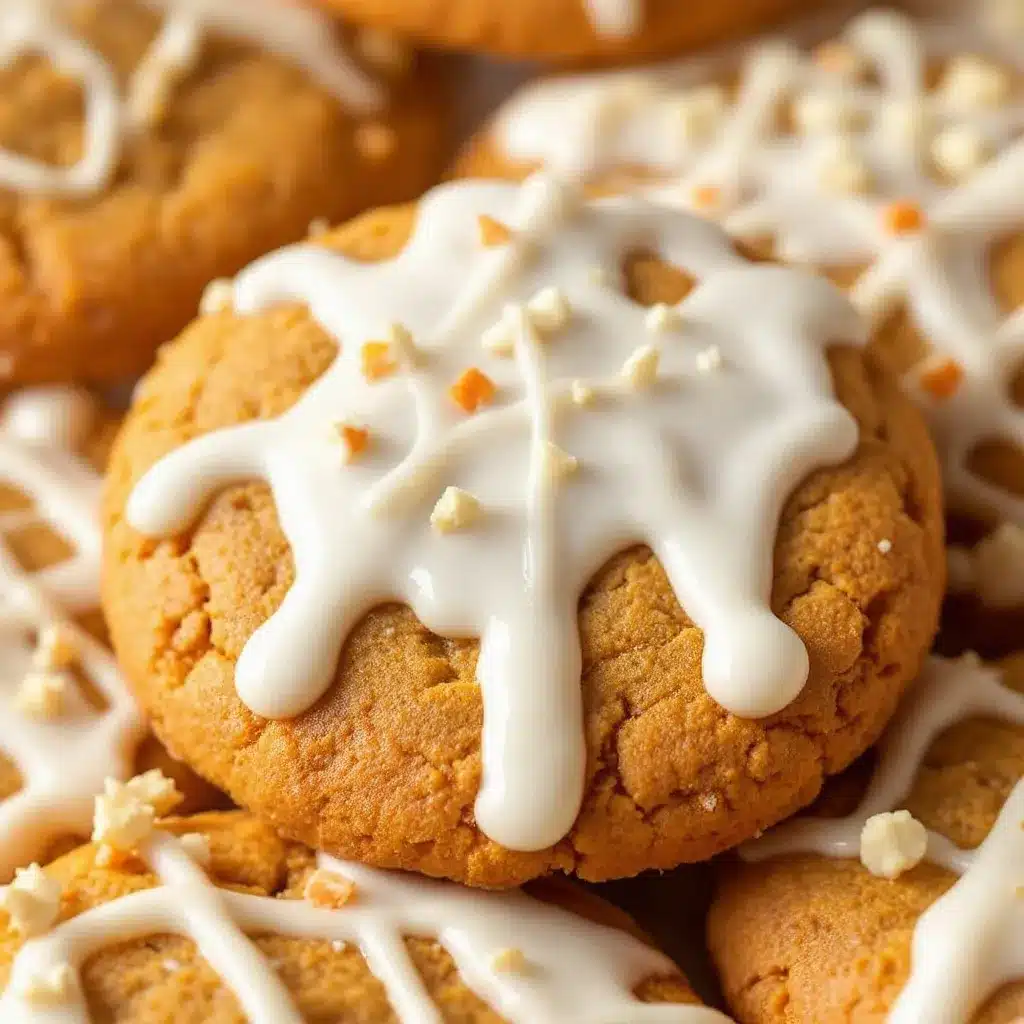
Let’s walk through this step by step. I’ve included all the little details I wish someone had told me when I first started making decorated sugar cookies.
- Cream the butter and sugar: In a large mixing bowl, beat the softened butter and granulated sugar together on medium speed for 2-3 minutes until light and fluffy. Scrape down the sides of the bowl halfway through. You’re looking for a pale, airy mixture that looks almost like whipped butter. This step creates the foundation for tender cookies.
- Add the wet ingredients: Add the egg, pumpkin purée, and vanilla extract. Beat on low until just combined. Don’t overmix here—you don’t want to incorporate too much air. The mixture might look slightly separated at this point, and that’s totally normal. It will come together once you add the dry ingredients.
- Mix the dry ingredients: In a separate bowl, whisk together the flour, cornstarch, baking powder, salt, and pumpkin pie spice. Whisking ensures everything is evenly distributed. Nobody wants a bite with a pocket of baking powder.
- Combine wet and dry: Gradually add the dry ingredients to the wet mixture, mixing on low speed. Stop as soon as the flour disappears. If you keep mixing, you’ll develop gluten and end up with tough cookies. The dough should be soft but not sticky. If it feels too sticky to handle, refrigerate for 15 minutes.
- Chill the dough: Divide the dough in half, flatten each half into a disk, wrap tightly in plastic wrap, and refrigerate for at least 1 hour. This step is non-negotiable. Chilled dough is easier to roll, holds its shape better during baking, and produces sharper cookie edges. I’ve made the mistake of skipping this step, and my cookies turned into amorphous blobs. Learn from my failure.
- Preheat and prepare: When you’re ready to bake, preheat your oven to 350°F (175°C). Line two baking sheets with parchment paper or silicone mats.
- Roll the dough: On a lightly floured surface, roll one disk of dough to ¼-inch thickness. I use thickness rings on my rolling pin for consistency, but you can eyeball it. Just make sure it’s even. If the dough cracks at the edges, let it sit at room temperature for 5 minutes to warm up slightly.
- Cut the shapes: Dip your pumpkin cookie cutter in flour before each cut to prevent sticking. Cut shapes as close together as possible to minimize re-rolling scraps. Place cookies 2 inches apart on the prepared baking sheets.
- Bake: Bake for 8-10 minutes, rotating the pan halfway through. The cookies are done when the edges are just barely golden brown. The centers might look slightly underdone—that’s perfect. They’ll continue setting as they cool. Overbaked sugar cookies are dry and crumbly.
- Cool completely: Let cookies cool on the baking sheet for 5 minutes, then transfer to a wire rack to cool completely. Do not attempt to ice warm cookies. I know it’s tempting, but you’ll end up with melted icing everywhere. Patience, my friend.
- Make the royal icing: In a clean mixing bowl, combine powdered sugar and meringue powder. Add 3 tablespoons of water and beat on low for 1 minute. Increase speed to medium-high and beat for 3-4 minutes until the icing is glossy and forms stiff peaks. Add more water, one teaspoon at a time, if the icing is too thick. The consistency should be like toothpaste for outlining, and like honey for flooding.
- Color and bag the icing: Divide the icing into small bowls. Add gel food coloring to achieve your desired shades—orange for the pumpkins, green for stems, brown for details. Transfer each color to a piping bag fitted with a small round tip. I use Wilton #2 for outlining and #3 for flooding.
- Decorate the cookies: Outline each cookie with the orange icing, then flood the center with slightly thinner icing. Use a toothpick to spread the icing into corners and pop any air bubbles. Let the base layer dry for 30 minutes before adding details like stems, leaves, and faces. Royal icing sets hard, so you can stack decorated cookies once fully dry—usually after 4-6 hours.
Cooking Tips & Techniques
After making these cookies more times than I’d like to admit, I’ve collected a few tips that genuinely make a difference. Some of these came from successes, others from spectacular failures.
Don’t overwork the dough: This is the number one mistake I see bakers make. When you overmix cookie dough, you develop gluten, which makes cookies tough and dense. Mix until the flour just disappears, then stop. A few streaks of flour are better than overmixed dough.
Chill between batches: If you’re re-rolling scraps, pop the dough back in the fridge for 10 minutes before cutting more shapes. Warm dough spreads more during baking, and your second batch might come out wider and flatter than the first. I learned this the hard way when my first batch was perfect and my second batch looked like orange pancakes.
Watch the baking time: Every oven runs differently. My oven runs hot, so I start checking at 7 minutes. The cookies should look set around the edges but still pale in the center. If you wait until the centers look done, you’ve gone too far. Underbaked sugar cookies are soft and tender; overbaked ones are dry and crumbly.
Royal icing consistency is everything: For outlining, the icing should hold a stiff peak when you lift the whisk. For flooding, it should flow like honey and settle into a smooth surface within 10 seconds. If it’s too thick, add water drop by drop. If it’s too thin, add more sifted powdered sugar. Getting this right takes practice, but it’s the difference between professional-looking cookies and a sticky mess.
Use a scribe tool or toothpick: When flooding cookies, use a toothpick to guide the icing into corners and pop air bubbles. I keep a cup of toothpicks next to my work station for exactly this purpose. It makes such a difference in the final appearance.
Variations & Adaptations
One of my favorite things about this recipe is how adaptable it is. Here are some variations I’ve tried and loved.
Gluten-Free Version: Substitute the all-purpose flour with a 1:1 gluten-free baking flour blend. I’ve had great results with Bob’s Red Mill 1:1 Baking Flour. The cookies might be slightly more delicate, so handle them gently. Chill the dough a little longer—about 2 hours—to help them hold their shape.
Vegan Adaptation: Replace the butter with vegan butter sticks (not tub margarine), and use a flax egg (1 tablespoon ground flaxseed mixed with 3 tablespoons water, let sit for 5 minutes). For the royal icing, omit the meringue powder and use 2 tablespoons of aquafaba (chickpea liquid) instead. The texture is slightly different but still delicious.
Different Spice Blends: Not a fan of pumpkin pie spice? Use 1 teaspoon cinnamon, ¼ teaspoon nutmeg, ¼ teaspoon ginger, and a pinch of cloves. Or try chai spice blend for a unique twist. I once made a batch with cardamom and cinnamon, and they disappeared at a brunch party before I could even get a picture.
No-Icing Option: If royal icing feels intimidating, sprinkle the cookies with cinnamon sugar before baking. Or drizzle with a simple glaze made from powdered sugar and milk. Sometimes I make a batch just for snacking without any decoration at all—they’re that good on their own.
Different Shapes: While pumpkin shapes are perfect for fall, this dough works with any cookie cutter. Leaves, acorns, circles, even gingerbread people. Just adjust baking time slightly for smaller or larger shapes.
Serving & Storage Suggestions
These cookies are versatile enough for any fall occasion. Here’s how to serve and store them for best results.
Serving Temperature: Serve at room temperature. The royal icing needs to be fully set—usually after 4-6 hours at room temperature—before stacking or packaging. I always make my cookies a day ahead so I don’t have to rush the decorating process.
Presentation Ideas: Arrange on a tiered stand for a beautiful fall display. Add some mini pumpkins, dried leaves, or cinnamon sticks around the plate for a seasonal touch. For parties, I like to set up a cookie decorating station where guests can ice their own cookies—it’s always a hit with kids and adults alike.
Storage Instructions: Store undecorated cookies in an airtight container at room temperature for up to 1 week. Decorated cookies with royal icing can be stored at room temperature for up to 2 weeks. Do not refrigerate—the moisture will soften the royal icing and make it sticky. I speak from sad experience.
Freezing: You can freeze the unbaked dough for up to 3 months. Wrap tightly in plastic wrap and place in a freezer bag. Thaw overnight in the refrigerator before rolling and cutting. Baked, undecorated cookies also freeze well for up to 3 months. Thaw at room temperature before icing.
Gifting: These cookies make wonderful homemade gifts. Layer them in a gift box with parchment paper between layers. Add a handwritten tag with storage instructions. I’ve sent these to friends across the country, and they always arrive intact and delicious.
Nutritional Information & Benefits
While these are definitely a treat, here’s what you’re getting in each cookie (based on 24 cookies with royal icing).
| Nutrient | Amount Per Cookie |
|---|---|
| Calories | 145 |
| Total Fat | 7g |
| Saturated Fat | 4g |
| Carbohydrates | 20g |
| Sugar | 12g |
| Protein | 1g |
| Sodium | 45mg |
The pumpkin purée adds a small amount of vitamin A and fiber, which is more than most sugar cookies offer. Using real butter provides vitamin A and healthy fats. The cornstarch helps keep these cookies lower in gluten development, making them slightly more digestible than traditional sugar cookies.
For those watching their sugar intake, you can reduce the sugar in the cookie dough to ¾ cup without affecting texture too much. The royal icing is harder to reduce since it needs sugar for structure, but you can use a thinner glaze instead for less sweetness.
These cookies are naturally nut-free and can be made dairy-free with appropriate substitutions. They contain gluten, eggs, and dairy in the standard recipe.
Conclusion
These iced pumpkin sugar cookies have become my fall baking tradition for a reason. They capture everything I love about autumn—the warm spices, the cozy feeling of baking on a cool day, the joy of making something beautiful with my hands. But more than that, they’re reliable. I know exactly how they’ll turn out every time, which is more than I can say for some of my other baking adventures.
I hope you give these a try, whether you’re a seasoned cookie decorator or someone who’s never piped royal icing before. Start simple—just orange icing with a green stem—and work your way up to more elaborate designs. The cookies themselves are forgiving, and the decorating is supposed to be fun, not stressful. If your first batch looks a little wonky, that’s okay. Mine did too.
I’d love to hear how yours turn out! Drop a comment below with your decorating creations, any variations you tried, or questions you have. And if you’re looking for more fall baking inspiration, check out my matcha green tea tiramisu parfaits for another seasonal treat, or my mango jalapeño agua fresca for a refreshing drink to pair with these cookies. Happy baking, friends!
Frequently Asked Questions
Can I use pumpkin pie filling instead of pumpkin purée?
No, please don’t. Pumpkin pie filling has added sugar and spices, plus stabilizers that will change the cookie texture. Stick with 100% pure pumpkin purée for best results. Libby’s is my go-to brand.
Why did my cookies spread too much?
This usually happens for one of three reasons: your butter was too soft or melted, your dough wasn’t chilled long enough, or your baking sheet was too warm. Make sure your butter is just softened, not greasy, and chill the dough for at least an hour. Also, let your baking sheet cool completely between batches.
Can I skip the royal icing?
Absolutely! These cookies are delicious on their own. You can sprinkle them with cinnamon sugar before baking, drizzle with a simple powdered sugar glaze, or leave them plain. They’re perfect for snacking either way.
How do I get smooth royal icing?
The key is getting the right consistency. Your flooding icing should flow like honey and settle into a smooth surface within 10 seconds. If it’s too thick, add water drop by drop. Use a toothpick to guide the icing into corners and pop any air bubbles. Let each layer dry completely before adding the next.
How far in advance can I make these cookies?
You can make the dough up to 3 days ahead and keep it refrigerated. Baked undecorated cookies can be stored at room temperature for up to a week. Decorated cookies with royal icing last up to 2 weeks at room temperature. They’re perfect for make-ahead holiday baking.
Pin This Recipe!
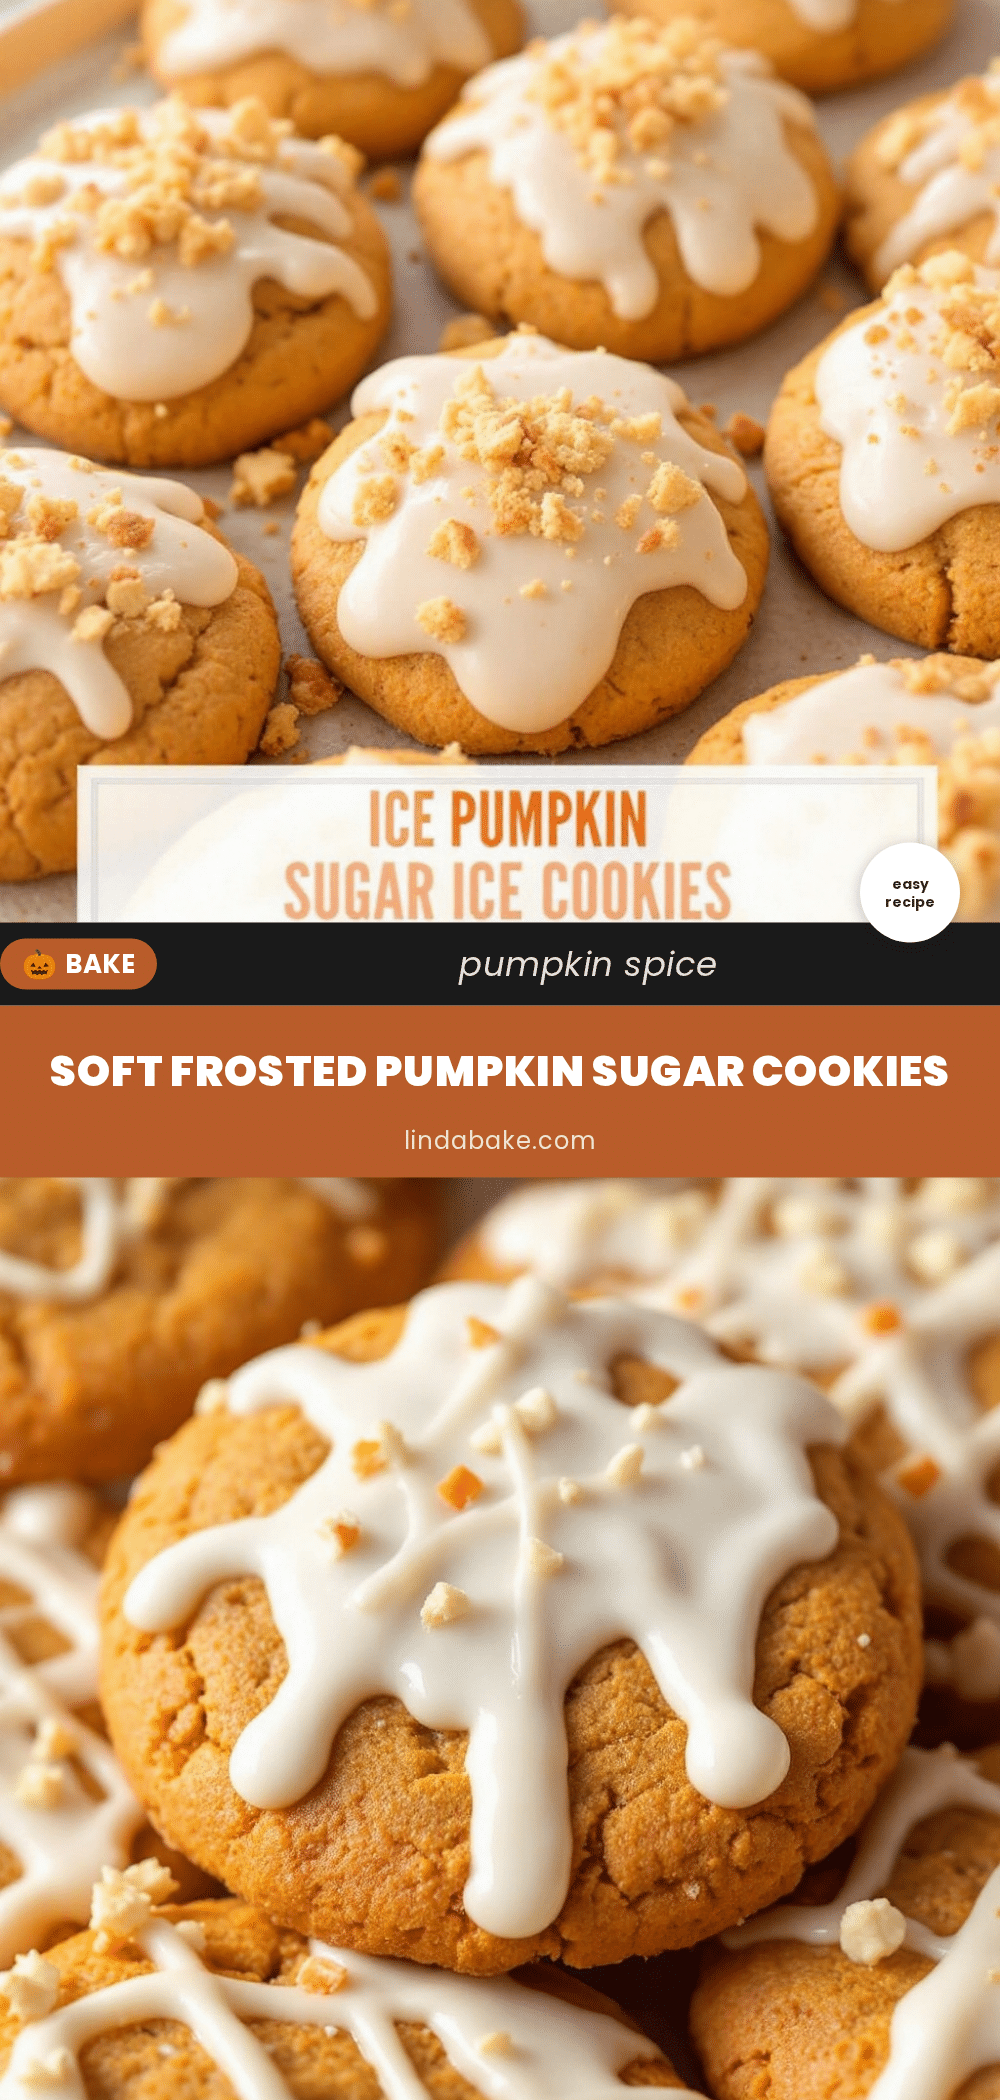
Perfect Iced Pumpkin Sugar Cookies Easy Royal Icing Recipe

These iced pumpkin sugar cookies have crisp edges, a tender center, and real pumpkin flavor. They hold their shape beautifully for decorating with royal icing, making them perfect for fall parties, Halloween, and Thanksgiving.
- Prep Time: 15 minutes
- Cook Time: 10 minutes
- Total Time: 1 hour 25 minutes (includes 1 hour chilling)
- Yield: 24 cookies 1x
- Category: Dessert
- Cuisine: American
Ingredients
- 1 cup (226g) unsalted butter, softened
- 1 cup (200g) granulated sugar
- 1 large egg, room temperature
- 1 tablespoon (15g) pumpkin purée
- 1 teaspoon vanilla extract
- 2 cups (240g) all-purpose flour
- 1 teaspoon cornstarch
- ½ teaspoon baking powder
- ¼ teaspoon salt
- 1½ teaspoons pumpkin pie spice
- 2 cups (240g) powdered sugar (for royal icing)
- 2 tablespoons meringue powder
- 3–4 tablespoons water (for royal icing)
- Gel food coloring (orange, green, brown)
Instructions
- Cream the butter and sugar: In a large mixing bowl, beat the softened butter and granulated sugar together on medium speed for 2-3 minutes until light and fluffy. Scrape down the sides of the bowl halfway through.
- Add the wet ingredients: Add the egg, pumpkin purée, and vanilla extract. Beat on low until just combined.
- Mix the dry ingredients: In a separate bowl, whisk together the flour, cornstarch, baking powder, salt, and pumpkin pie spice.
- Combine wet and dry: Gradually add the dry ingredients to the wet mixture, mixing on low speed. Stop as soon as the flour disappears. The dough should be soft but not sticky.
- Chill the dough: Divide the dough in half, flatten each half into a disk, wrap tightly in plastic wrap, and refrigerate for at least 1 hour.
- Preheat and prepare: When ready to bake, preheat oven to 350°F (175°C). Line two baking sheets with parchment paper or silicone mats.
- Roll the dough: On a lightly floured surface, roll one disk of dough to ¼-inch thickness.
- Cut the shapes: Dip your pumpkin cookie cutter in flour before each cut. Cut shapes as close together as possible. Place cookies 2 inches apart on prepared baking sheets.
- Bake: Bake for 8-10 minutes, rotating the pan halfway through. Cookies are done when edges are just barely golden brown. Cool on baking sheet for 5 minutes, then transfer to a wire rack to cool completely.
- Make the royal icing: In a clean mixing bowl, combine powdered sugar and meringue powder. Add 3 tablespoons of water and beat on low for 1 minute. Increase speed to medium-high and beat for 3-4 minutes until glossy and forms stiff peaks. Add more water, one teaspoon at a time, if needed.
- Color and bag the icing: Divide icing into small bowls. Add gel food coloring to achieve desired shades. Transfer each color to a piping bag fitted with a small round tip.
- Decorate the cookies: Outline each cookie with orange icing, then flood the center with slightly thinner icing. Use a toothpick to spread icing into corners and pop air bubbles. Let base layer dry for 30 minutes before adding details.
Notes
Don’t overwork the dough to avoid tough cookies. Chill dough between batches if re-rolling scraps. Watch baking time carefully—underbaked cookies are soft, overbaked are dry. Royal icing consistency is key: outline icing should hold a stiff peak, flooding icing should flow like honey. Use a toothpick to guide icing and pop air bubbles. Store undecorated cookies in an airtight container at room temperature for up to 1 week; decorated cookies with royal icing last up to 2 weeks at room temperature. Do not refrigerate.
Nutrition
- Serving Size: 1 cookie
- Calories: 145
- Sugar: 12
- Sodium: 45
- Fat: 7
- Saturated Fat: 4
- Carbohydrates: 20
- Protein: 1
Keywords: pumpkin sugar cookies, iced pumpkin cookies, royal icing cookies, fall cookies, Halloween cookies, Thanksgiving cookies, decorated sugar cookies


