Third time this week, and the kitchen still smells like a bakery that went slightly overboard with the vanilla extract. I don’t know what possessed me to start baking pumpkin bread on a Tuesday morning, but here we are. The batter was thicker than I expected, clinging to the spoon in those stubborn, glorious clumps that promise a dense, moist crumb. I scraped the sides of the bowl with a rubber spatula, watching the chocolate chips sink into the orange-hued mixture like little dark islands in a sea of spice. It’s funny how a simple loaf can become such a distraction; suddenly, the emails can wait, and the laundry pile in the corner isn’t quite as urgent as checking if the oven preheated to exactly 350 degrees.
By the third batch, I stopped measuring the cinnamon and just poured until my hand felt full. That’s when it clicked. This isn’t just about following instructions anymore; it’s about trusting your gut and knowing that the balance of sweet and savory in one bowl is worth the cleanup. The edges turned a perfect caramelized brown, and the center jiggled just enough to let me know it was done without being undercooked. There’s a specific kind of peace in watching steam rise from a fresh loaf, especially when you know you didn’t need a mixer or a dozen separate bowls to get there.
I realized I wasn’t just making bread to eat; I was making it because the process grounds me. In a week that felt like it was spinning too fast, the rhythm of folding and pouring became my anchor. The house filled with that warm, comforting scent that makes everyone wander in, drawn by the promise of carbs and sugar. It’s a small thing, really, just flour and pumpkin puree, but it feels like a hug from the inside out. And honestly? I think I’ll be making this again next week. Maybe even the week after that.
Why You’ll Love This Recipe
Let’s be real for a second. Most pumpkin bread recipes out there are either too dry, too spicy, or require you to buy a mixer you’ll use once a year. This one is different because it actually works every single time. I’ve tested this version until my kitchen floor was covered in flour, and it’s the one that finally made me stop looking for other recipes. It’s the kind of bake that feels like a win before you even take the first bite.
- Quick & Easy: You can have this from bowl to oven in about 15 minutes. No electric mixer required, which means less cleanup and more time enjoying the smell.
- Simple Ingredients: You likely have everything you need in your pantry right now. Pumpkin puree, flour, sugar, spices, and chocolate chips. That’s it. No fancy grocery trips needed.
- Perfect for Gifting: Wrapped in foil and tied with a ribbon, this loaf is the ultimate housewarming or neighborly gift. It travels well and stays moist for days.
- Crowd-Pleaser: Kids love the chocolate chips, and adults love the pumpkin spice. It bridges the gap between a healthy-ish breakfast and a dessert, making it a versatile staple.
- Unbelievably Delicious: The texture is incredibly moist without being soggy. The chocolate chips melt into pockets of sweetness that contrast perfectly with the warm spices.
What makes this recipe stand out isn’t just the taste, but the simplicity. I used to think you needed to cream butter and sugar separately to get a good rise, but this method proves that mixing it all in one bowl creates a tender, cake-like crumb that is honestly superior. It’s comfort food reimagined for people who don’t have three hours to spend in the kitchen. Whether you’re a seasoned baker or someone who usually burns toast, this recipe is forgiving and reliable.
It’s the kind of bread that makes you close your eyes after the first bite. You know that feeling when you’re walking past a bakery and the smell stops you in your tracks? That’s what this is. It’s soul-soothing and easy. Plus, if you already love my copycat pumpkin cream cheese muffins, you’re going to feel right at home with this loaf. It’s the same cozy vibes but in a format that’s even easier to pull together.
What Ingredients You Will Need
This recipe relies on a few key pantry staples to deliver bold flavor and a satisfying texture without the fuss. The beauty of one-bowl bread is that you don’t need to worry about temperature-sensitive butter or complex emulsions. Just dump it all in and mix. However, choosing the right pumpkin puree is non-negotiable. Make sure you’re using 100% pure pumpkin, not pumpkin pie filling, which is loaded with extra sugar and spices that will throw off the balance.
For the dry ingredients, all-purpose flour is your best friend here. It provides the structure without being too heavy. If you’re feeling adventurous, you can swap out a quarter of the flour for whole wheat pastry flour to add a nutty depth, but stick to all-purpose for that classic soft crumb. The spices are where the magic happens. Cinnamon is a must, but don’t skip the nutmeg and ginger. A pinch of cloves adds that warm, aromatic depth that smells like autumn. I always keep a set of fresh spice jars for baking because old spices just taste dusty.
- Pumpkin Puree: 1 cup (240g). Use canned or homemade. Avoid pie filling.
- All-Purpose Flour: 2 cups (250g). Sifted if lumpy, but not strictly necessary.
- Baking Soda: 1 teaspoon. This gives the bread its lift and helps with browning.
- Baking Powder: 1/2 teaspoon. Extra lift for a taller loaf.
- Salt: 1/2 teaspoon. Balances the sweetness and enhances the spices.
- Granulated Sugar: 1 cup (200g). White sugar keeps the crumb tender.
- Brown Sugar: 1/2 cup (100g). Packed. Adds moisture and a hint of caramel flavor.
- Eggs: 2 large eggs, room temperature. Helps bind the wet and dry ingredients.
- Vegetable Oil: 1/2 cup (120ml). Oil keeps bread moister than butter does.
- Vanilla Extract: 1 tablespoon. Pure vanilla, not imitation.
- Chocolate Chips: 1 cup (170g). Semi-sweet or milk chocolate. Dark chocolate works too if you prefer less sweetness.
- Spices: 1 tsp cinnamon, 1/2 tsp nutmeg, 1/4 tsp ginger, 1/4 tsp cloves.
If you’re out of nutmeg, you can skip it, but the cinnamon should be strong. For the oil, I usually use vegetable or canola oil because they have a neutral flavor. You could use melted coconut oil if you want a slight coconut note, but it might solidify in the fridge. The chocolate chips are optional if you’re making this for kids who are picky, but honestly, the chocolate adds a necessary crunch and sweetness that balances the earthiness of the pumpkin. I recommend using high-quality chips like Ghirardelli or Guittard for better melting properties.
Equipment Needed
You don’t need much for this recipe, which is half the appeal. The only essential tool is a large mixing bowl. A glass or ceramic bowl works well because you can see the consistency of the batter as you mix. If you don’t have a large bowl, a big stockpot can work in a pinch, but a bowl is much easier to handle.
You’ll also need a whisk or a sturdy spoon. A whisk is better for incorporating the dry ingredients evenly without overmixing. Overmixing is the enemy of tender bread, so a gentle hand is key. I use a silicone spatula to scrape the sides of the bowl to make sure no dry flour pockets are hiding at the bottom.
For baking, a standard 9×5 inch loaf pan is perfect. I prefer non-stick pans, but if yours isn’t, you’ll need to grease it well or line it with parchment paper. Parchment paper is a game-changer because it makes removing the loaf effortless and keeps the bottom from burning. If you don’t have a loaf pan, you can bake this in a muffin tin for mini loaves or muffins. Just reduce the baking time to about 20-25 minutes.
A cooling rack is also helpful. Letting the bread cool in the pan for 10 minutes before transferring it to the rack prevents it from breaking apart. I’ve learned this the hard way after trying to lift a hot, fragile loaf straight out of the pan. A simple wire rack does the job perfectly. No fancy gadgets required, just basic kitchen tools you probably already own.
Preparation Method
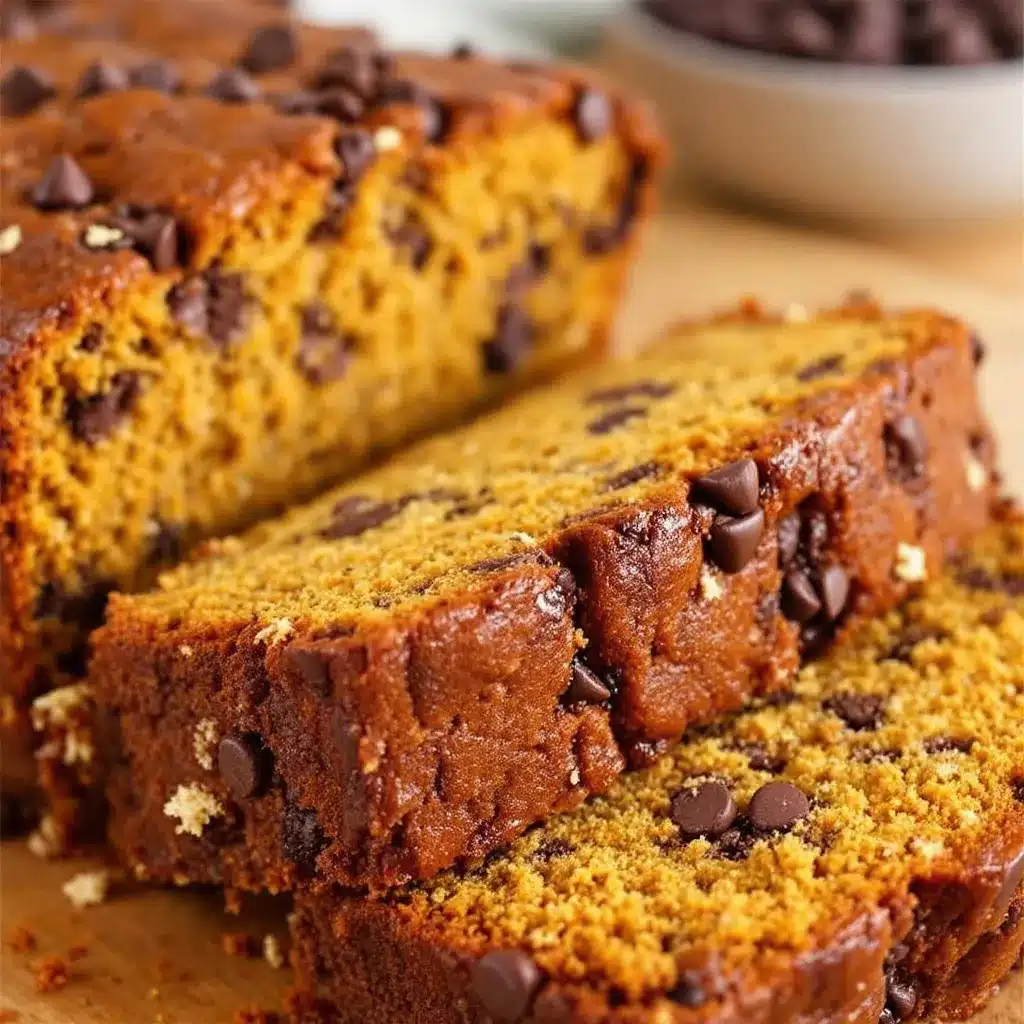
Start by preheating your oven to 350°F (175°C). This is crucial because the baking soda needs immediate heat to activate and create lift. While the oven warms up, prepare your 9×5 inch loaf pan. Grease it lightly with cooking spray or butter, and if you’re using parchment paper, cut a strip that fits the bottom and hangs over the sides like handles. This ensures easy removal later.
In your large mixing bowl, combine the dry ingredients. Add the all-purpose flour, baking soda, baking powder, salt, cinnamon, nutmeg, ginger, and cloves. Whisk them together thoroughly. This step is important to distribute the leavening agents evenly so the bread rises uniformly. If you skip this, you might end up with bitter spots from unmixed baking soda.
Next, add the wet ingredients directly to the dry mixture. Pour in the pumpkin puree, granulated sugar, brown sugar, eggs, vegetable oil, and vanilla extract. Start mixing with your whisk or spoon. Don’t go crazy here. Mix until the ingredients are just combined. You’ll see streaks of flour and pockets of pumpkin, and that’s okay. Overmixing develops gluten, which makes the bread tough instead of tender.
Once the batter is mostly smooth, fold in the chocolate chips. Use your spatula to gently fold them in, being careful not to crush them. The batter will be thick and heavy. This is normal. If it seems too dry, add a splash of milk, but usually, the pumpkin provides enough moisture. Pour the batter into your prepared loaf pan. Use the spatula to spread it evenly into the corners.
Place the loaf in the center of the preheated oven. Bake for 55-65 minutes. The baking time can vary depending on your oven and the size of your loaf pan. Start checking at 50 minutes. Insert a toothpick or cake tester into the center of the loaf. If it comes out clean or with just a few moist crumbs, it’s done. If there’s wet batter on it, give it another 5-10 minutes. The top should be golden brown and spring back when gently pressed.
Remove the loaf from the oven and let it cool in the pan for 10 minutes. This allows the structure to set so it doesn’t fall apart when you move it. After 10 minutes, lift the loaf out using the parchment paper handles (or your fingers if you didn’t use paper) and place it on a cooling rack. Let it cool completely before slicing. This step is hard, I know, but slicing warm bread can make it gummy. Wait at least 30 minutes for the best texture.
Common Questions During Prep
- Why is my batter so thick? Pumpkin puree varies in moisture content. If it’s very thick, your batter will be too. This is normal and usually results in a denser, fudgier bread.
- Can I use bananas instead of pumpkin? Yes, you can substitute banana bread batter, but the flavor and texture will change completely. This recipe is specific to pumpkin.
- Why did my bread sink in the middle? This usually happens if the oven door was opened too early or if the baking soda was old. Make sure your leavening agents are fresh.
Cooking Tips & Techniques
One of the biggest mistakes people make with quick breads is overmixing the batter. I know it’s tempting to stir until it looks perfect, but trust me, less is more. The goal is to just bring the ingredients together. A few lumps are fine. Overmixing leads to a tough, rubbery texture, and nobody wants that in their pumpkin bread. Fold gently and stop as soon as you don’t see dry flour.
Another tip is to ensure your eggs are at room temperature. Cold eggs can shock the batter and make it curdle, especially when mixed with oil. If you forgot to take them out, just place them in a bowl of warm water for a few minutes. This helps them incorporate smoothly into the wet ingredients.
Testing for doneness is an art form. The toothpick test is the standard, but don’t rely on it exclusively. The bread should also pull away slightly from the sides of the pan, and the top should be firm to the touch. If the toothpick comes out with wet batter, it needs more time. If it comes out completely clean, it might be overbaked. Aim for moist crumbs.
For a professional finish, you can sprinkle a little coarse sugar on top before baking. It adds a nice crunch and makes the loaf look bakery-worthy. If you’re worried about the top browning too quickly, you can tent the loaf with aluminum foil for the last 15 minutes of baking. Just make sure the foil doesn’t touch the bread, or it will stick.
Finally, patience is key. Letting the bread cool completely before slicing prevents it from falling apart. The residual heat continues to cook the center, and slicing too early releases steam, making the bread gummy. I know it’s hard to wait, but the reward is worth it. A clean slice with distinct layers of pumpkin and chocolate is so satisfying.
Variations & Adaptations
While the classic pumpkin chocolate chip version is my favorite, this recipe is highly adaptable. You can easily swap the chocolate chips for other mix-ins. Chopped walnuts or pecans add a great crunch and pair beautifully with the spices. If you want a more sophisticated flavor, try adding white chocolate chips and dried cranberries for a tart contrast.
For a healthier twist, you can reduce the sugar by a quarter cup without affecting the texture too much. The pumpkin provides enough natural sweetness. You can also substitute half the all-purpose flour with whole wheat flour for added fiber. Just note that the bread will be denser and nuttier.
If you’re dairy-free, this recipe is already suitable since it uses oil instead of butter. Just ensure your chocolate chips are dairy-free as well. For a gluten-free option, use a 1:1 gluten-free flour blend. The results are surprisingly close to the original, though the texture might be slightly more crumbly.
I also tried making this with maple syrup instead of sugar for a more natural sweetness. It worked well, but the bread was darker and moister. Keep an eye on the baking time if you use liquid sweeteners, as they can cause faster browning. Experimenting with these variations keeps the recipe fresh and allows you to tailor it to your dietary needs or taste preferences.
Serving & Storage Suggestions
This bread is best served at room temperature, where the flavors are most balanced. A slice paired with a hot cup of coffee or tea is the ultimate cozy moment. If you want to treat yourself, warm a slice in the microwave for 15 seconds and top it with a pat of butter. The butter melts into the warm crumb, creating a rich, decadent experience.
For storage, wrap the cooled loaf tightly in plastic wrap or aluminum foil. It will keep at room temperature for up to 3 days. If you live in a humid climate, store it in the refrigerator to prevent mold, though it may dry out slightly. To reheat refrigerated bread, warm it in the oven at 300°F for 10 minutes to restore the fresh-baked texture.
For longer storage, freeze the loaf. Wrap it in plastic wrap and then in a freezer-safe bag. It will stay fresh for up to 3 months. Thaw it overnight at room temperature before slicing. The flavors actually meld and deepen after a day or two, so leftovers often taste even better than the fresh loaf.
When serving to guests, slice the bread diagonally for a more elegant presentation. Dust the slices with powdered sugar or serve with a dollop of whipped cream. It’s a versatile bread that pairs well with both savory and sweet accompaniments. I also find it makes a great addition to a snack board alongside cheeses and fruits.
Nutritional Information & Benefits
This pumpkin bread is a delightful treat, but it’s not without its nutritional considerations. Pumpkin puree is rich in vitamins A and C, as well as potassium and fiber. These nutrients contribute to immune health and digestion. However, the added sugar and chocolate chips increase the calorie count, so moderation is key.
Each slice contains approximately 250-300 calories, depending on the size and the type of chocolate used. The fat content comes primarily from the vegetable oil and chocolate chips, providing energy but also adding saturated fat if you use milk chocolate. For a lighter option, use dark chocolate chips and reduce the sugar.
This recipe is not naturally gluten-free or nut-free unless you use specific substitutions. Be mindful of allergens if serving to others. The spices, particularly cinnamon and ginger, have anti-inflammatory properties, adding a small health benefit to the indulgence. Overall, it’s a balanced treat that can be enjoyed as part of a varied diet.
Conclusion
This Moist One-Bowl Pumpkin Chocolate Chip Bread is more than just a recipe; it’s a testament to the joy of simple baking. It requires minimal effort but delivers maximum flavor and comfort. Whether you’re baking for yourself or sharing with loved ones, this loaf is sure to become a favorite. I hope you give it a try and enjoy the process as much as I did.
Feel free to customize it with your favorite mix-ins or spices. Baking is all about experimentation, and this recipe is a great canvas for your creativity. Don’t forget to share your results with me! I love seeing how others adapt this recipe to their own tastes.
Happy baking, and enjoy every slice!
Frequently Asked Questions
Can I use fresh pumpkin instead of canned?
Yes, you can roast and puree fresh pumpkin. Just ensure the puree is thick and not watery. If it’s too wet, drain it in a cheesecloth to remove excess moisture.
Why is my bread too dense?
This usually happens if you overmix the batter or use too much flour. Measure your flour correctly by spooning it into the cup and leveling it off, rather than scooping directly.
Can I freeze the bread?
Absolutely. Wrap it tightly in plastic wrap and foil. It will keep for up to 3 months in the freezer. Thaw at room temperature before serving.
What can I substitute for pumpkin puree?
You can use sweet potato puree for a similar texture and flavor. The spices will still work well, creating a delicious variation.
How do I know when the bread is done?
Insert a toothpick into the center. If it comes out clean or with a few moist crumbs, it’s done. The top should also spring back when lightly pressed.
Pin This Recipe!
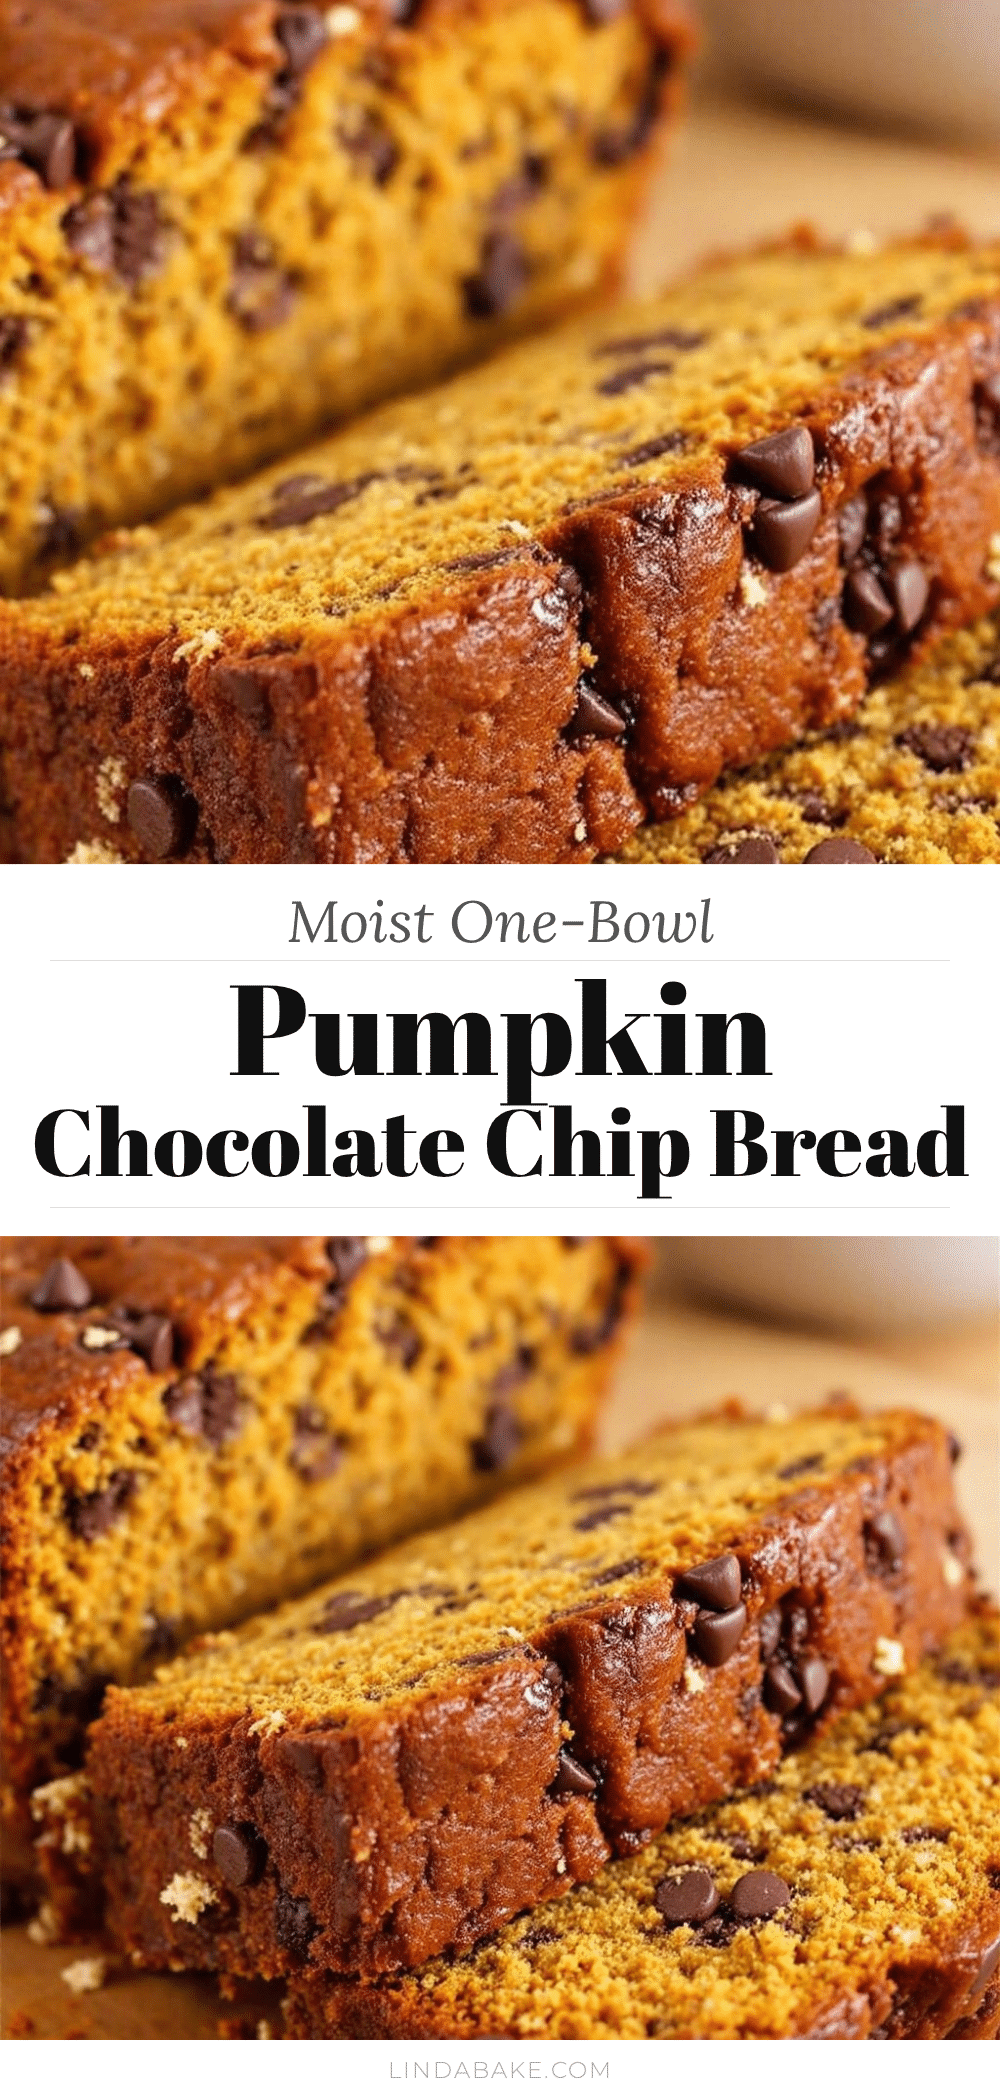
Moist One-Bowl Pumpkin Chocolate Chip Bread
A simple, moist pumpkin bread made in a single bowl with chocolate chips. This easy recipe requires no mixer and delivers a tender, cake-like crumb with warm autumn spices.
- Prep Time: 15 minutes
- Cook Time: 55-65 minutes
- Total Time: 1 hour 15 minutes
- Yield: 1 loaf (8-10 servings) 1x
- Category: Dessert
- Cuisine: American
Ingredients
- 1 cup (240g) pumpkin puree
- 2 cups (250g) all-purpose flour
- 1 teaspoon baking soda
- 1/2 teaspoon baking powder
- 1/2 teaspoon salt
- 1 cup (200g) granulated sugar
- 1/2 cup (100g) packed brown sugar
- 2 large eggs, room temperature
- 1/2 cup (120ml) vegetable oil
- 1 tablespoon vanilla extract
- 1 cup (170g) chocolate chips
- 1 tsp cinnamon
- 1/2 tsp nutmeg
- 1/4 tsp ginger
- 1/4 tsp cloves
Instructions
- Preheat oven to 350°F (175°C). Grease a 9×5 inch loaf pan and line with parchment paper.
- In a large mixing bowl, whisk together the flour, baking soda, baking powder, salt, cinnamon, nutmeg, ginger, and cloves.
- Add the pumpkin puree, granulated sugar, brown sugar, eggs, vegetable oil, and vanilla extract to the dry ingredients.
- Mix gently with a whisk or spoon until just combined. Do not overmix.
- Fold in the chocolate chips using a spatula.
- Pour the thick batter into the prepared loaf pan and spread evenly.
- Bake for 55-65 minutes, or until a toothpick inserted into the center comes out clean or with moist crumbs.
- Let the bread cool in the pan for 10 minutes, then transfer to a wire rack to cool completely before slicing.
Notes
Ensure pumpkin puree is 100% pure, not pie filling. Do not overmix the batter to avoid a tough texture. Eggs should be at room temperature. For a professional finish, sprinkle coarse sugar on top before baking. If the top browns too quickly, tent with foil for the last 15 minutes.
Nutrition
- Serving Size: 1 slice
- Calories: 275
- Sugar: 28
- Sodium: 250
- Fat: 12
- Saturated Fat: 3
- Carbohydrates: 40
- Fiber: 2
- Protein: 4
Keywords: pumpkin bread, chocolate chip bread, one bowl recipe, easy baking, fall recipes, pumpkin spice, quick bread


