It is 5:00 PM on Thanksgiving Eve and I am staring at a loaf of stale bread like it owes me money. The oven is already full of turkeys, casseroles, and pies, leaving exactly zero square inches for the side dish that actually matters. You know that panic? The one where you realize the stuffing is going to be soggy because you rushed the drying process? I have been there. Honestly, I have been there so many times my knees hurt. Making a giant casserole dish of stuffing is fine if you have a huge oven and a lot of counter space. But most of us don’t. We are juggling too much. That is why I decided to stop fighting the oven space and start thinking in muffin tins. Make-Ahead Thanksgiving Stuffing Muffins changed my entire holiday game. I used to think individual portions were too fussy for a big family dinner. But let’s face it, no one wants to dig for the good crispy bits at the bottom of a big pan. With these muffins, you get your own perfect square. Plus, you can prep them the night before. That means less stress on the big day. You just pull them out and pop them in. It is simple, it is practical, and it tastes like heaven. I want to share how I stopped stressing and started enjoying my own holiday. This recipe is the answer to that bread-staring moment.
Why You’ll Love This Recipe
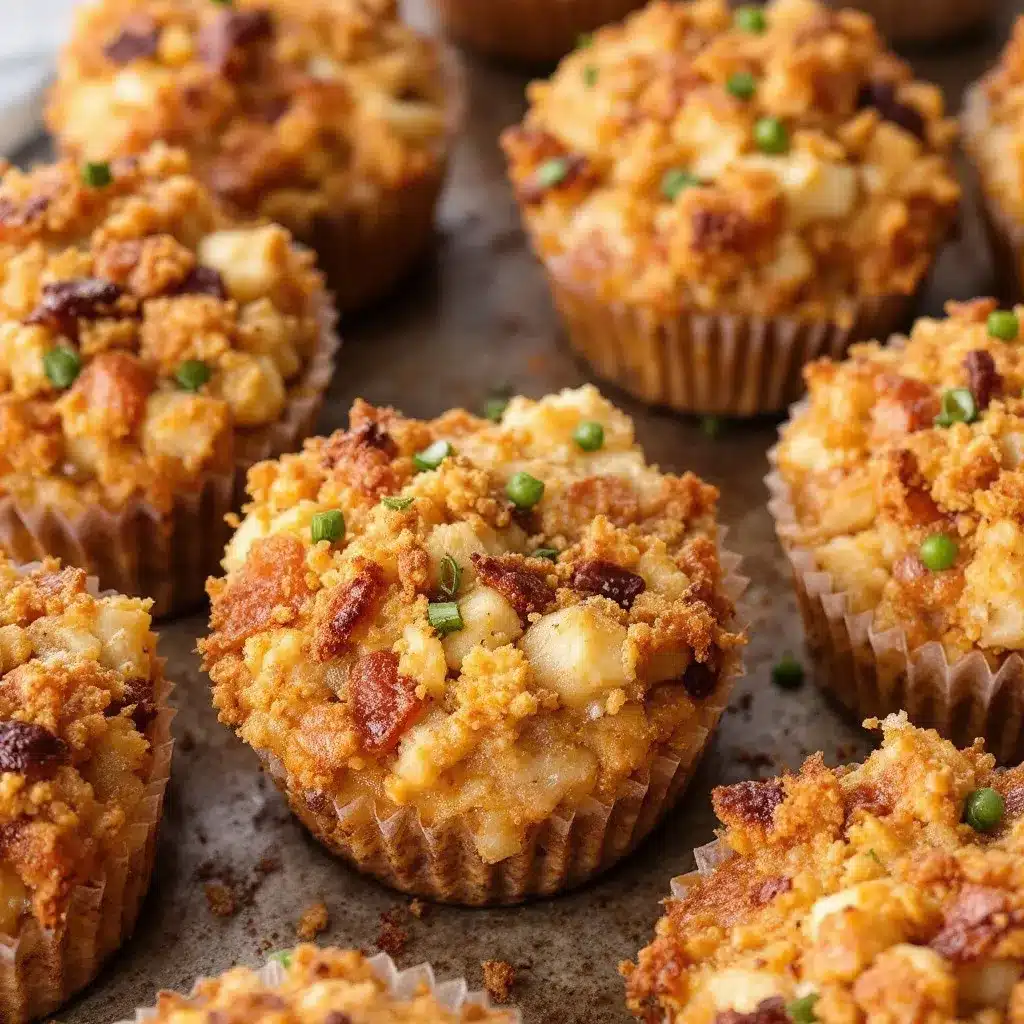
Let’s be real about holiday cooking. It is supposed to be joyful, but often it feels like a military operation. You are running around trying to fit everything into a crowded oven while keeping your sanity intact. I have spent years testing different ways to make stuffing that doesn’t turn into a mushy mess. This recipe stands out because it solves the biggest problem of all: oven space. By baking the stuffing in muffin tins, you use vertical space instead of horizontal space. This is a game-changer for small kitchens or busy holidays. You can bake the stuffing while the turkey rests or even while the pie bakes. It is incredibly efficient.
- Quick & Easy: The prep is fast because you are just mixing and scooping. The baking time is short, usually around 20-25 minutes. This is perfect for busy weeknights if you are meal prepping, or for keeping the main day less chaotic.
- Simple Ingredients: You likely have most of this in your pantry. Bread, broth, herbs, onions, and celery. No fancy grocery trips needed. It uses humble ingredients to create something special.
- Perfect for Meal Prep: These are the ultimate make-ahead Thanksgiving side dish. You can assemble them the night before and refrigerate them. This frees up your oven time on the actual holiday.
- Crowd-Pleaser: Everyone loves their own portion. It feels fancy but is actually very comforting. Kids and adults alike love the crispy edges.
- Unbelievably Delicious: The texture is next-level. Because each muffin has more surface area exposed to the heat, you get crispy edges on all sides. The inside stays moist and fluffy. It is comfort food reimagined.
This isn’t just another stuffing recipe. It is the kind that makes you close your eyes after the first bite. It captures the soul of traditional stuffing but with a modern twist. It is perfect for impressing guests without the stress of managing a giant dish. You can serve them on a platter, and they look beautiful. It turns a simple meal into something memorable. I love that I can make these even when I don’t have a holiday coming up. They are great for any time you need a savory side. Trust me, once you try this method, you will never go back to the big pan.
What Ingredients You Will Need
This recipe uses simple, wholesome ingredients to deliver bold flavor and satisfying texture without the fuss. The key is using day-old bread. Fresh bread will just turn into a soup. You need that structure. Also, don’t skimp on the broth. The liquid is what makes it moist. Here is what you need to get started.
For the Bread Base
- Stale bread, cubed: About 8 to 10 cups. I prefer sourdough or a rustic white bread. It holds up better than soft sandwich bread. If you can’t find day-old bread, just toast fresh cubes in the oven at 300°F for 10 minutes to dry them out.
- Butter: 4 tablespoons. Unsalted is best so you can control the saltiness. This adds richness and helps the bread get golden.
For the Veggie Mix-In
- Yellow onion, diced: One medium onion. This provides the sweet base flavor. You want it translucent, not brown.
- Celery, diced: Two stalks. Essential for that classic crunch. Don’t skip it.
- Garlic, minced: Two cloves. Just enough to add depth without overpowering.
For the Binding & Flavor
- Chicken broth: 2 to 2.5 cups. Use low-sodium broth so you can season it yourself. Vegetable broth works for a vegetarian version.
- Eggs: Two large eggs. These act as the glue to hold the muffins together.
- Fresh herbs: 2 tablespoons each of fresh sage and thyme. Dried herbs work too, but use half the amount. Fresh makes a huge difference.
- Salt and pepper: To taste. Always season your broth and your bread mixture.
I recommend using a good quality chicken broth like Swanson or Pacific. It makes a subtle but noticeable difference in the final taste. If you are looking for a gluten-free option, you can use gluten-free bread cubes. Just make sure they are dry. For a dairy-free version, swap the butter for olive oil. It changes the flavor slightly but still works well. In the fall, you can also add some roasted squash cubes for extra sweetness and color.
Equipment Needed
You don’t need fancy gadgets for this. A standard 12-cup muffin tin is all you really need. I use a heavy-duty aluminum tin because it conducts heat well and helps get those crispy edges. If you don’t have one, a non-stick tin works fine too. You will also need a large mixing bowl. Something big enough to toss the bread and broth around without spilling. A wooden spoon or a sturdy spatula is best for mixing. Don’t use a whisk; it won’t break up the bread cubes properly. A sharp knife and a cutting board are needed for chopping the onions and celery. I also suggest a pastry brush if you want extra crispy tops. You can brush a little melted butter on top before baking. For storage, you will need airtight containers or aluminum foil if you are freezing them. I also keep a silicone muffin liner set on hand for easy cleanup, though greasing the tin works just as well. Just make sure your tin is clean and dry before you start.
Preparation Method
- Prep the bread (10 minutes): Start by cubing your day-old bread. Aim for 1-inch cubes. If your bread is soft, spread the cubes on a baking sheet and toast them at 300°F for about 10 minutes. You want them dry to the touch but not hard as rocks. Let them cool completely. This step is crucial for texture.
- Sauté the aromatics (5 minutes): In a large skillet, melt the butter over medium heat. Add the diced onions and celery. Cook them until they are soft and translucent, about 5 minutes. Add the minced garlic in the last minute so it doesn’t burn. Stir frequently. You want the smell to fill the kitchen.
- Make the egg mixture (2 minutes): In a small bowl, whisk the two eggs with the chicken broth. Add the chopped fresh sage and thyme. Whisk until well combined. Season with a pinch of salt and black pepper. The mixture should look like yellow liquid with green flecks.
- Combine the ingredients (3 minutes): Place the dried bread cubes in your large mixing bowl. Pour the sautéed onion and celery mixture over the bread. Then pour the egg and broth mixture over everything. Use a wooden spoon to gently toss and fold. You want to coat every piece of bread. Do not crush the bread. Be gentle. It should look moist but not soggy. If it looks too dry, add a little more broth.
- Fill the muffin tin (5 minutes): Preheat your oven to 375°F. Grease the muffin tin generously with butter or cooking spray. Spoon the stuffing mixture into each cup. Press it down lightly with the back of a spoon. You want it packed in so it holds its shape when you unmold it. Don’t overpack it, or the centers won’t cook.
- Bake the muffins (20-25 minutes): Place the tin in the center of the oven. Bake for 20 to 25 minutes. You are looking for a golden brown top. The edges should be crispy. Insert a knife into the center of one muffin; it should come out clean and hot. If the tops are browning too fast, cover them loosely with foil.
- Cool and serve (5 minutes): Let the muffins cool in the pan for 5 minutes. This helps them set. Then run a knife around the edges and flip them out onto a wire rack or serving platter. Serve warm. They are best eaten fresh out of the oven.
How do I know if the stuffing is done?
Look for a deep golden brown color. The edges should be crisp. If you touch the top, it should feel firm, not soft. The smell will also be very aromatic and savory.
Can I freeze the raw mixture?
Yes, you can assemble the muffins and freeze them before baking. Just thaw them in the fridge overnight before baking as directed. The baking time might need a few extra minutes.
Cooking Tips & Techniques
I have made this recipe a hundred times, and I have learned a few things the hard way. The biggest mistake people make is using fresh bread. It just turns into mush. Always use day-old bread. If you are in a rush, toast it. Another tip is not to skip the sautéing step. Raw onions and celery can be harsh and crunchy in a bad way. Cooking them first brings out their sweetness and ensures they are tender. Also, pay attention to your broth temperature. If you use cold broth, it will cool down the bread too much. Warm broth helps the bread start absorbing the liquid immediately. I also like to brush the tops with a little melted butter before baking. It adds a nice sheen and extra crispiness. Don’t be afraid to add more herbs. Sage is the classic flavor, but thyme and parsley work well too. If you like a bit of heat, add a pinch of red pepper flakes. Finally, let them cool slightly before flipping. If you try to move them while they are piping hot, they might fall apart. Patience is key here. It is worth the wait.
Variations & Adaptations
This recipe is very flexible. You can change it up based on what you have or what you like. Here are a few ideas:
- Sausage Stuffing: Add 1/2 pound of breakfast sausage or Italian sausage to the skillet with the onions. Brown it well before adding the bread. This adds a savory, meaty flavor.
- Vegetarian Version: Use vegetable broth instead of chicken broth. You can add chopped mushrooms for an earthy, umami flavor. Mushrooms mimic the texture of meat well.
- Apple and Cranberry: Add 1/2 cup of diced apples and 1/4 cup of dried cranberries to the bread mixture. This adds a sweet and tart contrast to the savory herbs. It is a classic combination.
- Cheesy Stuffing: Stir in 1/2 cup of shredded cheddar or gruyere cheese. This makes it richer and gooier. Great for a comfort food twist.
- Gluten-Free: Use gluten-free bread cubes. Make sure they are sturdy. Some GF breads are more crumbly, so you might need to press them down a bit more firmly in the tin.
I tried the apple and cranberry version once for a fall dinner party, and it was a huge hit. The sweetness balanced the salty sage perfectly. It is a nice change from the traditional savory profile. You can also add chopped pecans for crunch. It is all about what you enjoy. Don’t be afraid to experiment.
Serving & Storage Suggestions
Serve these stuffing muffins warm as a side dish. They pair well with roasted turkey, ham, or even just a simple salad. You can garnish them with a little extra fresh parsley or thyme for color. For storage, let them cool completely. Then store them in an airtight container in the refrigerator for up to 4 days. To reheat, you can use the microwave for 30 seconds, but the oven or toaster oven is better. Reheat at 350°F for 10 minutes to restore the crispiness. You can also freeze them for up to 3 months. Freeze them on a baking sheet first, then transfer to a freezer bag. Reheat from frozen in the oven at 350°F for 20 minutes. The flavors actually get better after a day or two as they meld together. It is a great way to use up leftover bread and broth.
Nutritional Information & Benefits
Each stuffing muffin contains roughly 150-200 calories, depending on the size of the bread cube and the amount of butter used. They are a good source of carbohydrates for energy. The herbs provide antioxidants and anti-inflammatory properties. Sage, in particular, has been linked to improved memory and focus. The eggs add protein to keep you full. If you use whole grain bread, you get more fiber. This recipe is not overly heavy compared to a traditional casserole because the portion size is controlled. It is a balanced side dish that fits into most diets. Just be mindful of the sodium in the broth. Using low-sodium broth helps keep it heart-healthy. Overall, it is a comforting and satisfying addition to any meal.
Conclusion
Making-Ahead Thanksgiving Stuffing Muffins are a game-changer for holiday cooking. They solve the oven space issue, reduce stress, and taste amazing. I hope you try this recipe and find it as useful as I do. It is a simple way to elevate your holiday spread without the hassle. Feel free to add your own twists, like sausage or apples. I love that I can make these ahead of time and just focus on enjoying my guests. Please leave a comment below and let me know how they turned out. Did you add any special ingredients? I love hearing about your variations. Share this recipe with friends who are stressed about Thanksgiving. It might just save their holiday. Happy cooking!
Frequently Asked Questions
Can I use leftover turkey in the stuffing?
Yes! You can add chopped leftover turkey to the mixture. Add it with the sautéed vegetables. It makes the stuffing heartier and more like a meal.
Do I have to use a muffin tin?
You can use a baking dish, but the cooking time will increase. The muffin tin is best for getting crispy edges and individual portions. If you use a dish, bake for 30-40 minutes.
Can I make these vegan?
Absolutely. Use vegan butter and vegetable broth. Skip the eggs and use a flax egg (1 tbsp ground flaxseed mixed with 3 tbsp water) per egg called for. The texture might be slightly denser but still delicious.
How do I prevent the muffins from sticking?
Grease the tin well with butter or oil. You can also use silicone liners. Let them cool for 5 minutes before flipping. This helps them release easily.
Can I freeze the baked muffins?
Yes, freeze them in an airtight container for up to 3 months. Reheat in the oven to keep them crispy. The microwave will make them soft.
Pin This Recipe!
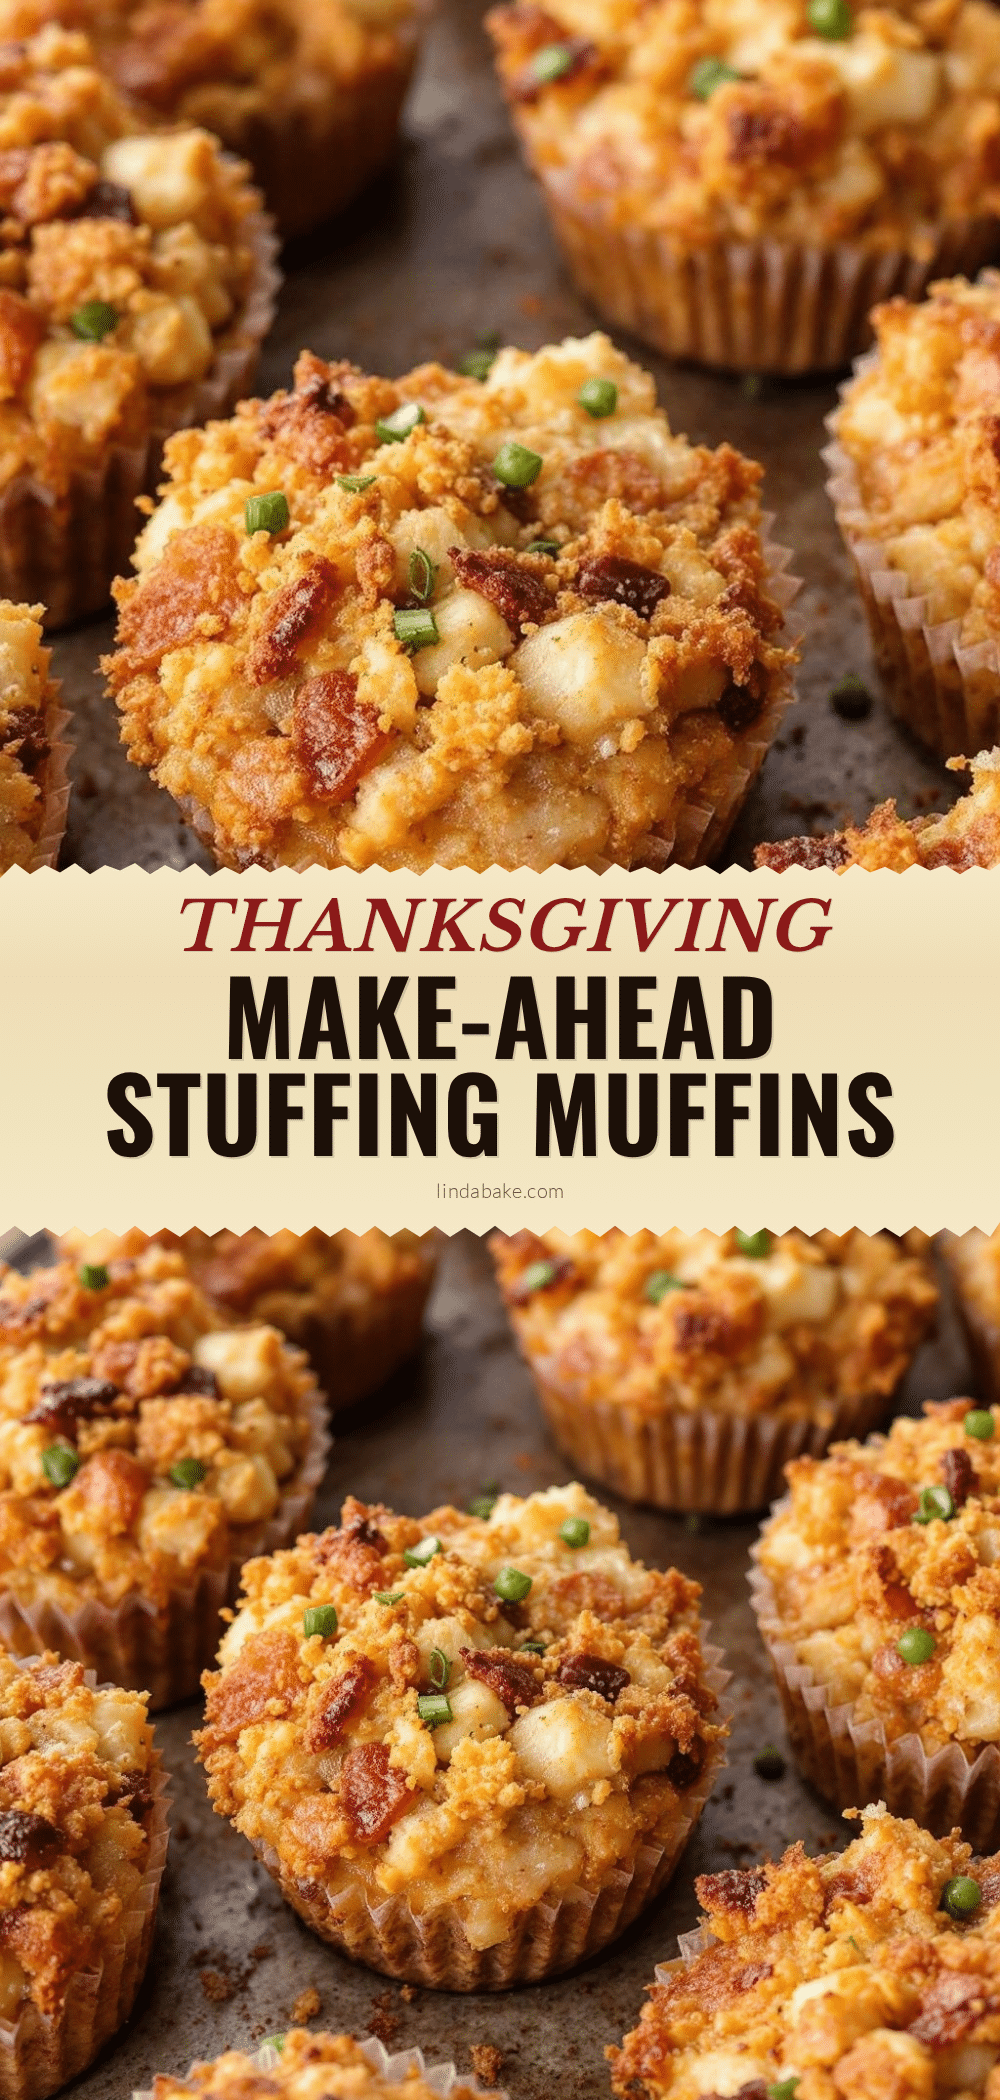
Make-Ahead Thanksgiving Stuffing Muffins

Individual stuffing muffins that save oven space and reduce holiday stress. These make-ahead side dishes feature crispy edges and moist interiors using simple ingredients like day-old bread, herbs, and broth.
- Prep Time: 25 minutes
- Cook Time: 25 minutes
- Total Time: 50 minutes
- Yield: 12 servings 1x
- Category: Side Dish
- Cuisine: American
Ingredients
- 8–10 cups stale bread, cubed (sourdough or rustic white)
- 4 tablespoons unsalted butter
- 1 medium yellow onion, diced
- 2 stalks celery, diced
- 2 cloves garlic, minced
- 2–2.5 cups chicken broth (low-sodium)
- 2 large eggs
- 2 tablespoons fresh sage, chopped
- 2 tablespoons fresh thyme, chopped
- Salt and black pepper to taste
Instructions
- Preheat oven to 375°F. If bread is not stale, toast 1-inch cubes at 300°F for 10 minutes until dry but not hard, then cool completely.
- In a large skillet, melt 4 tablespoons butter over medium heat. Add diced onion and celery, cooking until soft and translucent (about 5 minutes). Add minced garlic in the last minute.
- In a small bowl, whisk eggs with chicken broth, chopped sage, thyme, salt, and pepper.
- Place dried bread cubes in a large mixing bowl. Pour sautéed vegetables over bread, then pour egg mixture over everything. Gently toss to coat bread without crushing it. Add more broth if too dry.
- Grease a 12-cup muffin tin generously with butter or cooking spray. Spoon mixture into cups, pressing down lightly. Do not overpack.
- Bake for 20-25 minutes until tops are golden brown and edges are crispy. Insert a knife into the center to check if done.
- Let cool in pan for 5 minutes to set, then run a knife around edges and flip onto a serving platter. Serve warm.
Notes
Use day-old bread or toast fresh bread to ensure dry cubes. Sautéing aromatics first prevents harsh raw flavors. Use warm broth to help bread absorb liquid faster. Brush tops with melted butter for extra crispiness. Can be made ahead and refrigerated overnight or frozen before/after baking.
Nutrition
- Serving Size: 1 muffin
- Calories: 175
- Sugar: 2
- Sodium: 350
- Fat: 8
- Saturated Fat: 4
- Carbohydrates: 20
- Fiber: 2
- Protein: 5
Keywords: Thanksgiving stuffing, make-ahead side dish, stuffing muffins, holiday cooking, oven space saver, individual portions, crispy stuffing


