I need a Halloween dessert that looks impressive but doesn’t make me turn on the oven. That’s the thought running through my head every October when the sugar cravings hit but the kitchen feels too warm for baking. This Easy No-Bake Mummy Peanut Butter Pie came from that exact moment of stubborn laziness—I wanted something festive, I wanted peanut butter, and I absolutely refused to deal with a hot kitchen.
The first time I made this, I was honestly just testing if cream cheese and peanut butter could hold their own without any baking. Turns out, they do more than hold their own. They create this silky, rich filling that sets up perfectly in the fridge while you’re handing out candy to trick-or-treaters. And the mummy wrapping? That’s just store-bought whipped topping piped in a panic that somehow looked intentional.
This pie has become my go-to for Halloween parties, classroom celebrations, and those nights when you want something spooky but simple. It’s the kind of dessert that makes people think you spent hours when really, you just let the fridge do all the work. And honestly, isn’t that the best kind of recipe?
Why You’ll Love This Recipe
Let me tell you why this Easy No-Bake Mummy Peanut Butter Pie deserves a spot in your Halloween rotation. I’ve tested this recipe more times than I care to admit—through sticky summer kitchens, rushed holiday prep, and even a power outage where I had to chill it in a cooler with ice packs. It survived, and so will your sanity.
- No Oven Required: Your kitchen stays cool, which matters when October still feels like summer in some places. No heating up the house for a dessert that disappears in minutes.
- Simple Ingredients: You probably have most of this in your pantry right now. Cream cheese, peanut butter, powdered sugar, and a store-bought crust. No fancy extracts or hard-to-find items.
- Perfect for Halloween: The mummy design is cute without being complicated. Kids love it, adults think it’s clever, and you don’t need any artistic skills to pull it off.
- Crowd-Pleaser: Every time I bring this to a gathering, people ask for the recipe. It’s that combination of creamy peanut butter filling and crunchy crust that nobody can resist.
- Make-Ahead Friendly: You can prep this the day before and just add the mummy wrapping right before serving. Takes the stress out of party prep.
What makes this different from other no-bake pies is the texture. I spent a few batches figuring out the right cream cheese-to-peanut butter ratio so it’s not too dense or too loose. The filling sets up firm enough to slice cleanly but stays creamy on the tongue. It’s not just another peanut butter pie—it’s the one that makes you close your eyes after the first bite and forget about all the other desserts on the table.
This recipe is comfort food dressed up for Halloween. It’s quick enough for a weeknight but special enough for a party. And when someone asks how you got the mummy stripes so perfect, just smile and say it’s a secret.
What Ingredients You Will Need
This recipe uses simple, everyday ingredients that come together to create something surprisingly elegant. Most of these are pantry staples, which means you can whip this up on a whim without a special grocery trip.
- For the crust:
- 1 pre-made graham cracker crust (9-inch) — I prefer Keebler or store brand, both work great. You can also use a chocolate cookie crust for extra decadence.
- Optional: 2 tablespoons melted butter mixed with 1/2 cup crushed graham crackers for a thicker homemade crust if you’re feeling ambitious
- For the peanut butter filling:
- 8 ounces cream cheese, softened to room temperature (full-fat works best for texture)
- 1 cup creamy peanut butter (I use Jif or Skippy—natural peanut butter can separate and make the filling grainy)
- 1 cup powdered sugar, sifted (prevents lumps in the filling)
- 1 teaspoon vanilla extract (pure vanilla adds warmth, but imitation works fine)
- 1/4 cup heavy cream or whole milk (helps the filling whip up lighter)
- For the mummy wrapping:
- 1 container (8 ounces) frozen whipped topping, thawed (Cool Whip or store brand)
- Optional: 1/2 cup heavy whipping cream + 2 tablespoons powdered sugar if you want homemade whipped cream instead
- For the eyes:
- 2 candy eyes (you can find these at craft stores or online — Wilton makes good ones)
- Alternatives: 2 mini chocolate chips or M&Ms placed upside down
When choosing peanut butter, stick with the processed kind for this recipe. Natural peanut butter has oil that separates, which can make your filling greasy instead of creamy. I learned this the hard way when my first batch turned out looking like soup. The stabilizers in regular peanut butter help the filling set properly.
For the cream cheese, let it sit on the counter for about 30 minutes before you start. Cold cream cheese creates lumps that are nearly impossible to beat out. If you’re in a rush, microwave it for 10 seconds at 50% power—just don’t overdo it or you’ll have scrambled eggs situation.
Equipment Needed
You don’t need a fancy kitchen to make this pie. Here’s what you’ll need:
- Large mixing bowl (glass or stainless steel works best)
- Electric hand mixer or stand mixer (you can do this by hand, but your arm will get tired)
- Rubber spatula for scraping the bowl
- Measuring cups and spoons
- Piping bag or a zip-top bag with the corner snipped off
- 9-inch pie plate (if not using pre-made crust)
- Plastic wrap or aluminum foil for covering
If you don’t have a piping bag, don’t worry. A zip-top bag works perfectly—just fill it with the whipped topping, squeeze out the air, and snip a small corner. I’ve done this more times than I can count, and it looks just as professional.
For the mixing bowl, make sure it’s clean and dry. Any grease residue can affect how the cream cheese whips up. And if you’re using a hand mixer, start on low speed so the powdered sugar doesn’t fly everywhere—trust me, I’ve cleaned powdered sugar off my ceiling before.
Preparation Method
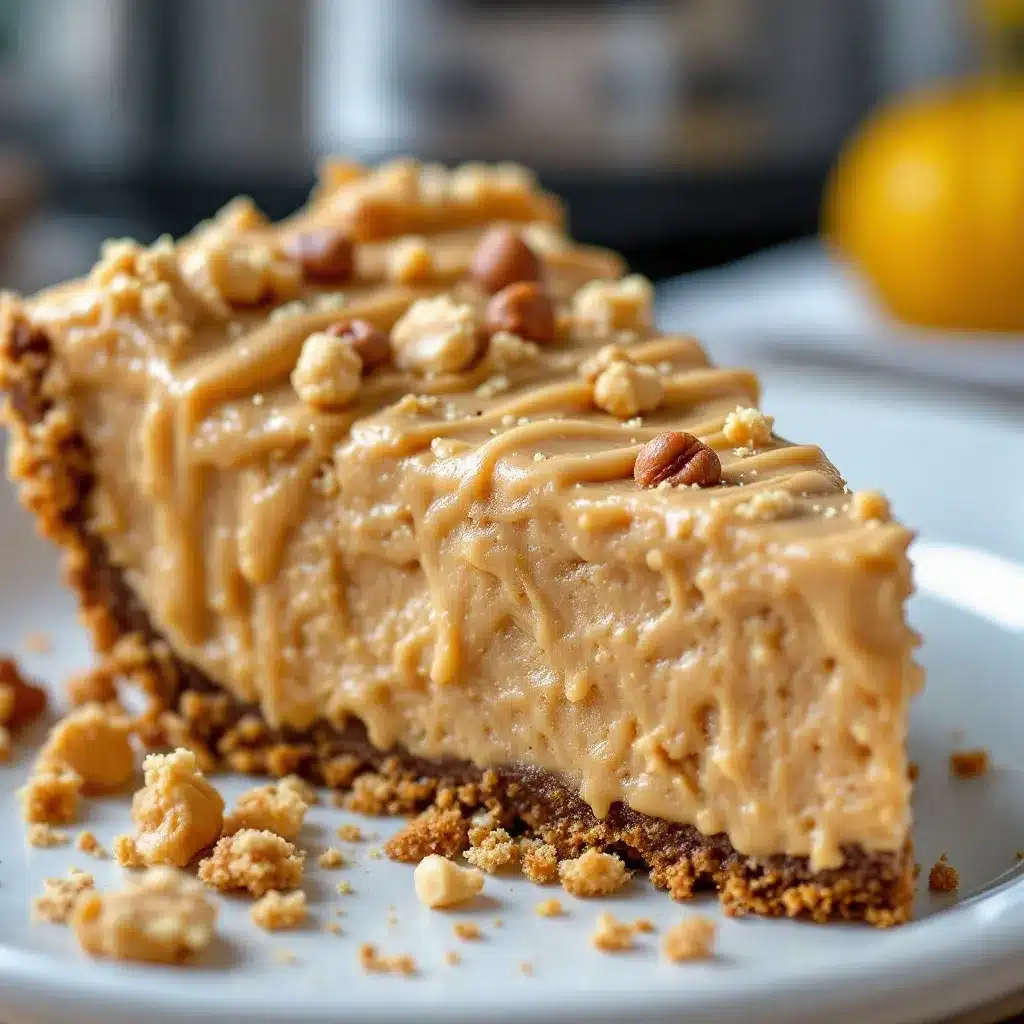
Follow these steps carefully, and you’ll have a dessert that looks like it came from a bakery. Total active time is about 20 minutes, plus 4 hours of chilling.
- Soften the cream cheese: Take your cream cheese out of the fridge 30 minutes before starting. If you forgot, unwrap it and microwave on 50% power for 10-15 seconds. It should feel soft when you press it, not warm.
- Beat the cream cheese: In your large mixing bowl, beat the cream cheese with an electric mixer on medium speed until smooth and fluffy, about 2 minutes. Scrape down the sides of the bowl with your spatula. You want zero lumps here—this is the foundation of your filling.
- Add the peanut butter: Add the creamy peanut butter to the bowl and beat on medium speed until fully combined, about 1 minute. The mixture will be thick and smell amazing. Scrape the bowl again.
- Incorporate the sugar and vanilla: With the mixer on low speed, gradually add the sifted powdered sugar. I add it in three batches to prevent a sugar cloud explosion. Then add the vanilla extract and beat until smooth.
- Lighten the filling: Pour in the heavy cream or milk and beat on medium-high speed for about 2 minutes. The filling will become lighter and fluffier. It should look like a thick mousse at this point. If it seems too stiff, add another tablespoon of cream.
- Fill the crust: Spoon the peanut butter filling into your graham cracker crust. Use your spatula to spread it evenly, making sure it reaches the edges. Smooth the top as best you can—it doesn’t need to be perfect since the mummy wrapping will cover it.
- Chill the pie: Cover the pie with plastic wrap and refrigerate for at least 4 hours, or overnight. This is crucial—the filling needs time to set up so you can slice it cleanly. I’ve tried rushing this step, and the result was a delicious but messy puddle.
- Make the mummy wrapping: Once the pie is fully chilled, remove it from the fridge. If using store-bought whipped topping, make sure it’s thawed in the fridge, not on the counter. Transfer it to a piping bag or zip-top bag.
- Pipe the stripes: Starting from one edge, pipe horizontal stripes across the pie, leaving small gaps between each stripe to look like mummy bandages. Don’t cover the entire surface—leave a space for the eyes. The stripes should look uneven and slightly messy for that authentic mummy vibe.
- Add the eyes: Place two candy eyes in the gap you left in the middle of the pie. Press them gently into the whipped topping so they stay put. If using chocolate chips, place them rounded side up.
- Final chill: Return the pie to the fridge for another 30 minutes to let the whipped topping firm up. This makes slicing cleaner.
One thing I’ve learned: if your whipped topping seems too soft to pipe, pop it in the freezer for 5 minutes. It firms up just enough to hold its shape without becoming icy.
Cooking Tips & Techniques
After making this pie about a dozen times (for science, obviously), here are the tips that make a real difference.
Temperature matters more than you think. Cold cream cheese creates lumps that no amount of beating will fix. Room temperature ingredients blend together smoothly and create that silky texture you’re after. Same goes for the heavy cream—if it’s too cold, it won’t incorporate properly.
Don’t overmix the filling. Once you add the cream, beat just until it’s combined and fluffy. Overmixing can make the filling too thin, and nobody wants a runny pie. Stop when it looks like thick, spreadable frosting.
The piping technique trick. When piping the mummy stripes, hold the bag at a 45-degree angle and apply steady pressure. Start each stripe from the outer edge and pull toward the center. If you mess up, just scrape it off and try again—the whipped topping is forgiving.
My biggest failure: I once tried to speed up the chilling process by putting the pie in the freezer for an hour instead of the fridge. The edges froze while the center stayed soft, and the crust got soggy when it thawed. Learn from my mistake—the fridge is your friend here.
For clean slices: Run your knife under hot water, wipe it dry, then slice. Wipe the blade clean between each cut. This gives you those perfect, Instagram-worthy slices that show off the mummy design.
Make it ahead: You can prepare the filling and fill the crust up to two days in advance. Just add the mummy wrapping and eyes right before serving. The whipped topping can start to break down if it sits too long.
Variations & Adaptations
This pie is flexible enough to handle all kinds of twists. Here are some variations I’ve tried and loved.
Chocolate Peanut Butter Mummy Pie: Use a chocolate cookie crust instead of graham cracker. Melt 1/2 cup of semi-sweet chocolate chips and swirl it into the filling before pouring it into the crust. The chocolate-peanut butter combo is always a winner.
Gluten-Free Version: Swap the graham cracker crust for a gluten-free cookie crust. Most stores carry gluten-free graham crackers now. Just crush them up, mix with melted butter, and press into your pie plate. The filling itself is naturally gluten-free.
Vegan Adaptation: Use vegan cream cheese (Tofutti or Kite Hill work well) and coconut cream instead of heavy cream. For the whipped topping, use a coconut-based whipped cream. The texture will be slightly different but still delicious.
Spider Web Design: Instead of mummy stripes, pipe concentric circles of whipped topping on top of the pie. Use a toothpick to drag lines from the center outward, creating a spider web pattern. Add a plastic spider on top for effect.
Extra Crunch: Fold 1/2 cup of crushed peanut butter cookies or chopped Reese’s cups into the filling before pouring it into the crust. Adds texture and makes every bite exciting.
I once made a pumpkin peanut butter version for a fall party by replacing half the cream cheese with pumpkin puree and adding pumpkin pie spice. It was weirdly good—like a peanut butter pumpkin cheesecake hybrid.
Serving & Storage Suggestions
This pie is best served cold, straight from the fridge. The filling is firm but creamy, and the crust stays crunchy. Let it sit at room temperature for about 5 minutes before slicing—it makes cutting easier without the filling getting too soft.
Presentation ideas: Serve on a black or orange plate for Halloween vibes. Add a few candy corn around the edges for color. You can also dust the plate with a little cocoa powder or crushed graham crackers for a “dirt” effect.
What to serve with it: A scoop of vanilla ice cream or a dollop of fresh whipped cream balances the richness. For drinks, cold milk is classic, but hot coffee or apple cider works too. If you’re feeling fancy, try it with a salted caramel drizzle.
Storage: Cover the pie with plastic wrap or aluminum foil and store in the refrigerator for up to 5 days. The crust might soften slightly over time, but the flavor actually gets better as the ingredients meld together.
Freezing instructions: You can freeze the pie (without the mummy wrapping) for up to 3 months. Wrap it tightly in plastic wrap, then foil. Thaw in the refrigerator overnight, then add the whipped topping and eyes before serving. The texture stays surprisingly good.
Reheating: Don’t. This is a no-bake pie, and heat will turn it into a mess. If you want a warm dessert, try a different recipe. This one is meant to be cold and creamy.
Nutritional Information & Benefits
Let’s be real—this is a dessert, not a health food. But knowing what’s in it helps you plan your splurge.
| Nutrient | Amount Per Slice (1/8 of pie) |
|---|---|
| Calories | 380 |
| Total Fat | 24g |
| Saturated Fat | 10g |
| Cholesterol | 35mg |
| Sodium | 280mg |
| Total Carbohydrates | 36g |
| Dietary Fiber | 2g |
| Sugars | 26g |
| Protein | 8g |
Health benefits (if you squint): Peanut butter provides protein and healthy fats that keep you full. Cream cheese adds calcium. The graham cracker crust has some whole grains. But honestly, this is about treating yourself on Halloween.
Dietary considerations: This recipe contains dairy, peanuts, and gluten. For a dairy-free version, use vegan cream cheese and coconut cream. For nut-free, substitute sunflower seed butter (though the color will be different). Always check labels if serving to someone with allergies.
I personally love that this dessert feels indulgent without being overly heavy. One slice satisfies that sweet craving without sending you into a sugar coma.
Conclusion
This Easy No-Bake Mummy Peanut Butter Pie has become my Halloween signature for good reason. It’s simple enough for a beginner baker (or non-baker like me), impressive enough for a party, and delicious enough that people ask for the recipe every single time. The combination of creamy peanut butter filling, crunchy graham cracker crust, and playful mummy design makes it a winner on every level.
I love that this recipe lets me be creative without stress. You can customize the design, swap in different crusts, or add your favorite mix-ins. It’s a canvas for your Halloween imagination, and the best part is that it tastes amazing no matter what you do.
If you make this pie, I’d love to hear about it. Leave a comment below and tell me how your mummy turned out—did you add extra eyes? Use a different design? Maybe you made it for a classroom party and the kids went wild. Share your photos and stories, because honestly, that’s what makes cooking fun.
Now go make some magic happen in your kitchen. No oven required.
Frequently Asked Questions
Can I use natural peanut butter for this recipe?
I don’t recommend it. Natural peanut butter has oil that separates, which can make the filling greasy and prevent it from setting properly. Stick with processed peanut butter like Jif or Skippy for the best texture.
How long does this pie need to chill?
At least 4 hours in the refrigerator. Overnight is even better. The filling needs time to firm up so you can slice it cleanly. Don’t try to rush this step with the freezer—it won’t work the same way.
Can I make this pie ahead of time?
Yes! You can prepare the filling and fill the crust up to two days in advance. Just add the mummy wrapping and eyes right before serving. The whipped topping can start to break down if it sits too long.
How do I get clean slices?
Run your knife under hot water, wipe it dry, then slice. Wipe the blade clean between each cut. This gives you those perfect slices that show off the mummy design.
Can I freeze this pie?
Yes, freeze it without the mummy wrapping for up to 3 months. Wrap tightly in plastic wrap and foil. Thaw in the refrigerator overnight, then add the whipped topping and eyes before serving.
Pin This Recipe!
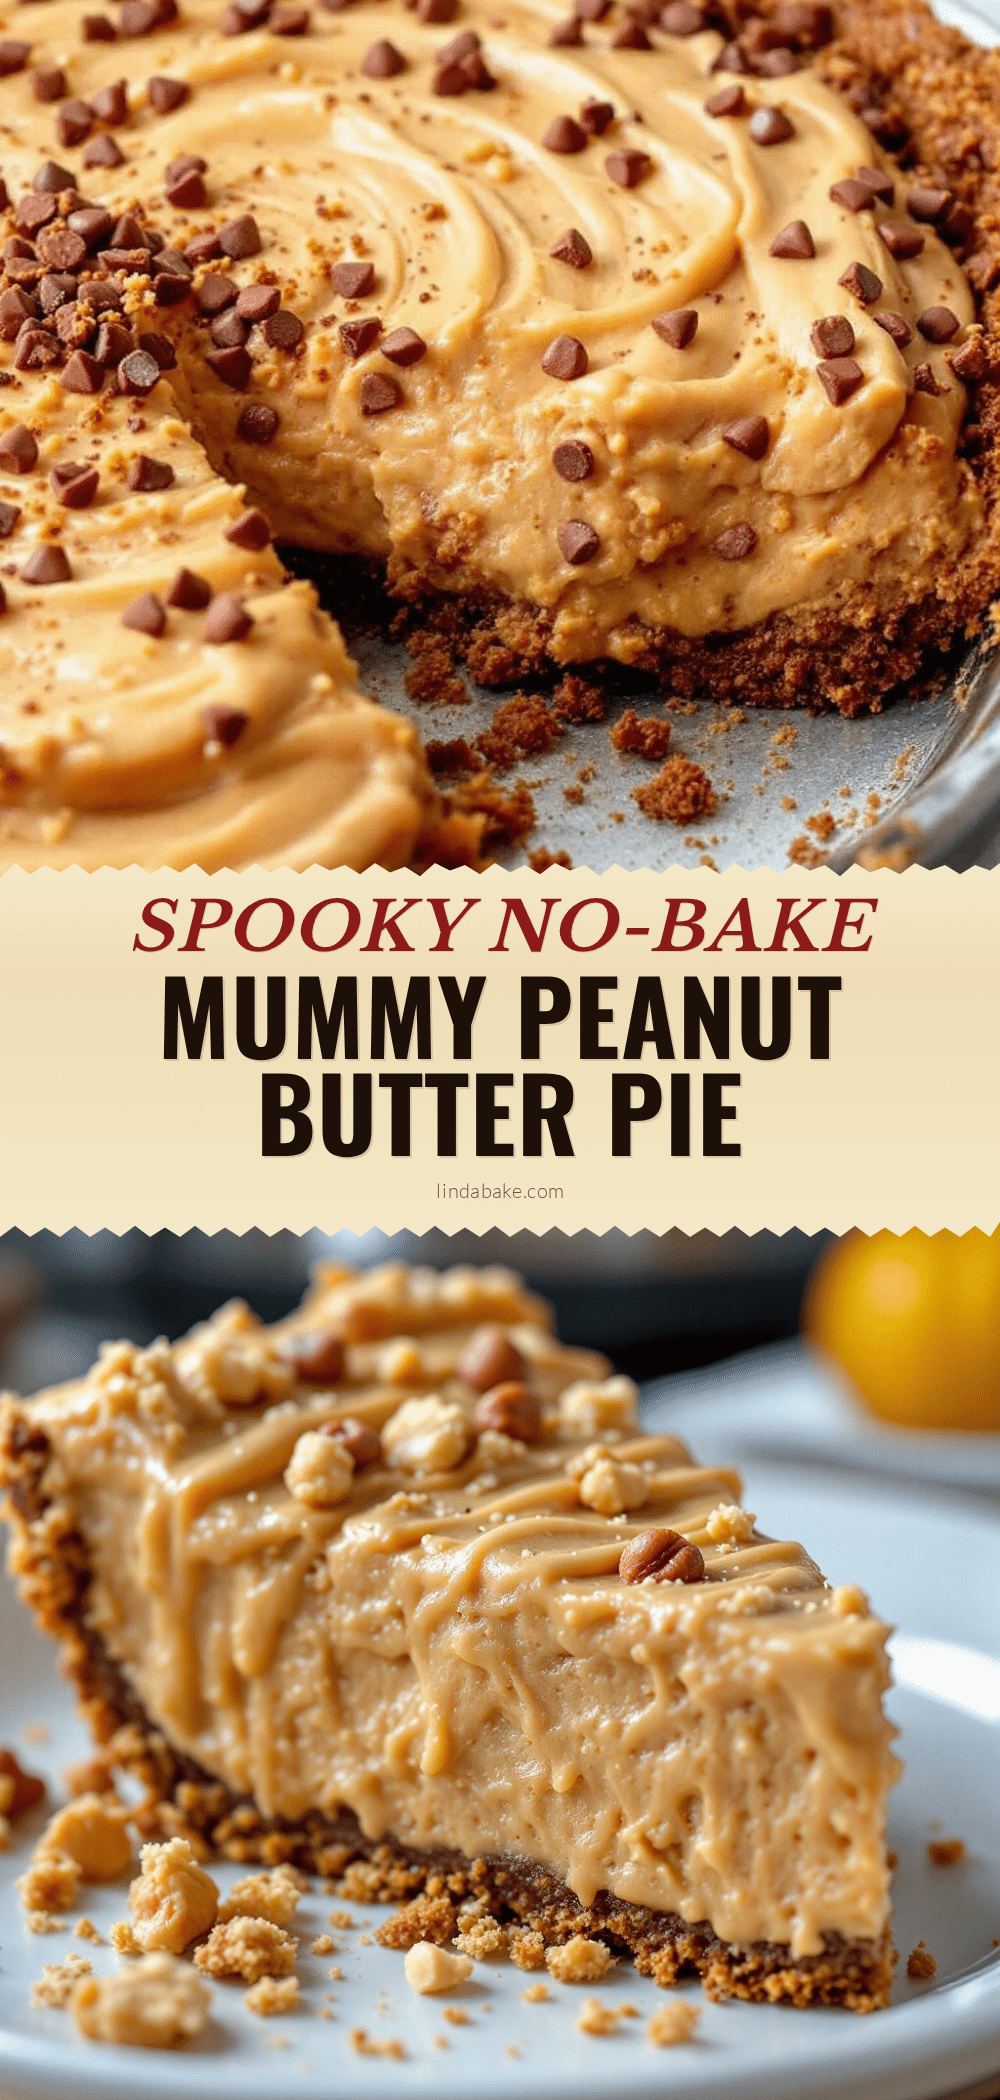
Easy No-Bake Mummy Peanut Butter Pie: Best Halloween Dessert
A creamy, no-bake peanut butter pie with a playful mummy design, perfect for Halloween. This easy dessert uses simple ingredients and requires no oven, making it a stress-free treat for parties and gatherings.
- Prep Time: 20 minutes
- Cook Time: 0 minutes
- Total Time: 4 hours 20 minutes (including chilling)
- Yield: 8 servings 1x
- Category: Dessert
- Cuisine: American
Ingredients
- 1 pre-made graham cracker crust (9-inch)
- 2 tablespoons melted butter (optional, for thicker crust)
- 1/2 cup crushed graham crackers (optional, for thicker crust)
- 8 ounces cream cheese, softened to room temperature
- 1 cup creamy peanut butter (e.g., Jif or Skippy)
- 1 cup powdered sugar, sifted
- 1 teaspoon vanilla extract
- 1/4 cup heavy cream or whole milk
- 1 container (8 ounces) frozen whipped topping, thawed (e.g., Cool Whip)
- 2 candy eyes (or 2 mini chocolate chips or M&Ms)
Instructions
- Soften the cream cheese: Take cream cheese out of fridge 30 minutes before starting. If forgotten, microwave on 50% power for 10-15 seconds until soft but not warm.
- Beat the cream cheese: In a large mixing bowl, beat cream cheese with an electric mixer on medium speed until smooth and fluffy, about 2 minutes. Scrape down sides.
- Add the peanut butter: Add creamy peanut butter and beat on medium speed until fully combined, about 1 minute. Scrape bowl again.
- Incorporate the sugar and vanilla: With mixer on low, gradually add sifted powdered sugar in three batches. Add vanilla extract and beat until smooth.
- Lighten the filling: Pour in heavy cream or milk and beat on medium-high speed for about 2 minutes until light and fluffy, like thick mousse.
- Fill the crust: Spoon peanut butter filling into graham cracker crust. Spread evenly to edges and smooth top.
- Chill the pie: Cover with plastic wrap and refrigerate for at least 4 hours or overnight.
- Make the mummy wrapping: Once pie is fully chilled, transfer thawed whipped topping to a piping bag or zip-top bag with corner snipped.
- Pipe the stripes: Pipe horizontal stripes across the pie, leaving small gaps for mummy bandages. Leave a space for eyes.
- Add the eyes: Place two candy eyes in the gap, pressing gently into whipped topping.
- Final chill: Return pie to fridge for another 30 minutes to firm up whipped topping before slicing.
Notes
Use processed peanut butter (not natural) for best texture. Cream cheese must be room temperature to avoid lumps. Chill at least 4 hours; overnight is better. For clean slices, run knife under hot water and wipe between cuts. Pie can be made up to 2 days ahead; add mummy wrapping just before serving. Freeze without wrapping for up to 3 months.
Nutrition
- Serving Size: 1 slice (1/8 of pie)
- Calories: 380
- Sugar: 26
- Sodium: 280
- Fat: 24
- Saturated Fat: 10
- Carbohydrates: 36
- Fiber: 2
- Protein: 8
Keywords: no-bake pie, peanut butter pie, Halloween dessert, mummy pie, easy dessert, no oven dessert, creamy peanut butter pie


