I had been looking for a butternut squash soup that actually tasted like something — not just a bowl of sweet, orange puree that left you hungry twenty minutes later. For a while, I just accepted that homemade squash soup was going to be either too thin or too heavy, and that the flavor would always blur into one note: sweet. Then I burned some butter. Not on purpose, obviously. I was making a batch of copycat pumpkin cream cheese muffins and got distracted, letting the butter go past golden into something darker, nuttier, almost hazelnut-like. Instead of tossing it, I stirred it into the soup I had simmering on the next burner. That accident — that little bit of brown butter — turned the whole thing around.
The soup suddenly had depth. It had a savory, almost toasted edge that cut through the squash’s natural sweetness. The cream I added felt justified, not heavy. And for the first time, I didn’t feel like I was eating baby food in a nice bowl. This creamy roasted butternut squash soup with brown butter became the recipe I reached for every time the weather turned cold and I needed something that felt like a real meal, not just a warm drink in a bowl. It’s the kind of soup that fills you up without weighing you down, and honestly, it’s ruined all other squash soups for me.
Why You’ll Love This Recipe
This isn’t just another butternut squash soup recipe. It’s the one I’ve tested more times than I care to admit, tweaking the roast time, the liquid ratio, and the butter temperature until everything clicked. Here’s why it works:
- Deep, Complex Flavor : The brown butter adds a nutty, toasted richness that transforms simple roasted squash into something you’d expect at a fancy restaurant.
- Perfectly Creamy Without Being Heavy : A touch of heavy cream gives it that velvety texture, but it won’t sit in your stomach like a brick.
- Simple Ingredients : You probably have most of this in your kitchen right now. No fancy truffle oil or exotic spices required.
- Make-Ahead Friendly : This soup actually gets better after a day in the fridge. The flavors meld and deepen overnight.
- Freezer Staple : Double the batch and freeze half for those nights when you need a warm meal but don’t want to cook.
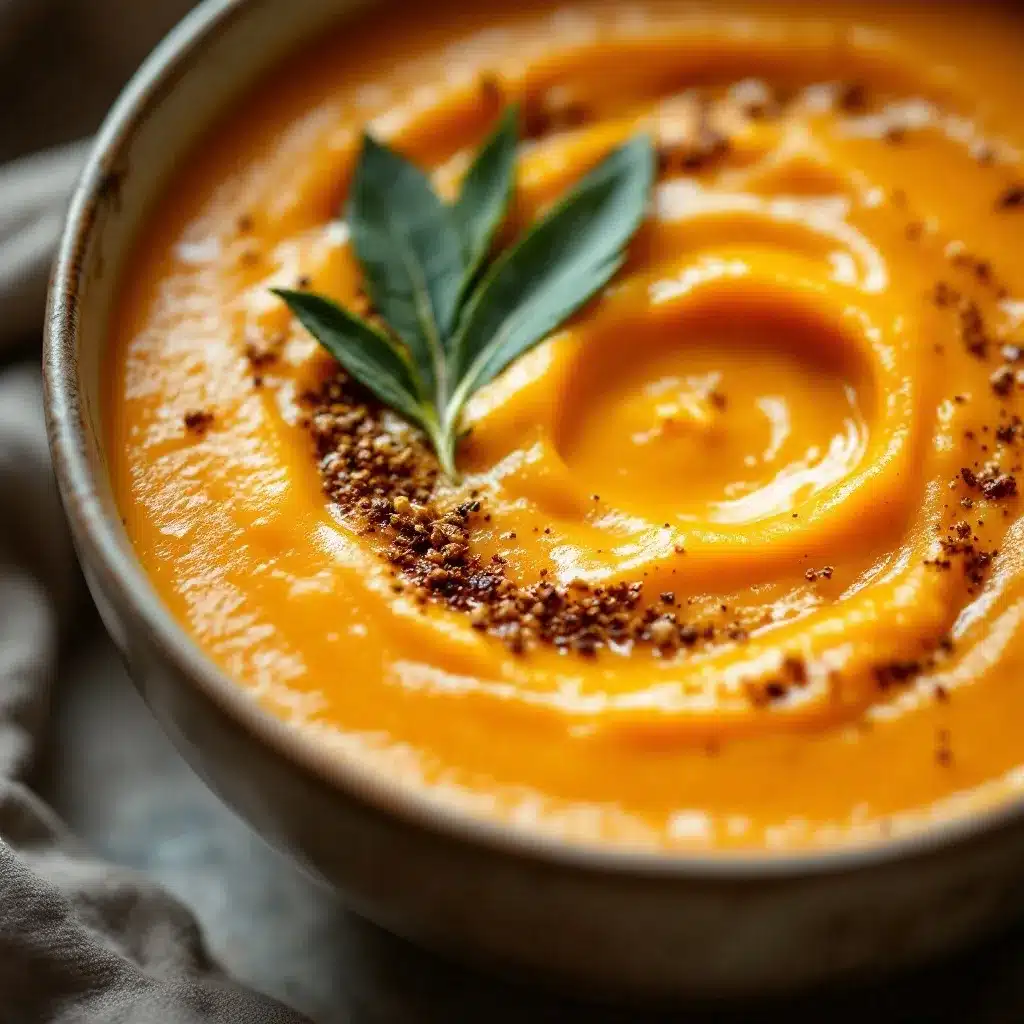
- Impressive Enough for Guests : Serve it in small bowls with a drizzle of extra brown butter and some crispy sage — people will think you spent hours on it.
What makes this recipe different is that brown butter trick. It’s not just a garnish; it’s the backbone of the flavor. Most squash soups rely on heavy spices or lots of cream to create depth. This one uses the butter as the star, and everything else just supports it. The first time I made it for my family, my husband asked what I had done differently. He couldn’t place the flavor, but he knew it was better. That’s the kind of reaction you want.
What Ingredients You Will Need
This recipe uses simple, wholesome ingredients that come together to create a soup with real depth. The brown butter does the heavy lifting, so you don’t need a long list of complicated spices.
- Butternut squash, peeled and cubed (about 3 pounds or 1.4 kg) : Look for a squash that feels heavy for its size with a firm, tan skin. I prefer medium-sized squashes — they tend to be sweeter and less watery than the giant ones.
- Olive oil, for roasting (about 3 tablespoons) : Use a good quality extra virgin olive oil here. It helps the squash caramelize beautifully.
- Salt and black pepper, to taste : Don’t skimp on the salt. It balances the sweetness of the squash and brings out the nutty flavor of the brown butter.
- Unsalted butter (4 tablespoons or 56 grams) : Use unsalted so you can control the salt level. I use Kerrygold or any European-style butter for the best browning — the higher fat content gives you a richer nutty flavor.
- Yellow onion, chopped (1 medium) : Adds a savory base note. Sweet onions work too, but yellow onions have a bit more backbone.
- Garlic cloves, minced (3 large) : Fresh garlic is non-negotiable here. The jarred stuff just won’t give you the same punch.
- Fresh thyme sprigs (3 to 4) : Adds an earthy, slightly floral note that pairs beautifully with the squash. Dried thyme works in a pinch, but fresh is better.
- Vegetable or chicken broth (4 cups or 960 ml) : Use a good quality broth. I like Swanson’s low-sodium vegetable broth for a vegetarian version, or Kitchen Basics chicken broth for a richer flavor.
- Heavy cream (1/2 cup or 120 ml) : Adds that silky, velvety texture. You can substitute with full-fat coconut milk for a dairy-free version, but the flavor will be slightly different.
- Optional garnish: crispy sage leaves, extra brown butter drizzle, roasted pepitas : These aren’t essential, but they make the soup look and taste like a restaurant dish.
Equipment Needed
You don’t need a ton of fancy equipment for this recipe, which is part of why I love it. Here’s what you’ll need:
- Large baking sheet (half-sheet pan) : For roasting the squash. A rimmed sheet pan works best to catch any juices.
- Parchment paper or silicone baking mat : Makes cleanup a breeze and helps the squash roast evenly without sticking.
- Large heavy-bottomed pot or Dutch oven : I use a 5.5-quart Le Creuset Dutch oven, but any heavy pot works. The heavy bottom is key for browning the butter without burning it.
- Immersion blender or regular blender : An immersion blender is easier and less messy, but a regular blender works fine. Just be careful with hot liquids — work in batches and don’t fill the blender more than halfway.
- Sharp chef’s knife and vegetable peeler : A good knife makes peeling and cubing the squash so much easier. If you have a Y-shaped peeler, it works great on butternut squash skin.
- Measuring cups and spoons : For accuracy, especially with the cream and broth.
Preparation Method
- Preheat your oven to 400°F (200°C). Line a large baking sheet with parchment paper or a silicone mat. This makes cleanup almost effortless.
- Prepare the squash. Peel the butternut squash with a vegetable peeler, then cut it in half lengthwise. Scoop out the seeds and stringy bits with a spoon. Cut the flesh into 1-inch cubes — try to keep them uniform so they roast evenly. You should end up with about 6 cups of cubed squash.
- Roast the squash. Spread the cubed squash on the prepared baking sheet in a single layer. Drizzle with olive oil and season generously with salt and pepper. Toss to coat. Roast for 25 to 30 minutes, flipping halfway through, until the squash is tender and the edges are starting to caramelize. You want some golden-brown spots — that’s where the flavor is.
- Brown the butter. While the squash roasts, melt the butter in your large pot over medium heat. Swirl the pan occasionally. The butter will foam, then the foam will subside, and you’ll see tiny brown specks forming at the bottom. This takes about 4 to 6 minutes. The moment it smells nutty and toasty, remove it from the heat and pour it into a small heatproof bowl — don’t leave it in the hot pan or it’ll keep cooking and could burn.
- Sauté the aromatics. Return the pot to medium heat. Add a drizzle of olive oil, then add the chopped onion. Cook for 5 to 6 minutes until softened and translucent. Add the minced garlic and thyme sprigs and cook for another minute until fragrant.
- Combine and simmer. Add the roasted squash to the pot, along with the broth. Stir everything together, scraping up any browned bits from the bottom of the pot. Bring to a gentle boil, then reduce the heat to low and simmer for 10 minutes. This allows the flavors to meld.
- Blend until smooth. Remove the thyme sprigs (the leaves will have fallen off, but the stems are tough). Use an immersion blender directly in the pot to puree the soup until completely smooth. If using a regular blender, work in batches and be careful — hot liquids expand. Fill the blender no more than halfway, hold the lid down with a towel, and blend on low speed.
- Finish with cream and brown butter. Stir in the heavy cream and all but about 2 tablespoons of the brown butter. Taste and adjust seasoning with salt and pepper. If the soup is too thick, add a splash more broth or water until it reaches your desired consistency.
- Serve and garnish. Ladle the soup into bowls. Drizzle the reserved brown butter over the top. Add crispy sage leaves, roasted pepitas, or a swirl of extra cream if you like. Serve hot.
Cooking Tips & Techniques
I’ve made this soup more times than I can count, and I’ve definitely made my share of mistakes. Here are the things I wish I’d known from the start.
Don’t rush the roasting. The caramelization on the squash is where a huge amount of flavor comes from. If you pull it out too early, you’ll miss that deep, almost nutty sweetness. Let it get those golden-brown edges. I once tried to save time by steaming the squash instead of roasting it, and the soup came out bland and watery. Never again.
Watch the brown butter like a hawk. It goes from perfect to burnt in about 15 seconds. The moment you see those brown specks and smell that nutty aroma, pull it off the heat immediately. I’ve burned more batches than I’d like to admit. The first time I made this for a dinner party, I got distracted and ended up with black butter. I had to start over. Now I stand right at the stove and don’t look away.
Use an immersion blender if you can. It’s so much easier and less messy than transferring hot soup to a blender. But if you use a regular blender, let the soup cool for a few minutes first, and never fill the blender more than halfway. Hot soup explosions are no joke.
Season in layers. Salt the squash before roasting, add a pinch when you sauté the onions, and taste again after blending. The flavors change as you cook, so seasoning at each step builds a more complex final taste.
Make it ahead. This soup actually tastes better the next day. The flavors have time to meld and deepen. I often make it a day before I plan to serve it, especially if I’m having guests.
Variations & Adaptations
This recipe is flexible, and I’ve tried several variations over the years. Here are some of my favorites:
- Dairy-Free Version : Substitute the heavy cream with full-fat coconut milk. Use olive oil instead of butter for the browning step, or use a vegan butter that browns well (Miyoko’s works great). The flavor will be slightly different — more coconut-forward — but it’s still delicious.
- Spicy Kick : Add a pinch of cayenne pepper or red pepper flakes when you sauté the onions. Or stir in a tablespoon of harissa paste along with the broth. I tried this after making a batch of harissa lamb meatballs with couscous and loved how the warmth played against the sweet squash.
- Roasted Apple Addition : Toss a peeled and chopped apple (like Honeycrisp or Granny Smith) onto the baking sheet with the squash. The apple adds a subtle fruity sweetness and a touch of acidity that brightens the whole soup.
- Smoky Twist : Add 1/2 teaspoon of smoked paprika along with the garlic. It gives the soup a subtle smoky depth that pairs beautifully with the brown butter.
- Herb Swap : If you don’t have fresh thyme, try fresh sage or rosemary. Sage is especially good with brown butter — they’re a classic combination for a reason.
Serving & Storage Suggestions
This soup is versatile enough for a cozy weeknight dinner or a fancy dinner party. Here’s how I like to serve and store it.
Serving : Ladle the soup into warm bowls. A drizzle of the reserved brown butter on top is non-negotiable in my house — it’s the finishing touch that makes the soup sing. Add a few crispy sage leaves (just fry them in a little butter for 30 seconds) and a sprinkle of roasted pepitas for crunch. Serve with crusty bread or a simple green salad. I also love pairing it with ham and cream cheese pinwheels for a light lunch — the savory pinwheels balance the sweetness of the soup perfectly.
Storage : Let the soup cool completely, then transfer it to an airtight container. It will keep in the refrigerator for up to 5 days. The flavors actually improve after a day or two.
Freezing : This soup freezes beautifully. Pour it into freezer-safe containers or zip-top bags, leaving a little room for expansion. It will keep for up to 3 months. Thaw overnight in the refrigerator before reheating.
Reheating : Reheat gently on the stovetop over medium-low heat, stirring occasionally. If the soup has thickened after storage, add a splash of broth or water to thin it out. You can also reheat individual portions in the microwave, but the stovetop gives you better control.
Nutritional Information & Benefits
This soup is as nourishing as it is delicious. Here’s a rough estimate per serving (based on 6 servings):
- Calories : Approximately 280
- Fat : 18g
- Carbohydrates : 28g
- Fiber : 5g
- Protein : 4g
- Vitamin A : Over 400% of the daily value (from the butternut squash)
- Vitamin C : About 35% of the daily value
Butternut squash is packed with beta-carotene, which your body converts into vitamin A — great for eye health and immune function. It’s also a good source of fiber, which keeps you full and supports digestion. The brown butter adds healthy fats that help your body absorb those fat-soluble vitamins. If you use vegetable broth, this soup is naturally vegetarian and can easily be made vegan with the swaps mentioned above. It’s also gluten-free as written.
Conclusion
This creamy roasted butternut squash soup with brown butter has become my go-to for cold weather comfort. It’s the kind of recipe that feels special enough for company but simple enough for a random Tuesday night. The brown butter is the secret — it adds a depth of flavor that makes people stop and ask what you did differently. I love that it comes together with mostly pantry ingredients and that it gets even better after a day in the fridge.
I hope you give this one a try. Roast the squash until it’s caramelized, watch that butter like a hawk, and don’t skip the final drizzle on top. If you make it, I’d love to hear how it turned out. Leave a comment below or tag me in your photos — I’m always thrilled to see your creations. And if you love this soup as much as I do, share it with a friend who needs a little warmth in their bowl.
Frequently Asked Questions
Can I use frozen butternut squash instead of fresh?
Yes, you can, but the texture and flavor won’t be quite the same. Frozen squash tends to release more water as it roasts, which can make the soup thinner and less caramelized. If you use frozen, roast it on a higher temperature (425°F) and don’t overcrowd the pan. You may need to roast it a bit longer to get some browning.
Can I make this soup without an immersion blender?
Absolutely. A regular blender works fine. Just let the soup cool for a few minutes first, then work in batches. Don’t fill the blender more than halfway, and hold the lid down with a towel while blending. Hot liquids expand, so starting on low speed is safer.
How do I get the brown butter right without burning it?
The key is to watch and smell. Melt the butter over medium heat and swirl the pan occasionally. It will foam up, then the foam will subside. When you see tiny brown specks forming at the bottom and smell a nutty, toasty aroma, pull it off the heat immediately. Pour it into a separate bowl so it stops cooking. It takes practice, but you’ll get the hang of it.
Can I skip the heavy cream to make it lighter?
Yes. The soup is still delicious without it — the roasted squash and brown butter provide plenty of flavor. If you want to keep it creamy without the cream, try blending in a can of full-fat coconut milk or a splash of unsweetened almond milk. The texture will be slightly different, but still satisfying.
What can I serve with this soup for a complete meal?
A crusty baguette or sourdough bread is perfect for dipping. A simple green salad with a tangy vinaigrette balances the richness of the soup. For a heartier meal, serve it alongside a grilled cheese sandwich or a quinoa avocado sushi salad bowl for a fresh, light contrast.
Pin This Recipe!
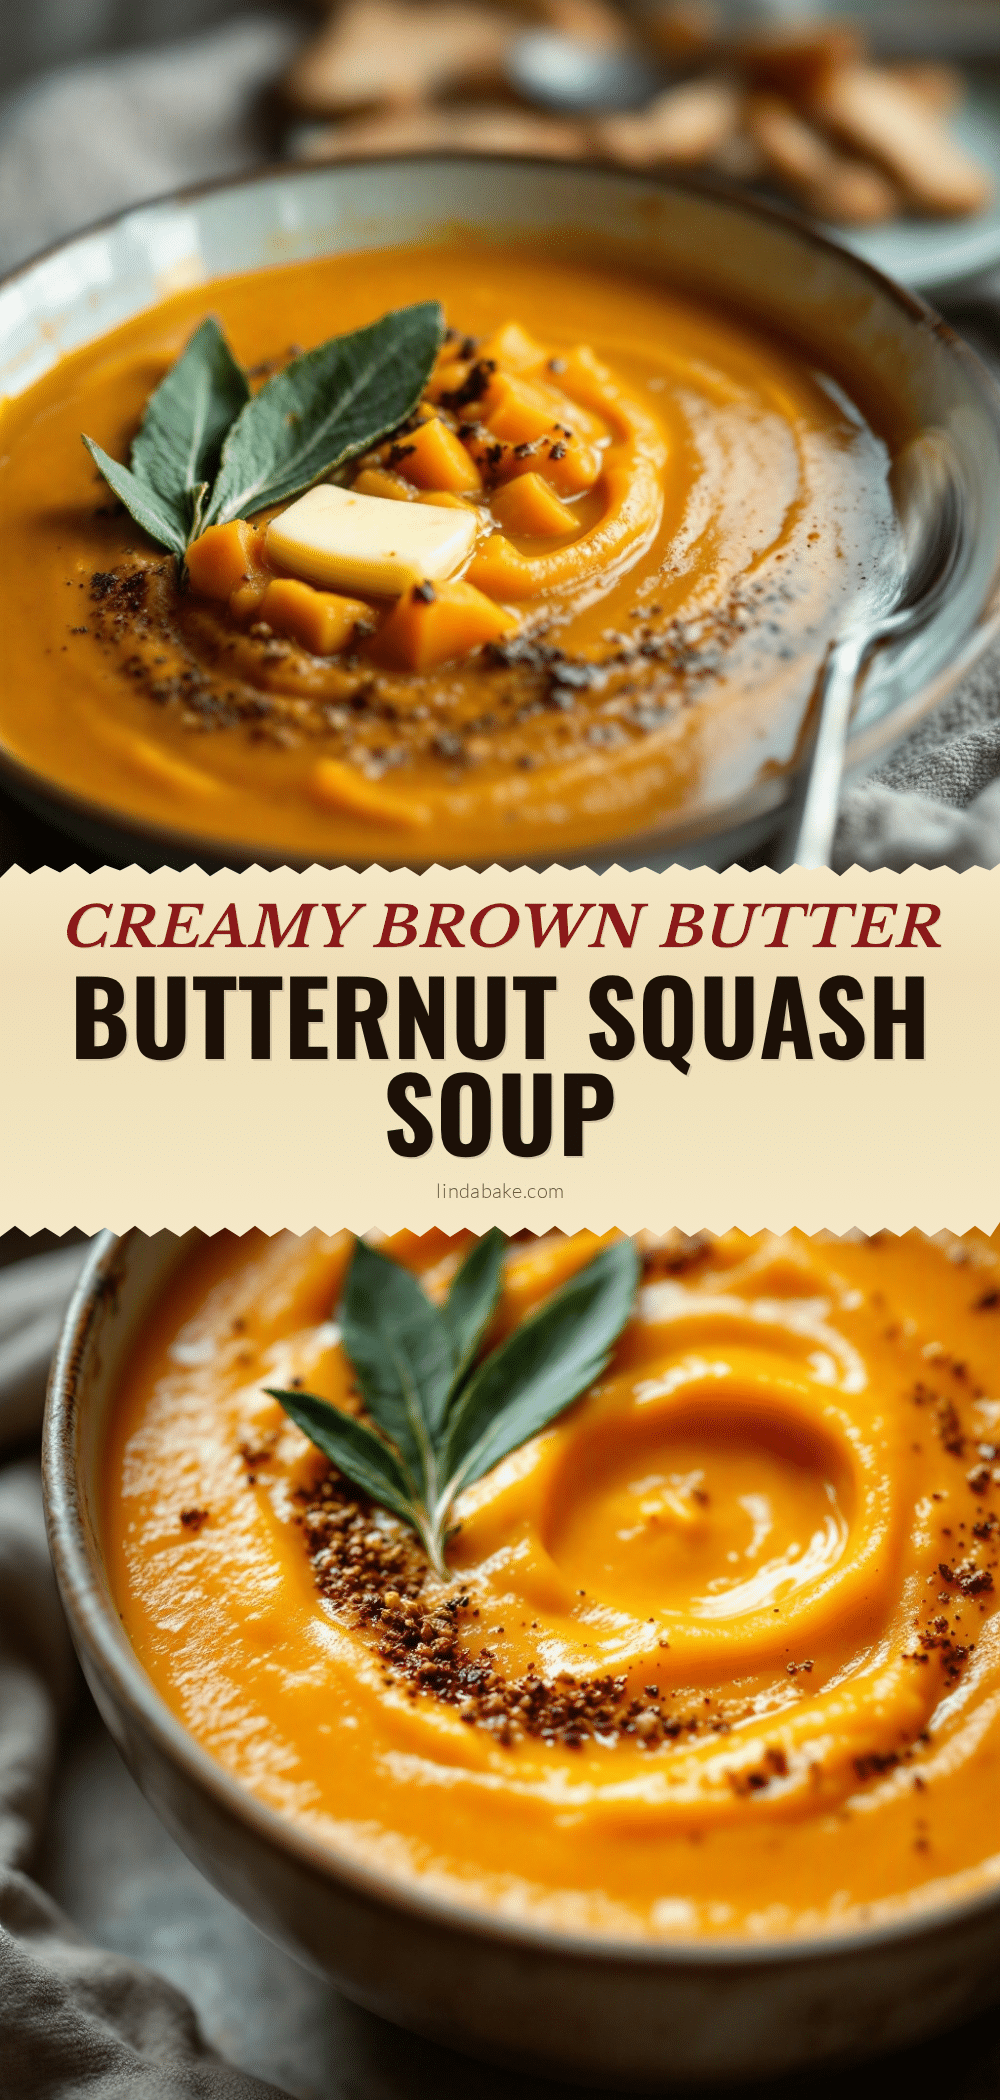
Creamy Roasted Butternut Squash Soup with Brown Butter

This creamy roasted butternut squash soup with brown butter has deep, complex flavor from nutty browned butter, perfectly creamy without being heavy, and uses simple ingredients. It’s make-ahead friendly, freezes well, and is impressive enough for guests.
- Prep Time: 15 minutes
- Cook Time: 40 minutes
- Total Time: 55 minutes
- Yield: 6 servings
- Category: Soup
- Cuisine: American
Ingredients
- Butternut squash, peeled and cubed (about 3 pounds or 1.4 kg)
- Olive oil, for roasting (about 3 tablespoons)
- Salt and black pepper, to taste
- Unsalted butter (4 tablespoons or 56 grams)
- Yellow onion, chopped (1 medium)
- Garlic cloves, minced (3 large)
- Fresh thyme sprigs (3 to 4)
- Vegetable or chicken broth (4 cups or 960 ml)
- Heavy cream (1/2 cup or 120 ml)
- Optional garnish: crispy sage leaves, extra brown butter drizzle, roasted pepitas
Instructions
- Preheat your oven to 400°F (200°C). Line a large baking sheet with parchment paper or a silicone mat.
- Prepare the squash: Peel the butternut squash with a vegetable peeler, then cut it in half lengthwise. Scoop out the seeds and stringy bits with a spoon. Cut the flesh into 1-inch cubes. You should end up with about 6 cups of cubed squash.
- Roast the squash: Spread the cubed squash on the prepared baking sheet in a single layer. Drizzle with olive oil and season generously with salt and pepper. Toss to coat. Roast for 25 to 30 minutes, flipping halfway through, until the squash is tender and the edges are starting to caramelize.
- Brown the butter: While the squash roasts, melt the butter in your large pot over medium heat. Swirl the pan occasionally. The butter will foam, then the foam will subside, and you’ll see tiny brown specks forming at the bottom. This takes about 4 to 6 minutes. The moment it smells nutty and toasty, remove it from the heat and pour it into a small heatproof bowl.
- Sauté the aromatics: Return the pot to medium heat. Add a drizzle of olive oil, then add the chopped onion. Cook for 5 to 6 minutes until softened and translucent. Add the minced garlic and thyme sprigs and cook for another minute until fragrant.
- Combine and simmer: Add the roasted squash to the pot, along with the broth. Stir everything together, scraping up any browned bits from the bottom of the pot. Bring to a gentle boil, then reduce the heat to low and simmer for 10 minutes.
- Blend until smooth: Remove the thyme sprigs. Use an immersion blender directly in the pot to puree the soup until completely smooth. If using a regular blender, work in batches and be careful — hot liquids expand. Fill the blender no more than halfway, hold the lid down with a towel, and blend on low speed.
- Finish with cream and brown butter: Stir in the heavy cream and all but about 2 tablespoons of the brown butter. Taste and adjust seasoning with salt and pepper. If the soup is too thick, add a splash more broth or water until it reaches your desired consistency.
- Serve and garnish: Ladle the soup into bowls. Drizzle the reserved brown butter over the top. Add crispy sage leaves, roasted pepitas, or a swirl of extra cream if you like. Serve hot.
Notes
Don’t rush the roasting; caramelization adds flavor. Watch the brown butter carefully—it goes from perfect to burnt in seconds. Season in layers for best flavor. This soup tastes even better the next day. For a dairy-free version, substitute heavy cream with full-fat coconut milk and use olive oil or vegan butter for browning.
Nutrition
- Serving Size: 1 serving (about 1.5
- Calories: 280
- Sugar: 8
- Sodium: 480
- Fat: 18
- Saturated Fat: 9
- Carbohydrates: 28
- Fiber: 5
- Protein: 4
Keywords: butternut squash soup, creamy soup, brown butter, roasted squash, fall soup, winter soup, comfort food, gluten-free, vegetarian


