The crackle of a gingersnap crust giving way under a spoon—that’s the sound I made this cheesecake for. Everything else—the creamy pumpkin swirl, the gentle spice—is just the supporting cast. I wanted a crust that didn’t just sit there quietly, you know? Something that would snap and crumble and fight back just a little against all that velvety filling. And let’s face it, a graham cracker crust was never going to cut it for this particular obsession.
I spent one whole weekend testing crusts. (My kitchen smelled like a holiday bakery, but honestly, no one complained.) The first batch was too buttery, the second too soft. I wanted that distinct gingersnap bite—the kind that reminds you of your grandmother’s cookie tin, the one with the faded lid that always smelled like brown sugar and cloves. When I finally got it right, I actually texted a photo to my sister with just the word “Finally.” She knew exactly what I meant.
This Creamy Pumpkin Pie Cheesecake with Gingersnap Crust isn’t trying to be fancy. It’s the dessert you make when you want something that feels special but doesn’t require a culinary degree. It’s for Thanksgiving when you can’t decide between pumpkin pie and cheesecake (spoiler: you don’t have to). It’s for a random Tuesday in October when the air turns cold and you just need a slice of something that tastes like a hug. The filling is silky, the pumpkin flavor is warm and present without being overwhelming, and that crust—that crust is going to be your new favorite thing.
Why You’ll Love This Recipe
Look, I’ve made a lot of cheesecakes in my time. Some were disasters (we don’t talk about the cracked one from 2019), and some were pretty great. But this one? This one earned a permanent spot in my recipe binder.
- Two Desserts in One: It’s pumpkin pie and cheesecake having a beautiful, delicious baby. No more choosing at the holiday table.
- That Gingersnap Crust: Seriously, once you try a gingersnap crust, you’ll never go back. The spicy-sweet snap against the creamy filling is pure magic.
- Make-Ahead Friendly: Cheesecake actually gets better after a day in the fridge. You can make this a full 48 hours ahead of time. Stress-free hosting? Yes, please.
- No Water Bath Needed: I tested this without the fussy water bath method, and it came out perfectly smooth every single time. No leaks, no soggy crust, no stress.
- Simple Ingredients: Nothing weird here. You probably already have most of these in your pantry, especially if you’re a fall baker.
This recipe is the kind that makes people close their eyes after the first bite. I’ve seen it happen at three separate dinner parties now. It’s comfort food reimagined—familiar but surprising, indulgent but not heavy. And it’s the kind of dessert that makes you look like you spent hours in the kitchen when really, the hardest part is waiting for it to chill.
What Ingredients You Will Need
This recipe uses simple, honest ingredients to create something that tastes far more complicated than it actually is. Here’s what you’ll need and why each one matters.
For the Gingersnap Crust:
- 2 cups (240g) gingersnap cookie crumbs (about 30 cookies, crushed fine—I use Nabisco or Anna’s Ginger Thins)
- 6 tablespoons (85g) unsalted butter, melted (this binds the crumbs and adds richness)
- 2 tablespoons (25g) granulated sugar (just a touch to balance the ginger spice)
- Pinch of salt (don’t skip this—it makes all the flavors pop)
For the Cheesecake Filling:
- 24 ounces (680g) cream cheese, softened to room temperature (full-fat is non-negotiable here for that silky texture—I prefer Philadelphia)
- 1 cup (200g) granulated sugar
- 1 cup (245g) pumpkin puree (not pumpkin pie filling—make sure it’s 100% pure pumpkin)
- 3 large eggs, room temperature (cold eggs will make your batter lumpy)
- 1/4 cup (60ml) sour cream, room temperature (adds tang and creaminess)
- 1 teaspoon vanilla extract
- 1 teaspoon pumpkin pie spice (or make your own with 1/2 tsp cinnamon, 1/4 tsp ginger, 1/4 tsp nutmeg, pinch of cloves)
- 1/2 teaspoon ground cinnamon (for extra warmth)
For the Topping (optional but highly recommended):
- 1 cup (240ml) heavy whipping cream
- 2 tablespoons (15g) powdered sugar
- 1/2 teaspoon vanilla extract
- Crushed gingersnaps or candied pecans for garnish
When shopping for cream cheese, grab the blocks, not the tub. The spreadable kind has too much water and will make your cheesecake dense. And for the pumpkin puree, I’ve tested this with Libby’s and with store brand—both work great, just make sure to blot the puree with a paper towel if it looks watery. That little step prevents a soggy texture.
If you’re feeling adventurous, you can swap the sour cream for full-fat Greek yogurt. It works in a pinch, though the tang is slightly sharper. For a dairy-free version, use vegan cream cheese and coconut cream, but be warned—the texture won’t be quite as lush.
Equipment Needed
You don’t need a professional pastry kitchen for this one. Here’s what you’ll actually use:
- 9-inch springform pan (the kind with the latch on the side—absolutely essential for getting the cheesecake out in one piece)
- Electric hand mixer or stand mixer (I’ve made this with both; a hand mixer works perfectly fine and is easier to clean)
- Food processor or sturdy zip-top bag and rolling pin (for crushing the gingersnaps—the bag method is oddly satisfying)
- Large mixing bowls (one for crust, one for filling)
- Spatula (a rubber one for scraping every last bit of filling)
- Measuring cups and spoons
- Parchment paper (to line the bottom of the pan for easy removal)
- Cooling rack
If you don’t have a springform pan, you can use a deep-dish pie plate, but you’ll struggle to get clean slices. I learned that the hard way. Also, a food processor makes quick work of the crust, but honestly? I prefer the bag method—there’s something therapeutic about smashing cookies when you’ve had a long day.
Preparation Method
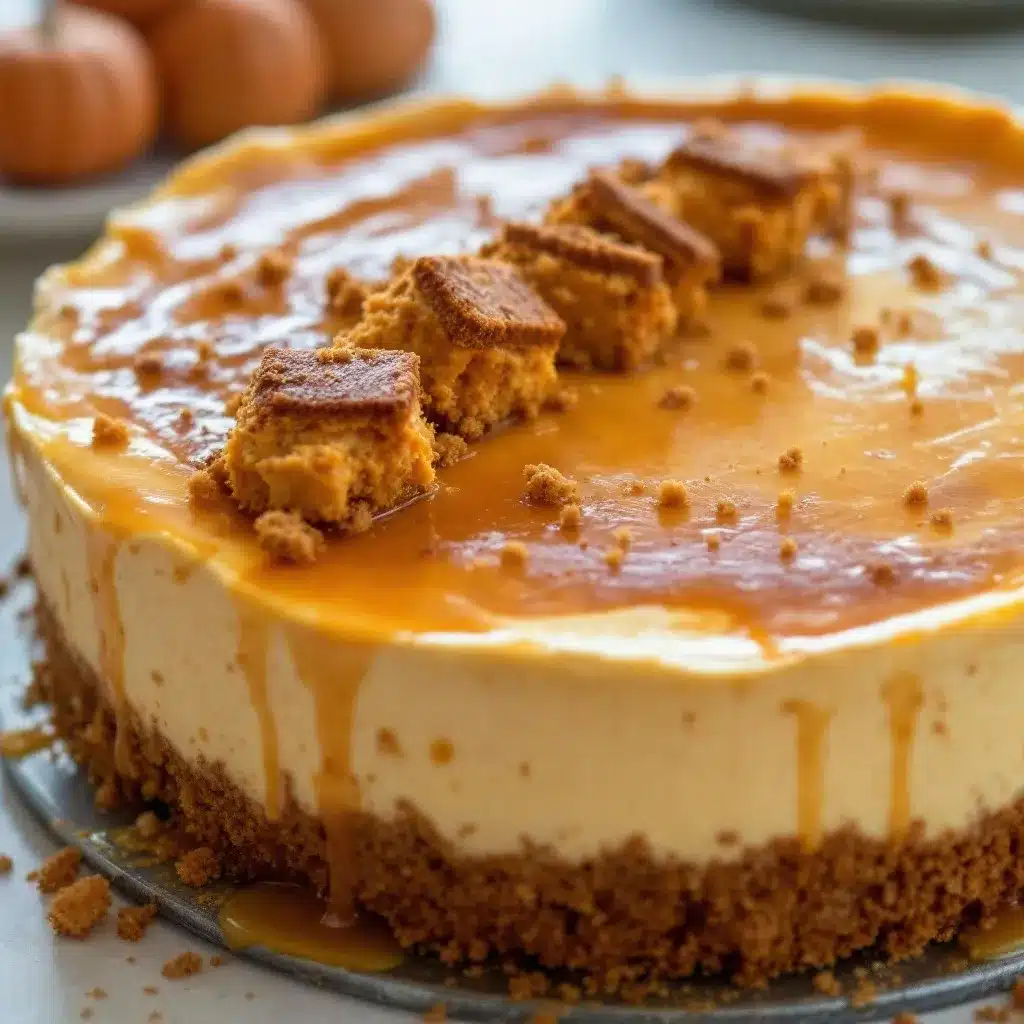
Let’s make some magic happen. Set aside about 30 minutes of active prep time, plus at least 6 hours of chilling (overnight is better).
- Prep Your Pan: Preheat your oven to 325°F (163°C). Cut a circle of parchment paper to fit the bottom of your springform pan. Spray the sides lightly with non-stick spray. This isn’t strictly necessary, but it makes releasing the cheesecake so much easier.
- Make the Crust: Crush your gingersnaps into fine crumbs. You want them uniform—no big chunks. In a medium bowl, combine the crumbs, melted butter, sugar, and salt. Stir until every crumb is coated and the mixture looks like wet sand. Press this firmly into the bottom of your prepared pan. I use the bottom of a flat measuring cup to really pack it down. Bake for 10 minutes, then set aside to cool while you make the filling.
- Soften Your Cream Cheese: This is the most important step. Your cream cheese must be at room temperature—like, leave it on the counter for an hour kind of room temperature. Cold cream cheese makes lumpy cheesecake, and nobody wants that. Cut it into cubes if you’re impatient (I’m always impatient).
- Make the Filling: In a large bowl, beat the softened cream cheese with an electric mixer on medium speed until smooth and creamy, about 2 minutes. Scrape down the sides and bottom of the bowl. Add the sugar and beat for another 2 minutes until light and fluffy.
- Add the Pumpkin and Wet Ingredients: Add the pumpkin puree, sour cream, and vanilla extract. Beat on low until just combined. Don’t overmix here—we’re not trying to incorporate air, just combine everything.
- Add the Eggs One at a Time: Crack your eggs into a small bowl first (just in case you get shell fragments). Add them one at a time, beating on low after each addition just until the yolk disappears. Overbeating at this stage will cause cracks later. Trust me on this—I’ve cracked enough cheesecakes to know.
- Add the Spices: Sprinkle in the pumpkin pie spice and cinnamon. Fold them in gently with a spatula. Give the bowl a final scrape to make sure everything is incorporated.
- Assemble and Bake: Pour the filling over the cooled crust. Gently tap the pan on the counter a few times to release any air bubbles. Place the pan on a baking sheet (just in case of any butter leakage). Bake at 325°F (163°C) for 55-65 minutes. The edges should be set and slightly puffed, but the center should still jiggle like Jell-O when you gently shake the pan.
- Cool Slowly: Turn off the oven and crack the door open. Let the cheesecake sit in the warm oven for 1 hour. This gradual cooling prevents cracking. Then, remove it from the oven and let it cool completely on a wire rack, about another hour.
- Chill Overnight: Once cool, cover the pan with plastic wrap and refrigerate for at least 6 hours, but overnight is truly best. The flavors deepen, the texture sets perfectly, and it slices like a dream.
- Add Topping and Serve: When you’re ready to serve, whip the heavy cream, powdered sugar, and vanilla until soft peaks form. Spread or pipe over the chilled cheesecake. Sprinkle with crushed gingersnaps or candied pecans. Run a knife under hot water, wipe it dry, then slice for clean, beautiful pieces.
Cooking Tips & Techniques
I’ve made this cheesecake maybe a dozen times now, and I’ve learned a few things the hard way so you don’t have to.
The Room Temperature Rule is Real: I know it’s annoying to wait, but cold ingredients are the number one cause of lumpy, cracked cheesecakes. Take your cream cheese, eggs, and sour cream out of the fridge at least an hour before you start. If you forget (I do this all the time), cut the cream cheese into small cubes and microwave it in 10-second bursts until it’s soft but not warm.
Don’t Overmix: Once you add the eggs, you’re basically done mixing. Overbeating incorporates too much air, which expands in the oven and then collapses, causing cracks. Mix on low speed and stop as soon as each egg disappears.
The Jiggle Test: Your cheesecake is done when the edges are set but the center wobbles when you shake the pan. If the whole thing is still liquid, give it another 5-10 minutes. If the center is completely firm, you’ve overbaked it (it will still taste good, just denser).
Blot Your Pumpkin: Pumpkin puree can be surprisingly watery. Before adding it to your batter, spread it on a paper towel-lined plate and blot gently. This removes excess moisture and prevents a soggy texture. I didn’t do this my first time, and the cheesecake had a weird wet spot near the crust.
Patience with Chilling: I know you want to eat it right away. Don’t. A cheesecake that hasn’t chilled properly will be a mess when you slice it. It needs that time to set up. Make it the day before, and you’ll thank yourself tomorrow.
Variations & Adaptations
This recipe is a great base for experimentation. Here are a few twists I’ve tried and loved:
- Gluten-Free Version: Use gluten-free gingersnap cookies for the crust. Most major brands make them now, and they work perfectly. The filling is naturally gluten-free, so you’re good there.
- Pumpkin Cheesecake Bars: Press the crust into a 9×13-inch baking dish lined with parchment, pour the filling on top, and bake for about 30-35 minutes. Slice into bars for a more portable option. Perfect for potlucks.
- Maple Pecan Twist: Add 2 tablespoons of maple syrup to the filling and swap the vanilla for maple extract. Top with candied pecans instead of gingersnaps. This version disappeared fastest at my Friendsgiving last year.
- Chocolate Swirl: Melt 4 ounces of dark chocolate and drizzle it into the filling before baking. Use a knife to swirl it gently. The chocolate-pumpkin-ginger combo is unexpectedly amazing.
- Mini Cheesecakes: Use a muffin tin with liners. Press a tablespoon of crust into each cup, fill with batter, and bake for 18-22 minutes. These are adorable and perfect for portion control. Or, you know, for eating three without guilt.
If you’re looking for another fall-inspired dessert that’s quick and impressive, you might enjoy these easy matcha green tea tiramisu parfaits. They come together in 10 minutes and have that same make-ahead convenience.
Serving & Storage Suggestions
This cheesecake is best served cold, straight from the fridge. Let it sit at room temperature for about 10 minutes before slicing for the cleanest cuts. A hot knife (run under hot water and wiped dry) makes all the difference.
For a beautiful presentation, pipe the whipped cream in rosettes or spread it in a thin layer. Sprinkle crushed gingersnaps over the top and add a few whole ones for drama. A drizzle of caramel sauce never hurt anybody either.
Storage: Cover leftover cheesecake tightly with plastic wrap or store in an airtight container in the refrigerator for up to 5 days. The flavor actually improves after day two—the spices meld together beautifully.
Freezing: This cheesecake freezes like a champion. Wrap the completely cooled (and untopped) cheesecake in a layer of plastic wrap, then a layer of aluminum foil. Freeze for up to 3 months. Thaw overnight in the refrigerator before adding the topping and serving. I always keep a frozen cheesecake in my freezer for unexpected guests or emergencies (cheesecake emergencies are real, okay?).
If you’re planning a holiday brunch, this cheesecake pairs wonderfully with a refreshing mango jalapeño agua fresca for a sweet-spicy contrast that’s absolutely delightful.
Nutritional Information & Benefits
Let’s be real—this is a dessert, not a health food. But here’s the estimated nutritional breakdown for one slice (based on 12 servings):
- Calories: Approximately 410
- Fat: 28g
- Carbohydrates: 36g
- Protein: 7g
- Fiber: 1g
- Sugar: 24g
On the bright side, pumpkin is packed with vitamin A (great for your eyes and immune system) and fiber. The cream cheese provides calcium and protein. The ginger in the crust is known for its anti-inflammatory properties. So, you know, it’s practically a health food. (I’m kidding. Mostly.)
This recipe contains dairy, gluten, and eggs. For a dairy-free version, use vegan cream cheese and coconut cream. For a gluten-free version, use gluten-free gingersnaps.
Conclusion
This Creamy Pumpkin Pie Cheesecake with Gingersnap Crust is the dessert I turn to when I want to impress without stress. It’s forgiving, it’s make-ahead friendly, and it tastes like autumn in a slice. The crackly crust, the silky pumpkin filling, the cloud of whipped cream—it’s everything I want in a fall dessert.
I’d love to hear how yours turns out. Did you add a twist? Did you eat it for breakfast? (No judgment here.) Drop a comment below and let me know. And if you loved it, share it with a friend who needs a little extra comfort this season.
Happy baking, friends. May your crusts be crispy and your cheesecakes crack-free.
Frequently Asked Questions
Can I use pumpkin pie filling instead of pumpkin puree?
No, please don’t. Pumpkin pie filling is already sweetened and spiced, which will throw off the sugar and spice balance in this recipe. Stick with 100% pure pumpkin puree for the best results.
Why did my cheesecake crack?
Most likely one of three things: overmixing the batter (especially after adding eggs), overbaking, or cooling it too quickly. Let it cool gradually in the oven with the door cracked open, and you’ll avoid most cracks. And if it does crack? Cover it with whipped cream. Problem solved.
Can I make this cheesecake without a springform pan?
You can use a deep-dish pie plate, but getting clean slices will be tricky. A springform pan is really the best tool for the job. They’re inexpensive and available at most grocery stores or online.
How do I know when the cheesecake is done baking?
The edges should be set and slightly puffed, but the center should still jiggle when you gently shake the pan. It will continue to set as it cools. If the center is completely firm, it’s overbaked.
Can I freeze this cheesecake?
Absolutely! Freeze the cheesecake without the whipped cream topping. Wrap it well in plastic wrap and then foil. It will keep for up to 3 months. Thaw overnight in the refrigerator before serving.
For another crowd-pleasing dessert that’s perfect for fall gatherings, try this spicy Korean-Mexican street corn dip—it’s a total flavor bomb and always gets rave reviews.
Pin This Recipe!
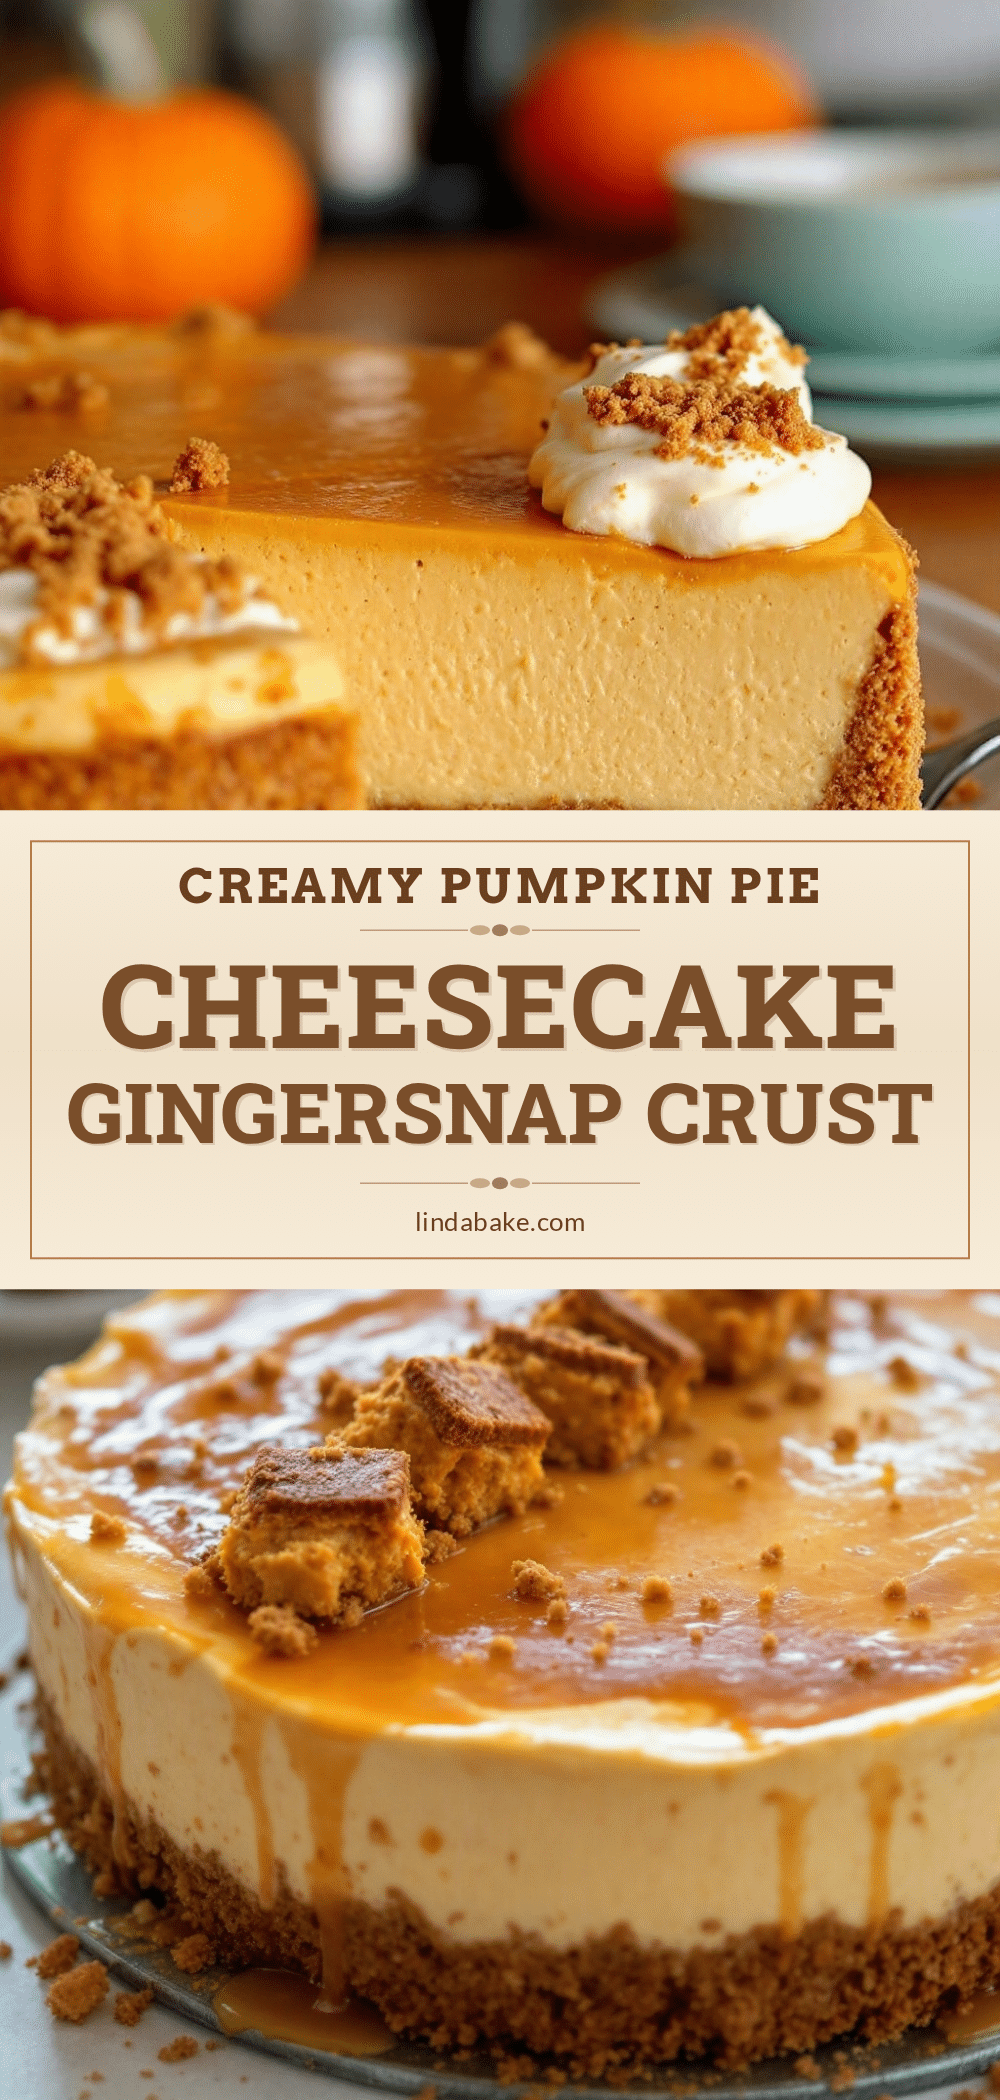
Creamy Pumpkin Pie Cheesecake with Gingersnap Crust
A creamy pumpkin cheesecake with a spicy gingersnap crust that combines the best of pumpkin pie and cheesecake in one dessert. No water bath needed, make-ahead friendly, and perfect for fall gatherings.
- Prep Time: 30 minutes
- Cook Time: 55-65 minutes
- Total Time: 8 hours (including chilling)
- Yield: 12 servings 1x
- Category: Dessert
- Cuisine: American
Ingredients
- 2 cups (240g) gingersnap cookie crumbs (about 30 cookies)
- 6 tablespoons (85g) unsalted butter, melted
- 2 tablespoons (25g) granulated sugar
- Pinch of salt
- 24 ounces (680g) cream cheese, softened to room temperature
- 1 cup (200g) granulated sugar
- 1 cup (245g) pumpkin puree (not pumpkin pie filling)
- 3 large eggs, room temperature
- 1/4 cup (60ml) sour cream, room temperature
- 1 teaspoon vanilla extract
- 1 teaspoon pumpkin pie spice
- 1/2 teaspoon ground cinnamon
- 1 cup (240ml) heavy whipping cream
- 2 tablespoons (15g) powdered sugar
- 1/2 teaspoon vanilla extract
- Crushed gingersnaps or candied pecans for garnish
Instructions
- Preheat oven to 325°F (163°C). Line bottom of 9-inch springform pan with parchment paper and spray sides with non-stick spray.
- Crush gingersnaps into fine crumbs. Combine crumbs, melted butter, sugar, and salt. Press firmly into bottom of pan. Bake 10 minutes, then cool.
- In large bowl, beat softened cream cheese on medium speed until smooth, about 2 minutes. Add sugar and beat 2 minutes until light and fluffy.
- Add pumpkin puree, sour cream, and vanilla. Beat on low until just combined.
- Add eggs one at a time, beating on low after each addition just until yolk disappears.
- Fold in pumpkin pie spice and cinnamon with spatula.
- Pour filling over cooled crust. Tap pan on counter to release air bubbles.
- Place pan on baking sheet. Bake 55-65 minutes until edges are set but center jiggles.
- Turn off oven, crack door open, and let cheesecake sit in warm oven 1 hour.
- Remove from oven and cool completely on wire rack, about 1 hour.
- Cover with plastic wrap and refrigerate at least 6 hours, preferably overnight.
- Before serving, whip heavy cream, powdered sugar, and vanilla until soft peaks form. Spread or pipe over cheesecake. Garnish with crushed gingersnaps or candied pecans.
Notes
Cream cheese must be at room temperature. Blot pumpkin puree with paper towel if watery. Do not overmix after adding eggs. Cheesecake is done when edges are set but center jiggles. Chill overnight for best results. Freezes well for up to 3 months without topping.
Nutrition
- Serving Size: 1 slice
- Calories: 410
- Sugar: 24
- Sodium: 320
- Fat: 28
- Saturated Fat: 16
- Carbohydrates: 36
- Fiber: 1
- Protein: 7
Keywords: pumpkin cheesecake, gingersnap crust, fall dessert, Thanksgiving dessert, pumpkin pie cheesecake, no water bath cheesecake


