The pint was empty before I even realized I’d finished it. Standing there in the kitchen, spoon in hand, I actually checked the freezer like somehow more would magically appear. That’s when I knew—this salted caramel thing was dangerous. My husband texted me from work the next day: “Please tell me you saved some.” I hadn’t. That’s how the second batch happened.
Look, I’ve made a lot of ice cream in my day. The custard-based kind where you’re tempering eggs and stressing over the thermometer. The kind that requires an ice cream maker you have to freeze the bowl for 24 hours ahead of time (who plans that far ahead?). But this no-churn version? It snuck up on me. I was actually trying to salvage a can of dulce de leche that had been sitting in my pantry for months, and somehow ended up with the creamiest, most ridiculous salted caramel ice cream I’ve ever tasted.
No machine. No eggs. No drama. Just a freezer, a whisk, and a serious lack of self-control around caramel sauce.
The thing about this creamy no-churn salted caramel ice cream is that it tastes like something you’d pay twelve dollars for at a fancy scoop shop. But you made it. In your kitchen. In about fifteen minutes of actual work. And honestly? That feels like a superpower.
So here we are. Me, sharing this recipe with you. You, about to become very popular at your next gathering.
Why You’ll Love This Recipe
Let me tell you why this one’s different. I’ve tested this recipe about seven times (rough life, I know), and each batch taught me something new. First batch was too sweet. Second batch? The caramel seized up. Third batch was magic, and I’ve been chasing that dragon ever since.
- No Ice Cream Maker Required : Seriously. You don’t need any fancy equipment. Just a mixer and a freezer-safe container. That’s it.
- Five Ingredients : Heavy cream, sweetened condensed milk, homemade salted caramel sauce, vanilla extract, and flaky sea salt. That’s the whole list. You probably have most of this right now.
- Fifteen Minutes of Prep : The hardest part is waiting for it to freeze. The actual hands-on time is embarrassingly short for how impressive the result is.
- That Texture Though : The sweetened condensed milk works magic here. It keeps the ice cream scoopable straight from the freezer—no chipping away at a frozen brick with a hot spoon.
- Perfect for Any Occasion : Summer barbecue? Holiday dessert table? Random Tuesday when you need something sweet? This fits everywhere.
What makes this recipe stand out from every other no-churn ice cream out there is the caramel ripple. Most recipes just swirl in store-bought sauce and call it a day. But I spent time figuring out the right caramel consistency—thick enough to create distinct ribbons, but soft enough that it doesn’t freeze into hard candy chunks. The salt level matters too. Not too much that it tastes like a pretzel, but enough to make the sweetness feel balanced and intentional.
This is the kind of dessert that makes people close their eyes after the first bite. I’ve seen it happen. It’s genuinely satisfying in a way that feels almost unfair for how little effort it requires.
What Ingredients You Will Need
This recipe uses simple, mostly pantry-stable ingredients to create something that tastes anything but basic. Each component plays a specific role, and I’ve tested enough substitutions to tell you what actually works.
- 2 cups (480ml) heavy whipping cream — Cold from the fridge. This is non-negotiable for volume. The heavy cream whips up to create that light, airy texture that makes no-churn ice cream work. I prefer Organic Valley or Horizon for the best consistency.
- 1 can (14 oz / 397g) sweetened condensed milk — This is your stabilizer. It keeps the ice cream soft and scoopable. Don’t substitute with evaporated milk—they’re completely different things. Eagle Brand or Carnation both work great.
- 1 cup (240ml) homemade salted caramel sauce — I’ll include the quick version below, but you can use a high-quality store-bought one in a pinch. Just make sure it’s thick, not runny. I personally always make my own because the flavor is deeper and less artificial.
- 1 teaspoon vanilla extract — Pure vanilla, not imitation. It rounds out the caramel flavor beautifully. Nielsen-Massey is my go-to, but any pure vanilla extract works.
- 1 teaspoon flaky sea salt — Maldon is perfect here. The big flakes create little pops of salt that make each bite interesting. Don’t use table salt—it dissolves and you lose that textural contrast.
For the quick salted caramel sauce (if making from scratch):
- 1 cup (200g) granulated sugar
- 6 tablespoons (85g) unsalted butter, cut into pieces
- ½ cup (120ml) heavy cream, room temperature
- 1 teaspoon flaky sea salt
Ingredient Tips:
For the heavy cream, look for one with at least 36% milk fat. The higher fat content whips up more stable and gives a creamier texture. Light cream or half-and-half won’t work here—they don’t have enough fat to hold the structure.
The sweetened condensed milk is the secret weapon. It adds sweetness, creaminess, and prevents ice crystals from forming. I’ve tried making this with coconut condensed milk for a dairy-free version, and it works but the texture is slightly icier. Still good, just different.
If you’re using store-bought caramel sauce, check the ingredients. You want one where cream and butter are listed, not just corn syrup and artificial flavors. The quality of your caramel directly determines the quality of your ice cream.
Equipment Needed
You don’t need much here, which is honestly the best part about this recipe.
- Electric hand mixer or stand mixer — You could whisk by hand if you’re feeling ambitious, but your arm will hate you. A hand mixer does the job in about 3 minutes. I use my KitchenAid stand mixer because I’m lazy and it’s faster.
- Large mixing bowl — Make sure it’s clean and completely dry. Any grease residue will prevent the cream from whipping properly.
- Rubber spatula — For folding everything together gently. Don’t use a whisk for this part—you’ll deflate all that air you just whipped in.
- 9×5 inch loaf pan or 2-quart freezer-safe container — A standard loaf pan works perfectly. I’ve also used a metal 8×8 square pan. The key is having a container that allows the ice cream to freeze evenly.
- Parchment paper or plastic wrap — To cover the surface directly and prevent freezer burn.
- Small saucepan — Only if you’re making the caramel sauce from scratch.
Budget-Friendly Alternatives: Don’t have a stand mixer? A $15 hand mixer works just as well. No loaf pan? Use any freezer-safe bowl or even a clean takeout container. The ice cream doesn’t care what shape it freezes in.
Preparation Method
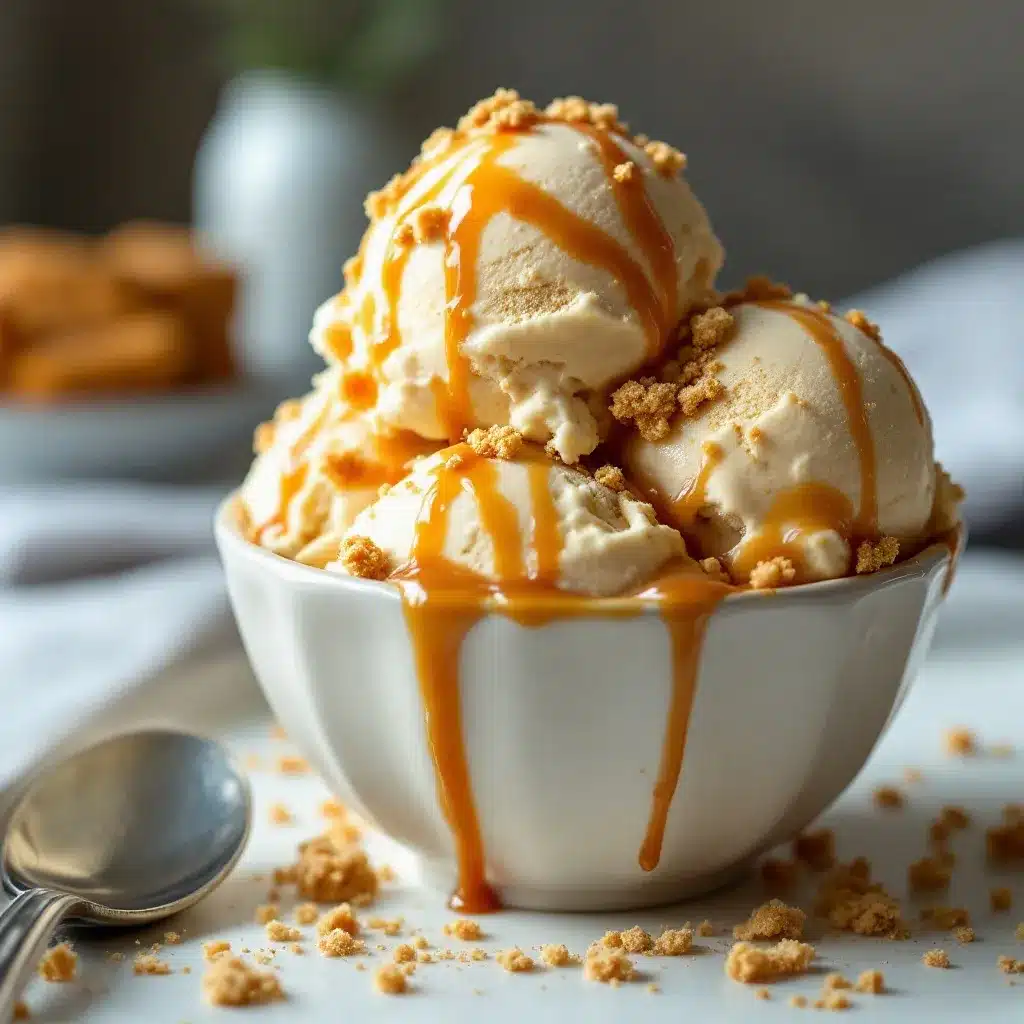
Alright, let’s make some ice cream. This is straightforward, but I’ll include all the little details I learned the hard way.
Step 1: Make the salted caramel sauce (if making from scratch)
Place the sugar in a medium saucepan over medium heat. Stir constantly with a wooden spoon or heatproof spatula. The sugar will clump at first—don’t panic. Keep stirring. It will eventually melt into a deep amber liquid. This takes about 6-8 minutes. Watch it carefully because sugar burns fast.
Once the sugar is completely melted and dark amber (think the color of a copper penny), remove it from heat immediately. Add the butter pieces and whisk vigorously. The mixture will bubble up violently—that’s normal. Keep whisking until the butter is fully incorporated.
Slowly drizzle in the heavy cream while whisking. Again, it will bubble up. Let it calm down, then whisk until smooth. Stir in the flaky sea salt. Let the sauce cool completely before using. You can speed this up by placing the saucepan in an ice bath.
Step 2: Whip the heavy cream
Pour the cold heavy cream into your large mixing bowl. Using your hand mixer or stand mixer with the whisk attachment, beat on medium-high speed until stiff peaks form. This takes about 3-4 minutes with a stand mixer, maybe 5-6 with a hand mixer.
How do you know it’s ready? Lift the whisk attachment—the cream should hold its shape without drooping. It should look like whipped cream you’d pipe on a pie. Be careful not to over-whip, or you’ll end up with butter. Trust me, I’ve done that. It’s sad.
Step 3: Combine the base ingredients
In a separate bowl, whisk together the sweetened condensed milk and vanilla extract until smooth. This doesn’t take long—maybe 30 seconds. The mixture should be thick and pale yellow.
Step 4: Fold everything together
Pour the sweetened condensed milk mixture over the whipped cream. Using your rubber spatula, gently fold everything together. The motion is like you’re turning a page—down through the middle, across the bottom, up the side, and over the top. Rotate the bowl as you go.
Fold until no white streaks remain. The mixture should be uniform in color and texture, light and airy like mousse. Don’t stir or mix aggressively—you’ll deflate all that air you worked so hard to create.
Step 5: Layer with caramel
Spoon about one-third of the cream mixture into your loaf pan or container. Drizzle about one-third of the cooled caramel sauce over the top. Use a knife or skewer to gently swirl it through—don’t overdo it, or you’ll lose the distinct ribbons.
Repeat with another layer of cream mixture, more caramel, and another gentle swirl. Finish with the remaining cream mixture and the last of the caramel sauce. Reserve about 2 tablespoons of caramel for drizzling on top after freezing.
Step 6: Freeze
Press a piece of parchment paper or plastic wrap directly onto the surface of the ice cream. This prevents ice crystals from forming. Cover the container with its lid or another layer of foil.
Freeze for at least 6 hours, but overnight is better. The ice cream needs time to set properly. I know it’s tempting to check after 3 hours—resist the urge. It’ll be too soft and you’ll be disappointed.
Step 7: Serve
Remove the ice cream from the freezer about 5-10 minutes before scooping. This softens it just enough for easy scooping without melting. Drizzle with that reserved caramel sauce and sprinkle with extra flaky sea salt right before serving.
Cooking Tips & Techniques
I’ve made this recipe enough times to know exactly where things can go wrong. Here’s what I’ve learned:
Temperature matters more than you think. The heavy cream needs to be cold—like, straight-from-the-fridge cold. If it’s even slightly warm, it won’t whip properly. Same goes for your mixing bowl. I sometimes pop my bowl in the freezer for 10 minutes before starting.
Don’t rush the caramel. The first time I made this, I got impatient and used warm caramel sauce. It melted the cream mixture into a soupy mess. Let your caramel cool completely to room temperature. If you’re in a hurry, spread it on a plate to cool faster.
The swirl technique matters. I used to aggressively mix the caramel into the cream mixture, thinking I wanted it evenly distributed. Big mistake. You lose the beautiful ribbons of caramel that make each bite different. Now I do just three or four figure-eight motions with a knife. That’s it.
Freezer placement. Put your ice cream container at the back of the freezer, not in the door. The temperature is more consistent there. The door gets opened and closed constantly, which causes temperature fluctuations that lead to ice crystals.
Patience with scooping. I learned this one the hard way at a dinner party. Let the ice cream sit at room temperature for 5-10 minutes before scooping. Run your ice cream scoop under hot water between scoops for clean, round scoops that look professional.
Variations & Adaptations
This base recipe is incredibly forgiving. Here are some variations I’ve tried and loved:
Chocolate Salted Caramel : Add ¼ cup unsweetened cocoa powder to the sweetened condensed milk mixture before folding. The chocolate-caramel combo is absolutely addictive. I made this for a friend’s birthday and she demanded the recipe on the spot.
Vegan Option : Use full-fat coconut cream (chilled overnight) instead of heavy cream, and sweetened condensed coconut milk instead of the dairy version. The texture is slightly different—a bit icier—but the flavor is still incredible. Just make sure your caramel sauce is made with vegan butter and coconut cream.
Boozy Salted Caramel : Add 2 tablespoons of bourbon or dark rum to the cream mixture before freezing. The alcohol lowers the freezing point, so the ice cream stays softer and scoopable. Plus, bourbon and caramel are a match made in heaven.
Nutty Crunch : Fold in ½ cup of toasted pecans or salted peanuts along with the caramel. The crunch adds a lovely textural contrast. Toast the nuts in a dry pan over medium heat for 3-4 minutes until fragrant—it makes a huge difference in flavor.
Espresso Caramel : Dissolve 1 tablespoon of instant espresso powder in the vanilla extract before adding it to the condensed milk. The coffee flavor deepens the caramel notes without making it taste like coffee. This is my personal favorite variation.
Serving & Storage Suggestions
Serving: Scoop into chilled bowls or cones. A small pinch of flaky sea salt on top right before serving makes a huge difference—it wakes up all the flavors. I also love serving this alongside a warm brownie or a slice of apple pie. The temperature contrast is everything.
For a fancy presentation, drizzle a plate with extra caramel sauce, place a scoop of ice cream on top, and garnish with a sprig of mint or a few chocolate shavings. It looks like something from a restaurant but takes 30 seconds.
Storage: Keep the ice cream in an airtight container with a piece of parchment paper pressed directly onto the surface. This prevents freezer burn and those annoying ice crystals. Properly stored, it will keep for up to 2 weeks.
After about 5 days, the texture starts to change slightly—it becomes a bit denser. Still delicious, just not as light and airy as day one. That’s why I recommend making smaller batches if you’re not planning to eat it quickly (though honestly, who has that kind of self-control?).
Reheating (softening): If the ice cream gets too hard, microwave the container for 10-15 seconds on low power. Or let it sit at room temperature for 15 minutes. Don’t microwave it too long, or you’ll end up with caramel soup.
Nutritional Information & Benefits
Let’s be real—this is a dessert, not a health food. But here’s the breakdown so you know what you’re working with:
Per serving (½ cup serving, approximately):
- Calories: 380
- Fat: 24g
- Saturated Fat: 15g
- Carbohydrates: 38g
- Sugar: 35g
- Protein: 4g
- Sodium: 280mg
Health Highlights: The heavy cream provides some calcium and vitamin A. The caramel sauce contains a small amount of iron from the butter. Honestly, the main benefit here is the joy it brings—and I think that counts for something.
Dietary Considerations: This recipe contains dairy and gluten (if using store-bought caramel that may contain wheat). It’s not suitable for vegans unless you use the substitutions mentioned above. It’s naturally gluten-free as written, but always check your caramel sauce label.
If you’re watching your sugar intake, you can reduce the caramel sauce by half or use a sugar-free sweetened condensed milk alternative. The texture will be slightly different, but it still works.
Conclusion
This creamy no-churn salted caramel ice cream is the kind of recipe that makes you feel like a kitchen wizard. Five ingredients, fifteen minutes of work, and you end up with something that tastes like it came from a fancy creamery. No ice cream maker, no complicated techniques, no stress.
What I love most about this recipe is how forgiving it is. You can customize it a hundred different ways—add chocolate, nuts, bourbon, espresso, whatever calls to you. It’s a canvas for your cravings.
I’d love to hear how yours turns out. Did you try a variation? Did you add something unexpected that worked? Drop a comment below and let me know. And if you’re looking for another easy dessert to add to your rotation, you should definitely check out these easy matcha green tea tiramisu parfaits—they’re another no-fuss dessert that looks way more impressive than it is.
Or maybe you’re in the mood for something savory to balance out all this sweetness? This spicy Korean-Mexican street corn dip is the perfect party appetizer that’ll have everyone asking for the recipe too.
Happy freezing, friends. Don’t forget the flaky salt on top—it makes all the difference.
Frequently Asked Questions
Can I use store-bought caramel sauce instead of making my own?
Absolutely. Just make sure you’re using a high-quality caramel sauce—one that lists cream and butter in the ingredients, not just corn syrup and artificial flavorings. The texture should be thick, not runny. I’ve used Trader Joe’s salted caramel sauce in a pinch and it worked beautifully.
Why did my ice cream turn out icy instead of creamy?
This usually happens for one of three reasons: the cream wasn’t whipped to stiff peaks, the caramel sauce was too warm when you added it, or the ice cream wasn’t covered properly during freezing. Make sure your cream is cold and whipped properly, your caramel is completely cool, and you press plastic wrap directly onto the surface before freezing.
Can I make this dairy-free?
Yes! Use full-fat coconut cream (chilled overnight) instead of heavy cream, and sweetened condensed coconut milk instead of the dairy version. The texture will be slightly different—a bit more icy and less creamy—but the flavor is still delicious. Just make sure your caramel sauce is also dairy-free.
How long does this ice cream last in the freezer?
Properly stored with plastic wrap pressed onto the surface, it will stay good for up to 2 weeks. After that, the texture starts to decline and ice crystals may form. In my house, it never lasts more than 3 days, so I can’t personally vouch for the full 2 weeks.
Can I use an ice cream maker with this recipe?
You can, but you don’t need to. If you want to use an ice cream maker, simply chill the cream mixture (before whipping) for 2 hours, then churn according to your manufacturer’s instructions. The result will be even creamier and more aerated. But honestly, the no-churn version is so good that I never bother with the machine anymore.
Pin This Recipe!
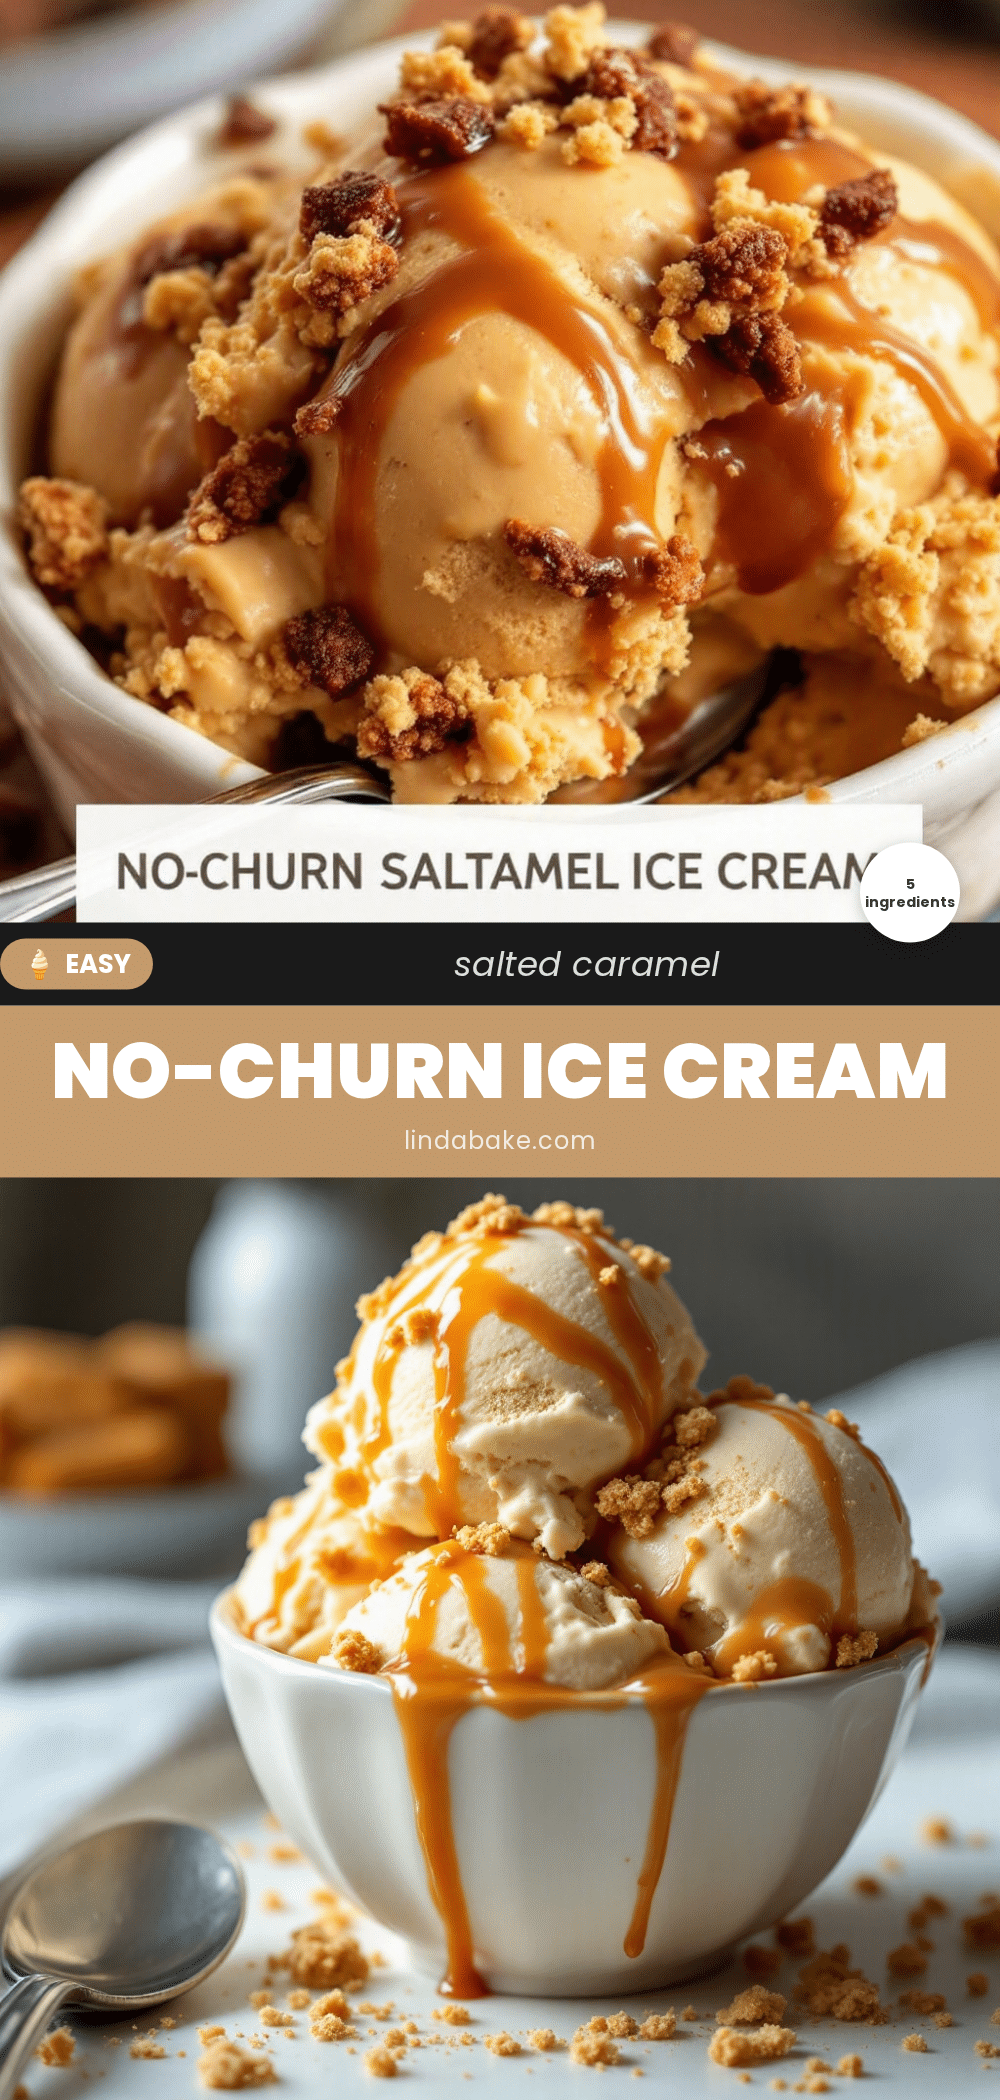
Creamy No-Churn Salted Caramel Ice Cream Recipe
This creamy no-churn salted caramel ice cream requires no ice cream maker, just five ingredients and fifteen minutes of prep. It’s incredibly rich, scoopable, and features beautiful ribbons of homemade salted caramel.
- Prep Time: 15 minutes
- Cook Time: 10 minutes
- Total Time: 6 hours 25 minutes (including freezing time)
- Yield: 8 servings 1x
- Category: Dessert
- Cuisine: American
Ingredients
- 2 cups (480ml) heavy whipping cream
- 1 can (14 oz / 397g) sweetened condensed milk
- 1 cup (240ml) homemade salted caramel sauce
- 1 teaspoon vanilla extract
- 1 teaspoon flaky sea salt
- For the quick salted caramel sauce (if making from scratch):
- 1 cup (200g) granulated sugar
- 6 tablespoons (85g) unsalted butter, cut into pieces
- ½ cup (120ml) heavy cream, room temperature
- 1 teaspoon flaky sea salt
Instructions
- Make the salted caramel sauce (if making from scratch): Place the sugar in a medium saucepan over medium heat. Stir constantly with a wooden spoon or heatproof spatula. The sugar will clump at first—don’t panic. Keep stirring. It will eventually melt into a deep amber liquid. This takes about 6-8 minutes. Watch it carefully because sugar burns fast. Once the sugar is completely melted and dark amber (think the color of a copper penny), remove it from heat immediately. Add the butter pieces and w…
- Whip the heavy cream: Pour the cold heavy cream into your large mixing bowl. Using your hand mixer or stand mixer with the whisk attachment, beat on medium-high speed until stiff peaks form. This takes about 3-4 minutes with a stand mixer, maybe 5-6 with a hand mixer. How do you know it’s ready? Lift the whisk attachment—the cream should hold its shape without drooping. It should look like whipped cream you’d pipe on a pie. Be careful not to over-whip, or you’ll end up with butter.
- Combine the base ingredients: In a separate bowl, whisk together the sweetened condensed milk and vanilla extract until smooth. This doesn’t take long—maybe 30 seconds. The mixture should be thick and pale yellow.
- Fold everything together: Pour the sweetened condensed milk mixture over the whipped cream. Using your rubber spatula, gently fold everything together. The motion is like you’re turning a page—down through the middle, across the bottom, up the side, and over the top. Rotate the bowl as you go. Fold until no white streaks remain. The mixture should be uniform in color and texture, light and airy like mousse. Don’t stir or mix aggressively—you’ll deflate all that air you worked so hard to create.
- Layer with caramel: Spoon about one-third of the cream mixture into your loaf pan or container. Drizzle about one-third of the cooled caramel sauce over the top. Use a knife or skewer to gently swirl it through—don’t overdo it, or you’ll lose the distinct ribbons. Repeat with another layer of cream mixture, more caramel, and another gentle swirl. Finish with the remaining cream mixture and the last of the caramel sauce. Reserve about 2 tablespoons of caramel for drizzling on top after freezing.
- Freeze: Press a piece of parchment paper or plastic wrap directly onto the surface of the ice cream. This prevents ice crystals from forming. Cover the container with its lid or another layer of foil. Freeze for at least 6 hours, but overnight is better. The ice cream needs time to set properly. I know it’s tempting to check after 3 hours—resist the urge. It’ll be too soft and you’ll be disappointed.
- Serve: Remove the ice cream from the freezer about 5-10 minutes before scooping. This softens it just enough for easy scooping without melting. Drizzle with that reserved caramel sauce and sprinkle with extra flaky sea salt right before serving.
Notes
Temperature matters: heavy cream must be cold. Let caramel cool completely before adding. Don’t over-swirl the caramel. Freeze at the back of the freezer for consistent temperature. Let ice cream sit at room temperature for 5-10 minutes before scooping. For best texture, consume within 2 weeks.
Nutrition
- Serving Size: 1/2 cup
- Calories: 380
- Sugar: 35
- Sodium: 280
- Fat: 24
- Saturated Fat: 15
- Carbohydrates: 38
- Protein: 4
Keywords: no-churn ice cream, salted caramel, easy ice cream, homemade ice cream, no ice cream maker, caramel ice cream


