I figured a homemade pumpkin pie crust would be a breeze to roll out. It took about twenty minutes for that assumption to fall apart completely in my kitchen. Flour dusted the counter, then my apron, and eventually, my dog’s nose when he tried to help. The dough was sticking to the rolling pin like it had a personal grudge against me. Honestly, it was a mess.
But then I smelled the filling baking. It was that heavy, warm scent of cinnamon, nutmeg, and roasted squash that just stops time. The tension between my frustrated hands and the promise of that aroma was real. I almost ordered a frozen one from the grocery store. I really did. But something about the maple whipped cream recipe I had in mind kept me at the counter.
You know how some recipes feel like chores? This one feels like a hug. It’s not complicated, but it demands respect. You can’t rush the crust, and you can’t skimp on the spices. I learned that the hard way, years ago, when I served a flat, salty disaster to my in-laws. They were polite, but I could tell. Since then, I’ve tweaked everything until it felt right.
This cozy homemade pumpkin pie isn’t about perfection. It’s about that first bite when the crust shatters and the filling is so smooth it melts on your tongue. It’s the kind of dessert that makes you sit at the table for an extra hour, just talking. It’s comfort food at its most honest.
I still remember the first time I made the maple whipped cream. I used real maple syrup instead of vanilla extract. The difference was night and day. It added this deep, earthy sweetness that balanced the spice perfectly. That’s when I knew I had something special. It’s not just a pie; it’s a memory in the making.
So, let’s get back to the counter. Ignore the flour on the floor. Focus on the dough. The rest will follow. And if it cracks? That’s okay. We’ll patch it. That’s what patching is for.
Why You’ll Love This Recipe
There is a specific kind of magic that happens when you combine a flaky, buttery crust with a spiced, velvety filling. This recipe isn’t just another pumpkin pie; it’s the result of years of trial, error, and plenty of taste-testing. I’ve tried dozens of versions, and this one stands out because it balances richness with restraint. It’s not cloyingly sweet, and the spice blend is warm without being overpowering.
Here is why this cozy homemade pumpkin pie will become your new favorite:
- Quick & Easy Crust: The dough comes together in under 15 minutes. Yes, really. You just need to keep it cold and handle it gently. It’s perfect for busy weeknights or when you’re hosting last-minute guests.
- Simple Ingredients: You likely already have everything in your pantry. Butter, flour, salt, pumpkin puree, eggs, and spices. No fancy grocery trips needed. The maple whipped cream uses heavy cream and real maple syrup, which you probably keep on hand for pancakes anyway.
- Perfect for Fall Gatherings: Whether it’s a small family dinner or a large Thanksgiving spread, this pie fits right in. It’s the centerpiece that doesn’t demand stress. It just sits there, smelling amazing, waiting to be sliced.
- Crowd-Pleaser: Kids love the sweetness, and adults appreciate the complexity of the spices. It always gets rave reviews. I’ve served this to picky eaters who usually turn their noses up at “vegetable” desserts, and they asked for seconds.
- Unbelievably Delicious Topping: The maple whipped cream is the game-changer. It’s lighter than traditional whipped cream but has a deeper flavor profile. The texture is fluffy and airy, contrasting beautifully with the dense pie filling.
What makes this recipe different? It’s the attention to detail in the spice blend. Most store-bought mixes are just cinnamon. This one uses a pinch of ginger, a touch of clove, and a hint of allspice. It creates a layered flavor that feels homemade and thoughtful. Plus, the maple syrup in the cream adds a subtle caramel note that pairs perfectly with the pumpkin.
This isn’t just good—it’s the kind of dessert that makes you close your eyes after the first bite. It’s comfort food reimagined. It’s healthier in the sense that it’s made from scratch, but it still delivers that soul-soothing satisfaction you crave. It’s perfect for impressing guests without the stress of complicated techniques.
What Ingredients You Will Need
This recipe uses simple, wholesome ingredients to deliver bold flavor and satisfying texture without the fuss. The key is quality over quantity. Since there are so few components, each one needs to shine. You don’t need exotic spices or hard-to-find items. Just good, honest food.
For the Flaky Pie Crust:
- All-purpose flour: 2 1/2 cups (about 315g). I recommend Gold Medal or King Arthur for consistent results. Don’t use self-rising flour; it will mess up the texture.
- Unsalted butter: 1 cup (2 sticks), cold and cubed. This is crucial. Cold butter creates steam pockets, which create flakes. If the butter gets warm, your crust will be tough. I like using European-style butter for higher fat content, but any good quality butter works.
- Salt: 1 teaspoon. It enhances the flavor of the crust and balances the sweetness of the filling.
- Ice water: 6-8 tablespoons. Add slowly. You only need enough to bring the dough together. Too much water makes the dough sticky and hard to work with.
- Vinegar or vodka: 1 tablespoon (optional). A splash of white vinegar or vodka helps inhibit gluten formation, making the crust more tender. I usually add a splash of vinegar because it evaporates during baking.
For the Spiced Pumpkin Filling:
- Pumpkin puree: 1 can (15 oz). Make sure it’s 100% pure pumpkin, not pumpkin pie mix. The mix already has sugar and spices, which will throw off the balance. Look for brands like Libby’s or make your own roasted pumpkin puree for the best flavor.
- Evaporated milk: 1 can (12 oz). This gives the filling a creamy texture without being too heavy. Do not use sweetened condensed milk; that’s for key lime pie. Evaporated milk is just milk with the water removed.
- Large eggs: 2 large eggs, room temperature. Room temperature eggs blend more evenly into the filling, preventing curdling.
- Granulated sugar: 3/4 cup. Adjust to taste. If you prefer less sweet, reduce to 1/2 cup. The maple syrup in the topping adds sweetness, so you don’t need too much in the pie itself.
- Pure maple syrup: 2 tablespoons. This adds a subtle depth that sugar alone can’t achieve.
- Pumpkin pie spice: 2 teaspoons. If you don’t have pre-made blend, mix 1 tsp cinnamon, 1/2 tsp ginger, 1/4 tsp nutmeg, and 1/4 tsp cloves.
- Salt: 1/2 teaspoon. To balance the sweetness.
For the Maple Whipped Cream:
- Heavy whipping cream: 1 cup, very cold. The colder, the better for whipping.
- Pure maple syrup: 2-3 tablespoons. Use Grade B maple syrup for a stronger, richer flavor. Grade A is too mild.
- Vanilla extract: 1/2 teaspoon. Just a hint to round out the flavors.
Equipment Needed
You don’t need a fancy kitchen to make this pie. A few basic tools will get you through.
- 9-inch pie dish: Glass or ceramic is best. It heats evenly. Metal pans can sometimes over-brown the crust. I use a Pyrex dish because I can see the bottom browning.
- Rolling pin: A standard wooden rolling pin works fine. Just make sure it’s clean and dry.
- Mixing bowls: One large bowl for the crust and one medium bowl for the filling. A stand mixer isn’t necessary, but a hand mixer can help with the whipped cream.
- Pastry brush: Useful for brushing the crust with an egg wash or milk to help it brown.
- Whisk: A good wire whisk is essential for blending the filling ingredients smoothly.
- Measuring cups and spoons: Be precise with the spices. Too much nutmeg can make the pie taste medicinal.
If you don’t have a rolling pin, you can use a clean wine bottle. It’s a classic hack that works surprisingly well. Just make sure it’s not corked or dirty.
Preparation Method
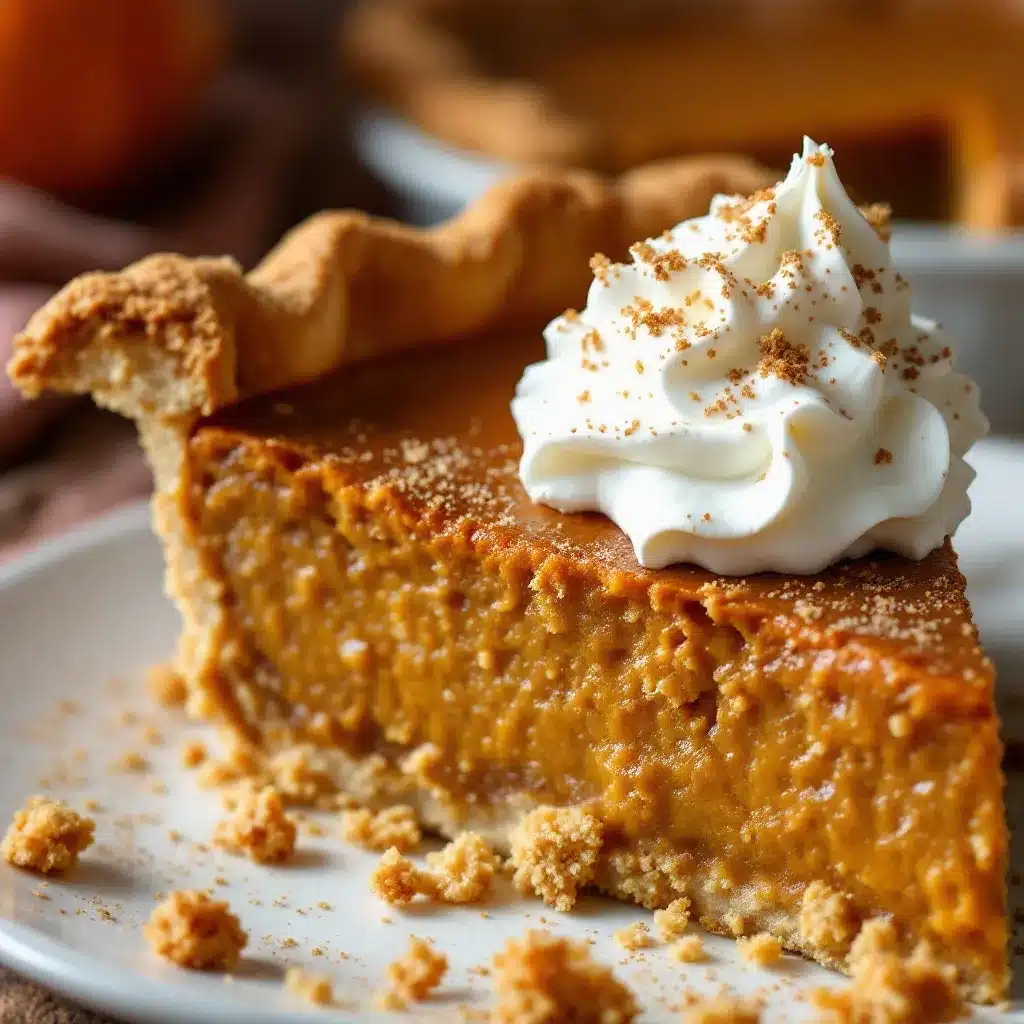
Making this cozy homemade pumpkin pie is a process, but it’s a manageable one. Here is how to do it step-by-step.
Step 1: Make the Crust (15 minutes)
In a large bowl, whisk together the flour and salt. Add the cold, cubed butter. Use a pastry cutter, two forks, or your fingers to cut the butter into the flour. You want the mixture to look like coarse meal with some pea-sized chunks of butter remaining. Those chunks are what create the flaky layers.
Add the ice water, one tablespoon at a time, mixing gently with a spatula. Stop when the dough just starts to come together. It should hold together when you pinch it, but not be sticky. If it’s too dry, add another tablespoon of water. If it’s too wet, add a sprinkle of flour.
Divide the dough into two disks. Wrap them tightly in plastic wrap. Chill in the refrigerator for at least 1 hour, or up to 2 days. This step is non-negotiable. It relaxes the gluten and re-chills the butter. If you skip this, the crust will shrink in the oven.
Step 2: Prepare the Filling (10 minutes)
Preheat your oven to 425°F (220°C). This high heat helps set the crust quickly.
In a large mixing bowl, whisk together the pumpkin puree, evaporated milk, eggs, sugar, maple syrup, pumpkin pie spice, and salt. Whisk until the mixture is completely smooth and uniform. There should be no lumps of pumpkin or streaks of spice. Taste it. If it needs more spice, add a pinch of cinnamon. If it’s too bland, add a little more salt.
Step 3: Roll and Blind Bake the Crust (25 minutes)
On a floured surface, roll out one disk of dough into a 12-inch circle. Carefully transfer it to the 9-inch pie dish. Gently press it into the bottom and sides. Trim the excess dough, leaving a 1/2-inch overhang. Crimp the edges with your fingers or a fork.
Place the pie dish in the freezer for 15 minutes while you mix the filling. This keeps the crust cold.
Pour the filling into the chilled crust. Place the pie on a baking sheet (to catch any drips) and put it in the oven. Bake at 425°F (220°C) for 15 minutes.
Step 4: Finish Baking (35-40 minutes)
After 15 minutes, reduce the oven temperature to 350°F (175°C). Continue baking for 35-40 minutes. The pie is done when the edges are set and the center jiggles slightly like Jell-O, but not liquidly. It will firm up as it cools.
If the crust edges start to brown too quickly, cover them with a pie shield or strips of aluminum foil.
Step 5: Cool Completely (3 hours)
This is the hardest part. You must let the pie cool completely on a wire rack. If you cut it while it’s warm, the filling will be runny. It needs at least 3 hours to set. Ideally, make it a day ahead. The flavors meld and deepen overnight.
Step 6: Make the Maple Whipped Cream (5 minutes)
Just before serving, whip the heavy cream, maple syrup, and vanilla extract until stiff peaks form. Be careful not to over-whip, or it will turn into butter.
Cooking Tips & Techniques
The biggest mistake people make with pumpkin pie is cutting it too soon. I know it’s tempting. The smell is intoxicating. But if you cut it warm, you’ll get a soupy mess. Patience is a virtue here. Let it cool.
Another common issue is a soggy bottom crust. To prevent this, make sure your oven is fully preheated. The high initial heat helps set the bottom crust quickly. You can also pre-bake the crust for 10 minutes before adding the filling, but for this recipe, the blind bake method is sufficient.
When rolling the dough, don’t overwork it. Every time you touch it, the gluten develops. Handle it as little as possible. If it cracks, just patch it with your fingers. No one will know.
For the whipped cream, use a chilled bowl and beaters. If your kitchen is warm, put the bowl in the fridge for 15 minutes before whipping. This helps the cream hold its shape longer.
If your pumpkin puree is watery, drain it in a cheesecloth for 15 minutes before mixing. Excess water can make the filling runny.
Variations & Adaptations
This recipe is flexible. Here are some ways to make it your own.
- Gingerbread Twist: Add 1/4 cup of molasses to the filling. It adds a deep, robust flavor that pairs well with the spices. This is great for a winter holiday theme.
- Coconut Cream: Substitute the heavy whipping cream with full-fat coconut cream. Chill the can overnight, scoop out the solid part, and whip it. It’s dairy-free and adds a tropical note.
- Spiced Latte: Add 1 tablespoon of instant espresso powder to the filling. It enhances the chocolate and spice notes without making it taste like coffee.
- Gluten-Free: Use a 1:1 gluten-free flour blend for the crust. Make sure it contains xanthan gum, or add 1/2 teaspoon. The texture will be slightly more tender and less flaky.
I once made this with sweet potato puree instead of pumpkin. It was surprisingly delicious. The texture was slightly grainier, but the flavor was richer. If you have leftover sweet potatoes, try it.
Serving & Storage Suggestions
Serve this cozy homemade pumpkin pie at room temperature. Cold pie loses some of its aromatic qualities. The spices are more pronounced when warm.
Top each slice with a generous dollop of maple whipped cream. Add a sprinkle of toasted pecans or walnuts for crunch. It contrasts beautifully with the smooth filling.
For storage, cover the pie loosely with plastic wrap or aluminum foil. It can be kept at room temperature for up to 2 days. After that, refrigerate it. It will last up to 5 days in the fridge.
To reheat, warm individual slices in the microwave for 15-20 seconds. This softens the filling and makes the crust slightly tender. Do not reheat the whole pie, as the crust will get soggy.
The flavors develop over time. The day after baking, the spices have had time to meld, and the pie often tastes even better than the first day.
Nutritional Information & Benefits
This pie is a treat, so enjoy it in moderation. Each slice contains approximately 350 calories. The pumpkin puree provides a good source of vitamin A and fiber. The maple syrup offers minerals like manganese and zinc, though it is still a sugar.
The whipped cream adds fat and calories, but it also provides satisfaction. If you want a lighter option, use a smaller amount of whipped cream or try the coconut cream variation.
For those with dietary restrictions, this pie is naturally nut-free (unless you add toppings). It can be made gluten-free with a substitute flour. Always check your spice blends for hidden allergens.
Conclusion
This cozy homemade pumpkin pie with maple whipped cream is more than just a dessert. It’s a tradition. It’s the kind of recipe that brings people together. The process of making it is meditative, and the result is rewarding.
I hope you try this recipe. It’s easy, forgiving, and delicious. Feel free to adjust the spices to your taste. Maybe you like more cinnamon, or maybe you prefer less sugar. Make it yours.
If you make this pie, I’d love to hear about it. Leave a comment below and let me know how it turned out. Share your photos on social media and tag me. I love seeing your creations.
Happy baking, and enjoy every bite.
FAQs
Can I make the pie ahead of time?
Yes, this pie is best made a day in advance. It needs time to set completely. You can store it at room temperature for up to 2 days or in the fridge for up to 5 days.
Why is my pie filling runny?
This usually happens if the pie is cut too soon or not baked long enough. Let it cool for at least 3 hours. If the center is still liquidy after cooling, it may need more baking time next time.
Can I use fresh pumpkin instead of canned?
Yes, you can use fresh pumpkin. Roast it, peel it, and puree it. The texture might be slightly different, so you may need to adjust the baking time.
How do I prevent a soggy crust?
Preheat your oven fully. Use a glass or ceramic pie dish. You can also pre-bake the crust for 10 minutes before adding the filling.
What is the best maple syrup for whipped cream?
Grade B maple syrup has a stronger, richer flavor that stands up better to whipping. Grade A is milder and might get lost in the cream.
Pin This Recipe!
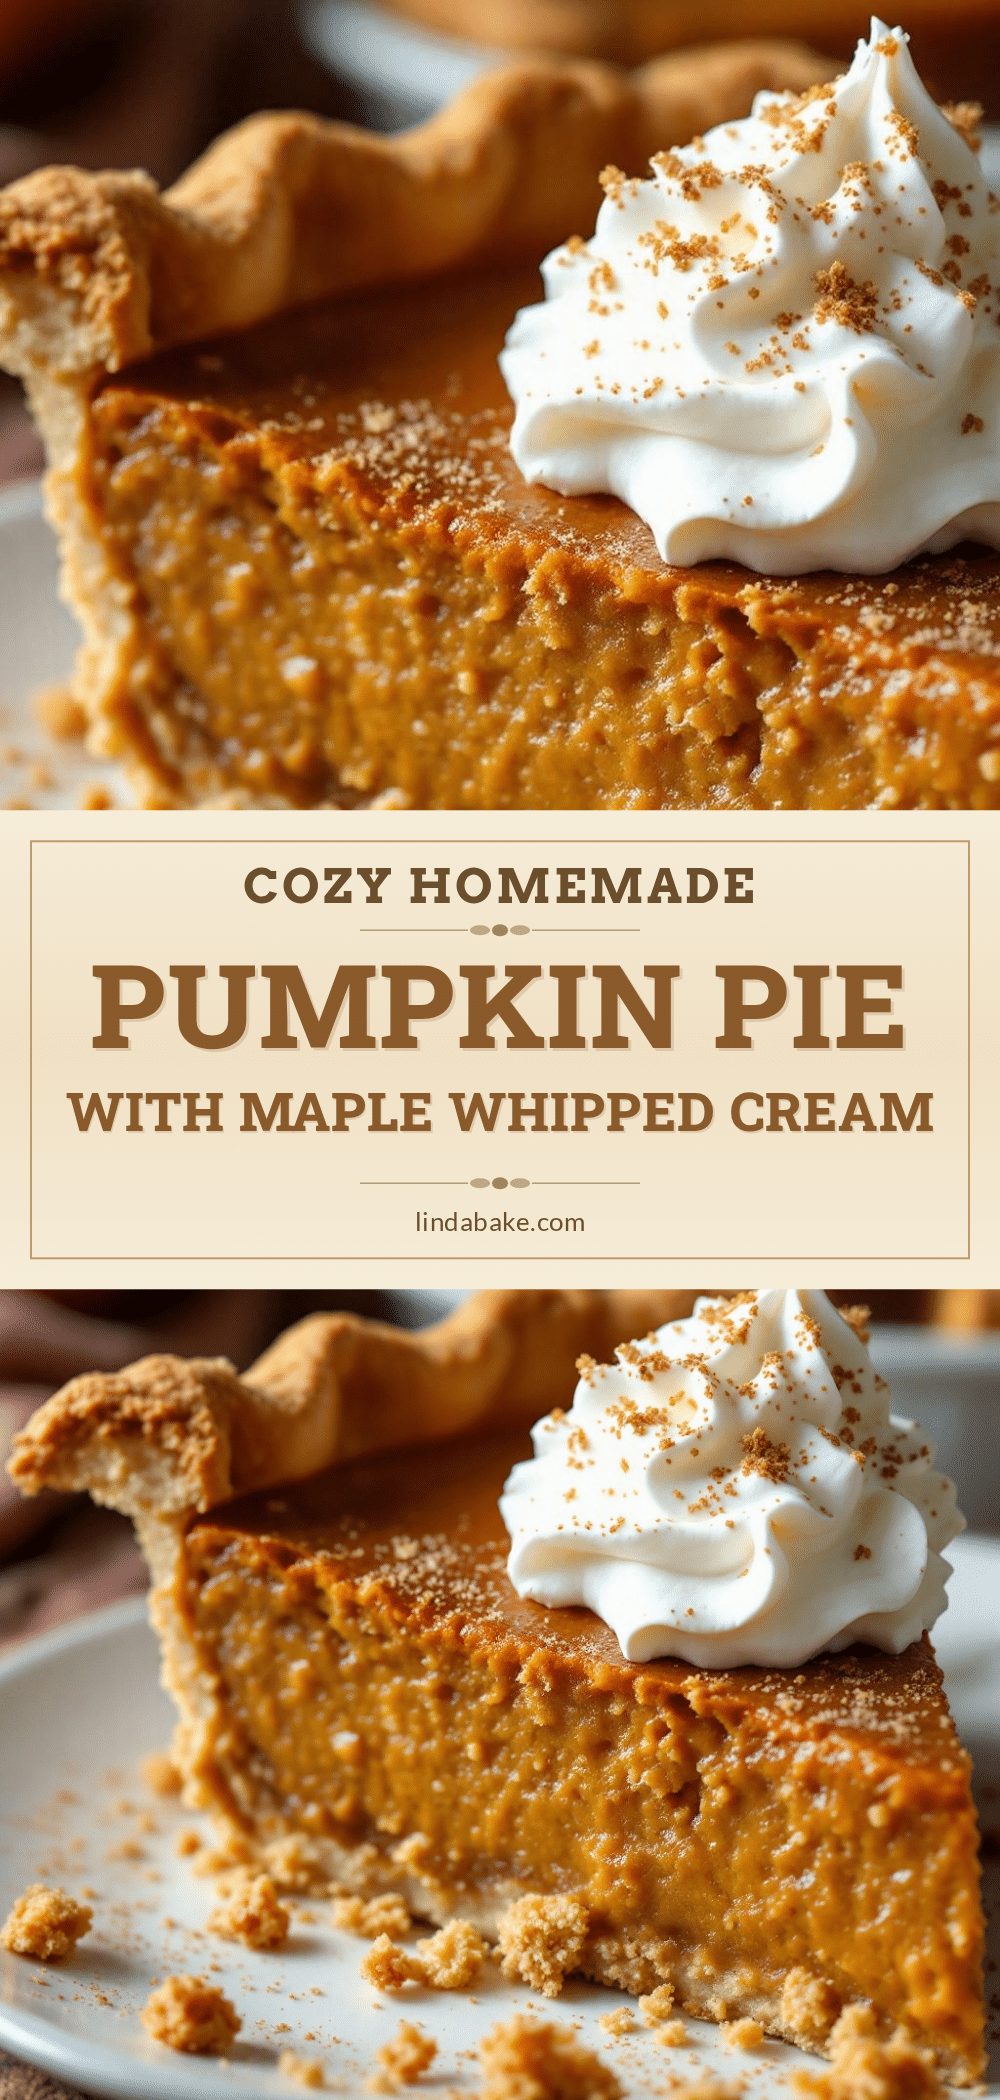
Cozy Homemade Pumpkin Pie with Maple Whipped Cream
A comforting homemade pumpkin pie featuring a flaky, buttery crust and a smooth, spiced filling, topped with a rich maple whipped cream. This recipe balances richness with restraint for a perfect fall dessert.
- Prep Time: 30 minutes
- Cook Time: 55 minutes
- Total Time: 4 hours 25 minutes
- Yield: 8 servings 1x
- Category: Dessert
- Cuisine: American
Ingredients
- 2 1/2 cups all-purpose flour
- 1 teaspoon salt (for crust)
- 1 cup unsalted butter, cold and cubed
- 6–8 tablespoons ice water
- 1 tablespoon vinegar or vodka (optional)
- 1 can (15 oz) 100% pure pumpkin puree
- 1 can (12 oz) evaporated milk
- 2 large eggs, room temperature
- 3/4 cup granulated sugar
- 2 tablespoons pure maple syrup
- 2 teaspoons pumpkin pie spice
- 1/2 teaspoon salt (for filling)
- 1 cup heavy whipping cream, very cold
- 2–3 tablespoons pure maple syrup (for topping)
- 1/2 teaspoon vanilla extract
Instructions
- In a large bowl, whisk together flour and 1 teaspoon salt. Cut in cold cubed butter using a pastry cutter or fingers until the mixture resembles coarse meal with pea-sized butter chunks.
- Add ice water one tablespoon at a time, mixing gently until the dough just comes together. Do not overwork.
- Divide dough into two disks, wrap in plastic, and chill in the refrigerator for at least 1 hour.
- Preheat oven to 425°F (220°C).
- In a large bowl, whisk together pumpkin puree, evaporated milk, eggs, sugar, 2 tablespoons maple syrup, pumpkin pie spice, and 1/2 teaspoon salt until smooth.
- Roll out one disk of dough into a 12-inch circle and transfer to a 9-inch pie dish. Trim and crimp edges.
- Place the crust in the freezer for 15 minutes while preparing the filling.
- Pour filling into the chilled crust. Place pie on a baking sheet and bake at 425°F for 15 minutes.
- Reduce oven temperature to 350°F (175°C) and continue baking for 35-40 minutes, until edges are set and center jiggles slightly.
- If crust edges brown too quickly, cover with foil. Let pie cool completely on a wire rack for at least 3 hours before slicing.
- Just before serving, whip heavy cream, 2-3 tablespoons maple syrup, and vanilla extract until stiff peaks form.
- Serve pie topped with maple whipped cream.
Notes
Ensure butter is cold for a flaky crust. Let the pie cool completely (at least 3 hours) to allow the filling to set. For best flavor, make the pie a day in advance. Use Grade B maple syrup for a richer flavor in the whipped cream.
Nutrition
- Serving Size: 1 slice
- Calories: 350
- Sugar: 22
- Sodium: 320
- Fat: 22
- Saturated Fat: 13
- Carbohydrates: 35
- Fiber: 3
- Protein: 5
Keywords: pumpkin pie, maple whipped cream, homemade pie, fall dessert, Thanksgiving recipe, easy pumpkin pie, flaky crust


