For a long time, I just accepted that apple crisp wasn’t going to taste like the kind of warmth you feel when you step out of the cold air and into a kitchen that’s been baking all morning. You know that feeling? The one where the house smells like cinnamon and brown sugar before you even see the food. Honestly, I spent years making versions that were either too saucy or too dry. The apples turned to mush, or the topping became a hard, unbreakable rock. It was frustrating, really. I wanted something that felt like a hug on a plate. Something with a crisp, golden oat layer that actually crunches, sitting on top of tender, spiced fruit that isn’t watery. I had been looking for an apple crisp that actually held its structure but still melted in your mouth. It wasn’t about being fancy. It was about getting the balance right. The oats needed to be buttery but not greasy. The apples needed to hold their shape but yield to a fork. After a few failed batches (and a few too many bowls of soggy cereal-like toppings), I finally nailed it. It’s not magic. It’s just knowing that old-fashioned oats are the only way to go, and that a little cornstarch makes all the difference. Now, every time I pull this out of the oven, I know exactly what it’s going to be. Reliable. Warm. Exactly what I needed.
Why You’ll Love This Recipe
This isn’t just another dessert recipe you’ll find buried in a stack of Pinterest boards. This classic apple crisp with oat topping is the result of testing and retesting until the texture was perfect. I’ve stood over stoves with lumpy batters and burnt edges, so you don’t have to. Here is why this version stands out from the rest:
- Quick & Easy: You can have this ready to eat in under an hour. It’s perfect for those weeknights when you want something sweet but don’t have hours to spare. The prep is minimal, mostly just slicing apples.
- Simple Ingredients: You likely have everything in your pantry right now. Flour, oats, brown sugar, butter, cinnamon, and apples. No fancy grocery trips or obscure ingredients that sit in your cupboard forever.
- Perfect for Cozy Nights: Whether it’s a rainy Tuesday or a chilly Sunday afternoon, this dish brings that specific kind of comfort. It pairs beautifully with a hot cup of tea or a glass of cold milk.
- Crowd-Pleaser: Kids love the crunch, and adults appreciate the balance of tart apple and sweet topping. It’s a safe bet for any gathering, from family dinners to casual get-togethers.
- Unbelievably Delicious: The texture is the star. You get the soft, spiced apples contrasted with the chewy, buttery oat crumble. It’s comfort food done right.
What makes this recipe different is the ratio. Many recipes go heavy on the flour and light on the oats, resulting in a biscuit-like top. This version leans into the oats for that authentic, rustic crunch. I also add a touch of cornstarch to the apples to keep the juices from making the bottom soggy. It’s a small tweak that changes everything. This recipe isn’t just good; it’s the kind that makes you close your eyes after the first bite. It’s the soul-soothing satisfaction you’re looking for without the stress of complicated techniques.
What Ingredients You Will Need
This recipe relies on simple, wholesome ingredients to deliver bold flavor and satisfying texture without the fuss. The beauty of apple crisp is that it highlights the natural goodness of the fruit while adding a rich, sweet topping. Most of these items are pantry staples, though you’ll want to make sure your butter is high quality, as it plays a huge role in the flavor.
For the Apple Filling
- Apples (6-7 medium): Use a mix of tart and sweet apples. Granny Smiths are great for structure, while Honeycrisp or Fuji add sweetness. Peel them, but leave the cores on until after slicing. (Adds the primary flavor base)
- Granulated Sugar (1/4 cup): Helps draw out the natural juices from the apples. (Balances tartness)
- Light Brown Sugar (1/4 cup): Adds a deeper molasses note that complements the cinnamon. (Adds richness)
- Ground Cinnamon (1 tsp): Essential for that classic warm spice profile. (Provides aromatic warmth)
- Nutmeg (1/4 tsp): Just a pinch. Don’t overdo it, or it will taste like cookie dough. (Adds subtle depth)
- Vanilla Extract (1 tsp): Pure vanilla makes a huge difference compared to imitation. (Enhances overall flavor)
- Cornstarch (1 tbsp): This is the secret weapon. It thickens the apple juices so you don’t end up with a soup at the bottom. (Prevents sogginess)
- Lemon Juice (1 tbsp): Prevents the apples from browning and adds a bright note to cut the sweetness. (Adds freshness)
For the Oat Topping
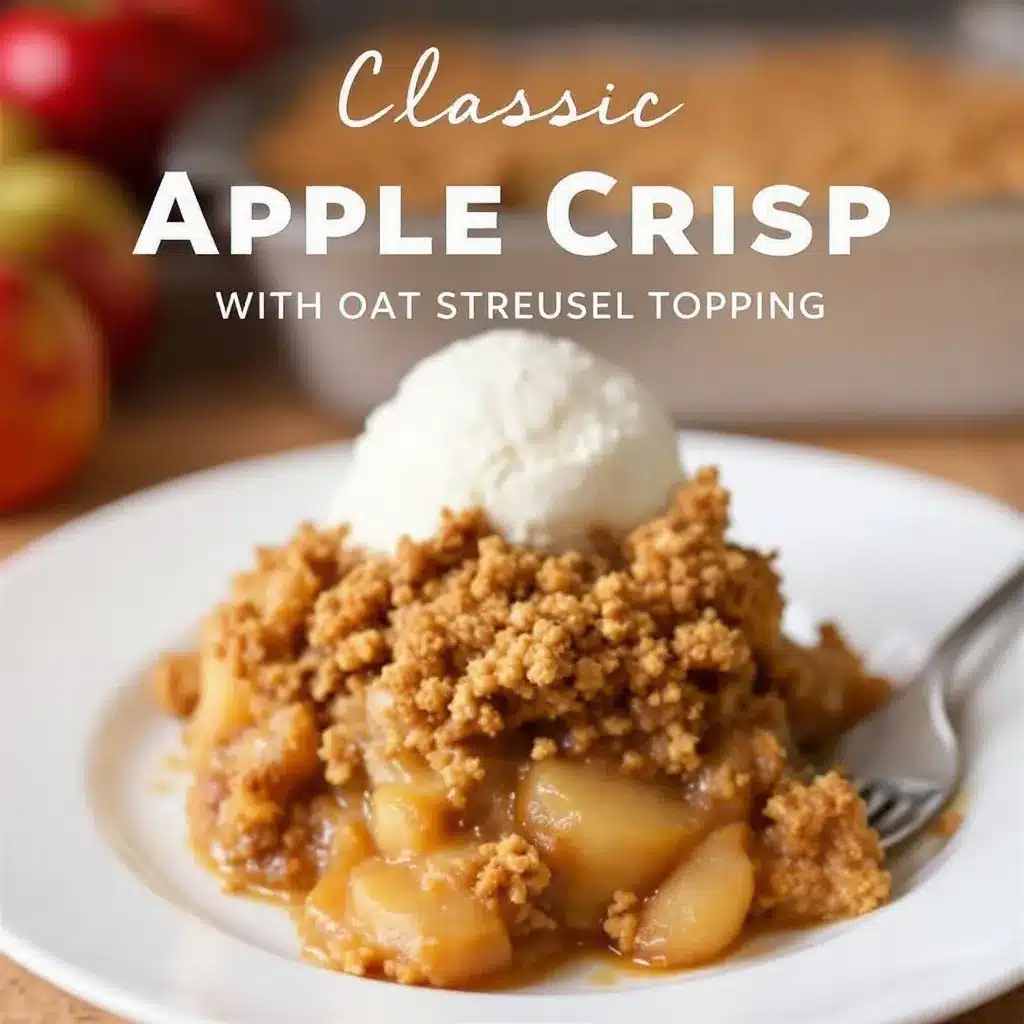
- Old-Fashioned Rolled Oats (1 cup): Do not use instant oats or steel-cut oats. Old-fashioned oats provide the right chew and texture. (Provides the signature crunch)
- All-Purpose Flour (1 cup): Acts as a binder for the oats and butter. (Creates the crumble structure)
- Light Brown Sugar (3/4 cup): Packed. This gives the topping its caramel-like flavor. (Adds sweetness and color)
- Unsalted Butter (1/2 cup): Cold or room temperature works, but cold butter cut in creates flakier bits. I prefer softened for easier mixing. (Adds richness and binds the topping)
- Ground Cinnamon (1 tsp): Mirrors the spice in the filling for a cohesive taste. (Adds aromatic warmth)
- Salt (1/2 tsp): Crucial to balance the sweetness. Never skip this. (Balances sweetness)
Substitutions and Tips
If you need a gluten-free option, you can swap the all-purpose flour for a 1:1 gluten-free flour blend. For the oats, ensure you use certified gluten-free oats if cross-contamination is a concern. You can also swap the butter for vegan butter if needed, though the flavor will be slightly different. I recommend using a mix of apple varieties for the best balance of tart and sweet. If you only have one type, Granny Smith is a safe bet for structure, just add a bit more sugar.
Equipment Needed
You don’t need any fancy gadgets for this recipe. A few basic tools will get you through without a fuss. The most important piece is your baking dish. A 9×13 inch baking dish is ideal because it gives the apples enough surface area to cook evenly and allows the topping to brown properly. If you don’t have one, a deep 9-inch pie dish or a square 8×8 dish works, but you may need to adjust the baking time slightly. A large mixing bowl is needed for tossing the apples with the spices and sugar. For the topping, a medium bowl is sufficient. A sharp chef’s knife and a cutting board are essential for slicing the apples. I also recommend a pastry cutter or your hands for mixing the butter into the dry topping ingredients. While a food processor can make quick work of the topping, using your hands gives you better control over the texture, ensuring you get those nice, chunky bits. A standard measuring cup and spoon set is all you need for accuracy. Keep it simple; the recipe doesn’t require anything specialized.
Preparation Method
Let’s get into the nitty-gritty of making this apple crisp. It’s straightforward, but following these steps ensures the best result.
- Preheat and Prep: Start by preheating your oven to 350°F (175°C). This ensures the oven is hot enough when your dish goes in. Grease your 9×13 inch baking dish lightly with butter or cooking spray. (Time: 2 minutes)
- Prepare the Apples: Peel, core, and slice the apples into uniform pieces, about 1/4 to 1/2 inch thick. Uniformity is key so they cook evenly. Place the sliced apples in a large mixing bowl. (Time: 10-15 minutes)
- Season the Apples: Add the granulated sugar, brown sugar, cinnamon, nutmeg, vanilla extract, lemon juice, and cornstarch to the bowl with the apples. Toss everything together until the apples are evenly coated. The cornstarch will mix with the sugar and juices to form a thickening agent. (Time: 3 minutes)
- Assemble the Filling: Pour the apple mixture into the prepared baking dish. Spread it out evenly. You want a relatively flat layer so the topping can distribute evenly. Don’t worry if it looks like a lot of apples; they will shrink down as they cook. (Time: 2 minutes)
- Make the Topping: In a medium bowl, combine the old-fashioned oats, flour, brown sugar, cinnamon, and salt. Cut the butter into small cubes and add them to the dry ingredients. Using your fingers, a pastry cutter, or two forks, work the butter into the dry mix. You want the mixture to look like coarse crumbs with some larger, pea-sized chunks. These chunks create the crunchy texture. (Time: 5 minutes)
- Add the Topping: Sprinkle the oat mixture evenly over the apples. Press down gently if you want a more compact topping, or leave it loose for a fluffier crumble. I prefer a loose sprinkle for maximum crunch. (Time: 2 minutes)
- Bake: Place the dish in the preheated oven. Bake for 45-50 minutes. You’ll know it’s done when the topping is golden brown and the apple juices are bubbling up through the oats. If the topping starts browning too quickly, you can tent the dish with aluminum foil for the last 10 minutes. (Time: 50 minutes)
- Cool and Serve: Remove from the oven and let it cool for at least 15-20 minutes. This step is crucial. It allows the juices to thicken slightly, making it easier to scoop. Serve warm, ideally with a scoop of vanilla ice cream or a dollop of whipped cream. (Time: 20 minutes)
Cooking Tips & Techniques
Having made this dish dozens of times, I’ve learned a few tricks to avoid common pitfalls. The biggest mistake people make is using the wrong apples. If you use soft apples like McIntosh, they will turn into applesauce. Stick to firm varieties like Granny Smith, Honeycrisp, or Braeburn. Another tip is to not skip the cornstarch. Without it, the bottom of your crisp will be watery, which dilutes the flavor and makes the topping soggy. Also, pay attention to the oven temperature. Ovens can vary, so keep an eye on the browning. If the edges are burning but the center isn’t bubbling, lower the rack to the middle position or cover with foil. When mixing the topping, don’t overwork the butter. You want distinct crumbs, not a paste. And finally, patience is key. Letting the crisp cool for 15 minutes isn’t just a suggestion; it’s necessary for the texture to set properly. It’s tempting to dig in right away, but waiting pays off.
Variations & Adaptations
While the classic version is hard to beat, there are plenty of ways to tweak this recipe to suit your tastes or dietary needs. For a spiced twist, add a pinch of cardamom or allspice to the topping. If you like a bit of heat, a small dash of cayenne pepper in the apple filling adds a surprising depth. For a nutty variation, chop up some pecans or walnuts and mix them into the oat topping. This adds a nice crunch and pairs beautifully with the apples. If you’re looking for a different fruit option, you can substitute half the apples with pears. Pear crisp is delicious and has a similar texture. For a dairy-free version, use a high-quality plant-based butter in the topping. You can also swap the white sugar for coconut sugar for a lower glycemic index, though the flavor will be slightly more molasses-heavy. I once tried adding a layer of cream cheese to the bottom, which created a cheesecake-like base, but I usually stick to the classic for its simplicity. These variations allow you to keep the recipe fresh and exciting for different seasons or cravings.
Serving & Storage Suggestions
This apple crisp is best served warm, right out of the oven. The contrast between the hot fruit and the cool ice cream is a classic combination for a reason. For presentation, serve it in individual ramekins for a more elegant touch, or scoop it directly from the baking dish for a rustic, homey feel. It pairs wonderfully with a cup of black tea or a glass of cold milk. As for storage, leftovers can be kept in the refrigerator in an airtight container for up to 4 days. The topping may lose some of its crunch in the fridge, but you can restore it by reheating individual portions in the oven or toaster oven for 5-10 minutes. You can also freeze the crisp, either baked or unbaked. If freezing baked, wrap the dish tightly in plastic wrap and foil. It will keep for up to 3 months. Thaw in the refrigerator overnight and reheat in the oven. The flavors actually meld and deepen over the first couple of days, so it’s often even better on day two.
Nutritional Information & Benefits
While this is definitely a treat, apples bring some nutritional benefits to the table. They are a good source of fiber, which aids in digestion, and contain vitamin C and antioxidants. The oats in the topping are also a great source of soluble fiber, which can help lower cholesterol. Of course, the butter and sugar add calories and fat, so enjoy this in moderation. A typical serving size is about 1 cup, which contains approximately 350-400 calories, depending on the specific apples and exact measurements used. This recipe is naturally dairy-free if you use plant-based butter, and it can be made gluten-free with the right flour and oats. It’s a comforting dessert that feels indulgent but uses real, recognizable ingredients. It’s a great way to satisfy a sweet tooth while incorporating some fruit into your diet.
Conclusion
Making a classic apple crisp with oat topping is a simple way to bring warmth and comfort to your home. It’s a recipe that relies on basic ingredients but delivers a complex, satisfying flavor. I love this dish because it’s versatile, easy to make, and always brings people together. Whether you’re serving it to family or enjoying it solo with a good book, it’s a treat that never disappoints. I encourage you to try it and see how the texture of the oat topping transforms the experience. Feel free to adjust the spices or add nuts to make it your own. I’d love to hear how it turns out for you, so please leave a comment below with your thoughts or any variations you tried. Happy baking, and enjoy every crunchy, cozy bite!
Frequently Asked Questions
Can I use frozen apples for this recipe?
Yes, you can use frozen apples, but you’ll need to thaw them and drain off excess liquid first. Frozen apples tend to release more water, so you might want to increase the cornstarch by half a tablespoon to ensure the filling thickens properly.
What is the best type of apple to use?
Granny Smith apples are the gold standard for crisps because they hold their shape well and provide a nice tart balance to the sweet topping. Honeycrisp and Fuji are also excellent choices if you prefer a sweeter flavor.
Can I make this ahead of time?
Absolutely. You can assemble the crisp up to a day in advance and store it in the refrigerator. Just add a few extra minutes to the baking time since you’ll be putting a cold dish into the oven.
How do I prevent the topping from burning?
If you notice the topping browning too quickly, loosely tent the dish with aluminum foil for the last 10-15 minutes of baking. This allows the apples to cook through without over-browning the oats.
Is there a substitute for brown sugar?
You can use granulated white sugar, but brown sugar adds a deeper, molasses-like flavor that pairs perfectly with cinnamon and apples. If you only have white sugar, you can add a teaspoon of molasses to mimic the flavor.
For more cozy comfort food ideas, check out our easy apple nachos with peanut butter drizzle for a quick snack, or try our best copycat pumpkin cream cheese muffins for a seasonal treat.
Pin This Recipe!
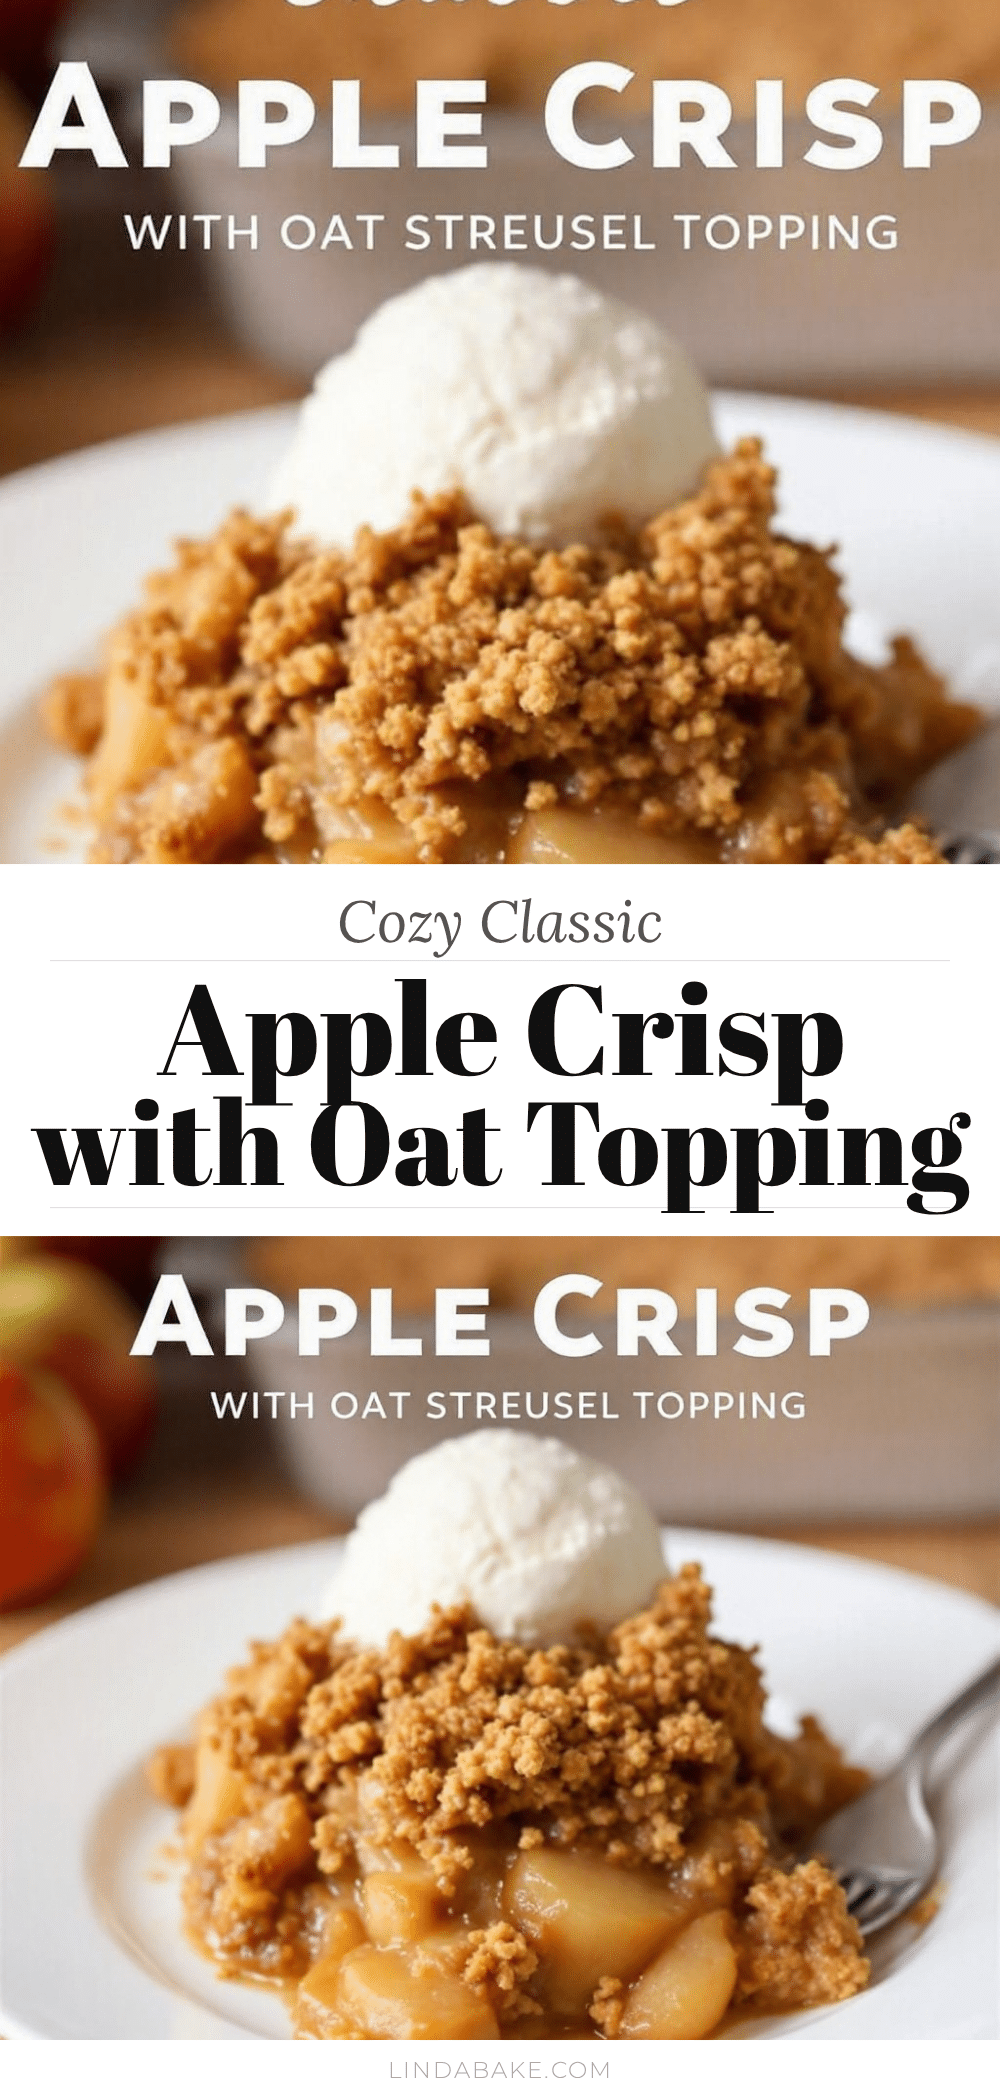
Classic Apple Crisp: 5-Step Easy Dessert

A reliable, warm, and comforting apple crisp with a golden, crunchy oat topping and tender spiced fruit filling. This easy recipe uses simple pantry ingredients for a perfect balance of tart apples and sweet, buttery crumble.
- Prep Time: 20 minutes
- Cook Time: 50 minutes
- Total Time: 70 minutes
- Yield: 8 servings 1x
- Category: Dessert
- Cuisine: American
Ingredients
- 6–7 medium apples (mixed tart and sweet, such as Granny Smith and Honeycrisp), peeled and sliced
- 1/4 cup granulated sugar
- 1/4 cup light brown sugar
- 1 tsp ground cinnamon
- 1/4 tsp nutmeg
- 1 tsp vanilla extract
- 1 tbsp cornstarch
- 1 tbsp lemon juice
- 1 cup old-fashioned rolled oats
- 1 cup all-purpose flour
- 3/4 cup light brown sugar, packed
- 1/2 cup unsalted butter, softened
- 1 tsp ground cinnamon
- 1/2 tsp salt
Instructions
- Preheat oven to 350°F (175°C) and lightly grease a 9×13 inch baking dish.
- Peel, core, and slice apples into uniform 1/4 to 1/2 inch thick pieces.
- In a large mixing bowl, toss sliced apples with granulated sugar, 1/4 cup brown sugar, cinnamon, nutmeg, vanilla extract, lemon juice, and cornstarch until evenly coated.
- Pour the apple mixture into the prepared baking dish and spread into an even layer.
- In a medium bowl, combine oats, flour, 3/4 cup brown sugar, cinnamon, and salt.
- Cut the butter into small cubes and add to the dry ingredients. Work the butter into the mix using your fingers or a pastry cutter until it resembles coarse crumbs with pea-sized chunks.
- Sprinkle the oat topping evenly over the apples.
- Bake for 45-50 minutes, or until the topping is golden brown and juices are bubbling. Tent with foil if browning too quickly.
- Remove from oven and let cool for 15-20 minutes before serving to allow juices to thicken.
Notes
Use firm apples like Granny Smith or Honeycrisp to prevent mushiness. Do not skip the cornstarch to avoid a watery bottom. Let the crisp cool for at least 15 minutes before serving to ensure the filling sets. Leftovers can be stored in the refrigerator for up to 4 days or frozen for up to 3 months.
Nutrition
- Serving Size: 1 cup
- Calories: 375
- Sugar: 38
- Sodium: 180
- Fat: 14
- Saturated Fat: 8
- Carbohydrates: 58
- Fiber: 4
- Protein: 3
Keywords: apple crisp, oat topping, easy dessert, comfort food, fall recipes, gluten-free option, dairy-free option


