I had been looking for a squash side dish that actually tasted like something special without needing a glaze drowning in maple syrup or brown sugar. For a while, I just accepted that roasted squash was going to be fine—soft, sweet, a little boring. And honestly, there is nothing wrong with fine. But I wanted the kind of side dish that makes people pause mid-conversation at the dinner table and ask what you did to make it taste that good.
The first time I tried browning butter to pour over kabocha squash, I wasn’t expecting much. I was just tired of the same old routine—toss with oil, salt, roast, eat. But something about the nutty, almost toasty smell of butter hitting a hot pan felt promising. I poured it over the wedges, sprinkled a little sage from the garden, and crossed my fingers.
When it came out of the oven, the edges were caramelized and crispy, the flesh was creamy like a cross between a sweet potato and a pumpkin, and the butter had soaked into every crevice. It tasted like fall on a plate—but not the kind of fall that tries too hard. Just honest, simple, and deeply satisfying. (I may have eaten two servings standing at the counter.)
This recipe stuck because it didn’t need to be complicated to feel special. It just needed the right technique and a little patience with the butter. That first bite told me I wouldn’t be looking anymore.
Why You Will Love This Recipe
This is one of those recipes that makes you look like you spent way more effort than you actually did. I have tested it more times than I can count, tweaking the oven temp, the thickness of the slices, and the amount of sage until everything clicked.
- Minimal Ingredients: You only need a handful of pantry staples—kabocha squash, butter, salt, pepper, and fresh sage. No specialty shopping required.
- Quick Prep Time: The oven does most of the work. You will spend about 10 minutes prepping, then let the heat handle the rest.
- Perfect for Fall Gatherings: Whether it is Thanksgiving, a cozy Sunday dinner, or a simple weeknight meal, this side dish fits right in. It pairs beautifully with roasted meats or even a simple grain bowl.
- Crowd-Pleasing Texture: The edges get crispy and caramelized while the inside stays velvety smooth. It is the kind of contrast that keeps you going back for another bite.
- Naturally Sweet and Savory: Kabocha squash has a natural chestnut-like sweetness. The brown butter adds a rich, nutty depth that balances everything perfectly. You do not need extra sugar or honey.
What makes this recipe different from other roasted squash dishes is the brown butter technique. It is not just a topping—it is the foundation of flavor. The butter transforms as it cooks, developing compounds that taste almost like toasted hazelnuts. When you roast the squash in that liquid gold, something magical happens. The edges crisp up in a way that oil alone cannot achieve.
I have brought this dish to potlucks and holiday dinners, and it always disappears first. People ask for the recipe every single time. It is comfort food that feels a little elevated but stays completely approachable.
What Ingredients You Will Need
This recipe relies on simple, high-quality ingredients to deliver maximum flavor with minimal effort. Most of these are likely already in your kitchen, especially during the fall months.
- 1 medium kabocha squash (about 2 to 3 pounds): Look for a squash that feels heavy for its size with firm, unblemished skin. The skin is edible once cooked, but you can peel it if you prefer a softer texture. I personally leave it on because it gets tender and adds a nice chew.
- 4 tablespoons unsalted butter: This is the star of the show. I recommend using a good-quality butter like Kerrygold or Plugrà for the best browning and richest flavor. Salted butter works too, just reduce the added salt slightly.
- 1 tablespoon fresh sage leaves, chopped: Sage and brown butter are a classic pairing for a reason. The earthy, slightly peppery notes of sage complement the nutty butter beautifully. If you only have dried sage, use about 1 teaspoon—but fresh really makes a difference here.
- 1/2 teaspoon sea salt: I prefer flaky sea salt for finishing, but fine sea salt works fine for seasoning before roasting.
- 1/4 teaspoon black pepper, freshly ground: Freshly ground pepper adds a subtle warmth that balances the sweetness of the squash.
- Optional: 1 tablespoon maple syrup or honey: If you want a slightly sweeter finish, drizzle a little over the squash before roasting. I usually skip it because the squash is sweet enough on its own, but it is a nice option for those who prefer a sweeter side.
- Optional: Pinch of red pepper flakes: For a tiny kick of heat that contrasts with the rich butter. I add this about half the time, depending on my mood.
For substitutions, you can use coconut oil or ghee instead of butter for a dairy-free version. The flavor will be different but still delicious. If you cannot find kabocha, buttercup squash or even butternut squash work as substitutes, though the texture and sweetness will vary slightly.
Equipment Needed
You do not need any fancy tools for this recipe, which is part of its charm. Here is what you will need:
- Sharp chef’s knife: Kabocha squash has a tough, dense skin. A sharp knife makes cutting it much safer and easier. I learned this the hard way after nearly losing a finger to a dull blade.
- Cutting board: A sturdy, non-slip board is essential for stability when cutting hard squash.
- Small saucepan: For browning the butter. A light-colored pan helps you see the color change more easily.
- Large baking sheet: A rimmed baking sheet works best to catch any butter that might pool. Line it with parchment paper for easy cleanup.
- Mixing bowl: For tossing the squash wedges with the brown butter and seasonings.
- Spatula or wooden spoon: For stirring the butter as it browns.
If you do not have a heavy baking sheet, any oven-safe pan will work. Just keep an eye on the squash toward the end of roasting to prevent burning. A silicone spatula is great for scraping every last bit of brown butter out of the pan—trust me, you will want every drop.
Preparation Method
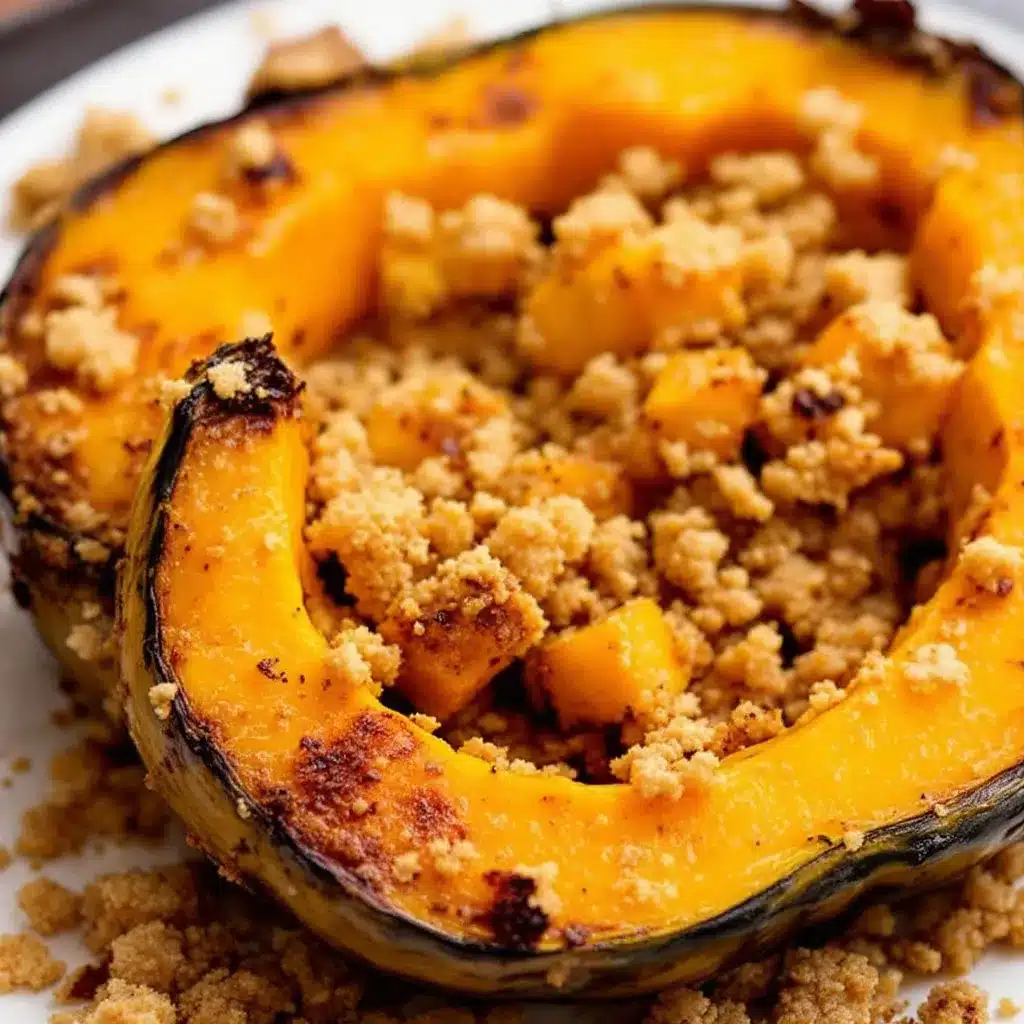
Let me walk you through this step by step. I have made this recipe dozens of times, so I have included all the little details that make a difference.
- Preheat your oven to 400°F (200°C). Place a rack in the middle position. Getting the oven fully hot before the squash goes in is important for caramelization.
- Prepare the kabocha squash: Carefully cut the squash in half from stem to base using your sharpest knife. Scoop out the seeds and stringy pulp with a spoon. (You can save the seeds to roast later—they make a great snack.) Slice each half into 1-inch thick wedges. Do not make them too thin or they will dry out, and not too thick or they will take forever to cook. I aim for wedges that are about 1 inch at the widest part.
- Start browning the butter: Place the 4 tablespoons of butter in a small saucepan over medium heat. Let it melt completely, then continue cooking. Swirl the pan occasionally. The butter will foam up, then the foam will subside. Watch closely—once you see golden brown specks forming at the bottom and it smells nutty and toasty, remove it from the heat immediately. This usually takes about 4 to 6 minutes. Do not walk away during this step. Burnt butter is bitter and cannot be saved.
- Add the sage: Stir the chopped fresh sage into the hot brown butter. It will sizzle and become fragrant almost instantly. Let it sit for about 30 seconds to infuse.
- Toss the squash: Place the squash wedges in a large mixing bowl. Pour the brown butter and sage mixture over them. Add the salt and pepper. Toss gently with your hands or a spatula until every wedge is evenly coated. Take your time here—coating matters for even browning.
- Arrange on the baking sheet: Lay the squash wedges in a single layer on the prepared baking sheet. Make sure they are not touching each other too much. Crowding the pan will cause them to steam instead of roast, and you will lose that beautiful caramelization. If they overlap, use two baking sheets.
- Roast for 25 to 30 minutes: Place the sheet in the preheated oven. Halfway through, at about 15 minutes, flip each wedge using tongs. This ensures even browning on both sides. The squash is done when the edges are deep golden brown and caramelized, and a fork slides easily into the thickest part of the flesh.
- Finish and serve: Remove from the oven. If you want extra color, you can broil for 1 to 2 minutes at the end—but watch carefully so the butter does not burn. Transfer to a serving platter and drizzle any remaining brown butter from the pan over the top. Sprinkle with a little extra flaky sea salt if you like.
Cooking Tips and Techniques
Over the years, I have made every mistake you can imagine with roasted squash. Here is what I have learned so you do not have to repeat my errors.
The most important thing is the butter. Browning butter is a game of seconds. If you take it off the heat too early, you will just have melted butter. Too late, and you have a burnt, bitter mess. I recommend using a light-colored saucepan so you can actually see the milk solids turning golden brown. The moment you smell that nutty aroma and see brown specks, pull it off the heat. The residual heat will continue cooking it slightly, so erring on the side of early is safer than late.
Cutting kabocha squash safely is another common struggle. The skin is tough and the shape is awkward. I have found that microwaving the whole squash for 2 to 3 minutes softens it just enough to make cutting easier. Let it cool for a minute before handling. Alternatively, you can smash the squash on the counter a few times to create small cracks in the skin—this helps the knife grip better.
Do not skip the flipping step. I know it is tempting to just let the oven do its thing, but flipping the wedges halfway through ensures both sides get that gorgeous caramelization. The bottom side that sits in the butter will brown differently than the top. Flipping gives you even results.
Timing tip: If you are making this for a holiday meal, you can prep the squash wedges and brown the butter a day ahead. Store them separately in the fridge. When you are ready to cook, just toss and roast. The squash might take a few extra minutes since it is cold from the fridge.
For extra crispy edges, try roasting at 425°F (220°C) for the last 5 minutes. This high-heat blast caramelizes the sugars without drying out the interior. Just keep an eye on it.
Variations and Adaptations
This recipe is incredibly flexible. Here are some variations I have tried and loved:
- Maple-Balsamic Glaze: After roasting, drizzle the squash with a mixture of 1 tablespoon maple syrup and 1 tablespoon balsamic vinegar. The acidity cuts through the richness of the brown butter beautifully. I made this version for a dinner party and guests could not stop talking about it.
- Spicy Brown Butter: Add 1/2 teaspoon red pepper flakes and a pinch of smoked paprika to the butter as it browns. The heat pairs surprisingly well with the sweet squash. This has become my go-to version when I want something with a little kick.
- Herb-Infused Variation: Swap the sage for fresh thyme or rosemary. Both herbs hold up well to roasting and add a different aromatic profile. I sometimes use a combination of all three when I have them on hand.
- Dairy-Free Option: Use coconut oil or vegan butter instead of regular butter. The flavor will be different—coconut oil adds a subtle tropical note—but the roasting technique works the same. I have tested this with Miyoko’s vegan butter and it browned surprisingly well.
- Garlic Lovers Version: Add 3 to 4 smashed garlic cloves to the pan with the butter as it browns. Remove them before tossing the squash, or leave them in for a milder garlic flavor throughout. The roasted garlic cloves are delicious spread on the squash after cooking.
If you enjoy experimenting with seasonal flavors, you might also like this creamy hatch green chile chicken enchiladas for another way to celebrate fall produce.
Serving and Storage Suggestions
This brown butter roasted kabocha squash is best served warm, straight from the oven. The edges are at their crispiest and the butter is still glossy and fragrant. I like to arrange the wedges on a large platter and drizzle any remaining brown butter from the pan over the top. A sprinkle of flaky sea salt and a few fresh sage leaves make it look beautiful with almost no effort.
For a complete meal, I serve this alongside roasted chicken, pork chops, or even a simple fresh quinoa avocado sushi salad bowl for a vegetarian option. It also pairs wonderfully with grain bowls, roasted vegetables, or as part of a Thanksgiving spread. The sweetness of the squash balances well with savory main dishes.
Storage: Leftover roasted squash keeps well in an airtight container in the refrigerator for up to 4 days. The texture will soften slightly, but the flavor remains delicious. I actually enjoy leftovers cold, straight from the fridge—the flavor deepens overnight.
Reheating: To restore some of the crispiness, reheat the squash in a 375°F (190°C) oven for 5 to 7 minutes. Avoid the microwave, which will make it mushy. If you are in a hurry, a hot skillet with a tiny bit of butter works well too—just sear each wedge for a minute per side.
Freezing: I do not recommend freezing this dish. The texture of the squash changes too much upon thawing, becoming watery and soft. It is best enjoyed fresh or within a few days of making.
Nutritional Information and Benefits
Kabocha squash is a nutritional powerhouse. It is rich in beta-carotene, which the body converts to vitamin A—essential for eye health and immune function. It also provides a good amount of fiber, vitamin C, and potassium. The skin contains additional fiber and nutrients, so leaving it on is a smart choice.
Here is an approximate nutritional breakdown per serving (based on 4 servings):
- Calories: 180
- Total Fat: 12g
- Saturated Fat: 7g
- Carbohydrates: 18g
- Fiber: 3g
- Sugar: 7g
- Protein: 2g
- Vitamin A: 200% of the Daily Value
- Vitamin C: 25% of the Daily Value
This recipe is naturally gluten-free and can be made dairy-free with a simple substitution. It is a great option for those following a low-carb or paleo diet, as long as portions are kept reasonable. The brown butter adds healthy fats that help your body absorb the fat-soluble vitamins in the squash.
I love that this dish feels indulgent but is actually quite good for you. It is the kind of side dish that makes you feel satisfied without being heavy.
Conclusion
This brown butter roasted kabocha squash has become my go-to fall side dish for good reason. It is simple enough for a Tuesday night but impressive enough for a holiday table. The combination of creamy, caramelized squash with nutty, sage-infused brown butter is one of those flavor pairings that just works.
I encourage you to make this recipe your own. Play with the herbs, adjust the spice level, or try it with a drizzle of maple syrup. The base technique is forgiving and endlessly adaptable. And honestly, once you master browning butter, you will find yourself putting it on everything—vegetables, pasta, even popcorn.
If you give this recipe a try, I would love to hear how it turns out. Leave a comment below and let me know what variations you tried. Did you add garlic? Did you go spicy? Share your experience and tag me in your photos. And if you are looking for more easy, delicious recipes, check out this easy apple nachos with peanut butter drizzle for another fall-inspired treat.
Happy cooking, friends. I hope this recipe brings a little warmth and comfort to your table.
Frequently Asked Questions
Do I need to peel kabocha squash before roasting?
No, you do not need to peel kabocha squash. The skin is edible and becomes tender when roasted. It adds texture and extra fiber. If you prefer a softer texture, you can peel it, but I recommend leaving it on for the best results.
Can I use salted butter instead of unsalted?
Yes, you can use salted butter. Just reduce the added salt in the recipe by about half. Taste the brown butter before adding extra salt—it might already be seasoned enough.
How do I know when the brown butter is ready?
Look for golden brown specks forming at the bottom of the pan and a nutty, toasty aroma. The butter will foam and then the foam will subside. This usually takes 4 to 6 minutes over medium heat. Remove it from the heat immediately once you see the brown specks.
Can I make this recipe ahead of time?
You can prep the squash wedges and brown the butter up to a day ahead. Store them separately in the refrigerator. When ready to serve, toss and roast as directed. Add a few extra minutes to the roasting time since the squash will be cold.
What can I substitute for fresh sage?
Fresh thyme or rosemary are excellent substitutes. Use about 1 tablespoon of fresh thyme leaves or 1 teaspoon of dried rosemary. Dried sage also works—use 1 teaspoon instead of 1 tablespoon fresh.
Pin This Recipe!
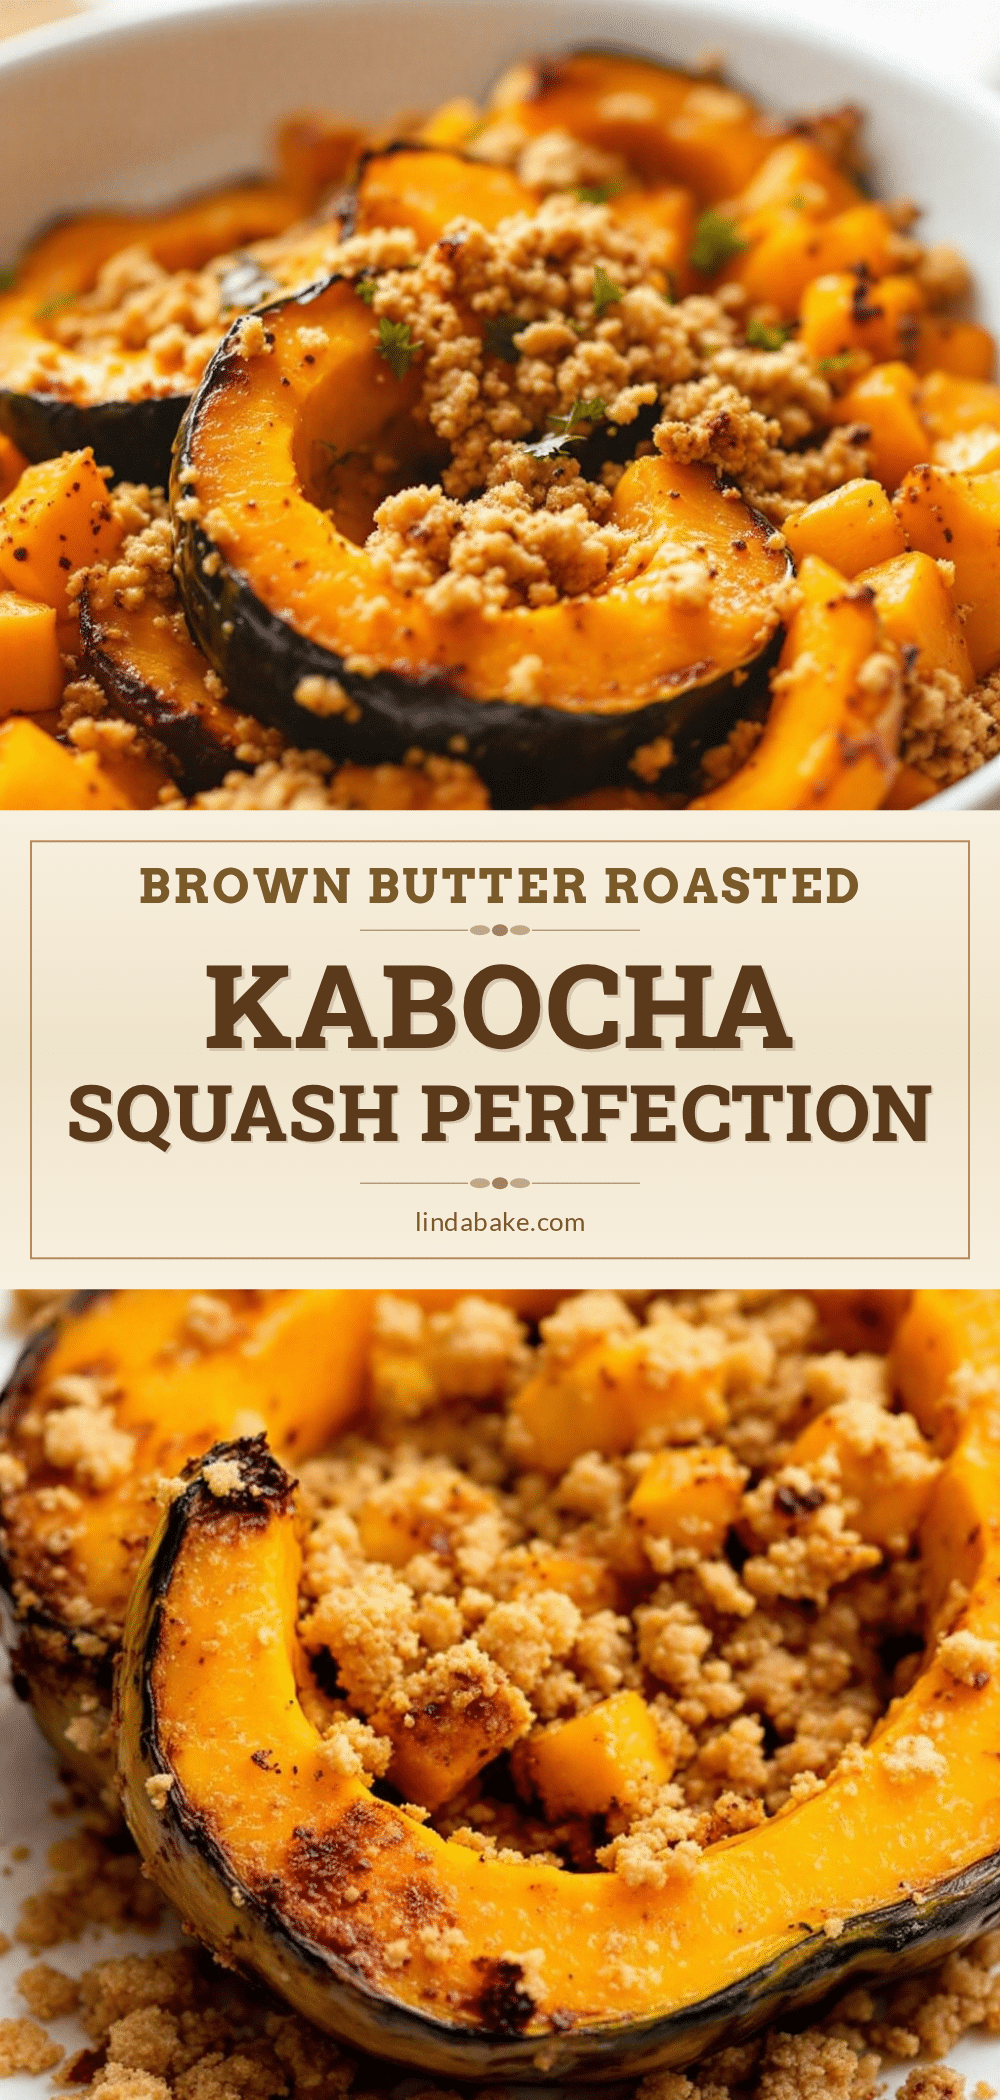
Brown Butter Roasted Kabocha Squash: Easy, Best Fall Side
This brown butter roasted kabocha squash is a simple yet impressive fall side dish. The nutty, sage-infused brown butter caramelizes the squash wedges to perfection, creating a creamy interior with crispy edges.
- Prep Time: 10 minutes
- Cook Time: 30 minutes
- Total Time: 40 minutes
- Yield: 4 servings 1x
- Category: Side Dish
- Cuisine: American
Ingredients
- 1 medium kabocha squash (about 2 to 3 pounds)
- 4 tablespoons unsalted butter
- 1 tablespoon fresh sage leaves, chopped
- 1/2 teaspoon sea salt
- 1/4 teaspoon black pepper, freshly ground
- Optional: 1 tablespoon maple syrup or honey
- Optional: Pinch of red pepper flakes
Instructions
- Preheat your oven to 400°F (200°C). Place a rack in the middle position.
- Prepare the kabocha squash: Carefully cut the squash in half from stem to base using your sharpest knife. Scoop out the seeds and stringy pulp with a spoon. Slice each half into 1-inch thick wedges.
- Start browning the butter: Place the 4 tablespoons of butter in a small saucepan over medium heat. Let it melt completely, then continue cooking. Swirl the pan occasionally. The butter will foam up, then the foam will subside. Watch closely—once you see golden brown specks forming at the bottom and it smells nutty and toasty, remove it from the heat immediately. This usually takes about 4 to 6 minutes.
- Add the sage: Stir the chopped fresh sage into the hot brown butter. It will sizzle and become fragrant almost instantly. Let it sit for about 30 seconds to infuse.
- Toss the squash: Place the squash wedges in a large mixing bowl. Pour the brown butter and sage mixture over them. Add the salt and pepper. Toss gently with your hands or a spatula until every wedge is evenly coated.
- Arrange on the baking sheet: Lay the squash wedges in a single layer on the prepared baking sheet. Make sure they are not touching each other too much.
- Roast for 25 to 30 minutes: Place the sheet in the preheated oven. Halfway through, at about 15 minutes, flip each wedge using tongs. The squash is done when the edges are deep golden brown and caramelized, and a fork slides easily into the thickest part of the flesh.
- Finish and serve: Remove from the oven. If you want extra color, you can broil for 1 to 2 minutes at the end—but watch carefully so the butter does not burn. Transfer to a serving platter and drizzle any remaining brown butter from the pan over the top. Sprinkle with a little extra flaky sea salt if you like.
Notes
For extra crispy edges, try roasting at 425°F (220°C) for the last 5 minutes. You can prep the squash wedges and brown the butter a day ahead. Store them separately in the fridge. When ready to cook, just toss and roast. The squash might take a few extra minutes since it is cold from the fridge.
Nutrition
- Serving Size: 1 serving
- Calories: 180
- Sugar: 7
- Sodium: 300
- Fat: 12
- Saturated Fat: 7
- Carbohydrates: 18
- Fiber: 3
- Protein: 2
Keywords: brown butter, roasted kabocha squash, fall side dish, sage, easy, gluten-free


