The kitchen clock read 10:47 PM, and the only thing I wanted was a pumpkin bar that didn’t taste like a compromise. You know the feeling — you want that deep, spiced autumn flavor, but you don’t want to deal with a fussy pie crust that cracks or a filling that weeps all over the counter. I had a bag of gingersnaps I’d bought on impulse, a can of pumpkin puree staring at me from the pantry, and a quiet determination to make something that felt like a hug, not a project.
Honestly, I wasn’t even sure it would work. Gingersnap crusts can be tricky — too crumbly, too sweet, or they turn into a soggy mess. But that night, I pressed the crumbs into the pan with my fingers, poured the silky pumpkin filling over top, and slid it into the oven without much hope. When I pulled those pumpkin pie bars out, the kitchen smelled like November. The edges had set perfectly, the center had that slight jiggle that promised creaminess, and the crust held together like it had been doing this its whole life.
That first bite was quiet. No fanfare, no dramatic sigh. Just the kind of satisfaction that comes from something simple done right. These bars aren’t trying to be fancy. They’re just trying to be exactly what you need — a slice of fall that doesn’t ask for much and gives back everything.
Why You’ll Love This Recipe
I’ve tested this recipe more times than I care to admit, and every batch taught me something new. Here’s why these pumpkin pie bars with gingersnap crust have earned a permanent spot in my fall rotation.
- Quick & Easy: From start to finish, these come together in about an hour with just 15 minutes of hands-on work. No rolling dough, no blind baking, no stress.
- Simple Ingredients: You probably have most of these in your kitchen right now. The gingersnaps do the heavy lifting for flavor, so you don’t need a dozen spices.
- Perfect for Gatherings: Whether it’s Thanksgiving, a Friendsgiving potluck, or just a Tuesday that needs a little warmth, these bars travel beautifully and feed a crowd without the drama of slicing a whole pie.
- Crowd-Pleaser: I’ve served these to kids who usually push pie around their plate and adults who claim they don’t like pumpkin desserts. Every single person went back for seconds.
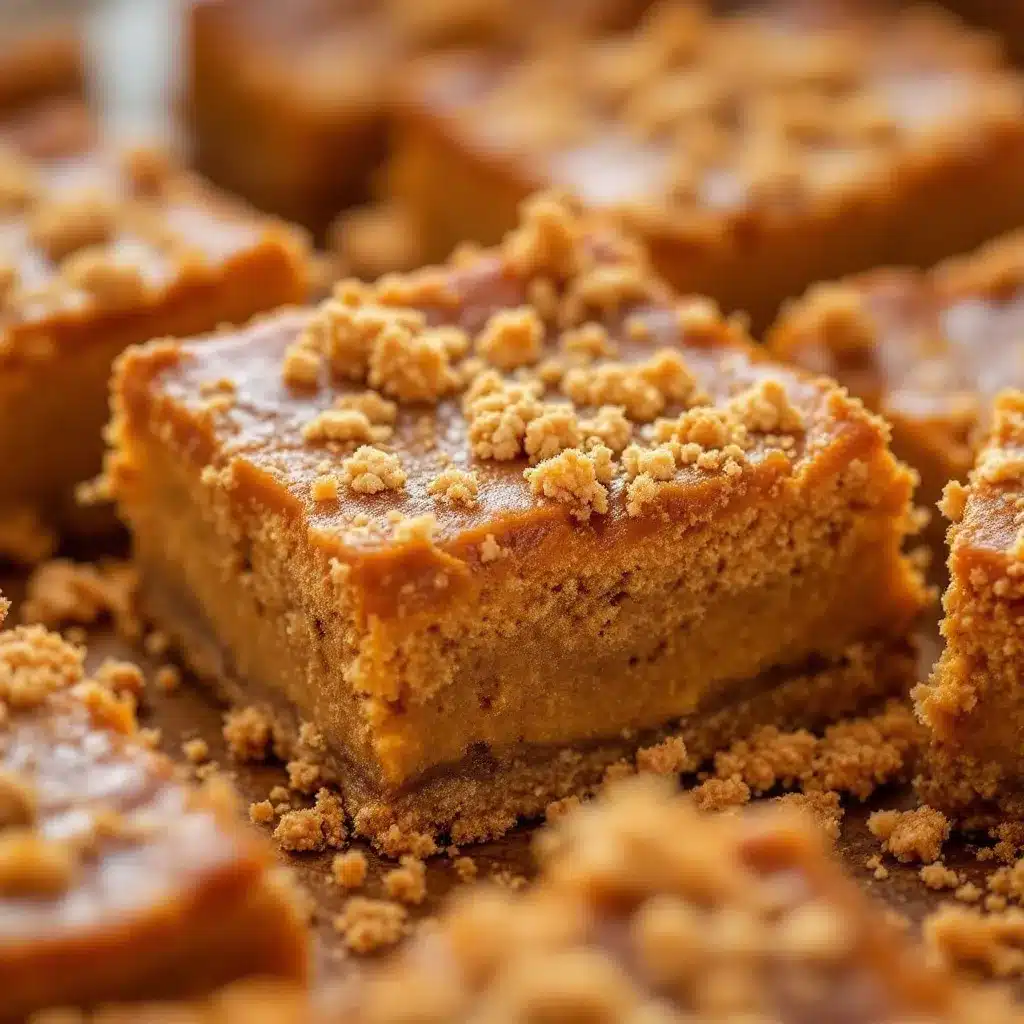
- Unbelievably Delicious: The contrast between the spicy, crunchy gingersnap crust and the velvety, spiced pumpkin filling is honestly next-level. It’s comfort food that makes you pause mid-bite.
What makes this version different from every other pumpkin bar out there is the crust. Instead of a standard graham cracker base, the gingersnaps bring a warmth and complexity that perfectly complements the pumpkin. I’ve tried it with shortbread, with vanilla wafers, even with pretzels (don’t ask), and nothing hits quite like this. It’s the kind of recipe that feels like a discovery, even though it’s just a smart little swap.
What Ingredients You Will Need
This recipe uses straightforward ingredients that work together to create something genuinely special. The gingersnap crust is the star, but every component plays its part.
For the Gingersnap Crust
- 2 cups (about 8 ounces) gingersnap cookies, finely crushed – I recommend Nabisco or Anna’s for consistent texture. You want a fine, sand-like crumb, not chunks.
- 6 tablespoons (85 grams) unsalted butter, melted – Use real butter here; margarine changes the flavor and the crust won’t hold together as well.
- 2 tablespoons (25 grams) granulated sugar – Just a touch to balance the spice and help the crust bind.
- Pinch of salt – Don’t skip this. It keeps the crust from tasting flat.
For the Pumpkin Filling
- 1 can (15 ounces) pumpkin puree – Not pumpkin pie filling. Pure pumpkin, like Libby’s or 365. The difference matters.
- 1 can (14 ounces) sweetened condensed milk – This gives the filling its signature creaminess and sweetness.
- 2 large eggs, room temperature – Cold eggs can seize the filling. Let them sit out for 20 minutes.
- 1 teaspoon vanilla extract – Pure vanilla, not imitation. It rounds out the spices beautifully.
- 1 ½ teaspoons pumpkin pie spice – Or make your own: ½ teaspoon cinnamon, ¼ teaspoon ginger, ¼ teaspoon nutmeg, ¼ teaspoon allspice, and a tiny pinch of cloves.
- ½ teaspoon ground cinnamon – Because you can never have too much.
- ¼ teaspoon salt – Balances the sweetness and deepens the pumpkin flavor.
Ingredient Tips: I’ve tried this with both homemade pumpkin puree and canned, and honestly, canned gives a more consistent result. Homemade puree can be watery, which leads to a softer set. If you’re using fresh pumpkin, roast it until very dry, then strain it through cheesecloth overnight. For the gingersnaps, don’t use the soft, cakey kind — you want the crunchy, snap-in-half cookies. If you’re feeling adventurous, you can swap the sweetened condensed milk for a can of coconut condensed milk for a dairy-free version, though the texture will be slightly softer.
Equipment Needed
You don’t need a fancy kitchen to pull these off. Here’s what you’ll actually use.
- 9×9-inch baking pan – Glass or metal works. If you use metal, line it with parchment for easy removal.
- Food processor or zip-top bag and rolling pin – For crushing the gingersnaps. The food processor is faster, but the bag method is therapeutic.
- Mixing bowls – One medium, one large.
- Whisk – For the filling. A fork works in a pinch, but a whisk gives you a smoother texture.
- Spatula – For scraping every last bit of filling into the pan.
- Measuring cups and spoons – Be precise with the spices; they’re the backbone of this recipe.
I’ve made this crust with a mortar and pestle before (don’t recommend it), and I’ve baked it in a disposable foil pan when traveling to a potluck. It works. But a good 9×9 pan with straight sides gives you the cleanest slices.
Preparation Method
Let’s get baking. This process is straightforward, but I’ll walk you through every step with the little details that make a difference.
- Preheat your oven to 350°F (175°C). Position the rack in the center. Line your 9×9 pan with parchment paper, leaving some overhang on two sides — this makes lifting the bars out so much easier later.
- Make the crust. Pulse the gingersnaps in a food processor until they become fine crumbs. You should have about 2 cups. Transfer to a medium bowl, add the sugar and salt, then pour in the melted butter. Stir with a fork until every crumb is moistened and the mixture looks like wet sand. If it doesn’t clump when you squeeze it, add another tablespoon of melted butter.
- Press the crust into the pan. Dump the crumbs into your prepared pan and press them down firmly and evenly. Use the bottom of a flat measuring cup or a glass to really compact them. Don’t be gentle — a tight crust stays together after baking. Pre-bake the crust for 10 minutes, then let it cool for 5 minutes on a wire rack.
- While the crust cools, make the filling. In a large bowl, whisk the pumpkin puree and sweetened condensed milk until smooth. Add the eggs one at a time, whisking gently after each. You don’t want to whip air into the filling — just combine. Add the vanilla, pumpkin pie spice, cinnamon, and salt. Whisk until everything is uniform and the color is consistent. The mixture should be thick but pourable.
- Pour the filling over the crust. Gently pour the pumpkin mixture over the pre-baked crust. Tilt the pan slightly to spread it evenly, or use a spatula to nudge it into the corners. Tap the pan on the counter a few times to release any air bubbles.
- Bake for 40-45 minutes. The edges should look set and slightly puffed, while the center will still jiggle slightly when you gently shake the pan. That’s perfect — it will continue to set as it cools. If the top cracks a little, don’t worry. That’s character, not failure.
- Cool completely. Place the pan on a wire rack and let it cool to room temperature, about 1 hour. Then transfer to the refrigerator and chill for at least 3 hours, preferably overnight. This step is non-negotiable. The bars need time to fully set for clean slices.
- Slice and serve. Use the parchment overhang to lift the entire block out of the pan. Place it on a cutting board and use a sharp knife to cut into 16 squares. Wipe the knife clean between cuts for the neatest edges.
Cooking Tips & Techniques
After a few batches that taught me humility, here’s what I’ve learned.
Don’t over-bake. I know it’s tempting to leave them in until the center is completely firm, but that’s how you get dry, cracked bars. The center should jiggle like Jell-O when you pull them out. Trust the process. They firm up beautifully in the fridge.
Let them chill fully. I once tried to cut these after just an hour in the fridge because I was impatient. It was a mess. The filling hadn’t set, the crust crumbled, and I ended up with pumpkin soup with crumb topping. Give them the full 3 hours, or even overnight. Your patience will be rewarded with perfect squares.
Use room temperature ingredients. Cold eggs or cold condensed milk can create lumps in the filling that won’t smooth out. Leave everything on the counter for 20 minutes before you start. It’s a small step that makes a big difference in texture.
Press the crust firmly. This is the most common mistake I see. If your crust is too loose, it will crumble when you cut the bars. Use the bottom of a measuring cup and really lean into it. You want it compact and even.
For extra clean slices, chill the bars for the full time, then run your knife under hot water, dry it, and slice. Repeat this between each cut. The warm knife glides through the cold filling without dragging.
Variations & Adaptations
This recipe is forgiving enough to play with. Here are some twists I’ve tried and loved.
- Gluten-Free Version: Use gluten-free gingersnaps (like Mi-Del or Kinnikinnick). The rest of the recipe is naturally gluten-free. Just check your pumpkin pie spice label.
- Dairy-Free Version: Swap the butter in the crust with coconut oil (solid, not melted) or a vegan butter stick. Use sweetened condensed coconut milk instead of dairy. The texture will be slightly softer, but the flavor is still incredible.
- Extra Spicy: Add ¼ teaspoon of black pepper and a pinch of cayenne to the filling. It sounds weird, but the heat brings out the sweetness of the pumpkin and the ginger in the crust. I made this version for a Friendsgiving and it disappeared first.
- Maple Pecan Twist: Add 2 tablespoons of maple syrup to the filling and sprinkle ½ cup of chopped pecans over the top before baking. The nuts toast as the bars bake, adding a lovely crunch.
- Chocolate Gingersnap Crust: Replace half the gingersnaps with chocolate wafer cookies. The chocolate and ginger combination is surprisingly good, especially if you’re a fan of that sweet-spicy contrast.
I once tried a version with a shortbread crust and a layer of cream cheese in the middle. It was good, but honestly, it complicated things. Sometimes the simplest version is the one you’ll make again and again. That’s these bars.
Serving & Storage Suggestions
These bars are versatile enough for any occasion. Here’s how to serve and store them.
Serving: Serve them cold or at room temperature. I prefer them straight from the fridge with a dollop of whipped cream and a light dusting of cinnamon. For a more decadent presentation, drizzle with caramel sauce and add a sprinkle of flaky sea salt. They’re perfect alongside a hot cup of coffee or a glass of cold milk.
Storage: Keep the bars in an airtight container in the refrigerator for up to 5 days. Place a sheet of parchment paper between layers if you’re stacking them. The flavors actually deepen after a day or two, so don’t be afraid to make them ahead.
Freezing: These freeze beautifully. Once the bars are fully chilled and set, cut them into squares, place them on a baking sheet lined with parchment, and freeze until solid (about 2 hours). Transfer the frozen bars to a zip-top freezer bag or airtight container, separating layers with parchment. They’ll keep for up to 3 months. Thaw in the refrigerator overnight before serving.
Reheating: If you prefer warm bars, microwave individual squares for 15-20 seconds. The crust will soften slightly, and the filling will become almost pudding-like. It’s a different experience, but a lovely one.
Nutritional Information & Benefits
Here’s the approximate nutritional breakdown for one bar (based on 16 servings).
- Calories: 215
- Fat: 9g
- Carbohydrates: 31g
- Protein: 4g
- Fiber: 2g
- Sugar: 22g
While these are certainly a treat, pumpkin is packed with vitamin A, fiber, and antioxidants. The gingersnaps add a touch of ginger, which has anti-inflammatory properties. Sweetened condensed milk provides calcium and protein, though it’s also where most of the sugar comes from. If you’re watching your sugar intake, consider serving smaller portions or pairing with a dollop of unsweetened whipped cream to balance the sweetness.
For a lighter version, you can use a sugar substitute in the crust (like monk fruit sweetener) and swap the sweetened condensed milk for a sugar-free version. The texture will be slightly different, but it’s a solid option for those with dietary restrictions.
Conclusion
These pumpkin pie bars with gingersnap crust have become my go-to fall dessert for a reason. They’re simple enough for a Tuesday night baking session and impressive enough for a holiday table. The crust is everything — spicy, buttery, and sturdy — while the filling stays creamy and perfectly spiced.
I love that this recipe doesn’t demand perfection. If your filling cracks a little, cover it with whipped cream. If the crust crumbles at the edges, call it rustic. The point isn’t flawless squares; it’s the moment you take a bite and everything feels right. That’s what these bars deliver, every single time.
If you make these, I’d love to hear how they turn out. Leave a comment below with your variations, your successes, or even your happy accidents. And if you’re looking for more fall-inspired treats, don’t miss my copycat pumpkin cream cheese muffins or this easy matcha tiramisu parfait for a completely different kind of cozy. Happy baking!
Frequently Asked Questions
Can I use fresh pumpkin instead of canned?
You can, but you’ll need to roast and strain it first. Fresh pumpkin has more water than canned, so roast it cut-side down at 400°F until tender, then puree and strain through cheesecloth overnight. Measure out 15 ounces after straining. It’s a bit of work, but the flavor is lovely.
Why did my crust fall apart?
Most likely, the crust wasn’t pressed firmly enough into the pan, or it didn’t have enough butter. The mixture should clump when squeezed. If it’s too dry, add another tablespoon of melted butter. Also, make sure you pre-baked the crust before adding the filling — that helps it set.
Can I make these in a different pan size?
Yes, but you’ll need to adjust the baking time. An 8×8 pan will give you thicker bars that need 5-10 more minutes in the oven. A 9×13 pan will give you thinner bars that bake faster, about 25-30 minutes. Keep an eye on them and use the jiggle test.
How do I know when the bars are done baking?
The edges should look set and slightly puffed, while the center will still jiggle when you gently shake the pan. If you insert a knife near the center, it should come out mostly clean with a few moist crumbs. Don’t wait for the center to be completely firm — that means they’re over-baked.
Can I freeze these bars?
Absolutely. Freeze them in a single layer on a baking sheet, then transfer to a freezer bag. They’ll keep for up to 3 months. Thaw in the refrigerator overnight before serving. They taste just as good as fresh, if not better.
Pin This Recipe!
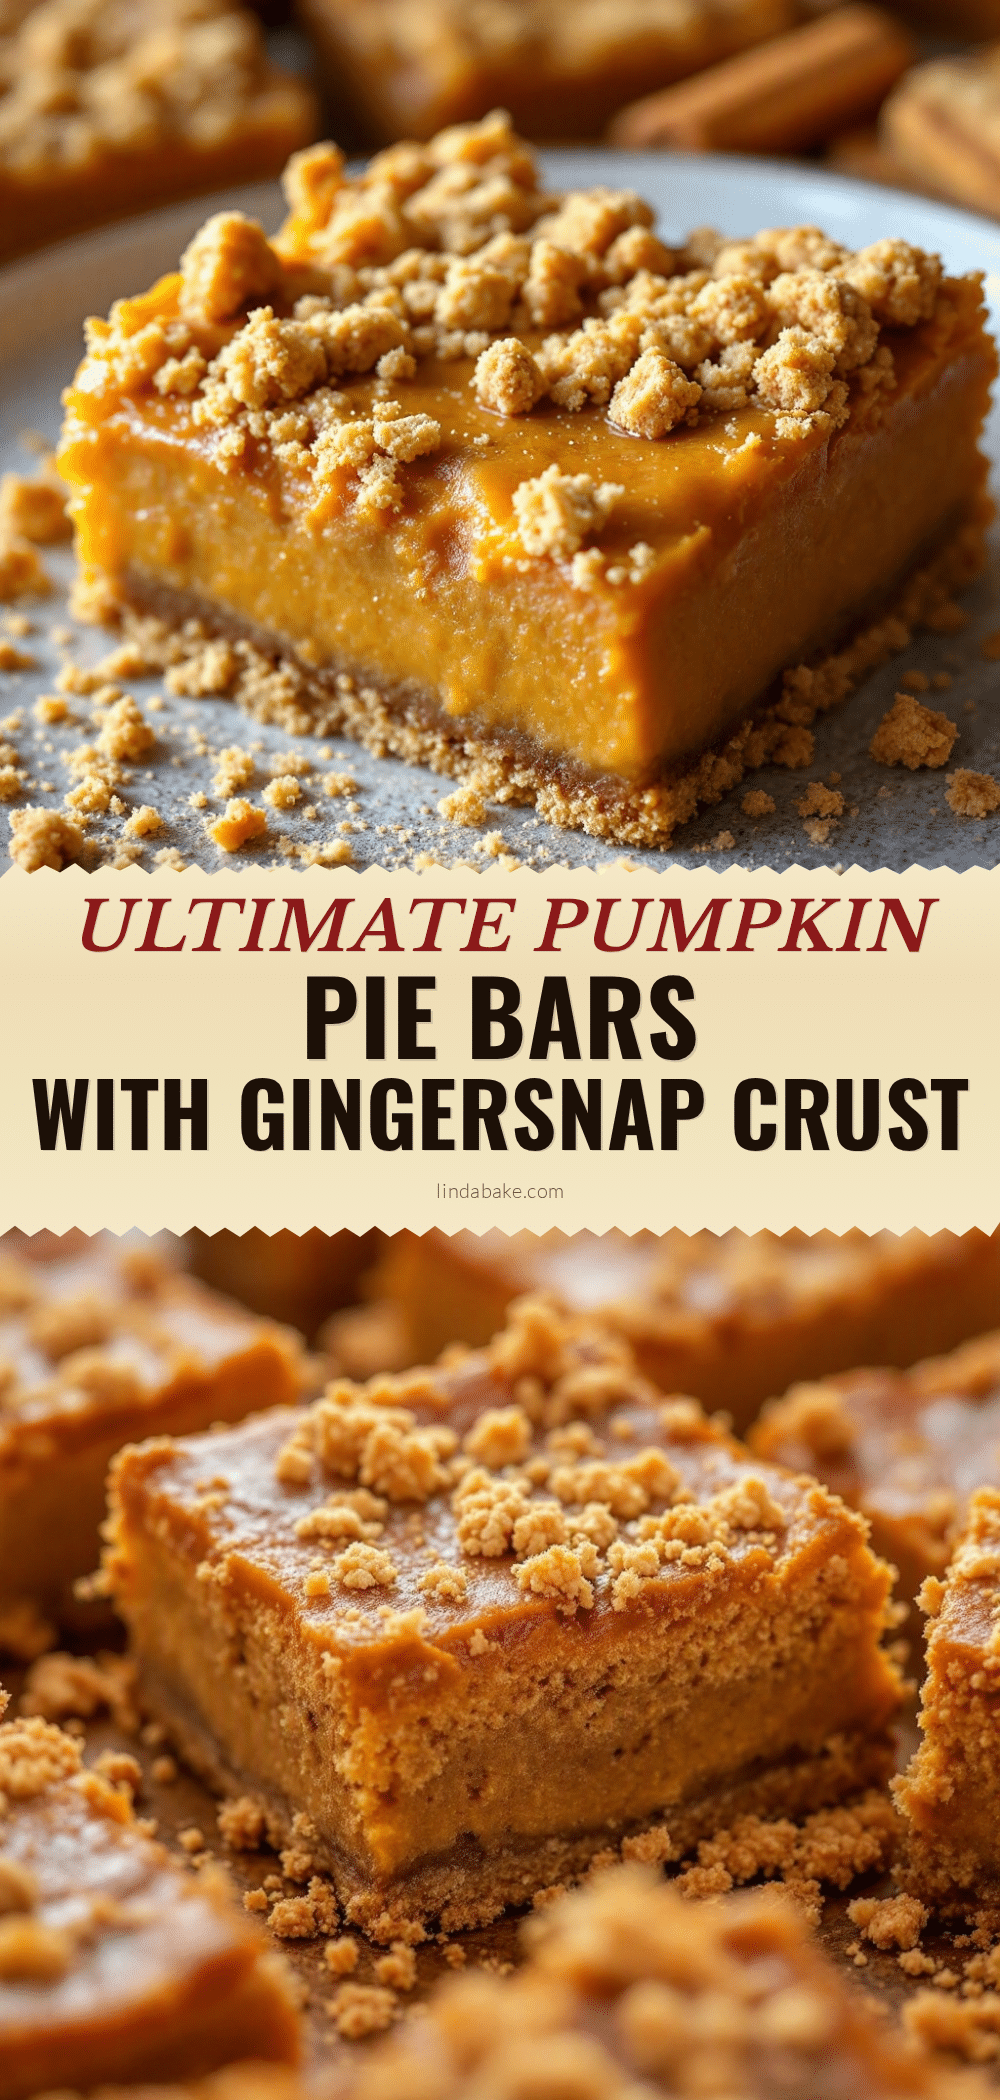
Best Easy Pumpkin Pie Bars with Gingersnap Crust
These pumpkin pie bars feature a spicy, buttery gingersnap crust and a creamy, perfectly spiced pumpkin filling. They’re simple enough for a Tuesday night baking session and impressive enough for a holiday table.
- Prep Time: 15 minutes
- Cook Time: 45 minutes
- Total Time: 1 hour (plus 3 hours chilling)
- Yield: 16 servings 1x
- Category: Dessert
- Cuisine: American
Ingredients
- 2 cups (about 8 ounces) gingersnap cookies, finely crushed
- 6 tablespoons (85 grams) unsalted butter, melted
- 2 tablespoons (25 grams) granulated sugar
- Pinch of salt
- 1 can (15 ounces) pumpkin puree
- 1 can (14 ounces) sweetened condensed milk
- 2 large eggs, room temperature
- 1 teaspoon vanilla extract
- 1 ½ teaspoons pumpkin pie spice
- ½ teaspoon ground cinnamon
- ¼ teaspoon salt
Instructions
- Preheat your oven to 350°F (175°C). Position the rack in the center. Line your 9×9 pan with parchment paper, leaving some overhang on two sides.
- Make the crust: Pulse the gingersnaps in a food processor until they become fine crumbs. Transfer to a medium bowl, add the sugar and salt, then pour in the melted butter. Stir with a fork until every crumb is moistened and the mixture looks like wet sand.
- Press the crust into the pan: Dump the crumbs into your prepared pan and press them down firmly and evenly. Use the bottom of a flat measuring cup or a glass to really compact them. Pre-bake the crust for 10 minutes, then let it cool for 5 minutes on a wire rack.
- While the crust cools, make the filling: In a large bowl, whisk the pumpkin puree and sweetened condensed milk until smooth. Add the eggs one at a time, whisking gently after each. Add the vanilla, pumpkin pie spice, cinnamon, and salt. Whisk until everything is uniform and the color is consistent.
- Pour the filling over the crust: Gently pour the pumpkin mixture over the pre-baked crust. Tilt the pan slightly to spread it evenly, or use a spatula to nudge it into the corners. Tap the pan on the counter a few times to release any air bubbles.
- Bake for 40-45 minutes. The edges should look set and slightly puffed, while the center will still jiggle slightly when you gently shake the pan.
- Cool completely: Place the pan on a wire rack and let it cool to room temperature, about 1 hour. Then transfer to the refrigerator and chill for at least 3 hours, preferably overnight.
- Slice and serve: Use the parchment overhang to lift the entire block out of the pan. Place it on a cutting board and use a sharp knife to cut into 16 squares. Wipe the knife clean between cuts for the neatest edges.
Notes
Don’t over-bake; the center should jiggle like Jell-O when pulled out. Let the bars chill fully for clean slices. Use room temperature ingredients to avoid lumps. Press the crust firmly to prevent crumbling. For extra clean slices, run your knife under hot water, dry it, and slice between each cut.
Nutrition
- Serving Size: 1 bar
- Calories: 215
- Sugar: 22
- Fat: 9
- Carbohydrates: 31
- Fiber: 2
- Protein: 4
Keywords: pumpkin pie bars, gingersnap crust, easy pumpkin dessert, fall dessert, Thanksgiving dessert


