The house is quiet, save for the low hum of the refrigerator and the occasional crackle of the dying fire in the hearth. It is two in the morning on Christmas Eve, and the only thing I want is a quiet moment with red velvet cake pops. Most people are asleep. The tree lights are still twinkling, casting long, soft shadows across the living room rug. I am sitting at the kitchen island, flour dusting my apron like snow, working on the final batch. This is not about performance. It is about ritual.
You know how it feels when the holidays get loud? The wrapping paper everywhere, the guests arriving, the noise. But here, in the dark kitchen, it is just me and the bowl. The smell of cocoa and vanilla fills the air, thick and sweet. I dip the last ball into the white chocolate, watching it swirl and set. It feels like a small victory. A tiny, edible piece of peace before the chaos begins.
These cake pops are my secret weapon. They are not just a treat; they are a way to slow down. I remember making these with my grandmother years ago. She would hum old carols while I tried not to eat too much frosting. Now, I make them alone, but the feeling is the same. Comforting. Warm. The red velvet color is vibrant against the white chocolate, like a jewel. It looks festive, but tastes like home.
I like that they are small. You don’t need a whole plate. Just one or two. They are easy to hold, easy to share. I often leave a plate on the counter for the kids when they wake up early. Seeing their faces light up is worth the effort. It is a simple joy. A quiet tradition that keeps me grounded.
There is something deeply satisfying about turning leftover cake into something new. It feels clever, but also nostalgic. I have tried many recipes over the years. Some are too dry. Some are too sweet. This one is balanced. Perfectly moist. The frosting binds it all together without being heavy. It is the kind of recipe that sticks with you. Not because it is fancy, but because it feels right.
I keep making them because they bring me back to that feeling. The calm before the storm. The joy of creating something beautiful with my own hands. It is a small thing, really. But in a season that asks so much, small things matter. They anchor us. They remind us why we are here. To gather. To eat. To be together.
So, if you find yourself awake in the quiet hours, or just need a project that brings a little color to your day, try this. Make some red velvet cake pops. Let the kitchen smell like Christmas. Let yourself breathe. It is okay to take your time. The results will be worth it.
Why You’ll Love This Recipe
Let’s face it, holiday baking can feel like a lot of work. But these festive red velvet Christmas cake pops are different. They are not just another dessert to stress over. They are a game-changer. I have tested this recipe dozens of times, tweaking the ratios until they were just right. The result is a treat that is incredibly easy to make but tastes like it came from a high-end bakery. Honestly, the texture is unmatched.
Here is why this recipe stands out from the crowd:
- Quick & Easy: You might think making cake pops from scratch takes forever. It doesn’t. If you use a boxed mix as a shortcut (which I do sometimes, no shame!), you can have these done in under two hours. It is perfect for busy weeknights or last-minute holiday parties.
- Simple Ingredients: You likely already have everything you need in your pantry. Red velvet cake mix, cream cheese, white chocolate, and sprinkles. No fancy grocery trips needed. It is accessible and forgiving, which is exactly what you want during the holidays.
- Perfect for Gifting: These are the ultimate hostess gift. They look beautiful in a cellophane bag tied with a ribbon. They are portable, so they do not melt as easily as a slice of cake. I often pair them with a jar of my easy no-bake peanut butter granola bites for a full snack box.
- Crowd-Pleaser: Kids and adults both love them. The red and white colors scream Christmas. The taste is sweet but not cloying. They are always the first thing to disappear from the plate. It is a crowd-pleaser that never fails to get rave reviews.
- Unbelievably Delicious: The combination of the moist cake crumb and the tangy cream cheese frosting is next-level comfort food. The white chocolate coating adds a snap and a smooth finish. It is a texture combo that keeps you coming back for more.
What makes this recipe different is the attention to detail in the binding process. Many people struggle with cake pops falling apart. The secret is getting the crumb-to-frosting ratio just right. It should feel like damp sand, not wet mud. When you master that, the pops hold their shape perfectly. It is a technique that gives you confidence.
This recipe is not just good—it is the kind that makes you close your eyes after the first bite. It is comfort food reimagined for the holidays. Healthier? Maybe not. But it is made with love. And that matters. It is perfect for impressing guests without stress. Or just turning a simple Tuesday evening into something memorable.
I also love that they are portable. Unlike a slice of cake, you can take one on the go. I often pack a few in my lunchbox alongside a easy ham and cream cheese pinwheels for a festive mid-day treat. They are versatile, reliable, and always a hit.
What Ingredients You Will Need
This recipe uses simple, wholesome ingredients to deliver bold flavor and satisfying texture without the fuss. You do not need expensive specialty items. The magic lies in how they come together. The red velvet cake mix provides a moist base, while the cream cheese adds a rich, tangy depth that balances the sweetness. The white chocolate coating ties it all together with a smooth, festive finish.
Here is what you will need to gather:
- Red Velvet Cake Mix: One standard box (15.25 oz / 432g). I recommend Duncan Hines or Devil’s Food brands for the best color and moisture. The artificial red dye in these mixes gives that classic holiday pop.
- Vegetable Oil: Half a cup (120 ml). This keeps the cake tender. You can use canola oil if you prefer a neutral taste.
- Water: One cup (240 ml). Hot water works best to activate the cake mix fully.
- Large Eggs: Two eggs, room temperature. This helps bind the cake structure.
- Cream Cheese: Eight ounces (225g), softened. Use full-fat block cream cheese. Do not use the spreadable kind in a tub, as it has too much water and will make the mixture too wet. Philadelphia is my go-to.
- Vanilla Extract: One teaspoon. Adds a subtle floral note that complements the cocoa.
- White Chocolate Chips: Two cups (340g). Use high-quality chips like Ghirardelli or Alfonsina for a smoother melt. Candy melts are a cheaper alternative but lack the rich flavor.
- Shortening: One tablespoon. This is key. Adding shortening to the chocolate helps it stay glossy and prevents cracking. It also makes the coating more pliable.
- Holiday Sprinkles: One cup. Red and white jimmies, sanding sugar, or even crushed peppermint candies. This is where you get festive.
- Red Food Coloring (Optional): A few drops if you want the cake crumbs to be extra red. Most mixes are already red enough.
A few tips on sourcing. Look for firm, small-curd cottage cheese if you want to substitute the cream cheese for a lighter option, though the texture will change slightly. For a gluten-free version, swap the cake mix for a gluten-free red velvet mix. Make sure to check that the sprinkles are also gluten-free if needed.
In summer, you might swap the white chocolate for dark chocolate with a raspberry swirl. It adds a nice tartness. But for Christmas, stick with the classic white and red. It just looks right. The visual appeal is half the battle.
I always keep a backup box of cake mix in my pantry. It is a lifesaver when guests drop by unexpectedly. The ingredients are cheap and easy to find. You do not need to hunt for anything special. Just grab what you need and start mixing. It is that simple.
Equipment Needed
You do not need a fancy kitchen to make these. A few basic tools will do the job perfectly. Here is what you should have ready:
- Stand Mixer or Hand Mixer: Essential for blending the cake batter and the frosting smoothly. A stand mixer is easier, but a hand mixer works fine too.
- Large Mixing Bowls: One for the cake batter and one for mixing the crumbs with the frosting. Make sure they are big enough to hold the volume.
- Baking Pan: A 9×13 inch pan. Grease it well so the cake comes out easily.
- Muffin Tin: This is crucial for drying the cake pops. It holds them upright while the chocolate sets. A standard 12-cup tin is perfect.
- Popsicle Sticks:
- Double Boiler or Microwave-Safe Bowl: For melting the white chocolate. A double boiler gives the most even melt, but a microwave in 30-second intervals works too.
- Parchment Paper: Line your baking sheet with this so the finished pops do not stick.
If you do not have a muffin tin, you can use a block of foam. Just poke holes in it and stick the pops in. It is a budget-friendly hack that works wonders. I used to do this all the time when I was in college. It is still a valid technique.
For maintenance, keep your mixing bowls clean. Any grease left over can prevent the frosting from binding properly. Wash your tools immediately after use. Chocolate is hard to clean once it dries.
Investing in a good quality double boiler is worth it. It prevents the chocolate from seizing. Cheap bowls can crack from heat. So, be careful. A sturdy metal bowl over a pot of simmering water is the safest bet. It gives you control.
Preparation Method
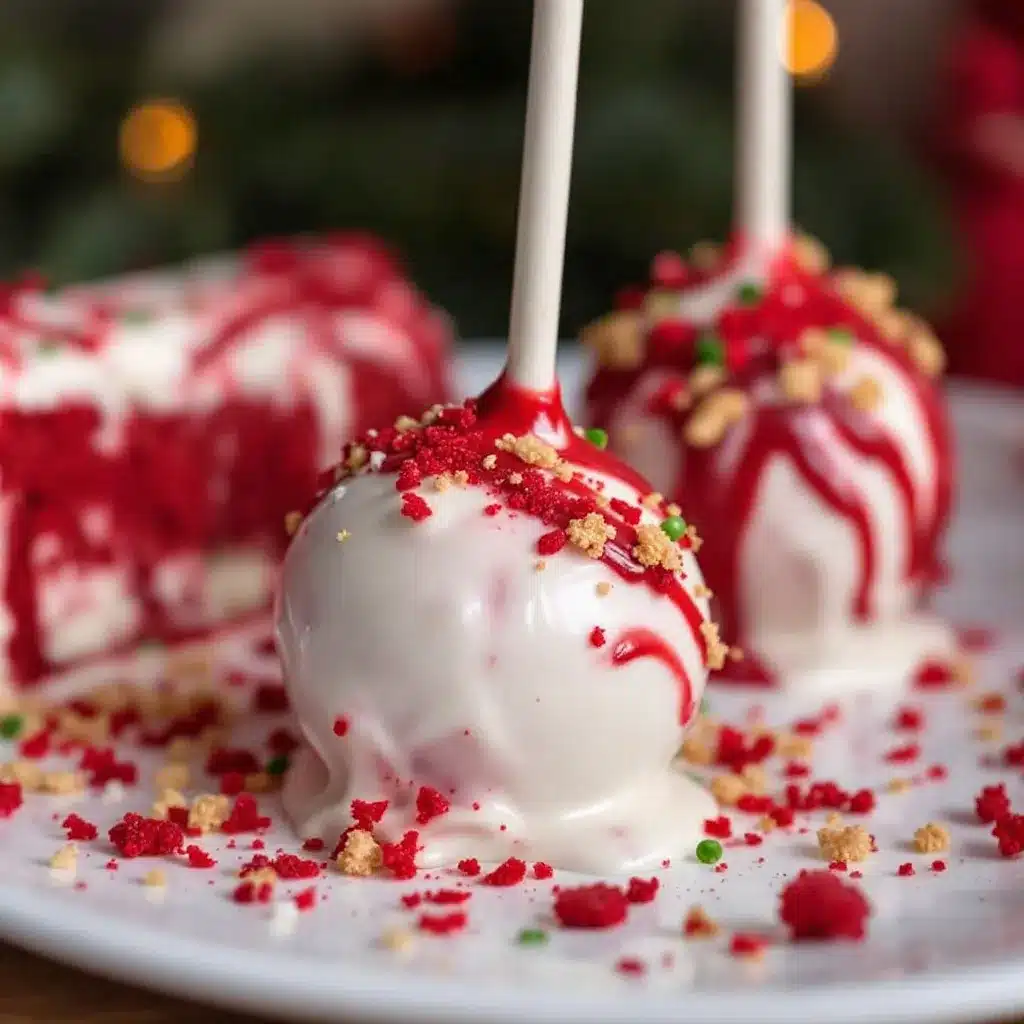
Making festive red velvet Christmas cake pops is a step-by-step process. Take your time. Rushing leads to messy pops. Here is how to do it right.
- Bake the Cake: Preheat your oven to 350°F (175°C). Grease a 9×13 inch pan. Mix the cake batter according to the box instructions. Pour it into the pan. Bake for 20-25 minutes. The cake should be moist and slightly underdone. This extra moisture is key for the crumb. Let it cool completely. This takes about an hour. Do not skip this step, or the cake will steam and get soggy.
- Crumble the Cake: Once cool, break the cake into small pieces. Place them in a large bowl. Use your hands or a fork to crush them into fine crumbs. You want it to look like wet sand. Remove any large chunks. This ensures a smooth texture in the final pop.
- Add the Frosting: In a separate bowl, beat the softened cream cheese until smooth. Add the vanilla. Slowly mix the cream cheese into the cake crumbs. Start with half a cup. Mix well. Add more if needed. The mixture should hold together when squeezed. If it is too dry, add a little more frosting. If it is too wet, add more crumbs. This balance is critical.
- Chill the Mixture: Cover the bowl with plastic wrap. Refrigerate for at least one hour. This firms up the fat in the cream cheese, making it easier to roll. Cold mixture rolls much cleaner.
- Roll the Balls: Take small portions of the mixture. Roll them into balls between your palms. Aim for 1.5-inch balls. They should be uniform in size. Place them on a parchment-lined tray. Do not touch them too much, or they will crack. Put them back in the fridge for 15 minutes.
- Melt the Chocolate: Melt the white chocolate chips with the shortening. Use a double boiler or microwave in 30-second bursts. Stir in between. The mixture should be smooth and fluid. If it is too thick, add a tiny bit more shortening. If it is too thin, add more chips.
- Dip the Pops: Dip a popsicle stick into the chocolate. Insert it into the bottom of a cake ball. This acts as glue. Then, dip the entire ball into the melted chocolate. Use a spoon to cover any gaps. Tap the stick against the side of the bowl to remove excess chocolate. This prevents drips.
- Add Sprinkles: Immediately add your holiday sprinkles while the chocolate is still wet. Press them on gently. If you wait, they will not stick. Place the pop upright in the muffin tin or foam block.
- Set: Let the pops sit at room temperature for 30 minutes, or in the fridge for 15 minutes. The chocolate should be hard to the touch. Once set, they are ready to eat or store.
Troubleshooting tip: If the chocolate cracks, it is too cold. Let the cake balls warm up slightly before dipping. If the cake falls off the stick, you did not dip the stick in chocolate first. Always use that chocolate anchor.
Cooking Tips & Techniques
Professional bakers know that consistency is everything. Here are some tips to ensure your cake pops turn out perfectly every time.
- Temperature Control: Keep your cake mixture cold. Warm cake crumbs will stick to your hands. Work in small batches. Put the rest back in the fridge while you roll.
- Chocolate Consistency: The chocolate should be fluid but not hot. If it is too hot, it will melt the cake ball. If it is too cold, it will be lumpy. Test a small drop on parchment paper. It should spread slightly but not pool.
- Avoid Seizing: Never get water in your melted chocolate. Even a drop can cause it to seize and become grainy. Make sure your bowls are completely dry.
- Rolling Technique: Use the palms of your hands, not your fingertips. This creates a smooth surface. Roll gently. Do not press too hard, or the ball will flatten.
- Timing: Do not rush the setting process. If the chocolate is not fully set, the pops will droop. Patience is a virtue here. Wait until the chocolate is hard before handling.
I have made many mistakes in my time. I once used warm cake and ended up with a mess. I learned quickly. Cold is your friend. I also once used too much frosting and the pops collapsed. The ratio is key. It is about feeling the mixture, not just measuring it.
Multitasking helps too. While the cake bakes, prepare your sprinkles. While the cake cools, soften your cream cheese. Keep your station organized. A clean workspace means a smoother process.
Variations & Adaptations
You can customize these cake pops to suit any taste or diet. Here are a few ideas:
- Gluten-Free: Use a gluten-free red velvet cake mix. Ensure your sprinkles and chocolate are certified gluten-free. The process remains the same.
- Dairy-Free: Substitute the cream cheese with a dairy-free block alternative. Use coconut oil instead of shortening in the chocolate. It adds a slight coconut flavor, which pairs well with red velvet.
- Dark Chocolate: Swap the white chocolate for dark chocolate. It adds a richer, less sweet flavor. It looks sophisticated against the red crumbs.
- Flavor Twist: Add a teaspoon of peppermint extract to the frosting for a holiday mint version. Or use orange zest for a bright, citrusy note.
- Seasonal Sprinkles: Use gold and silver sprinkles for New Year’s Eve. Or green and red for a more traditional Christmas look.
I tried a dark chocolate version once. It was amazing. The bitterness of the chocolate balanced the sweet cake perfectly. It felt more adult. But for kids, the white chocolate is a hit. It is all about preference.
You can also add nuts. Crushed pistachios or almonds add a nice crunch. It changes the texture significantly. It is a nice variation for those who like something extra.
Serving & Storage Suggestions
Serve these cake pops at room temperature for the best flavor. Cold chocolate can taste waxy. If you store them, let them come to room temperature first.
- Storage: Store in an airtight container at room temperature for up to 3 days. Do not refrigerate unless necessary, as condensation can ruin the coating.
- Freezing: You can freeze them for up to 2 months. Place them in a single layer in a freezer-safe container. Thaw overnight in the fridge before serving.
- Gifting: Package them in clear cellophane bags. Tie with a red ribbon. Add a tag with the recipe name. They make wonderful gifts for neighbors and teachers.
- Pairing: Serve with a hot cup of coffee or tea. The bitterness of the drink complements the sweet cake. I also like them with a glass of cold milk.
The flavors develop over time. If you make them a day ahead, the cake and frosting meld together even more. It tastes even better the next day. So, do not be afraid to prepare early.
When reheating, do not use the microwave. It will melt the chocolate. Just let them sit out for 15 minutes. That is all you need.
Nutritional Information & Benefits
These cake pops are a treat, so enjoy them in moderation. Each pop contains approximately 150-200 calories. They are high in sugar and fat, which is expected for a dessert.
- Calories: ~180 per pop.
- Fat: 10g.主要来自 the cream cheese and chocolate.
- Carbohydrates: 20g. From the cake mix and sugar.
- Protein: 3g. From the cream cheese and eggs.
The red velvet cake provides some iron from the cocoa. The white chocolate offers calcium. But primarily, these are for enjoyment. They bring joy. And that has its own benefits.
For those with allergies, check labels carefully. Many cake mixes contain wheat and dairy. Gluten-free and dairy-free options exist. Always verify with your specific dietary needs.
I view these as a special occasion treat. Not every day food. But when they are part of the holiday celebration, they taste extra special. It is about balance. Enjoy the sweetness, but also enjoy the company.
Conclusion
Making festive red velvet Christmas cake pops is a joyful ritual. It brings color and sweetness to the holiday season. It is a simple recipe, but the results are impressive. I love how they bring people together. Whether you are sharing them with family or gifting them to friends, they spread happiness.
I encourage you to try this recipe. Customize it to your liking. Add your own sprinkles. Change the chocolate. Make it your own. The process is fun. The result is delicious.
I have made these for years. They are a staple in my home. I hope they become a staple in yours. They are easy, festive, and always a hit. So, roll up your sleeves. Get baking. And enjoy the moment.
Please share your creations in the comments below. I love seeing how you customize them. Tag me on social media if you post photos. I would be honored to see your festive treats. Happy baking!
FAQs
Can I make cake pops a day ahead?
Yes, you can. In fact, they often taste better the next day as the flavors meld. Store them in an airtight container at room temperature.
Why did my cake pops crack?
Cracking usually happens if the cake balls are too cold when dipped in the chocolate. Let them sit out for 10-15 minutes before dipping. Also, ensure the chocolate is not too hot.
Can I use homemade cake instead of a mix?
Absolutely. Use any leftover cake. Just crumble it finely and mix with frosting. The ratio of cake to frosting will depend on the moisture of your homemade cake.
How long do cake pops last?
At room temperature, they last up to 3 days. In the freezer, they last up to 2 months. Do not refrigerate them, as the humidity can ruin the chocolate coating.
Can I dip them in colored chocolate?
Yes. You can add gel food coloring to the white chocolate. Mix it well until you reach your desired shade. Red, green, or gold work well for holidays.
Pin This Recipe!
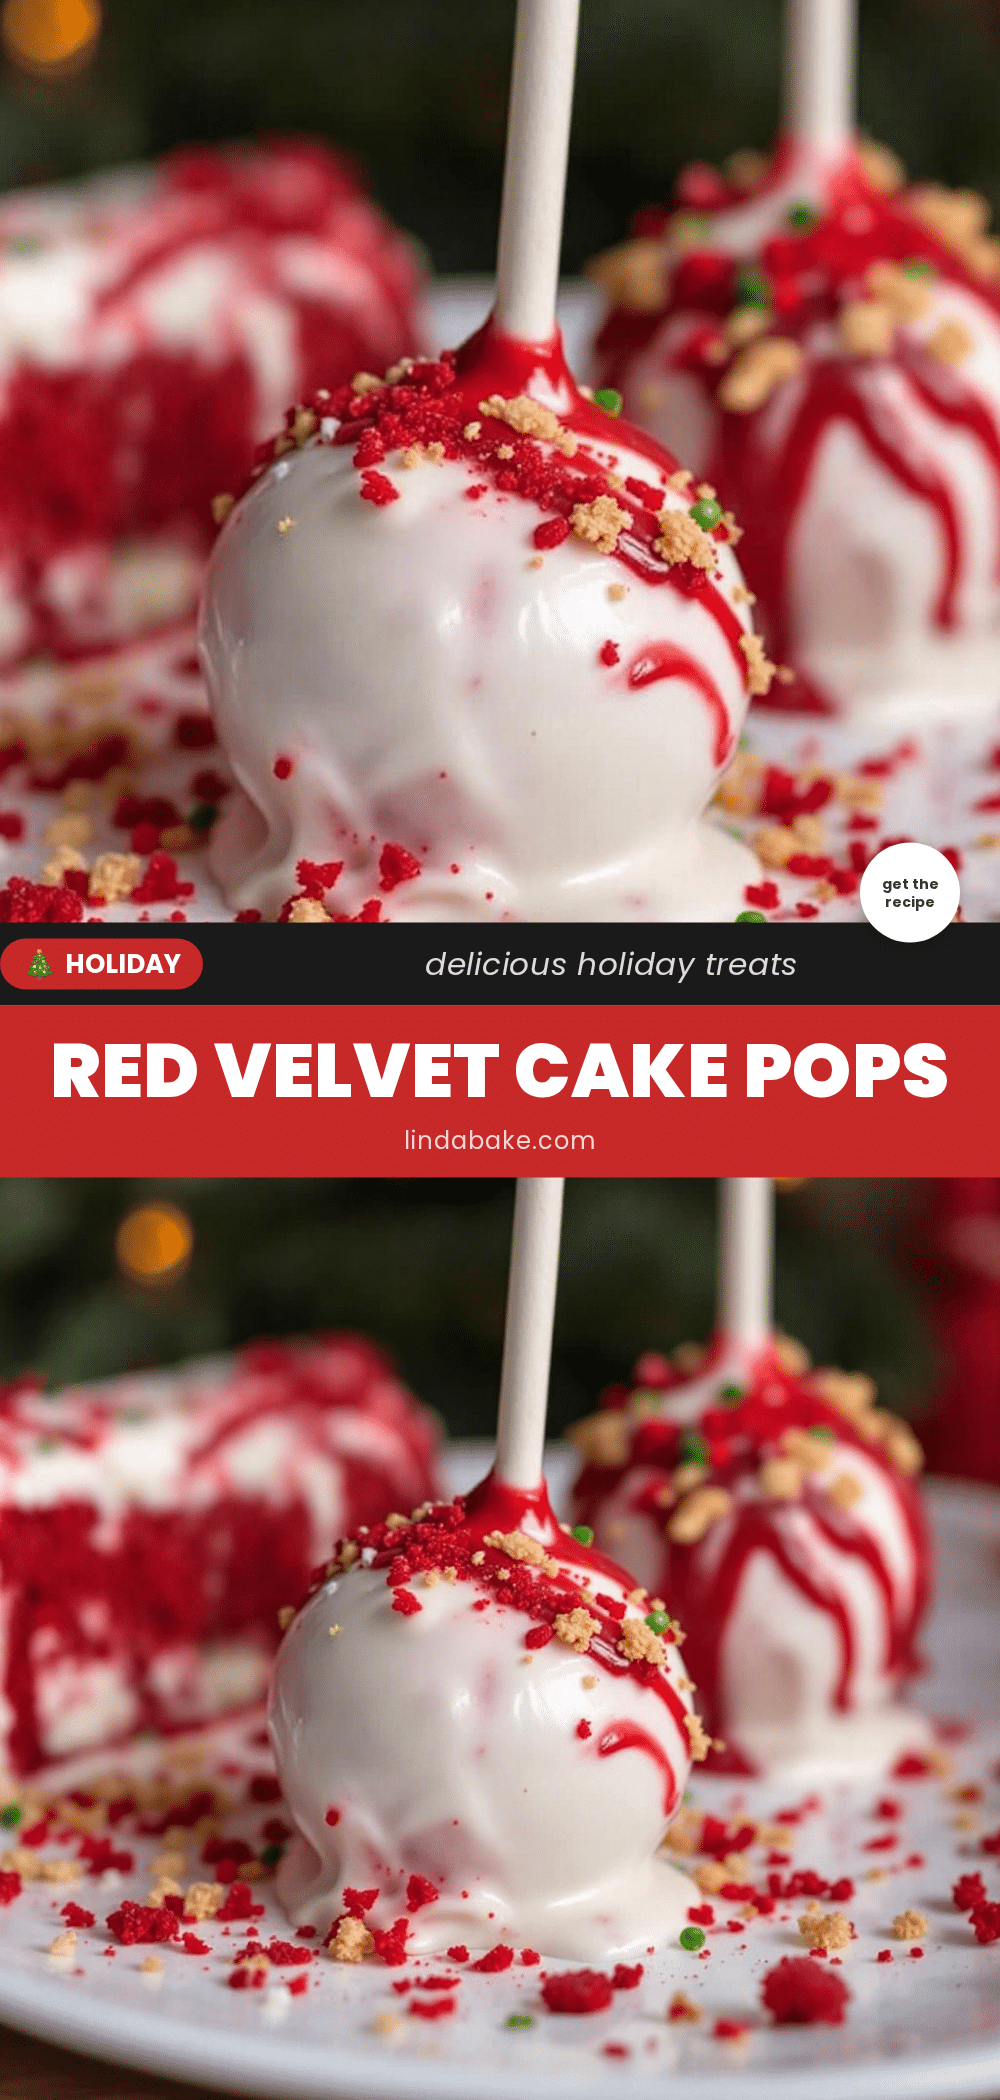
Festive Red Velvet Christmas Cake Pops

Easy-to-make red velvet cake pops using a boxed mix, cream cheese frosting, and white chocolate coating. These festive treats are perfect for holiday gifting, parties, or quiet holiday rituals.
- Prep Time: 45 minutes
- Cook Time: 25 minutes
- Total Time: 2 hours 10 minutes
- Yield: 24 servings 1x
- Category: Dessert
- Cuisine: American
Ingredients
- 1 box (15.25 oz / 432g) Red Velvet Cake Mix
- 1/2 cup (120 ml) Vegetable Oil
- 1 cup (240 ml) Water (hot)
- 2 Large Eggs (room temperature)
- 8 oz (225g) Cream Cheese (softened, full-fat block)
- 1 tsp Vanilla Extract
- 2 cups (340g) White Chocolate Chips
- 1 tbsp Shortening
- 1 cup Holiday Sprinkles (red and white)
- Red Food Coloring (optional, for extra vibrancy)
Instructions
- Preheat oven to 350°F (175°C). Grease a 9×13 inch baking pan.
- Prepare cake batter according to box instructions using oil, water, and eggs. Pour into the pan.
- Bake for 20-25 minutes until moist and slightly underdone. Let cool completely (about 1 hour).
- Crumble the cooled cake into fine crumbs in a large bowl, removing any large chunks.
- Beat softened cream cheese until smooth, add vanilla, and mix into the cake crumbs. Start with 1/2 cup of frosting/crumb mixture balance; add more if needed until it feels like damp sand.
- Cover and refrigerate the mixture for at least 1 hour to firm up.
- Roll the mixture into 1.5-inch uniform balls and place on a parchment-lined tray. Refrigerate for 15 minutes.
- Melt white chocolate chips with shortening using a double boiler or microwave in 30-second intervals, stirring until smooth.
- Dip the end of a popsicle stick into the melted chocolate and insert it into the bottom of a cake ball.
- Dip the entire ball into the melted chocolate, covering completely. Tap against the bowl to remove excess.
- Immediately add sprinkles while the chocolate is wet.
- Place upright in a muffin tin or foam block to set. Let sit at room temperature for 30 minutes or in the fridge for 15 minutes until hard.
Notes
Ensure the cake is completely cool before crumbling to prevent sogginess. The crumb-to-frosting ratio is critical; it should feel like damp sand, not wet mud. If chocolate cracks, the cake balls were too cold. If cake falls off the stick, ensure you dipped the stick in chocolate first for an anchor. Do not refrigerate finished pops unless necessary, as condensation can ruin the coating.
Nutrition
- Serving Size: 1 cake pop
- Calories: 180
- Sugar: 14
- Sodium: 150
- Fat: 10
- Saturated Fat: 6
- Carbohydrates: 20
- Fiber: 1
- Protein: 3
Keywords: red velvet cake pops, christmas dessert, holiday baking, easy cake pops, white chocolate coating, cream cheese frosting, festive treats, gifting ideas


