The mugs were stacked in the sink, still warm, but the cocoa was gone. I had barely taken a sip of my own cup before my husband reached for the pitcher again. “Is there more?” he asked, with that specific look people get when they realize they just found their new favorite winter thing. By 8 PM, my phone buzzed. It was my sister asking for the ratio of cocoa to milk. Again.
I didn’t plan this. Honestly, I just wanted a quiet evening with a book and a warm drink. But the moment I set out the bowls of toppings, the vibe in the kitchen shifted. It wasn’t just about the hot cocoa anymore. It became a little gathering. Friends drifted in from the cold, drawn by the smell of melting chocolate and toasted marshmallows.
This cozy hot cocoa bar with marshmallows started as a way to use up leftover ingredients from the holiday season. But it turned into something else entirely. It became a station for connection. People stood around the counter, debating whether to add peppermint or chili powder. They laughed while stirring in the whipped cream.
I watched them customize their drinks, trying flavors they’d never consider on their own. Someone added a splash of bourbon. Another went heavy on the caramel drizzle. It was simple, really. Just milk, chocolate, and some fun extras. But the reaction was immediate and loud.
The dish was gone before I even sat down. Third time that week.
Now, whenever it gets cold outside, that’s what they ask for. Not a complicated dinner. Not a fancy appetizer. Just that rich, comforting drink with all the bells and whistles. It’s funny how something so simple can bring people together so easily. You don’t need a special occasion for it. You just need a mug and a little sweetness.
I keep the ingredients stocked now, just in case. Because I know what happens when the temperature drops. The mugs will empty. The requests will come. And I’ll be happy to make it again. It’s become our thing. A small, sweet ritual that beats any complicated party plan.
Why You’ll Love This Recipe
Quick & Easy
This recipe comes together in under 15 minutes, making it perfect for busy weeknights or last-minute guests who show up unannounced. You don’t need to spend hours in the kitchen. Just heat the milk, whisk in the cocoa, and let everyone build their own masterpiece. It’s the ultimate low-effort, high-reward hospitality move.
Simple Ingredients
No fancy grocery trips needed. You likely already have most of this in your pantry. High-quality cocoa powder, sugar, milk, and marshmallows are the core components. If you have some vanilla extract and a pinch of salt, you’re golden. This is comfort food reimagined—healthier, faster, but with the same soul-soothing satisfaction.
Perfect for Cozy Dinners
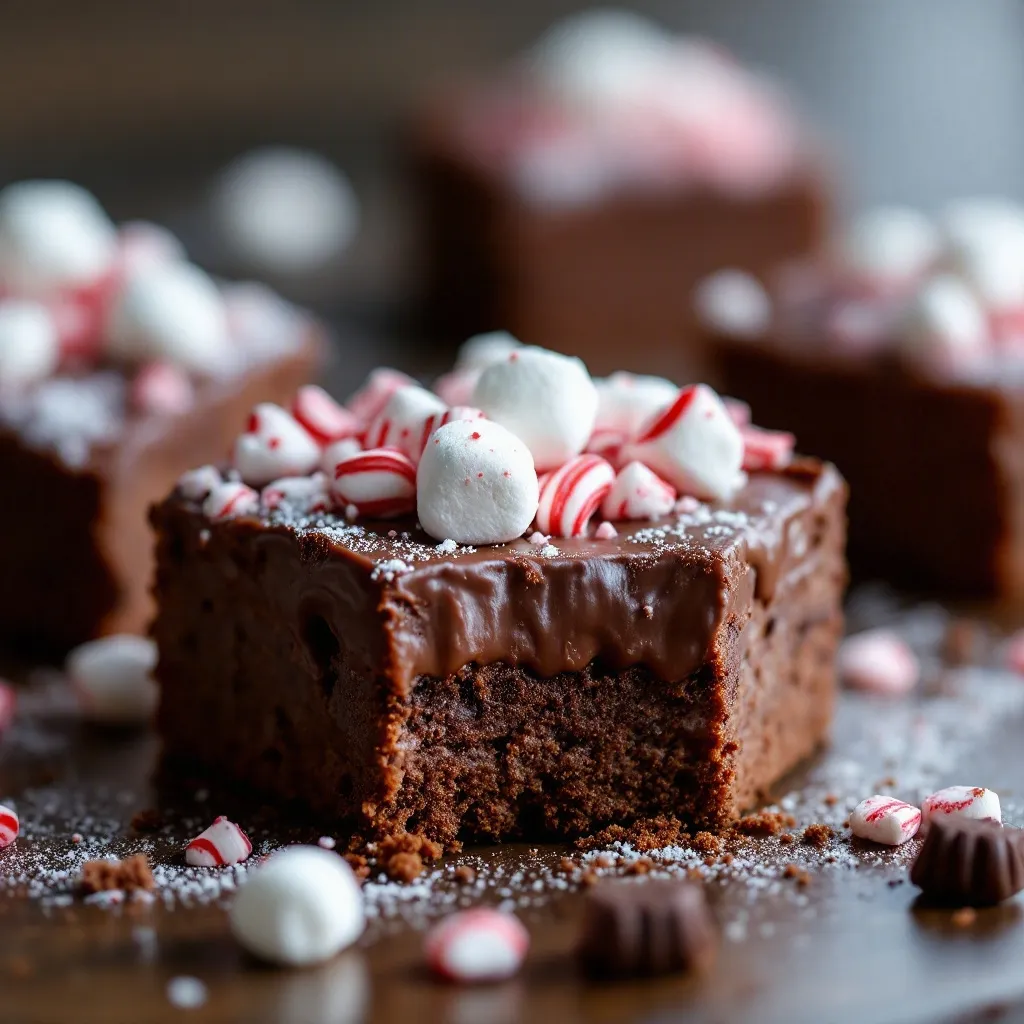
Whether it’s a movie night, a post-skiing wind-down, or just a rainy Tuesday, this setup fits perfectly. It transforms a simple beverage into an event. It’s great for impressing guests without stress, or turning a simple meal into something memorable. Think of it as the liquid version of a warm blanket.
Crowd-Pleaser
Always gets rave reviews from kids and adults alike. Kids love the colorful toppings and the ability to customize their drink. Adults appreciate the ability to add a kick of alcohol or sophisticated spices. It bridges the gap between playful and refined.
Unbelievably Delicious
The texture and flavor combo is next-level comfort food. When you mix the rich chocolate base with the airy marshmallows, you get a contrast that hits all the right spots. It’s not just good—it is the kind that makes you close your eyes after the first bite. The warmth spreads through your whole body.
What Makes It Different
This isn’t just another version of hot cocoa. It’s your best version. The secret is in the base. We use a specific ratio of cocoa to sugar that prevents it from being too sweet or too bitter. Plus, the addition of a tiny pinch of salt amplifies the chocolate flavor in a way you probably haven’t tried before. It’s the balance that makes it stick.
What Ingredients You Will Need
This recipe uses simple, wholesome ingredients to deliver bold flavor and satisfying texture without the fuss. The beauty of this hot cocoa bar is that the base is classic, but the toppings are where the magic happens. You can keep it traditional or go wild with creative add-ins.
For the Rich Chocolate Base
- Unsweetened Cocoa Powder: Use a high-quality Dutch-processed cocoa for a deeper, smoother flavor. I recommend Dutchess 2% or 3% for best texture. It mixes easier and tastes less acidic.
- Granulated Sugar: Adjust to taste. Some people like it sweet, others prefer it rich. Start with half a cup and taste as you go.
- Whole Milk: Full-fat milk creates the creamiest mouthfeel. If you need dairy-free, oat milk is the best substitute for creaminess. Almond milk can be a bit thin.
- Heavy Cream: A splash of heavy cream adds luxurious richness. It’s optional but highly recommended for that café-style taste.
- Vanilla Extract: Pure vanilla, not imitation. It adds a subtle floral note that rounds out the chocolate.
- Salt: A pinch of sea salt is non-negotiable. It cuts the sweetness and makes the chocolate pop.
For the Marshmallow Topping
- Mini Marshmallows: The standard white ones are classic. But try mixing in colored ones for a festive look.
- Toasted Marshmallows: For a gourmet touch, broil the marshmallows briefly until golden. It adds a smoky, caramelized flavor.
For the Toppings Bar
- Whipped Cream: Homemade is best, but store-bought works in a pinch. Keep it chilled.
- Chocolate Shavings: Use a high-quality chocolate bar and shave it with a peeler. Dark, milk, and white chocolate options are great.
- Caramel Sauce: Store-bought or homemade. Drizzle it on top for a sweet, salty contrast.
- Peppermint Candy: Crushed candy canes add a refreshing crunch and minty flavor.
- Chili Powder: For the adventurous, a tiny dash of cayenne or chili powder adds a warm kick.
- Cookie Crumbles: Oreos or gingerbread cookies make for a delicious, crunchy garnish.
Equipment Needed
You don’t need much to pull this off, which is part of the charm. A medium-sized saucepan is essential for heating the milk evenly without burning it. I prefer stainless steel because it heats quickly and is easy to clean. If you don’t have one, a microwave-safe pitcher works too, though you’ll need to stir frequently to avoid hot spots.
A whisk is your best friend here. It breaks up the cocoa powder clumps and ensures a smooth texture. A small frother is nice if you want that café-style foam on top, but a whisk works perfectly fine.
For serving, wide-mouth mugs or heatproof glasses are ideal. They show off the layers of toppings and make it easier to dip a spoon in. I like using ceramic mugs because they retain heat longer than glass.
For the toppings bar, small bowls are necessary. You’ll want at least six to eight small bowls for the different add-ins. If you’re short on space, you can arrange them on a large platter or a wooden board. It looks rustic and inviting.
Keep a ladle or a large measuring cup handy for pouring the hot cocoa. It’s much cleaner than trying to pour from a saucepan. And don’t forget napkins. Lots of them. This is a messy, fun drink, and people will appreciate the cleanup help.
Preparation Method
Step 1: Prepare the Toppings
Start by setting up your toppings bar. This should be done before you heat the milk so everything is ready to go. Fill your small bowls with the whipped cream, chocolate shavings, crushed peppermint, cookie crumbles, and caramel sauce. Place them on a tray or the counter within easy reach. If you’re toasting marshmallows, do this now under the broiler for 1-2 minutes until golden. Watch them closely—they burn fast. Set them aside to cool slightly.
Step 2: Heat the Milk
Pour the milk into your saucepan over medium heat. You want it to get hot, but not boiling. Boiling milk can scald, which gives it a weird taste. Stir occasionally and watch for small bubbles forming around the edges. This takes about 5-7 minutes. If you’re making a large batch, you might need to do this in two rounds.
Step 3: Mix the Cocoa Base
In a separate bowl, whisk together the cocoa powder and sugar. This step is crucial. If you add the dry ingredients directly to the hot milk, you’ll get lumps. By mixing them with a little cold milk first, you create a smooth paste. Once the milk is hot, slowly whisk in the cocoa mixture. Keep whisking until everything is fully dissolved and smooth.
Step 4: Season and Finish
Remove the pan from the heat. Stir in the vanilla extract and the pinch of salt. Taste the cocoa. Does it need more sugar? More salt? Adjust as needed. If you want it extra rich, stir in a splash of heavy cream now. Keep the pot warm on the stove on the lowest setting while you serve.
Step 5: Serve and Customize
Ladle the hot cocoa into mugs. Aim for about 1.5 to 2 cups per person. Immediately top with a generous scoop of marshmallows. Let guests add their own toppings. Whipped cream, chocolate shavings, peppermint, or a drizzle of caramel. Encourage them to mix and match. The first sip is always the best one.
Cooking Tips & Techniques
Avoiding Lumps
The biggest mistake people make is adding cocoa powder directly to hot liquid. It clumps instantly. Always mix the cocoa with sugar first, or make a slurry with a little cold milk. This ensures a silky-smooth drink every time. I learned this the hard way after a lumpy batch ruined my morning mood.
Controlling Temperature
Never let the milk boil. High heat can cause the proteins in the milk to denature, leading to a skin forming on top and a burnt taste. Medium-low heat is your friend. Patience pays off in flavor.
Choosing the Right Cocoa
Not all cocoa powders are created equal. Natural cocoa powder is acidic and lighter in color. Dutch-processed cocoa is treated with alkali, making it darker and smoother. For hot cocoa, Dutch-processed usually tastes richer. Check the label. If it says “natural,” you might need a bit more sugar to balance the acidity.
Toast Your Marshmallows
If you have a moment, broil the marshmallows. It adds a depth of flavor that raw marshmallows just can’t match. The caramelization brings out a toffee-like taste that pairs beautifully with the chocolate. It’s a small step that makes a big difference.
Keep It Warm
If you’re serving a crowd, keep the cocoa warm on the stove. But don’t let it sit there for hours. The flavor can degrade if it’s kept at a rolling simmer. Low heat only. Or, transfer it to a slow cooker on the “warm” setting. It’s less hands-on and keeps the temperature steady.
Variations & Adaptations
Dietary Adjustments
You can easily make this recipe gluten-free and dairy-free. Use oat milk or almond milk instead of dairy milk. Check that your marshmallows are vegan (some contain gelatin). For the toppings, use dairy-free whipped cream and ensure your chocolate shavings are free of cross-contamination. It’s still just as indulgent.
Flavor Twists
Try adding a teaspoon of instant espresso powder to the base. It enhances the chocolate flavor without making it taste like coffee. Or, stir in a pinch of cinnamon and nutmeg for a pumpkin spice vibe. These additions are subtle but effective.
Alcoholic Version
For adults, add a shot of bourbon, rum, or Baileys Irish Cream. It turns the drink into a cozy nightcap. Add the alcohol after you’ve removed the milk from the heat to preserve the alcohol content. It’s a great way to make this suitable for holiday parties.
Seasonal Variations
In the summer, serve it over ice for a hot cocoa float. Top with whipped cream and chocolate syrup. In the fall, add apple cider to the milk base for a spiced twist. The versatility of this recipe is endless.
Personal Favorite
My personal go-to is the “Salted Caramel” version. I add a tablespoon of caramel sauce to the base and top it with sea salt flakes. It’s sweet, salty, and incredibly satisfying. You should try it.
Serving & Storage Suggestions
Serve the hot cocoa immediately while it’s hot. The marshmallows will start to melt if you let it sit too long. Present the mugs on a wooden board with the toppings arranged around them. It looks rustic and inviting. Add a small spoon for stirring.
Leftover cocoa base can be stored in the refrigerator for up to three days. Reheat it gently on the stove, adding a splash of milk if it’s too thick. The flavors might meld further, making it even richer. Do not freeze the milk base, as the texture can separate upon thawing.
Toppings should be kept in separate airtight containers. Whipped cream lasts a couple of days in the fridge. Marshmallows stay fresh for months in a sealed bag. Chocolate shavings can be stored at room temperature.
For a party, set up the bar early. Keep the cocoa base warm in a slow cooker. This allows guests to serve themselves at their own pace. It reduces stress for the host and keeps the flow moving.
Nutritional Information & Benefits
Hot cocoa is a treat, so enjoy it in moderation. A standard serving contains about 200-300 calories, depending on the milk and toppings used. The cocoa powder provides antioxidants, which are good for heart health. Milk adds calcium and protein. However, the sugar and whipped cream add empty calories.
For a lighter version, use skim milk and skip the whipped cream. You can still get the rich flavor from the cocoa and vanilla. It’s a balance of indulgence and nutrition. Listen to your body and enjoy the warmth.
Conclusion
This cozy hot cocoa bar with marshmallows is more than just a drink. It’s an experience. It brings people together, warms them up, and lets them get creative. I love it because it’s simple yet sophisticated. It’s perfect for any time of year.
Try customizing it with your favorite toppings. Maybe you like extra peppermint or a dash of chili. Make it your own. I can’t wait to hear what you come up with.
If you make this recipe, please leave a comment below. Share your favorite topping combo. Tag me on social media if you post a photo. I love seeing your creations.
Stay cozy, and happy drinking.
FAQs
Can I make this hot cocoa ahead of time?
Yes, you can prepare the cocoa base a few hours in advance. Keep it warm on the stove or in a slow cooker. Just reheat gently before serving. The toppings should be added fresh.
What is the best milk to use for hot cocoa?
Whole milk provides the creamiest texture. For a lighter option, 2% milk works well. Dairy-free alternatives like oat milk are great for creaminess, while almond milk is thinner. Choose based on your preference.
How do I prevent lumps in the cocoa?
Mix the cocoa powder with sugar first. Then whisk it into a small amount of cold milk to make a paste. Finally, add the hot milk slowly while whisking. This ensures a smooth consistency.
Can I use marshmallow fluff instead of mini marshmallows?
Yes, marshmallow fluff works well. It melts into the drink quickly, adding a sweet, airy texture. It’s a nice alternative if you can’t find mini marshmallows.
Is there a sugar-free version of this recipe?
Yes, use a sugar-free cocoa mix or add your own sweetener like stevia or erythritol. Adjust to taste. The flavor might be slightly different, but it’s still delicious.
Pin This Recipe!
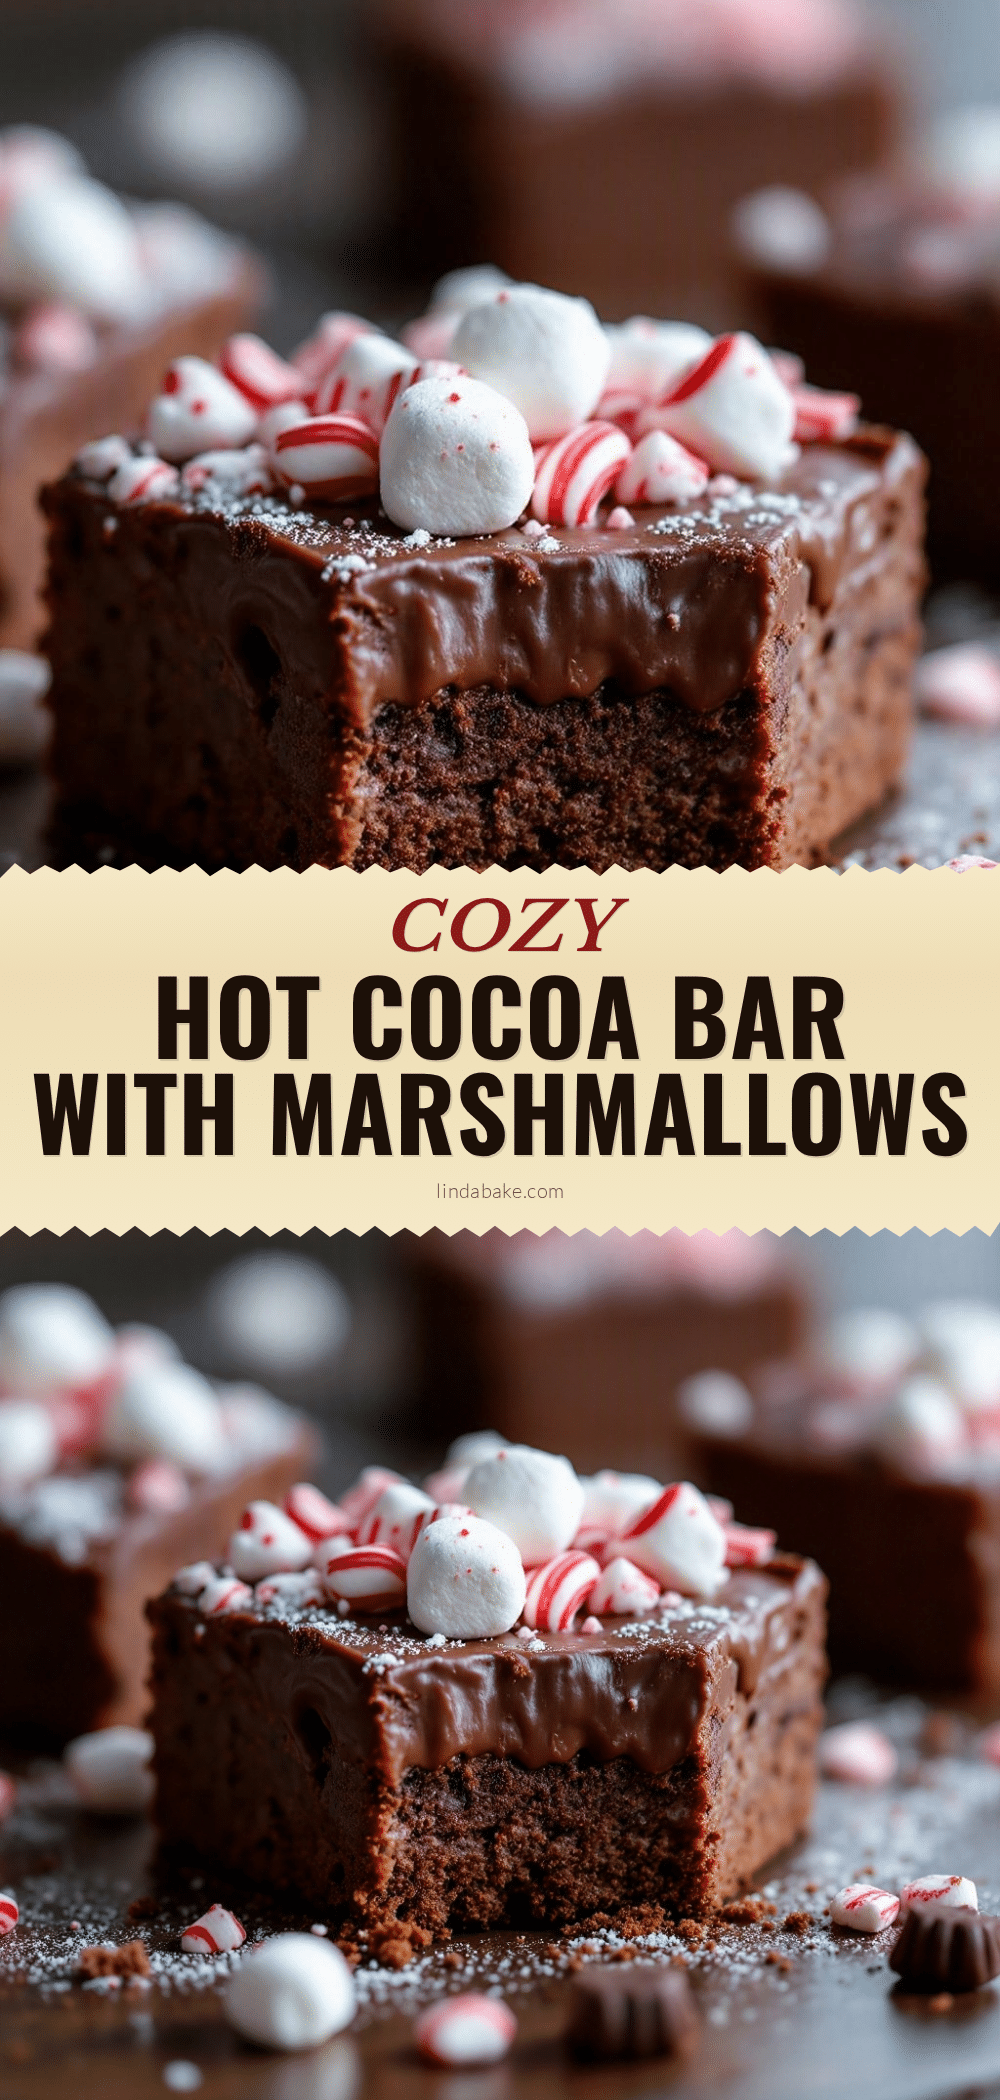
Cozy Hot Cocoa Bar: Easy Homemade Recipe for 6 Drinks
A comforting homemade hot cocoa bar recipe that serves six, featuring a rich chocolate base and a variety of customizable toppings like marshmallows, whipped cream, and spices.
- Prep Time: 5 minutes
- Cook Time: 10 minutes
- Total Time: 15 minutes
- Yield: 6 servings 1x
- Category: Beverage
- Cuisine: American
Ingredients
- 1 cup Unsweetened Cocoa Powder (Dutch-processed recommended)
- 1/2 cup Granulated Sugar (adjust to taste)
- 6 cups Whole Milk (or oat milk for dairy-free)
- 1/2 cup Heavy Cream (optional, for richness)
- 1 teaspoon Vanilla Extract
- 1 pinch Sea Salt
- Mini Marshmallows (for topping)
- Toasted Marshmallows (optional, for topping)
- Whipped Cream (for topping)
- Chocolate Shavings (dark, milk, or white)
- Caramel Sauce (for drizzling)
- Crushed Peppermint Candy
- Chili Powder or Cayenne Pepper (optional)
- Cookie Crumbles (Oreos or gingerbread)
Instructions
- Set up the toppings bar by filling small bowls with whipped cream, chocolate shavings, crushed peppermint, cookie crumbles, and caramel sauce.
- If using toasted marshmallows, broil them for 1-2 minutes until golden, then set aside to cool.
- Pour milk into a medium saucepan and heat over medium heat until hot but not boiling (about 5-7 minutes).
- In a separate bowl, whisk together cocoa powder and sugar to create a smooth paste.
- Slowly whisk the cocoa mixture into the hot milk until fully dissolved and smooth.
- Remove from heat and stir in vanilla extract and a pinch of sea salt.
- Taste and adjust sweetness or salt if needed. Stir in heavy cream if desired.
- Ladle hot cocoa into wide-mouth mugs (about 1.5 to 2 cups per person).
- Top immediately with marshmallows and allow guests to add their preferred toppings.
Notes
Do not let the milk boil to avoid scalding. Mix cocoa with sugar first to prevent lumps. Keep the cocoa warm on low heat or in a slow cooker for serving. Leftover base can be refrigerated for up to 3 days.
Nutrition
- Serving Size: 1.5 to 2 cups per pe
- Calories: 250
- Sugar: 30
- Sodium: 100
- Fat: 12
- Saturated Fat: 7
- Carbohydrates: 35
- Fiber: 2
- Protein: 8
Keywords: hot cocoa, hot chocolate, winter drinks, cozy recipes, cocoa bar, homemade hot cocoa, marshmallows, holiday drinks


