Let’s face it, I have been burned before by those “5-Ingredient” recipes that promise the moon but deliver a chemistry experiment. I stood in my kitchen, staring at a bag of cake mix and a block of cream cheese, convinced I was missing something. You know how it goes. There is always a secret ingredient. A pinch of saffron. A cup of buttermilk. Something that requires a trip to the specialty aisle.
But honestly, I was wrong. The tension between my skepticism and the reality of the batter was immediate. I dumped the orange food coloring in, expecting a neon disaster. Instead, it swirled into this rich, pumpkin-pie hue that looked like it belonged in a bakery window, not my messy prep bowl. It was weirdly satisfying.
I wasn’t trying to create a masterpiece for a magazine. I just wanted something that didn’t require a dozen bowls and three hours of my life. These bars are the kind of thing you make when you are already overwhelmed with Halloween prep. The kids are running around. The house is loud. And you just need one thing that tastes homemade but came together faster than you can finish a cup of coffee.
It turns out, simplicity is the real magic trick here. I figured it would be dry. It wasn’t. It was moist, chewy, and smelled like vanilla and comfort. That quiet realization hit me when I pulled the pan out of the oven—the smell alone stopped everyone in their tracks. This isn’t just a snack; it’s a rescue mission for your evening. And once you taste it, you won’t believe how easy it was to fool yourself into thinking you spent all day baking.
Why You’ll Love This Recipe
There is a specific kind of relief that comes from making a dessert that looks complicated but actually requires almost zero skill. I have tested this Easy 5-Ingredient Halloween Sugar Cookie Bars version at least a dozen times, tweaking ratios and pan sizes, just to make sure it works for you. It works. Here is why this recipe has earned its spot in your regular rotation.
- Quick & Easy: This comes together in under 20 minutes of active prep time. The baking time is another 25 minutes, so you are looking at less than an hour from start to finish. It is perfect for busy weeknights or last-minute cravings when you need something sweet fast.
- Simple Ingredients: No fancy grocery trips needed. You likely already have cake mix, cream cheese, eggs, and butter in your kitchen. If you don’t, you can grab them on the way home. It is pantry-friendly and stress-free.
- Perfect for Halloween Parties: Whether it is a classroom treat, a neighbor drop-off, or a spooky movie night, these bars fit the occasion perfectly. The orange color is festive without being overly childish.
- Crowd-Pleaser: Kids love the sugar cookie flavor, and adults appreciate the rich, cheesecake-like base. It always gets rave reviews because it hits that sweet spot between a cookie and a bar.
- Unbelievably Delicious: The texture is the real winner. You get the chewy, soft edge of a sugar cookie mixed with the dense, creamy center of a cheesecake. It is next-level comfort food that feels indulgent but is surprisingly simple.
What makes this different from the rest? Most sugar cookie recipes rely on rolling dough and cutting shapes. This recipe skips the labor. By using a cake mix as the base, you get a consistent texture every single time. There is no over-mixing, no sticky dough to clean off the counter. It is the smart cook’s shortcut. It isn’t just good—it is the kind of recipe that makes you close your eyes after the first bite because the flavor is just that comforting. It turns a simple meal into something memorable without the stress.
What Ingredients You Will Need
This recipe uses simple, wholesome ingredients to deliver bold flavor and satisfying texture without the fuss. The beauty here is in the combination of shelf-stable items and fresh dairy. You do not need to hunt down exotic spices or rare flours. Everything here plays a specific role in creating that dual-layered texture.
For the Base and Topping
- Yellow Cake Mix (15.25 oz box): This is your foundation. I recommend using a standard brand like Duncan Hines or Betty Crocker. Do not use “super moist” versions if you want a chewier bar, as extra oil can make it greasy. The dry mix provides the structure and the classic sugar cookie flavor.
- Unsalted Butter (1/2 cup, melted): Melted butter binds the dry cake mix together. It adds richness and helps the bars hold their shape. If you are dairy-free, you can use a high-quality vegan butter stick, but the flavor will differ slightly.
- Large Eggs (2 large): These provide structure and lift. Bring them to room temperature if you have time, though cold eggs work fine in a pinch. They help emulsify the cream cheese layer.
- Orange Gel Food Coloring (1-2 teaspoons): Use gel coloring, not liquid. Liquid coloring adds too much water and can throw off the batter consistency. Gel gives you that vibrant Halloween orange without making the bars soggy.
For the Cream Cheese Layer
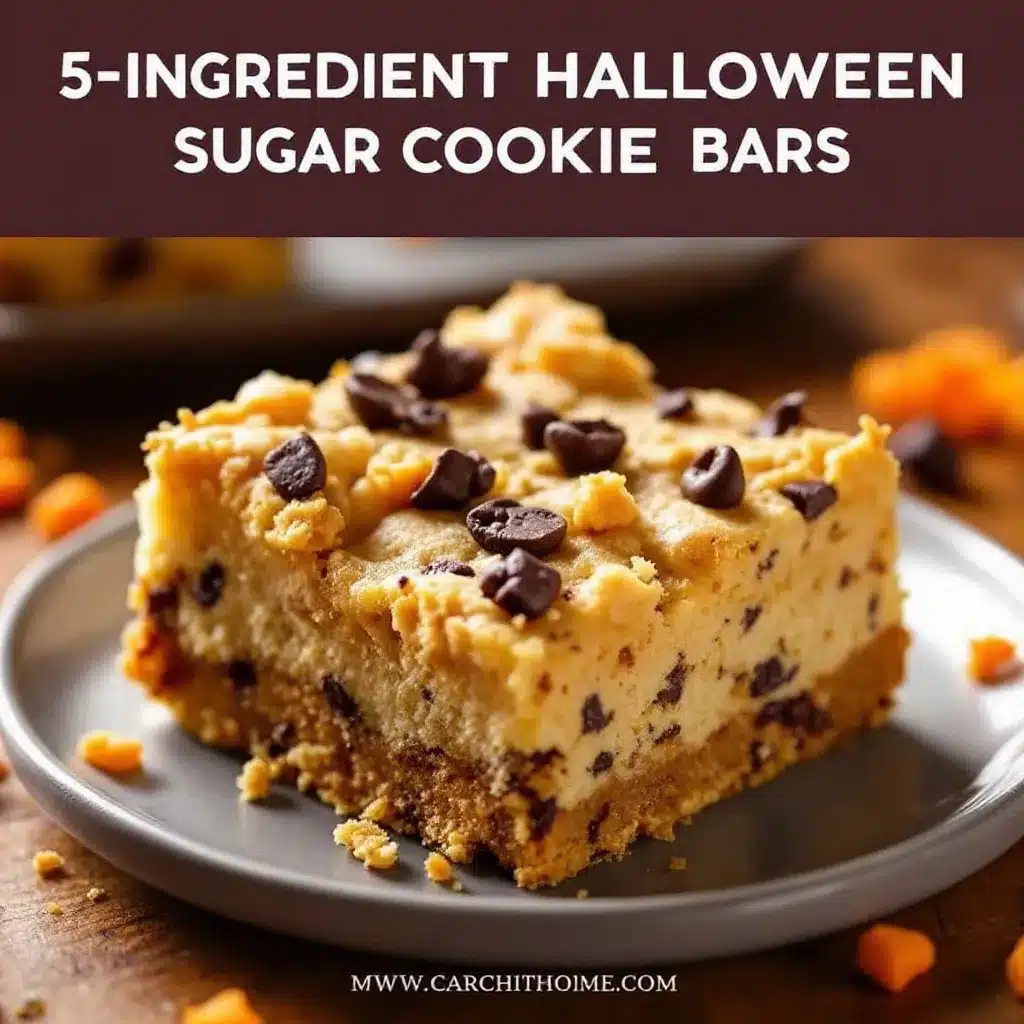
- Cream Cheese (8 oz block, softened): This is crucial. Use the full-fat brick kind from the refrigerated section. The tub-style whipped cream cheese will not work here; it has too much air and moisture. Soften it on the counter for 30 minutes before mixing.
- Granulated Sugar (1/2 cup): This sweetens the cream cheese layer and helps it set properly. Brown sugar can be used for a caramel note, but white sugar keeps the flavor clean and classic.
- Vanilla Extract (1 teaspoon): Just a splash to round out the flavors. It bridges the gap between the sweet cake mix and the tangy cheese.
For the best texture, I personally prefer to sift the cake mix if it has been sitting in the pantry for a while. It breaks up any clumps that might form in the final bars. Also, look for firm, small-curd cream cheese for the smoothest batter. If you live in a humid climate, you might want to reduce the butter by a tablespoon, as humidity can make baked goods softer.
Equipment Needed
You do not need a fancy kitchen to pull this off. In fact, the less equipment you use, the easier this becomes. Here is what you will need to get the job done without a cleanup nightmare.
- 9×13 Inch Baking Pan: A standard glass or metal pan works best. Glass heats more evenly, which helps the bottom crust get slightly crisp. If you use a dark metal pan, you may need to reduce the oven temperature by 25 degrees to prevent burning.
- Medium Mixing Bowl: For combining the cake mix and butter. A bowl with a spout makes pouring easier and keeps your counters clean.
- Stand Mixer or Hand Mixer: While you can whisk the cream cheese mixture by hand, a mixer ensures there are no lumps. I use a hand mixer because it is faster to grab and easier to wash. If you do it by hand, be prepared to whisk for a full two minutes.
- Paper Liners or Aluminum Foil: Lining your pan is non-negotiable for easy removal. Foil with a little non-stick spray works well if you are in a rush. Parchment paper is better for cleanup but harder to shape into corners.
- Spatula: A silicone spatula is essential for scraping the bowls clean and spreading the batter evenly. Do not use a wooden spoon for the final spread; it leaves ridges.
Personal tip: If you have a larger 9×15 pan, the bars will be thinner and bake faster. Keep an eye on them after 20 minutes. For budget-friendly options, any standard 9×13 pan from a dollar store works fine as long as it is straight-sided. Avoid pie plates or deep dishes, as the cooking time will be off.
Preparation Method
Let’s walk through the process step-by-step. I have broken this down so you know exactly what to expect at each stage. Pay attention to the sensory cues; they are your best guide since ovens vary wildly.
- Preheat and Prep (2 minutes): Start by preheating your oven to 350°F (175°C). Line your 9×13 inch baking pan with foil or parchment paper, leaving an overhang on the sides. This overhang is your handle for lifting the bars out later. Do not skip this; trying to dig sticky bars out of a pan is a recipe for frustration.
- Mix the Base (3 minutes): In a medium bowl, combine the dry cake mix and the melted butter. Stir with a wooden spoon or spatula until the mixture resembles coarse sand. It should look crumbly but hold together when you squeeze it. If it looks too dry, add another tablespoon of butter. If it is soupy, add a spoonful more cake mix. This texture is key for a chewy base.
- Press the Crust (2 minutes): Dump the crumbly mixture into your prepared pan. Use your hands or the bottom of a measuring cup to press it down firmly. You want an even layer from corner to corner. Press hard. This ensures the bottom doesn’t get soggy when the wet layer is added. It should look like a compact, flat disc of dough.
- Prepare the Cream Cheese Layer (5 minutes): In a clean bowl, beat the softened cream cheese, sugar, eggs, and vanilla extract. If using a mixer, start on low and gradually increase to medium. Beat until the mixture is completely smooth and creamy. Scrape down the sides of the bowl to ensure no dry pockets of sugar remain. This should take about two minutes. The mixture should be thick and pale orange if you add the food coloring now.
- Add the Color (1 minute): Add your gel food coloring to the cream cheese mixture. Mix it in gently. You want a uniform orange color. Remember, gel coloring is potent, so start with 1 teaspoon and add more only if you want a deeper hue. Over-coloring can sometimes affect the taste, so keep it moderate.
- Layer the Batter (2 minutes): Pour the orange cream cheese mixture over the pressed crust. Use a spatula to spread it evenly. Be gentle; you do not want to mix it into the bottom layer. Just smooth the top. If there are small lumps of cream cheese, that is okay; they will bake out.
- Bake (25-30 minutes): Place the pan in the center of the oven. Bake for 25 to 30 minutes. The bars are done when the top is set and lightly golden, and the edges are pulling away slightly from the pan. The center should still have a slight jiggle, but not a liquid wave. Do not overbake, or they will become dry.
- Cool Completely (1-2 hours): This is the hardest part. Let the bars cool in the pan on a wire rack. They need to set completely before you cut them. If you cut them warm, they will fall apart. I usually let them cool for at least an hour, but overnight in the fridge gives the cleanest cuts.
Pro tip: If you are in a rush, you can speed up the cooling process by putting the pan in the fridge for 30 minutes. But be careful; condensation can form if you take it out too soon. Patience yields the best results.
Cooking Tips & Techniques
There are a few tricks I have learned along the way to ensure these bars come out perfect every time. These are not just tips; they are lessons learned from burnt batches and collapsed centers.
- Room Temperature Ingredients Matter: Cold cream cheese is the enemy of smooth batter. If you try to mix cold cream cheese with sugar, you will end up with gritty chunks that never fully dissolve. Soften it properly, or microwave it in 5-second bursts until it yields to pressure.
- Do Not Overmix the Base: When combining the cake mix and butter, stop as soon as it looks like wet sand. Overmixing develops gluten, which can make the crust tough and bread-like instead of chewy and tender.
- Watch the Oven Closely: Oven temperatures vary. My oven runs hot, so I check at 22 minutes. If the edges are browning too fast, cover the pan loosely with foil. The goal is a set center, not a burnt bottom.
- The Jiggle Test: When you pull the pan out, the center should move like gelatin, not like water. If it ripples like a pond, it needs more time. If it barely moves, it might be done. Trust your eyes and the visual cues.
- Cooling is Crucial: I cannot stress this enough. These bars are delicate when hot. They continue to cook and set as they cool. Cutting them warm is the #1 mistake people make. Wait until they are completely cool to the touch.
Another common mistake is pressing the crust too thin. You want a substantial base that can support the heavy cream cheese layer. Aim for about 1/4 inch thickness. If it is too thin, the bars will break when you lift them. Multitasking is easy here since you can mix the layers while the oven preheats, but keep them separate until needed.
Variations & Adaptations
While the classic orange version is perfect for Halloween, this recipe is a blank canvas. Here are a few ways to switch it up based on your taste or dietary needs.
- Chocolate Chip Twist: Add 1/2 cup of mini chocolate chips to the cream cheese layer before spreading. The contrast between the sweet cream cheese and the salty-sweet chocolate is incredible. It feels like a dessert pizza.
- Funfetti Version: Use a white or yellow cake mix and add 1/4 cup of rainbow sprinkles to the crust mixture. It adds a festive pop of color and extra crunch. This is great for birthdays or spring parties.
- Gluten-Free Option: Simply swap the standard cake mix for a gluten-free yellow cake mix. Most major brands now offer GF versions that work well. Note that some GF mixes absorb more moisture, so you may need an extra tablespoon of butter.
- Low-Sugar Adaptation: Use a sugar-free cake mix and substitute the sugar in the cream cheese layer with erythritol or monk fruit sweetener. The texture will be slightly different, but the flavor profile remains intact. It is a great option for those watching their intake.
- Pumpkin Spice Variation: Swap the orange food coloring for pumpkin pie spice and use a pumpkin spice cake mix. Add a dollop of whipped cream when serving. This turns the bars into a fall-themed treat that smells amazing.
I have tried adding a swirl of caramel sauce to the top before baking, and it creates a gooey, salty-sweet layer that is addictive. However, it does make cutting the bars messier. For a cleaner presentation, stick to the classic version or the chocolate chip twist. These variations allow you to keep the recipe interesting without reinventing the wheel.
Serving & Storage Suggestions
These bars are best served at room temperature, where the flavors are most balanced. Cold bars can make the cream cheese layer feel too dense, and warm bars can be messy to eat. For a spooky presentation, cut them into squares and arrange them on a platter with a dusting of powdered sugar to look like cobwebs.
They pair wonderfully with a glass of cold milk or a cup of hot coffee. If you are serving them at a party, consider adding a side of no-bake peanut butter granola bites for a balanced snack table. The contrast in textures keeps guests interested.
For storage, keep the bars in an airtight container at room temperature for up to 3 days. If your kitchen is hot, store them in the fridge. They will last for up to 5 days in the refrigerator. To freeze, wrap the entire pan in plastic wrap and then foil. They can be frozen for up to 2 months. Thaw them in the fridge overnight before serving. The flavors actually develop over the first day, making them taste even better on day two.
When reheating, avoid the microwave as it can make the cream cheese layer rubbery. If you need to warm them, place a bar on a plate and heat it for 10 seconds in the microwave. It is just enough to soften the edges without ruining the texture.
Nutritional Information & Benefits
While these are definitely a treat, they offer some unexpected benefits. The cream cheese layer provides a good source of protein and calcium, which helps balance out the sugar from the cake mix. Each bar (assuming 16 servings) contains approximately 280 calories, 12g of fat, 38g of carbohydrates, and 4g of protein.
They are not gluten-free or dairy-free by default, so those with allergies need to use the substitutions mentioned earlier. However, for the average person, they are a manageable indulgence. The simplicity of the ingredients means you know exactly what is going into your body—no preservatives or artificial colors beyond the food dye. I try to view desserts like this as a way to enjoy the moment rather than a dietary failure. They bring joy, and that has its own nutritional value.
If you are watching your sugar intake, consider serving smaller squares. The rich flavor means you do not need a huge portion to feel satisfied. Pairing them with a piece of fruit can add fiber and slow down the sugar absorption. It is about balance and enjoyment.
Conclusion
Making Easy 5-Ingredient Halloween Sugar Cookie Bars is proof that you do not need to be a professional baker to create something impressive. It is a recipe that respects your time while delivering on flavor and texture. I love this recipe because it takes the stress out of holiday baking. You get the satisfaction of homemade treats without the hours of cleanup.
I encourage you to try the variations and make it your own. Maybe add some sprinkles, or swap the coloring for a different hue. The base is forgiving and adaptable. Once you make this, you will likely find yourself coming back to it for other occasions, too. It is a versatile staple.
Please share your results! I would love to see how you decorated them or what variations you tried. Leave a comment below with your thoughts, or tag me on social media. Baking is better when shared, and your feedback helps me create more recipes like this. Enjoy the process, and don’t worry about perfection. The taste is what counts.
Frequently Asked Questions
Can I use a box of devil’s food cake mix instead of yellow?
Yes, you can use chocolate cake mix for a “cookie dough” vibe. The color will be brown, but the flavor combination with the cream cheese is delicious. Just skip the orange food coloring.
Why did my bars crack on top?
Cracking usually happens if the oven is too hot or if the bars are overbaked. Cream cheese batters are prone to cracking if they dry out. Make sure to pull them when they still have a slight jiggle in the center.
Can I make these in a different pan size?
You can use a 9×9 square pan, but the bars will be thicker. Increase the baking time by 5-10 minutes and check for doneness carefully. The cooking time will vary based on the pan depth.
Is gel food coloring necessary?
It is highly recommended. Liquid food coloring adds water to the batter, which can make the texture gummy. Gel coloring provides intense color without altering the consistency of the cream cheese layer.
How do I store leftovers?
Store them in an airtight container at room temperature for up to 3 days. For longer storage, refrigerate for up to 5 days or freeze for up to 2 months. Always let them come to room temperature before eating for the best texture.
Pin This Recipe!
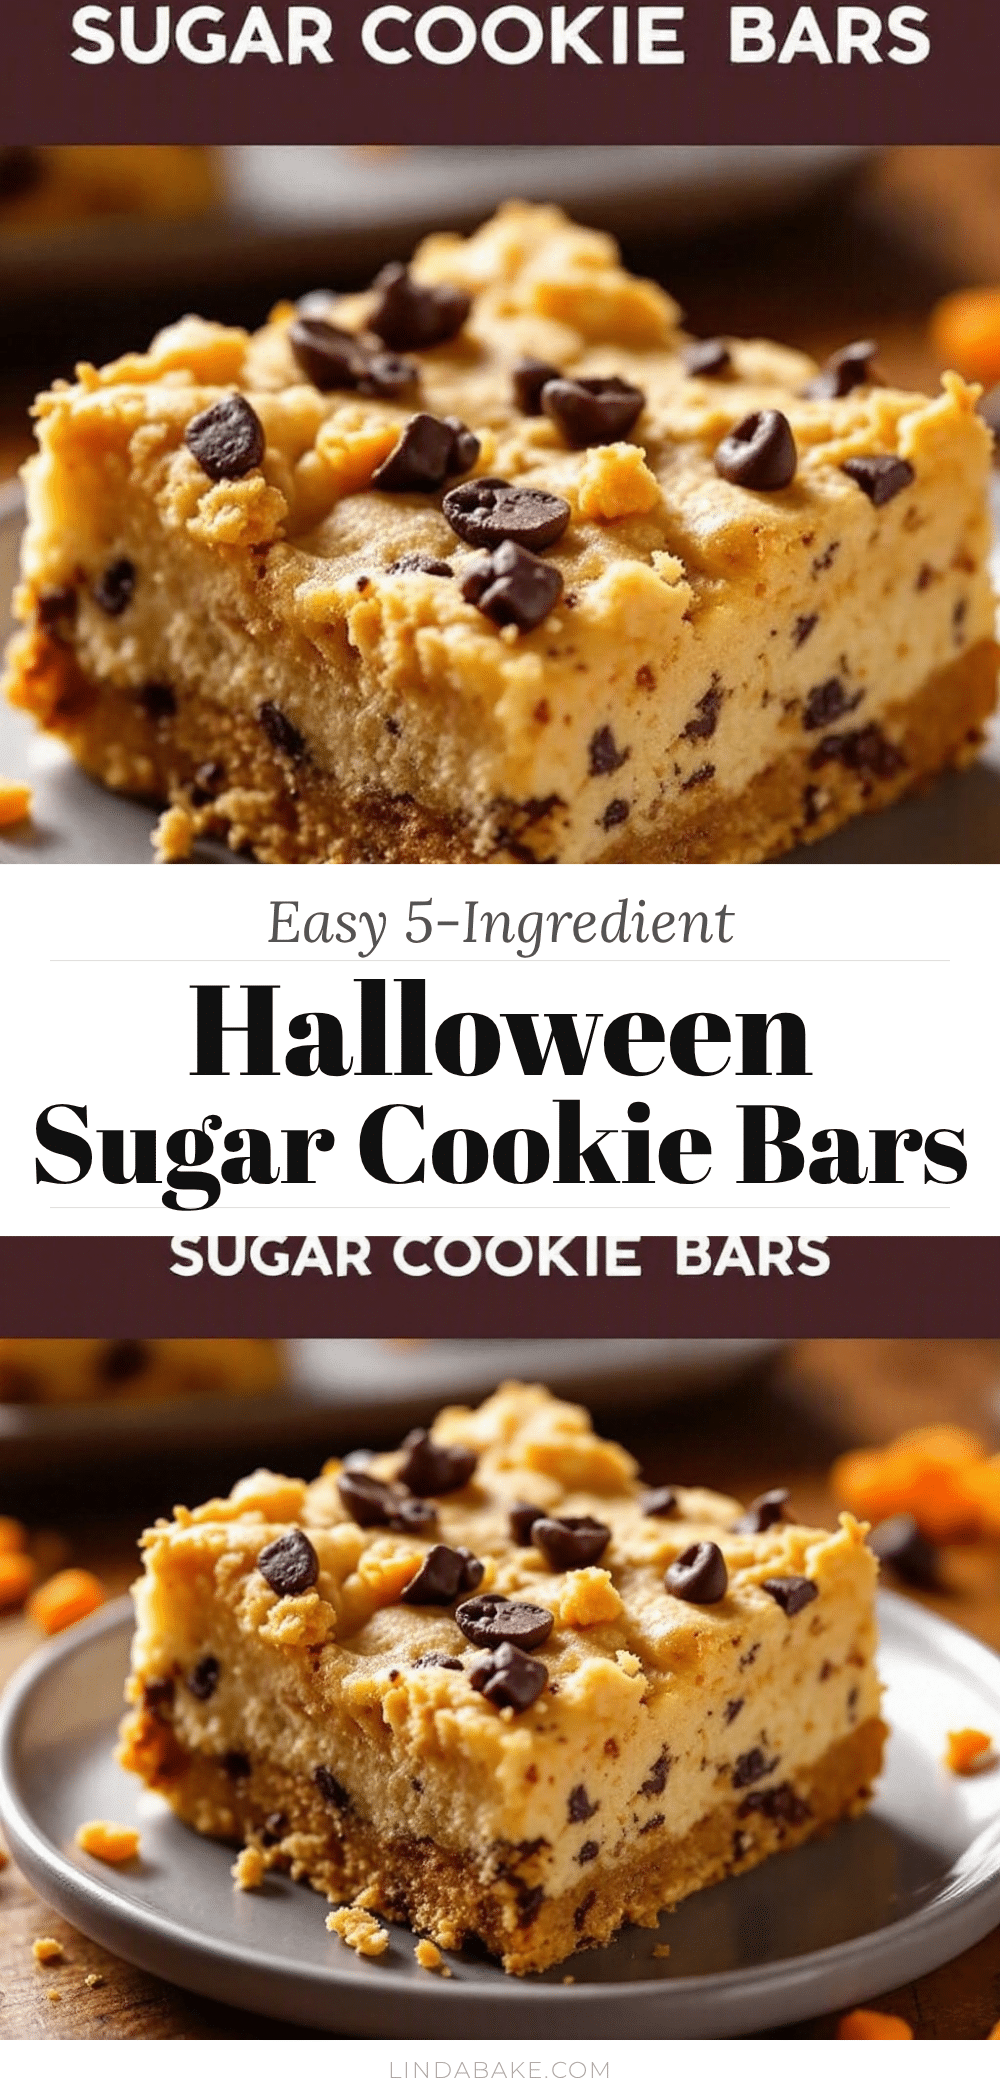
Easy Halloween Sugar Cookie Bars: 5-Ingredient Recipe
These easy 5-ingredient Halloween sugar cookie bars combine a chewy yellow cake mix crust with a rich, creamy orange cream cheese layer. They are quick to make, require no special skills, and deliver a delicious, festive treat perfect for parties or busy weeknights.
- Prep Time: 20 minutes
- Cook Time: 25 minutes
- Total Time: 45 minutes
- Yield: 16 servings 1x
- Category: Dessert
- Cuisine: American
Ingredients
- 15.25 oz box yellow cake mix (standard brand, not super moist)
- 1/2 cup unsalted butter, melted
- 2 large eggs
- 1–2 teaspoons orange gel food coloring
- 8 oz block cream cheese, softened (full-fat)
- 1/2 cup granulated sugar
- 1 teaspoon vanilla extract
Instructions
- Preheat oven to 350°F (175°C). Line a 9×13 inch baking pan with foil or parchment paper, leaving an overhang on the sides.
- In a medium bowl, combine the dry cake mix and melted butter. Stir until the mixture resembles coarse sand and holds together when squeezed.
- Press the crumbly mixture firmly into the prepared pan to form an even, compact crust.
- In a separate clean bowl, beat the softened cream cheese, sugar, eggs, and vanilla extract until completely smooth and creamy.
- Add the orange gel food coloring to the cream cheese mixture and mix gently until uniform in color.
- Pour the orange cream cheese mixture over the pressed crust and spread evenly with a spatula.
- Bake for 25-30 minutes, or until the top is set and lightly golden, and the edges are pulling away slightly. The center should have a slight jiggle.
- Cool the bars completely in the pan on a wire rack for at least 1 hour (or overnight in the fridge) before cutting to ensure clean slices.
Notes
Use gel food coloring instead of liquid to prevent a soggy texture. Ensure cream cheese is fully softened to avoid lumps. Do not overbake, as the bars continue to set while cooling. For best results, let them cool completely before cutting.
Nutrition
- Serving Size: 1 bar
- Calories: 280
- Sugar: 24
- Sodium: 250
- Fat: 12
- Saturated Fat: 7
- Carbohydrates: 38
- Protein: 4
Keywords: Halloween dessert, sugar cookie bars, 5-ingredient recipe, easy baking, cream cheese bars, Halloween treats, quick dessert


