My husband asked for the recipe before I even finished washing the mixing bowl. It was the third batch that week, and the cookie jar had been raided with alarming speed. I stood there in the kitchen, flour dusting my apron, realizing that these soft pumpkin snickerdoodle cookies had officially taken over our house. I didn’t expect such a reaction to a simple drop cookie, but there they were, disappearing faster than I could bake them.
It started with a craving for cinnamon sugar, but I wanted something warmer for the changing season. I thought combining two classic favorites would be a mistake. Who needs pumpkin spice overload anyway? But when I pulled the tray from the oven, the scent of browned butter and cinnamon filled the air in a way that just felt right. The texture was soft, chewy, and impossibly tender.
Now, every time I make them, I prepare for the inevitable disappearance. They are the kind of treat that disappears without a trace, leaving only crumbs and happy smiles. I make them for neighbors, for school bake sales, and mostly for my own quiet afternoon treats. Honestly, I don’t mind sharing. If they bring this much joy, I’ll bake another batch tomorrow.
Why You’ll Love This Recipe
There is a specific kind of magic that happens when you combine the cozy flavors of pumpkin with the tangy sweetness of a classic snickerdoodle. This recipe isn’t just another fall cookie; it’s a test of patience and flavor balance that I’ve refined over many years in the kitchen. I’ve tried countless variations, from adding too much flour to using cold butter, and this version is the one that finally hit the mark. It’s the kind of cookie that makes you close your eyes after the first bite.
- Quick & Easy: These cookies come together in under 30 minutes of active time. The dough chills while you prep other things, making it perfect for busy weeknights or last-minute cravings when you need a sweet fix.
- Simple Ingredients: You likely already have everything in your pantry. Pumpkin puree, cream of tartar, cinnamon, and sugar are staples. No fancy grocery trips needed for this one.
- Perfect for Fall Entertaining: Whether it’s a Thanksgiving side dessert or a cozy dinner party treat, these cookies fit right in. They pair beautifully with a hot cup of coffee or a glass of milk.
- Crowd-Pleaser: Kids love the cinnamon sugar coating, and adults appreciate the subtle spice. They always get rave reviews, whether served at a potluck or a quiet family dinner.
- Unbelievably Delicious: The texture is next-level comfort food. Soft centers with a slightly crisp edge, coated in that signature tangy-sweet cinnamon sugar. It’s soul-soothing satisfaction in every bite.
What makes this recipe different from the rest is the balance of moisture. Many pumpkin cookies turn out cakey or dense, but by using the right ratio of puree to flour and adding a touch of brown butter, we get a chewy, tender crumb. It’s not just good—it’s the kind of recipe that becomes a staple in your rotation. It’s comfort food reimagined, keeping the classic snickerdoodle soul while embracing the season.
What Ingredients You Will Need
This recipe uses simple, wholesome ingredients to deliver bold flavor and satisfying texture without the fuss. The key to success lies in the quality of your pumpkin and the balance of your leavening agents. You don’t need anything exotic, just reliable staples that you can trust to deliver consistent results every time.
- Unsalted Butter: 1 cup (2 sticks), softened. I recommend using high-quality butter like Land O’ Lakes or Kerrygold for the best flavor. Softened butter creams better with sugar, creating that airy texture we want.
- Granulated Sugar: 1 cup. This provides sweetness and helps create the crisp edges. Using white sugar keeps the cinnamon flavor bright and not overly dark.
- Light Brown Sugar: 1 cup, packed. Brown sugar adds moisture and a hint of molasses flavor, which complements the pumpkin beautifully. It’s essential for the chewy texture.
- Pumpkin Puree: 1 cup. Make sure you use 100% pure pumpkin puree, not pumpkin pie filling. Pie filling has added sugars and spices that will throw off the balance. I prefer Libby’s for its smooth consistency.
- Eggs: 2 large eggs, room temperature. Room temperature eggs emulsify better into the batter, ensuring a smooth dough without curdling.
- Vanilla Extract: 2 teaspoons. Use pure vanilla extract for a rich, aromatic flavor. Artificial vanilla can taste harsh and chemical-like in baked goods.
- All-Purpose Flour: 3 ½ cups. Spoon and level your flour to avoid a dry cookie. If you scoop directly from the bag, you’ll pack too much flour in.
- Baking Soda: 1 teaspoon. Helps the cookies spread and rise. Make sure it’s fresh for maximum lift.
- Cream of Tartar: 2 teaspoons. This is the secret ingredient for that classic snickerdoodle tang. It also helps keep the cookies soft and chewy.
- Salt: 1 teaspoon. Balances the sweetness and enhances the other flavors. Don’t skip this step.
- Pumpkin Pie Spice: 1 ½ teaspoons. Adds warmth and complexity. If you don’t have a blend, you can mix cinnamon, nutmeg, ginger, and cloves.
- For Coating: ½ cup granulated sugar mixed with 2 tablespoons ground cinnamon. This creates the signature crunchy, sweet exterior.
If you need substitutions, you can use gluten-free flour blend for a gluten-free option, though the texture may be slightly different. For a dairy-free version, swap the butter for a high-quality plant-based stick butter. I’ve also used coconut sugar instead of brown sugar for a lower glycemic index, though it changes the color significantly.
Equipment Needed
You don’t need a lot of fancy gadgets to make these cookies, but having the right tools makes the process smoother. A large mixing bowl is essential, preferably one with a wide rim for easy scraping. I use a stainless steel bowl because it holds the dough steady while I mix.
- Mixing Bowls: One large bowl for the wet ingredients and one medium bowl for the dry ingredients. Glass or ceramic bowls are nice because you can see the color of the dough as it mixes.
- Electric Mixer: A hand mixer or stand mixer works best. Creaming the butter and sugar by hand is possible but tiring. I prefer a stand mixer with the paddle attachment for even mixing.
- Baking Sheets: Heavy-gauge aluminum sheets prevent burning. Dark sheets can cause the bottoms to burn too quickly, so I always line them with parchment paper.
- Parchment Paper: Essential for easy cleanup and preventing sticking. Silicone baking mats are a great reusable alternative if you prefer them.
- Cooling Rack: Allows air to circulate under the cookies so they don’t get soggy. Wire racks are standard, but any flat surface with airflow works.
- Meter Spoon or Scoop: A cookie scoop ensures uniform size. Uniform cookies bake evenly, so you don’t end up with some burnt and some raw.
If you don’t have a cookie scoop, use two spoons to drop dough balls. Just try to keep them roughly the same size. Also, keep your baking sheets cool between batches. If they get too hot, the cookies will spread too much and lose their shape. Letting them rest for a few minutes is a good habit.
Preparation Method
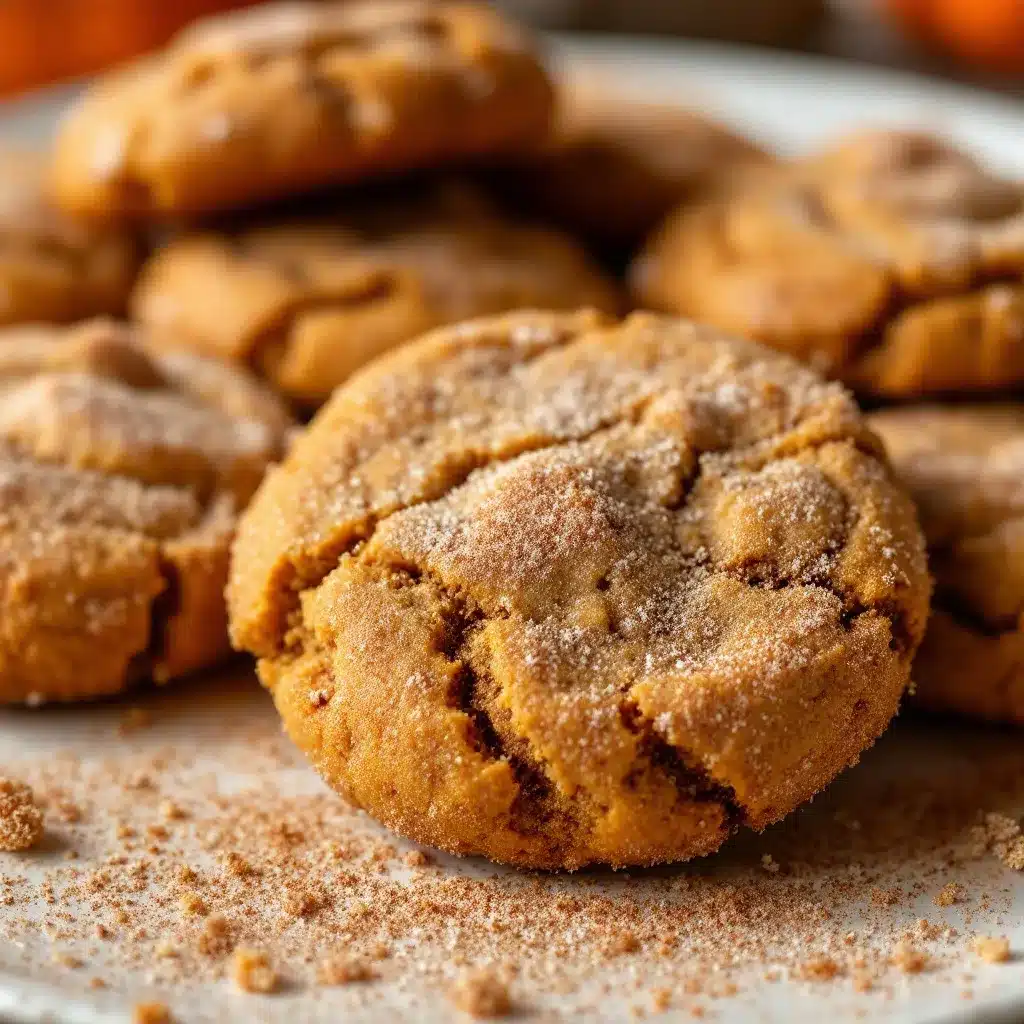
Making soft pumpkin snickerdoodle cookies is straightforward if you follow the steps carefully. The key is to not overmix the dough and to chill it properly. Here is how I do it, step by step.
- Cream the Butter and Sugars: In a large bowl, beat the softened unsalted butter, granulated sugar, and brown sugar together on medium speed for about 3-4 minutes. The mixture should look light, fluffy, and pale. This step incorporates air, which helps the cookies rise. (Time: 4 minutes)
- Add Wet Ingredients: Add the pumpkin puree, eggs, and vanilla extract. Mix on low speed until just combined. Scrape down the sides of the bowl with a spatula to ensure everything is incorporated. The batter might look slightly curdled at this point, which is normal. (Time: 2 minutes)
- Mix Dry Ingredients: In a separate medium bowl, whisk together the all-purpose flour, baking soda, cream of tartar, salt, and pumpkin pie spice. Whisking ensures the leavening agents are evenly distributed, preventing bitter spots. (Time: 1 minute)
- Combine Wet and Dry: Gradually add the dry ingredients to the wet ingredients, mixing on low speed. Stop mixing as soon as the flour disappears. Overmixing develops gluten, which makes cookies tough. The dough should be soft and slightly sticky. (Time: 2 minutes)
- Chill the Dough: Cover the bowl with plastic wrap and refrigerate for at least 30 minutes, or up to 24 hours. Chilling solidifies the fat, which prevents the cookies from spreading too thin. It also allows the flavors to meld. (Time: 30+ minutes)
- Preheat and Prep: Preheat your oven to 350°F (175°C). Line two large baking sheets with parchment paper. In a small bowl, mix the granulated sugar and cinnamon for coating. (Time: 5 minutes)
- Shape the Cookies: Scoop tablespoon-sized balls of dough. Roll each ball in the cinnamon-sugar mixture until fully coated. Place them on the baking sheets, spacing them about 2 inches apart. They will spread. (Time: 10 minutes)
- Bake: Bake for 10-12 minutes. The edges should be set and lightly golden, but the centers should still look soft and slightly underbaked. They will firm up as they cool. Do not overbake. (Time: 12 minutes)
- Cool: Let the cookies cool on the baking sheet for 5 minutes. Then transfer them to a wire rack to cool completely. This resting period is crucial for texture. (Time: 5 minutes)
If your dough is too sticky to handle, chill it for another 15 minutes. If the cookies spread too much, your butter might have been too soft. Make sure it’s cool to the touch but still pliable.
Cooking Tips & Techniques
There are a few tricks I’ve learned over the years that make a huge difference in the final product. First, measure your flour correctly. Spooning it into the cup and leveling it off is the most accurate way. Packing the flour in will result in dry, crumbly cookies.
Another common mistake is using cold eggs or pumpkin. Room temperature ingredients emulsify better, creating a smoother dough. If you forgot to take them out, you can warm the eggs in a bowl of warm water for a few minutes.
Don’t skip the chilling step. I know it’s tempting to bake them right away, but chilled dough yields thicker, chewier cookies. If you bake warm dough, the butter melts too fast in the oven, and the cookies spread into flat disks.
When baking, rotate the sheets halfway through. Ovens often have hot spots, and rotating ensures even browning. Also, trust your eyes, not just the timer. The cookies are done when the edges are set but the centers still look soft. They continue to cook on the hot baking sheet after you take them out.
If you want extra chewy cookies, underbake them slightly. Take them out when they look just barely done. The residual heat will finish cooking them without drying them out.
Variations & Adaptations
While the classic version is my favorite, there are many ways to customize these cookies. You can add ½ cup of white chocolate chips for a sweet twist, or mix in ½ cup of chopped pecans for crunch. For a spicier kick, add a pinch of cayenne pepper to the cinnamon sugar coating.
If you are dairy-free, use plant-based butter and dairy-free chocolate chips. The texture will be similar, though the flavor might be slightly less rich. For a gluten-free option, use a 1:1 gluten-free flour blend. Note that gluten-free cookies can be more fragile, so handle them gently.
I’ve also tried adding a cream cheese filling. Pipe a small amount of sweetened cream cheese into the center of each dough ball before baking. It creates a lovely surprise in the middle. For a healthier option, you can substitute half the brown sugar with mashed ripe bananas, though this will change the texture to be more cake-like.
Seasonal variations are fun too. In winter, add crushed peppermint candies to the coating. In spring, use lemon zest in the dough and lemon sugar for the coating. The base recipe is very versatile and adapts well to different flavors.
Serving & Storage Suggestions
These cookies are best served at room temperature, where the texture is soft and chewy. They pair wonderfully with a hot cup of coffee or a glass of cold milk. For a festive presentation, stack them in a tin with parchment paper between layers.
To store, keep them in an airtight container at room temperature for up to 5 days. If you live in a humid climate, add a slice of bread to the container to keep them soft. The bread will dry out, but the cookies will stay tender.
For longer storage, freeze the dough balls on a baking sheet until solid, then transfer to a freezer bag. Bake from frozen, adding 1-2 minutes to the baking time. You can also freeze baked cookies for up to 3 months. Thaw them at room temperature before serving.
Reheating is optional, but warming a cookie in the microwave for 10 seconds can make it taste freshly baked. The flavors develop over time, so they often taste even better on the second day.
Nutritional Information & Benefits
While these are definitely a treat, they do offer some nutritional benefits. Pumpkin is rich in vitamin A, fiber, and antioxidants. It adds moisture without adding excessive fat, making the cookies slightly lighter than traditional butter-heavy cookies.
Each cookie contains approximately 150-180 calories, depending on size. They are a good source of carbohydrates for energy, but should be enjoyed in moderation. For those watching sugar intake, you can reduce the sugar in the dough by ¼ cup without significantly affecting texture.
They are not naturally gluten-free or dairy-free, but modifications can be made. Always check labels if you have allergies. Personally, I view these as a balanced indulgence—a way to enjoy seasonal flavors while incorporating a vegetable into my dessert. It’s a small win for wellness.
Conclusion
Soft pumpkin snickerdoodle cookies are a testament to the joy of simple baking. They combine familiar flavors with seasonal warmth, creating a treat that is both comforting and exciting. I hope you try this recipe and find it as rewarding as I do. Don’t be afraid to adjust the spices or add your own twists to make it yours.
I’d love to hear how they turn out for you. Leave a comment below with your thoughts or share a photo of your creations. If you enjoy these, you might also like my best copycat pumpkin cream cheese muffins for a breakfast treat, or try my easy apple nachos with peanut butter drizzle for a fun fall snack. Happy baking!
FAQs
Can I use pumpkin pie filling instead of pure pumpkin puree?
No, do not use pumpkin pie filling. It contains added sugars and spices that will make the cookies too sweet and alter the texture. Always use 100% pure pumpkin puree.
Why did my cookies spread too much?
This usually happens if the butter was too soft or the dough wasn’t chilled enough. Make sure your butter is cool to the touch and chill the dough for at least 30 minutes before baking.
How do I keep the cookies soft?
Underbake them slightly. Remove them from the oven when the edges are set but the centers look soft. They will firm up as they cool on the baking sheet.
Can I freeze the cookie dough?
Yes, scoop the dough into balls and freeze them on a baking sheet. Once solid, transfer to a freezer bag. Bake from frozen, adding 1-2 minutes to the baking time.
What is cream of tartar for?
Cream of tartar gives snickerdoodles their signature tangy flavor. It also helps stabilize the egg whites and keeps the cookies soft and chewy. Do not omit it.
Pin This Recipe!
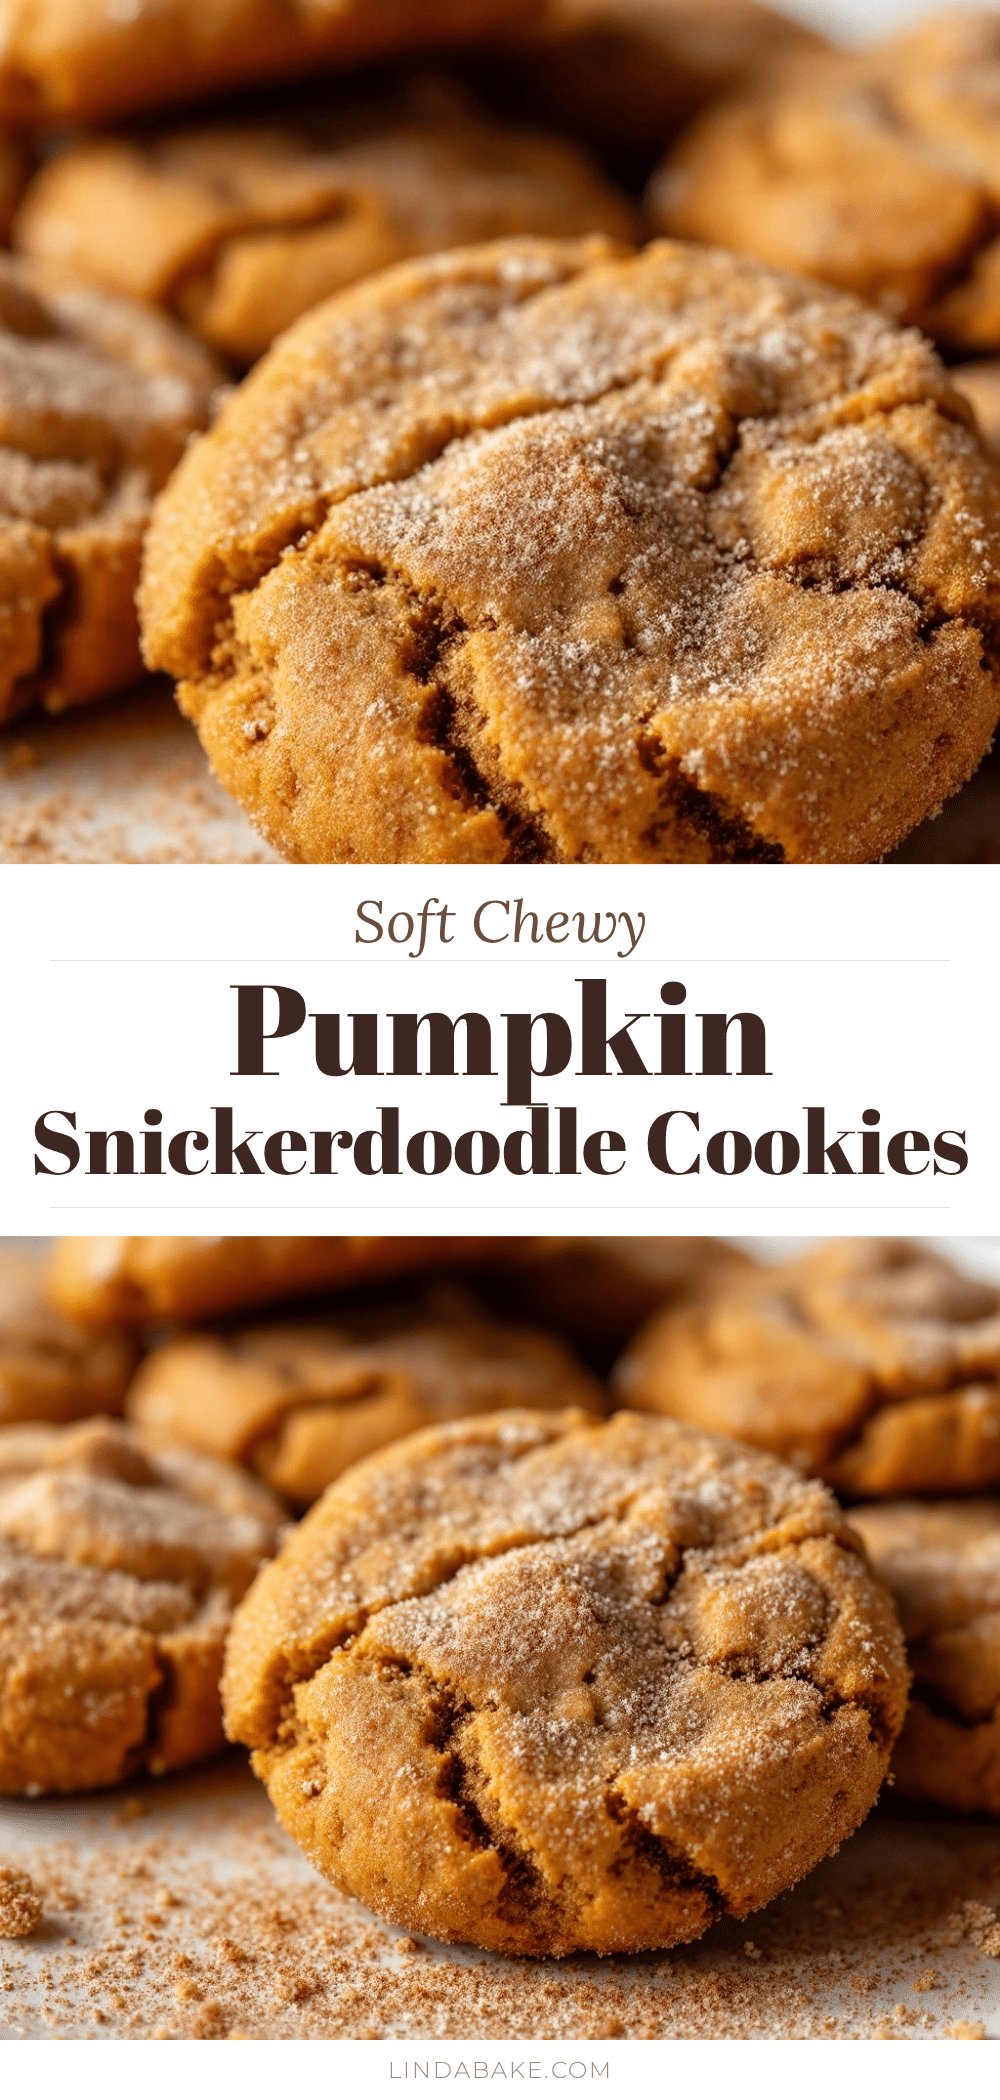
Soft Pumpkin Snickerdoodle Cookies: Best Easy Fall Recipe
Soft, chewy pumpkin cookies coated in cinnamon sugar that combine the cozy flavors of pumpkin with the tangy sweetness of a classic snickerdoodle.
- Prep Time: 30 minutes
- Cook Time: 12 minutes
- Total Time: 45 minutes
- Yield: Approximately 24 cookies 1x
- Category: Dessert
- Cuisine: American
Ingredients
- 1 cup (2 sticks) unsalted butter, softened
- 1 cup granulated sugar
- 1 cup light brown sugar, packed
- 1 cup 100% pure pumpkin puree
- 2 large eggs, room temperature
- 2 teaspoons vanilla extract
- 3 ½ cups all-purpose flour
- 1 teaspoon baking soda
- 2 teaspoons cream of tartar
- 1 teaspoon salt
- 1 ½ teaspoons pumpkin pie spice
- ½ cup granulated sugar (for coating)
- 2 tablespoons ground cinnamon (for coating)
Instructions
- In a large bowl, beat the softened unsalted butter, granulated sugar, and brown sugar together on medium speed for 3-4 minutes until light, fluffy, and pale.
- Add the pumpkin puree, eggs, and vanilla extract. Mix on low speed until just combined, scraping down the sides of the bowl.
- In a separate medium bowl, whisk together the all-purpose flour, baking soda, cream of tartar, salt, and pumpkin pie spice.
- Gradually add the dry ingredients to the wet ingredients, mixing on low speed until the flour disappears. Do not overmix.
- Cover the bowl with plastic wrap and refrigerate the dough for at least 30 minutes (or up to 24 hours).
- Preheat your oven to 350°F (175°C). Line two large baking sheets with parchment paper.
- In a small bowl, mix the ½ cup granulated sugar and 2 tablespoons ground cinnamon for coating.
- Scoop tablespoon-sized balls of dough and roll each ball in the cinnamon-sugar mixture until fully coated.
- Place cookies on baking sheets, spacing them about 2 inches apart.
- Bake for 10-12 minutes until edges are set and lightly golden, but centers still look soft.
- Let cookies cool on the baking sheet for 5 minutes, then transfer to a wire rack to cool completely.
Notes
Ensure butter is softened but cool to the touch. Do not use pumpkin pie filling; use 100% pure pumpkin puree. Chilling the dough is crucial to prevent excessive spreading. For extra chewiness, slightly underbake the cookies. Store in an airtight container at room temperature for up to 5 days.
Nutrition
- Serving Size: 1 cookie
- Calories: 165
- Sugar: 16
- Sodium: 180
- Fat: 7
- Saturated Fat: 4
- Carbohydrates: 24
- Fiber: 1
- Protein: 2
Keywords: pumpkin cookies, snickerdoodle, fall baking, easy cookies, cinnamon sugar, soft cookies, pumpkin puree


