The pint was gone before I even got back to the couch. My husband stood in the kitchen doorway, spoon in hand, looking almost offended that it was empty. “Did you eat all of that?” I asked, already knowing the answer. He just shrugged and said, “You need to make more.” That was the moment I knew this no-churn salted caramel ice cream was something special.
I wasn’t trying to reinvent the wheel, honestly. I just wanted a homemade ice cream that didn’t require a fancy machine or a degree in pastry arts. I’d been burned before by icy, crystal-filled disasters that tasted more like frozen milk than actual ice cream. So when this batch came out creamy, rich, and swirled with ribbons of homemade salted caramel, I actually did a little dance in my kitchen. No regrets.
This Easy No-Churn Salted Caramel Ice Cream is the kind of dessert that makes you feel like you pulled off something impressive, even though it’s almost embarrassingly simple. It’s for those nights when you want something indulgent but don’t want to break a sweat making it. And honestly? It tastes better than anything I’ve ever bought at the store.
Why You’ll Love This Recipe
Let me tell you why this recipe has earned a permanent spot in my freezer (and my heart). I’ve tested it more times than I care to admit, tweaking the caramel ratio and the salt level until it was absolutely perfect. Here is why it works:
- No Ice Cream Maker Required: You don’t need any special equipment. Just a mixing bowl, a whisk, and a loaf pan. That’s it.
- Simple Pantry Ingredients: Cream, sweetened condensed milk, butter, sugar, and salt. You probably have most of this already.
- Rich, Creamy Texture: The sweetened condensed milk works magic here, preventing ice crystals and giving you that scoopable, velvety texture every time.
- Perfect Balance of Sweet and Salty: The caramel is deep and buttery, while the flaky sea salt cuts through the sweetness beautifully. It’s addictive.
- Ready in Under 30 Minutes (Active Time): The hardest part is waiting for it to freeze. Seriously, the active prep is a breeze.
- Customizable: You can add chocolate chunks, toasted nuts, or even a swirl of peanut butter. The base is a blank canvas for your cravings.
This isn’t just another ice cream recipe. It’s the one that makes you close your eyes after the first bite. It’s comfort food at its finest — creamy, cold, and completely satisfying without any of the fuss.
What Ingredients You Will Need
This recipe relies on a handful of simple ingredients that work together to create something truly magical. The caramel is made from scratch, but don’t let that scare you — it comes together in about 10 minutes. Here is everything you need:
For the Salted Caramel Sauce
- 1 cup (200g) granulated sugar — Regular white sugar works best for that classic caramel flavor. Don’t substitute with brown sugar here; it changes the texture.
- 6 tablespoons (85g) unsalted butter, cut into cubes — I prefer unsalted so I can control the salt level. Let it come to room temperature before you start.
- 1/2 cup (120ml) heavy cream, at room temperature — Cold cream will cause the caramel to seize up. Trust me on this one.
- 1 teaspoon flaky sea salt, plus more for topping — Maldon is my go-to. It adds that perfect crunch and burst of saltiness.
- 1 teaspoon vanilla extract — Pure vanilla is best, but imitation works in a pinch.
For the Ice Cream Base
- 2 cups (480ml) heavy whipping cream, cold — This needs to be straight from the fridge. Warm cream won’t whip properly.
- 1 can (14 ounces or 397g) sweetened condensed milk — Full-fat is non-negotiable here. The low-fat versions have too much water and will make your ice cream icy.
- 1 teaspoon vanilla extract — A little extra vanilla never hurt anybody.
- Pinch of salt — Just to balance the sweetness.
I’ve tried this with different brands of sweetened condensed milk, and honestly, they all work fine. Just make sure you’re using the real stuff, not evaporated milk. They are not the same thing, and your ice cream will suffer for it. For the heavy cream, I usually grab whatever is on sale, but I’ve noticed that organic brands tend to whip up a little fluffier.
Equipment Needed
The beauty of no-churn ice cream is that you probably already own everything you need. Here is the short list:
- Large mixing bowl — Stainless steel or glass works best. Plastic can retain odors.
- Hand mixer or stand mixer — You can whisk by hand if you have strong arms, but a mixer makes quick work of whipping the cream.
- Medium saucepan — For making the caramel. A light-colored pan is helpful so you can see the color of the sugar as it melts.
- Loaf pan (9×5 inch) — For freezing. You can also use an 8×8 square dish if that’s what you have.
- Rubber spatula — For folding the cream into the condensed milk without deflating it.
- Parchment paper or plastic wrap — To cover the surface of the ice cream and prevent freezer burn.
If you don’t have a hand mixer, you can absolutely use a stand mixer with the whisk attachment. I’ve also made this using a good old-fashioned whisk and some elbow grease — it took about 8 minutes, but it worked. Just make sure your cream is very cold.
Preparation Method
Alright, let’s get to the fun part. Follow these steps carefully, and you’ll have the creamiest, most decadent ice cream of your life.
- Make the salted caramel sauce. Place the granulated sugar in a medium saucepan over medium heat. Stir constantly with a whisk or wooden spoon. The sugar will start to clump, then melt into a golden amber liquid. This takes about 5-7 minutes. Don’t walk away — burnt sugar happens fast and it tastes bitter.
- Add the butter. Once the sugar is fully melted and a deep amber color, add the cubed butter. It will bubble up violently, so be careful. Whisk until the butter is fully melted and incorporated, about 1 minute.
- Slowly pour in the heavy cream. Keep whisking as you add the cream. The mixture will bubble up again. Continue whisking until the sauce is smooth and glossy, about 2 minutes.
- Remove from heat and stir in the salt and vanilla. Add the flaky sea salt and vanilla extract. Stir until combined. Let the caramel cool completely to room temperature. It will thicken as it cools. Don’t rush this step — warm caramel will melt your whipped cream.
- Whip the heavy cream. In a large mixing bowl, pour the cold heavy whipping cream. Using a hand mixer or stand mixer, whip on medium-high speed until stiff peaks form. This takes about 3-4 minutes. You should be able to lift the beaters and see peaks that hold their shape without drooping.
- Mix the base. In a separate bowl, stir together the sweetened condensed milk, vanilla extract, and a pinch of salt. Give it a good mix until everything is smooth.
- Fold it together. Gently fold the whipped cream into the condensed milk mixture. Use a rubber spatula and a light hand. You want to combine them without deflating all that air you just whipped in. Fold until no white streaks remain.
- Layer the ice cream. Spoon about one-third of the ice cream base into your loaf pan. Drizzle about one-third of the cooled caramel sauce over the top. Use a knife or skewer to swirl it gently. Repeat with the remaining base and caramel, finishing with a final drizzle of caramel on top.
- Sprinkle with extra sea salt. A light sprinkle of flaky sea salt on top adds that perfect finishing touch. Don’t skip this — it makes the flavors pop.
- Cover and freeze. Press a piece of parchment paper or plastic wrap directly onto the surface of the ice cream. This prevents ice crystals from forming. Freeze for at least 6 hours, but overnight is best. The longer it freezes, the firmer and creamier it gets.
One thing I learned the hard way: if your caramel is even slightly warm when you add it to the ice cream base, it will melt the whipped cream and leave you with a thin, soupy mixture. Let it cool completely. I usually make the caramel first, then let it sit on the counter while I whip the cream. By the time I’m ready to layer, it’s perfect.
Cooking Tips & Techniques
I’ve made this recipe about a dozen times now, and I’ve picked up a few tricks along the way. Here are my best tips for success:
- Watch the caramel closely. Sugar can go from perfectly amber to burnt in seconds. When it reaches a deep golden color, like the color of a copper penny, it’s ready. If you see smoke, you’ve gone too far.
- Use room temperature ingredients for the caramel. Cold butter and cold cream will cause the caramel to seize up and become grainy. Let them sit out for 20 minutes before you start.
- Don’t over-whip the cream. Stiff peaks are what you’re after. If you keep whipping past that point, you’ll end up with butter. And while homemade butter is lovely, it won’t help your ice cream.
- Fold, don’t stir. Stirring vigorously will deflate the whipped cream and give you a dense, heavy ice cream. Use a gentle folding motion, cutting through the center and bringing the mixture up from the bottom.
- Use a hot knife for clean slices. If you’re serving this as scoops, run your ice cream scoop under hot water before each scoop. It glides right through.
- Be patient. I know it’s hard, but letting the ice cream freeze for a full 8-12 hours gives you the best texture. It needs time to set up properly.
I once tried to rush the process and only froze it for 4 hours. It was more like soft serve — delicious, but not the scoopable ice cream I was after. Learn from my mistakes, friends.
Variations & Adaptations
This base recipe is incredibly versatile. Here are some of my favorite ways to switch it up:
- Chocolate Salted Caramel: Add 1/2 cup of cocoa powder to the sweetened condensed milk before folding in the whipped cream. You get a chocolate base with ribbons of salted caramel. It’s heavenly.
- Nutty Crunch: Toast 1/2 cup of chopped pecans or walnuts and fold them into the ice cream along with the caramel. The crunch adds a lovely texture contrast.
- Vegan Version: Use full-fat coconut cream (chilled) instead of heavy cream, and use a dairy-free sweetened condensed coconut milk. The caramel can be made with vegan butter. It’s not exactly the same, but it’s still really good.
- Espresso Kick: Dissolve 2 teaspoons of instant espresso powder in a tablespoon of warm water and stir it into the sweetened condensed milk. The coffee flavor pairs beautifully with the salted caramel.
- Boozy Caramel: Add 2 tablespoons of bourbon or dark rum to the caramel sauce after removing it from the heat. The alcohol keeps the ice cream slightly softer, and the flavor is incredible.
My personal favorite is the chocolate version. I made it for a summer barbecue, and people actually asked me if I had bought it from a fancy ice cream shop. I just smiled and said, “Nope, made it myself.”
Serving & Storage Suggestions
This ice cream is best served straight from the freezer, but let it sit at room temperature for 5-10 minutes before scooping. It softens just enough to make scooping easy without turning into soup.
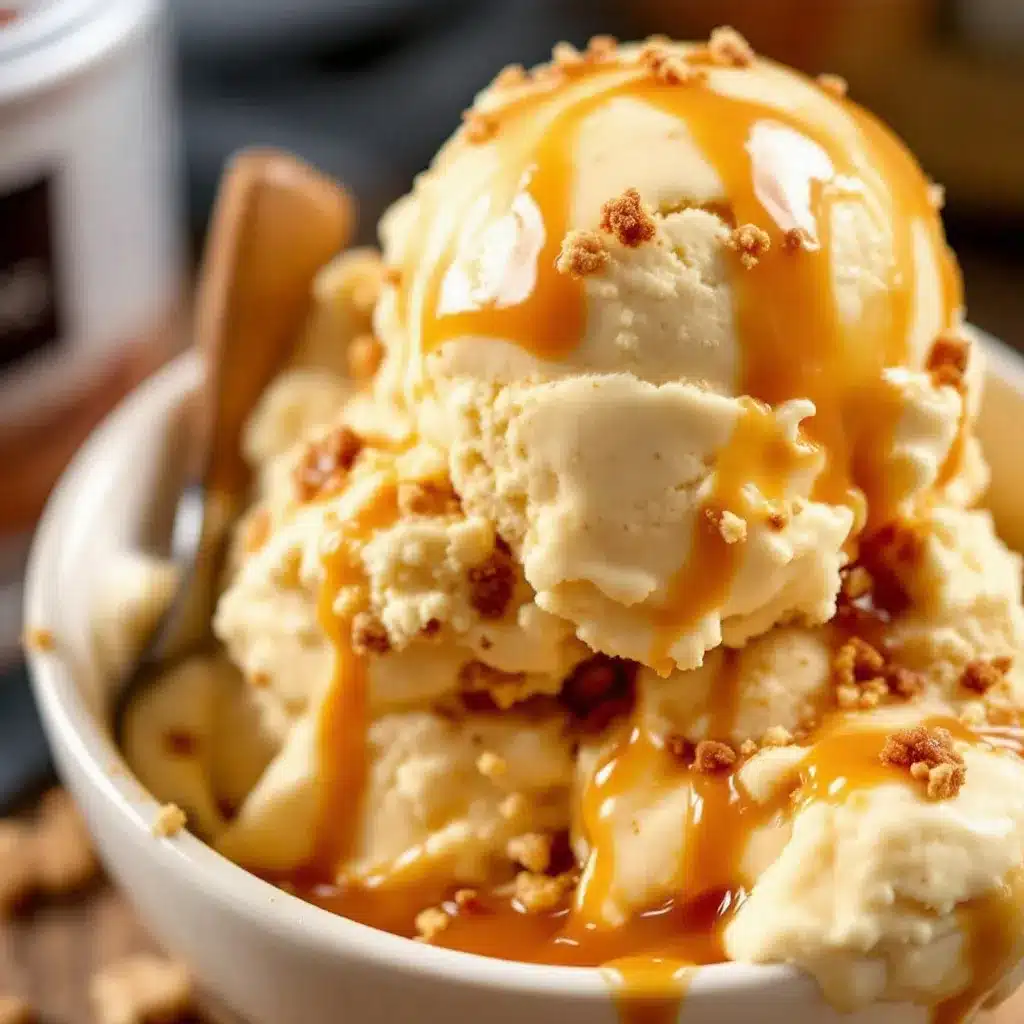
For a beautiful presentation, scoop into chilled bowls and drizzle with a little extra caramel sauce. A sprinkle of flaky sea salt on top makes it look like something from a fancy restaurant. You can also serve it alongside warm brownies, apple pie, or even a slice of pumpkin cream cheese muffins for a dessert mashup that will blow your mind.
If you’re feeling indulgent, try making a sundae. Layer scoops of this ice cream with fresh berries, crushed cheddar ranch popcorn snack mix for a sweet-and-salty crunch, and a dollop of whipped cream. It’s ridiculous and wonderful.
Storage: Keep the ice cream in an airtight container with a piece of parchment paper pressed directly onto the surface. It will stay fresh for up to 2 weeks. After that, it may start to develop ice crystals, but it’s still perfectly safe to eat. Just let it soften slightly and give it a good stir before serving.
Freezing tip: If you’re making this for a party, you can prepare it up to a week in advance. The flavors actually deepen and meld together over time, so it tastes even better after a few days.
Nutritional Information & Benefits
Let’s be real — this is a treat, not a health food. But knowing what’s in it can help you enjoy it mindfully. Here is the approximate nutritional breakdown per serving (based on 8 servings):
| Nutrient | Amount Per Serving |
|---|---|
| Calories | 420 |
| Total Fat | 28g |
| Saturated Fat | 17g |
| Cholesterol | 95mg |
| Sodium | 210mg |
| Total Carbohydrates | 40g |
| Sugars | 36g |
| Protein | 4g |
On the plus side, the heavy cream provides some calcium and vitamin A, and the caramel offers a small amount of iron from the molasses in the sugar. But honestly, this is a dessert meant for enjoyment. I like to serve it in small portions and savor every single bite.
If you’re watching your sugar intake, you can try reducing the caramel by half, but I won’t lie — it won’t be as good. Sometimes you just need the real thing, you know?
Frequently Asked Questions
Can I use store-bought caramel sauce instead of making my own?
You can, but I really recommend making it from scratch. Homemade caramel has a deeper, more complex flavor that store-bought versions just can’t match. Plus, it only takes about 10 minutes. That said, if you’re in a pinch, a high-quality jarred caramel will work. Just warm it slightly so it’s easy to swirl.
Why did my ice cream turn out icy?
Ice crystals usually happen when there’s too much water in the mixture. Make sure you’re using full-fat sweetened condensed milk and heavy cream with at least 36% milk fat. Also, pressing plastic wrap directly onto the surface of the ice cream before freezing prevents moisture from forming on top.
How long does this ice cream need to freeze?
At least 6 hours, but overnight is best. The longer it freezes, the firmer and creamier it gets. If you’re in a hurry, you can serve it after 4 hours, but it will be very soft — more like soft serve than scoopable ice cream.
Can I make this dairy-free?
Yes! Use full-fat coconut cream (chilled) instead of heavy cream, and use a dairy-free sweetened condensed coconut milk. For the caramel, use vegan butter. The texture will be slightly different — a bit more dense — but it’s still delicious. I’ve made it for a friend with lactose intolerance, and she loved it.
Can I add mix-ins like chocolate chips or nuts?
Absolutely. Fold in up to 1 cup of mix-ins after you’ve swirled in the caramel. Chopped chocolate, toasted pecans, crushed cookies, or even broken-up pieces of peanut butter granola bites all work beautifully. Just make sure your mix-ins are small enough to distribute evenly.
Conclusion
This Easy No-Churn Salted Caramel Ice Cream is proof that you don’t need fancy equipment or a culinary degree to make something truly spectacular. It’s creamy, it’s rich, it’s perfectly balanced between sweet and salty, and it comes together with just a few simple ingredients and a little bit of patience.
I love this recipe because it reminds me that sometimes the best things in life are the simplest. There’s no complicated technique, no special tools, no stress. Just good ingredients and a little bit of love. Every time I pull a pint of this out of the freezer, I feel a little proud — and that’s a feeling worth sharing.
I’d love to hear how yours turns out! Did you add any fun mix-ins? Did you try a variation? Drop a comment below and let me know. And if you’re looking for more easy, crowd-pleasing desserts, don’t forget to check out my matcha green tea tiramisu parfaits — they’re another no-fuss favorite that always disappears fast.
Happy scooping, friends!
Pin This Recipe!
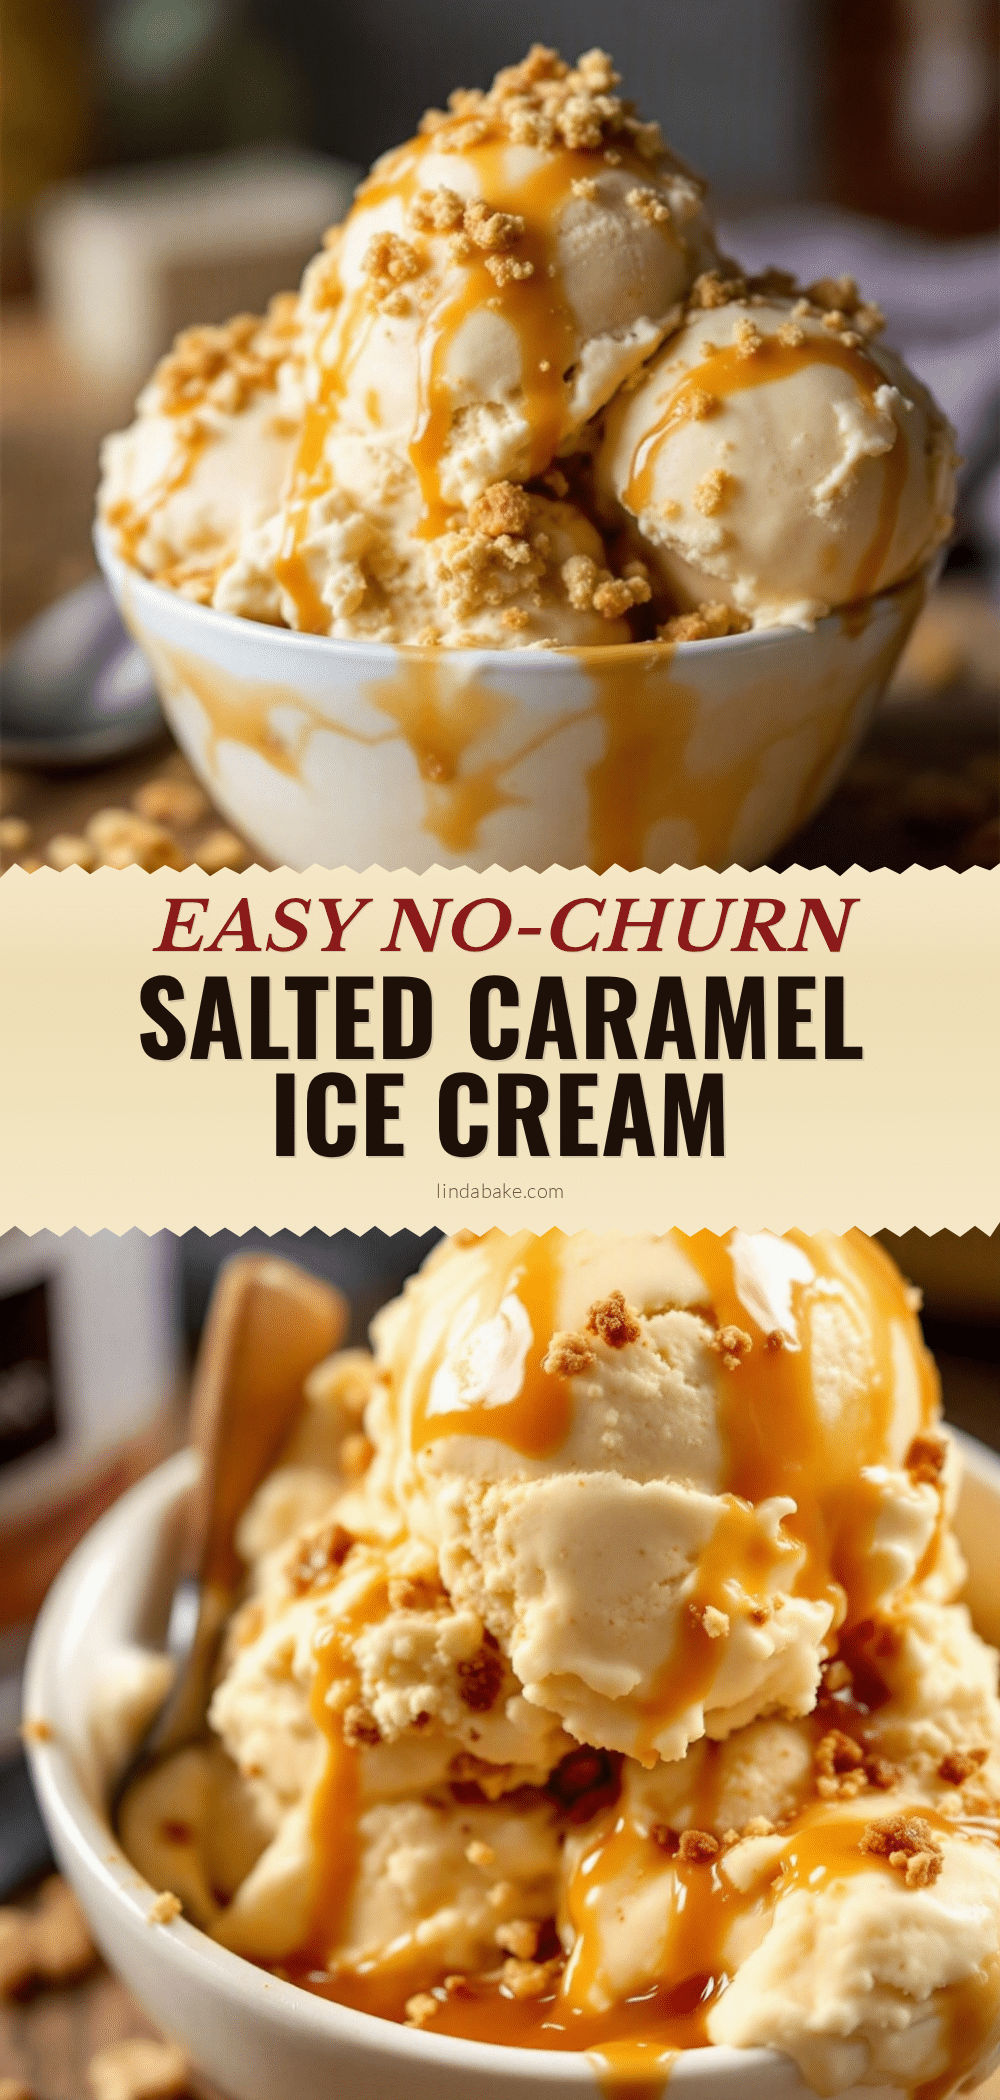
Easy No-Churn Salted Caramel Ice Cream

This no-churn salted caramel ice cream is creamy, rich, and swirled with ribbons of homemade salted caramel. It’s an indulgent dessert that requires no ice cream maker and comes together with simple pantry ingredients.
- Prep Time: 20 minutes
- Cook Time: 10 minutes
- Total Time: 6 hours 30 minutes (including freezing time)
- Yield: 8 servings 1x
- Category: Dessert
- Cuisine: American
Ingredients
- 1 cup (200g) granulated sugar
- 6 tablespoons (85g) unsalted butter, cut into cubes
- 1/2 cup (120ml) heavy cream, at room temperature
- 1 teaspoon flaky sea salt, plus more for topping
- 1 teaspoon vanilla extract
- 2 cups (480ml) heavy whipping cream, cold
- 1 can (14 ounces or 397g) sweetened condensed milk
- 1 teaspoon vanilla extract
- Pinch of salt
Instructions
- Make the salted caramel sauce: Place the granulated sugar in a medium saucepan over medium heat. Stir constantly with a whisk or wooden spoon until the sugar melts into a golden amber liquid, about 5-7 minutes.
- Add the butter: Once the sugar is fully melted and a deep amber color, add the cubed butter. Whisk until fully melted and incorporated, about 1 minute.
- Slowly pour in the heavy cream: Keep whisking as you add the cream. Continue whisking until the sauce is smooth and glossy, about 2 minutes.
- Remove from heat and stir in the salt and vanilla: Add the flaky sea salt and vanilla extract. Stir until combined. Let the caramel cool completely to room temperature.
- Whip the heavy cream: In a large mixing bowl, pour the cold heavy whipping cream. Using a hand mixer or stand mixer, whip on medium-high speed until stiff peaks form, about 3-4 minutes.
- Mix the base: In a separate bowl, stir together the sweetened condensed milk, vanilla extract, and a pinch of salt until smooth.
- Fold it together: Gently fold the whipped cream into the condensed milk mixture using a rubber spatula until no white streaks remain.
- Layer the ice cream: Spoon about one-third of the ice cream base into a loaf pan. Drizzle about one-third of the cooled caramel sauce over the top. Swirl gently with a knife or skewer. Repeat with remaining base and caramel, finishing with a final drizzle of caramel on top.
- Sprinkle with extra sea salt: Add a light sprinkle of flaky sea salt on top.
- Cover and freeze: Press a piece of parchment paper or plastic wrap directly onto the surface of the ice cream. Freeze for at least 6 hours, but overnight is best.
Notes
Make sure the caramel is completely cool before adding to the ice cream base to prevent melting the whipped cream. For best texture, freeze overnight. Use full-fat sweetened condensed milk and heavy cream with at least 36% milk fat to avoid ice crystals.
Nutrition
- Serving Size: 1 serving
- Calories: 420
- Sugar: 36
- Sodium: 210
- Fat: 28
- Saturated Fat: 17
- Carbohydrates: 40
- Protein: 4
Keywords: no-churn ice cream, salted caramel, homemade ice cream, easy dessert, no ice cream maker


