Fourth batch in three days, and I finally stopped adding more ginger. The first attempt was timid—barely a whisper of spice. The second? A full-on assault, like biting into a Christmas tree. But this third one, with the cream cheese layer just starting to crack at the edges and that faint, almost-black sheen on top, I knew I had it. The kitchen smelled like a holiday market that had been through a butter explosion. I stood there, spatula in hand, eating the corner piece straight from the pan. It’s not about the recipe being perfect on paper. It’s about the moment you stop tweaking and realize the thing you were chasing was actually just the right amount of patience.
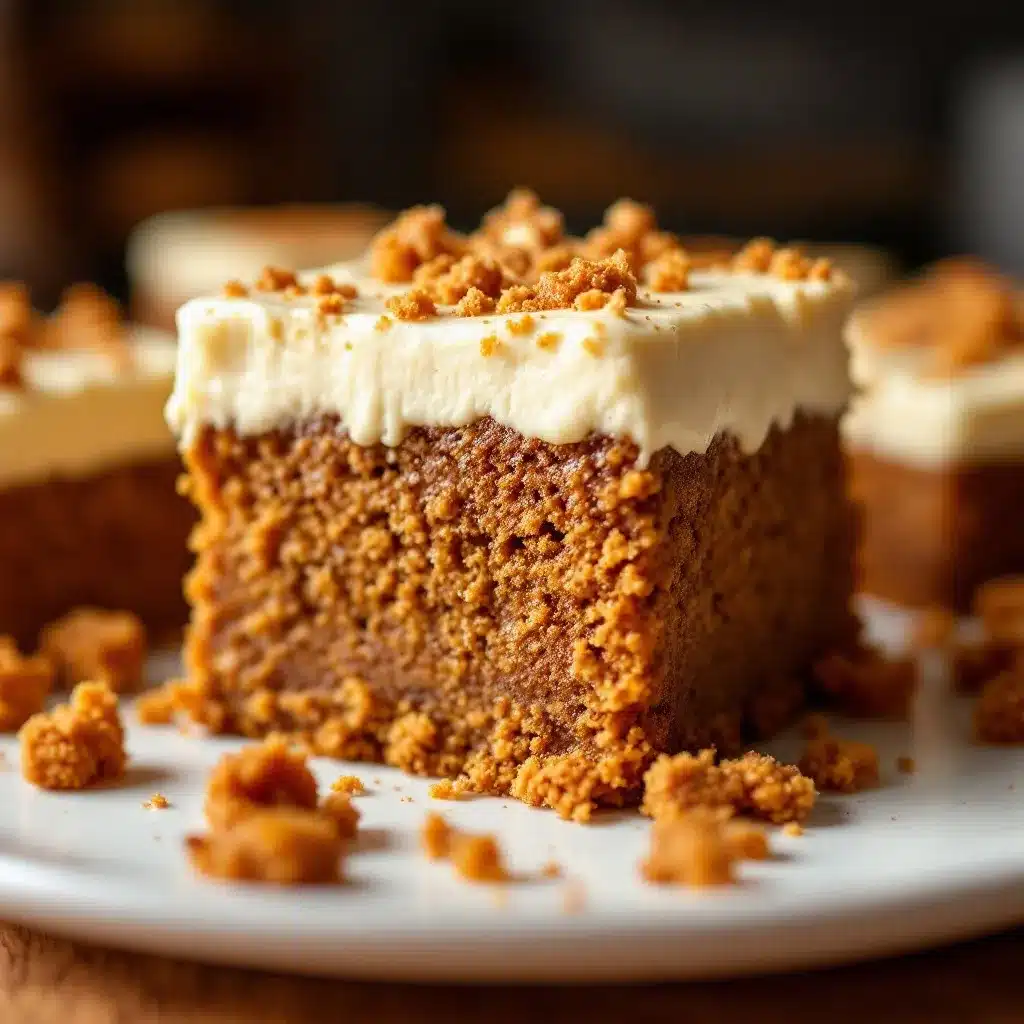
These Perfect Gingerbread Cheesecake Bars with Cream Cheese Frosting came from that kind of stubbornness. I wanted the deep, molasses-y warmth of a classic gingerbread cookie, but I also wanted that cool, tangy cream cheese layer that makes you close your eyes for a second. No dry crust. No curdled filling. Just a bar that holds its shape but melts a little on your tongue. It took a few failed pans to get there, honestly. But now? I think I’ve got it right. And I’m pretty sure you’ll agree.
Why You’ll Love This Recipe
Let’s be real—there are a lot of gingerbread desserts out there. But these bars are different, and here’s why they’ll become your go-to holiday treat.
- Perfectly Balanced Flavors: The spicy gingerbread crust isn’t just a base; it’s the star. It’s rich, dark, and deeply spiced, perfectly offset by the creamy, tangy cheesecake filling. No one flavor overwhelms the other.
- No Water Bath Needed: I’ve tested this multiple times. You don’t need to fuss with a water bath or worry about cracks. The texture comes out smooth and velvety every single time.
- Simple, Pantry-Friendly Ingredients: You probably have most of these spices in your cabinet right now. Molasses, ginger, cinnamon, cloves—the usual suspects. No weird specialty items.
- Crowd-Pleasing Presentation: These bars slice beautifully, making them perfect for holiday parties, cookie exchanges, or a simple weekend treat. They look fancy without the stress.
- Make-Ahead Magic: These bars actually taste better after a day in the fridge. The flavors meld together, and the texture becomes even more luxurious. It’s the perfect stress-free dessert for entertaining.
I’ve made these for family gatherings and casual weeknight cravings alike. They disappear fast. There’s something about that combination of spicy gingerbread and cool, creamy frosting that just hits differently. It’s comfort food, but make it fancy.
What Ingredients You Will Need
This recipe relies on simple, high-quality ingredients to deliver that signature holiday flavor. Each component plays a specific role, from the deep molasses in the crust to the rich cream cheese in the filling.
For the Gingerbread Crust
- All-purpose flour (1 ½ cups / 190g): Provides the structure for the crust. Spoon and level for accuracy.
- Unsalted butter (½ cup / 113g), melted: Adds richness and helps bind the crust. I always use unsalted to control the salt level.
- Light brown sugar (½ cup / 100g), packed: Adds moisture and a subtle caramel note that complements the molasses.
- Molasses (¼ cup / 85g): The heart of the gingerbread flavor. Use unsulphured molasses for the best taste. Do not use blackstrap; it’s too bitter.
- Ground ginger (2 teaspoons): For that warm, slightly spicy kick. Freshly ground is best, but pre-ground works perfectly.
- Ground cinnamon (1 teaspoon): Adds warmth and depth.
- Ground cloves (½ teaspoon): A little goes a long way. It adds that classic holiday spice profile.
- Baking soda (1 teaspoon): Helps the crust rise slightly and become tender.
- Salt (¼ teaspoon): Balances the sweetness and enhances all the other flavors.
For the Cheesecake Filling
- Cream cheese (16 oz / 450g), softened: Full-fat is non-negotiable here for the creamiest texture. Let it sit at room temperature for at least 30 minutes.
- Granulated sugar (½ cup / 100g): Sweetens the filling without making it grainy.
- Sour cream (¼ cup / 60g), at room temperature: Adds tanginess and extra creaminess. I recommend full-fat Daisy brand for best results.
- Vanilla extract (1 teaspoon): Pure vanilla, not imitation.
- Large eggs (2), at room temperature: They help the filling set properly. Cold eggs can cause the mixture to curdle.
For the Cream Cheese Frosting
- Cream cheese (4 oz / 113g), softened: For that signature tangy topping.
- Unsalted butter (¼ cup / 57g), softened: Adds stability and richness.
- Powdered sugar (1 cup / 120g): Sweetens and thickens the frosting.
- Vanilla extract (½ teaspoon): For flavor.
- Pinch of salt: Balances the sweetness.
Ingredient Tip: For the best texture, always use room-temperature cream cheese and eggs. It prevents lumps and ensures a smooth, silky cheesecake layer.
Equipment Needed
You don’t need a professional bakery setup for these bars. Here’s what you’ll need:
- 9×9-inch baking pan: The perfect size for these bars. If you only have an 8×8, the bars will be slightly thicker, and you’ll need to add a few minutes to the baking time.
- Parchment paper: Line the pan with two overlapping sheets, leaving an overhang on two sides. This creates “handles” for lifting the bars out cleanly.
- Electric hand mixer or stand mixer: A hand mixer is fine, but a stand mixer with the paddle attachment makes the cheesecake filling silky smooth with less effort.
- Large mixing bowls: One for the crust, one for the filling.
- Rubber spatula: For scraping down the bowl and spreading the batter evenly.
- Sharp knife: For clean slices. A chef’s knife works best. Wipe it clean between cuts.
Budget-Friendly Tip: If you don’t have a 9×9 pan, a disposable aluminum pan works in a pinch. Just be careful when lifting the bars out.
Preparation Method
Let’s get baking. Follow these steps carefully for the best results.
- Preheat and Prep: Preheat your oven to 350°F (175°C). Line your 9×9-inch pan with parchment paper, leaving an overhang on two opposite sides. This makes lifting the finished bars out a breeze.
- Make the Crust: In a large bowl, whisk together the melted butter, brown sugar, and molasses until smooth. In a separate bowl, whisk the flour, ginger, cinnamon, cloves, baking soda, and salt. Add the dry ingredients to the wet ingredients and stir until just combined. The mixture will be thick and slightly sticky.
- Press the Crust: Transfer the crust mixture to your prepared pan. Use your hands or the bottom of a measuring cup to press it into an even layer. Make sure it reaches all the way to the edges. Bake for 10 minutes. The crust will look puffed and set. Let it cool slightly on a wire rack while you make the filling.
- Make the Cheesecake Filling: In a large mixing bowl, beat the softened cream cheese with an electric mixer on medium speed until smooth and creamy, about 2 minutes. Scrape down the sides of the bowl. Add the granulated sugar and beat until combined. Add the sour cream and vanilla extract, and beat until smooth.
- Add the Eggs: Add the eggs one at a time, beating on low speed after each addition just until incorporated. Do not overmix. Overmixing incorporates too much air, which can cause cracks. The filling should be smooth and creamy.
- Assemble and Bake: Pour the cheesecake filling over the slightly cooled crust. Gently spread it into an even layer with a spatula. Bake for 30-35 minutes, or until the edges are set and the center is still slightly jiggly. It will firm up as it cools. A toothpick inserted near the center should come out with just a few moist crumbs.
- Cool Completely: Place the pan on a wire rack and let the bars cool completely at room temperature. This takes about 1-2 hours. Once cool, cover the pan with plastic wrap and refrigerate for at least 4 hours, or overnight. This is crucial for clean slices.
- Make the Frosting: In a medium bowl, beat the softened cream cheese and butter together until smooth and fluffy. Gradually add the powdered sugar, beating on low speed until incorporated. Add the vanilla and salt, and beat until light and fluffy. If the frosting is too thick, add a teaspoon of milk. If it’s too thin, add a little more powdered sugar.
- Frost and Slice: Once the bars are fully chilled, use the parchment handles to lift them out of the pan. Spread the cream cheese frosting evenly over the top. Use a sharp knife to slice into 16 squares. For the cleanest cuts, wipe the knife clean between each slice.
Sensory Cue: When the bars are done, the edges should be lightly golden, and the center should have a slight wobble. The aroma of ginger and spice will fill your kitchen—that’s how you know it’s working.
Cooking Tips & Techniques
I’ve learned a few things the hard way so you don’t have to. Here are my best tips for perfect bars every time.
- Room Temperature is Key: This isn’t just a suggestion. Cold cream cheese will give you a lumpy filling. Cold eggs can cause the mixture to curdle. Take everything out of the fridge 30-45 minutes before you start.
- Don’t Overbake: The number one mistake with cheesecake bars is overbaking. The center should still jiggle slightly when you pull them out. It will continue to set as it cools. Overbaking leads to a dry, cracked surface.
- Use a Water Bath (Optional but Helpful): I don’t use a water bath for this recipe because it’s not necessary. But if you want an extra-smooth top, you can place the baking pan inside a larger pan and pour hot water halfway up the sides of the smaller pan. This creates a humid environment that prevents cracking.
- Chill Thoroughly: Patience is your friend here. The bars need at least 4 hours to set properly. Overnight is even better. If you try to slice them too early, they’ll be a gooey mess.
- Clean Knife, Clean Cuts: For those picture-perfect slices, run your knife under hot water, wipe it dry, and then slice. Wipe the blade clean between each cut. It makes a world of difference.
I once forgot to let my cream cheese soften and ended up with tiny white lumps in the filling. It still tasted good, but the texture wasn’t as smooth. Learn from my mistake!
Variations & Adaptations
This recipe is a fantastic base for customization. Here are a few ways to make it your own.
- Gluten-Free Version: Substitute the all-purpose flour with a 1:1 gluten-free baking flour blend. The texture will be slightly more tender, but the flavor is spot on.
- Spice It Up: Add a pinch of cayenne pepper or black pepper to the crust for a subtle, warm heat. It pairs beautifully with the molasses and ginger.
- Chocolate Gingerbread: Add ¼ cup of unsweetened cocoa powder to the crust mixture. It creates a rich, dark chocolate gingerbread base that’s incredible with the tangy cheesecake.
- Pumpkin Cheesecake Twist: Swap the gingerbread crust for a simple graham cracker crust and add ½ cup of pumpkin puree and 1 teaspoon of pumpkin pie spice to the cheesecake filling. It’s a perfect fall variation, similar to my copycat pumpkin cream cheese muffins.
- Boozy Addition: Add 1 tablespoon of dark rum or bourbon to the cheesecake filling along with the vanilla. It adds a lovely depth of flavor.
I’ve personally tried the chocolate gingerbread variation, and it was a huge hit. It’s like a gingerbread brownie meets cheesecake. Highly recommend.
Serving & Storage Suggestions
These bars are versatile and store beautifully, making them perfect for planning ahead.
Serving: Serve these bars cold, straight from the refrigerator. The texture is best when they are well-chilled. You can let them sit at room temperature for 5-10 minutes to soften slightly if you prefer a creamier texture. They pair wonderfully with a hot cup of coffee, a spiced chai latte, or even a glass of cold milk.
Storage: Store any leftover bars in an airtight container in the refrigerator for up to 5 days. The flavors actually meld and deepen over time, so day two or three is often the best. For longer storage, you can freeze the unfrosted bars. Wrap them tightly in plastic wrap, then in foil, and freeze for up to 3 months. Thaw in the refrigerator overnight before frosting and serving.
Reheating: These bars are best enjoyed cold. However, if you want a warm dessert, you can microwave a single bar for about 10-15 seconds. Be careful not to overheat, or the cream cheese layer will become runny.
These bars are also a fantastic addition to a holiday dessert table alongside other easy treats like my no-bake peanut butter granola bites for a mix of textures.
Nutritional Information & Benefits
While these are definitely a treat, understanding what’s in them can help you enjoy them mindfully.
Estimated Nutritional Values (per bar, based on 16 servings):
- Calories: ~280
- Fat: 18g
- Carbohydrates: 28g
- Protein: 4g
- Sugar: 20g
Health Benefits of Key Ingredients:
- Ginger: Known for its anti-inflammatory properties and ability to aid digestion. It’s a wonderful spice to include in holiday baking.
- Molasses: A good source of iron, calcium, and potassium. It’s a more nutrient-dense sweetener compared to refined sugar.
- Cinnamon: Packed with antioxidants and may help regulate blood sugar levels.
Dietary Considerations: This recipe contains gluten, dairy, and eggs. For a gluten-free option, see the variations section. For a dairy-free option, you can try using plant-based cream cheese and butter, but the texture may vary. This recipe is not suitable for a vegan diet.
I personally love that these bars use real, recognizable ingredients. It’s a dessert that feels indulgent but is made with simple pantry staples.
Conclusion
These Perfect Gingerbread Cheesecake Bars with Cream Cheese Frosting are more than just a recipe; they’re a little moment of holiday joy you can create in your own kitchen. They combine the warm, spicy comfort of gingerbread with the cool, creamy luxury of cheesecake, all topped with a tangy frosting that ties it together perfectly. Whether you’re making them for a holiday party, a family gathering, or just because you deserve a treat, they never disappoint.
I’d love to see your creations! Tag me in your photos, leave a comment below with your favorite variation, or share this recipe with a friend who loves holiday baking. Don’t be afraid to make it your own—swap the spices, add some chocolate, or double the batch. The best recipes are the ones you make with a little love and a lot of butter.
Happy baking, and here’s to finding that perfect bite.
Frequently Asked Questions
Can I use a different pan size?
Yes, but the baking time will change. If you use an 8×8-inch pan, the bars will be thicker and will need about 5-10 more minutes of baking time. If you use a 9×13-inch pan, the bars will be thinner and will need about 5-10 minutes less. Keep an eye on them.
Why did my cheesecake filling crack?
Cracking is usually caused by overbaking or overmixing. Make sure you don’t overbeat the eggs, and pull the bars out of the oven when the center is still slightly jiggly. Cooling them gradually also helps prevent cracks.
Can I use blackstrap molasses?
I don’t recommend it. Blackstrap molasses has a very strong, bitter flavor that can overpower the other spices. Stick with unsulphured or mild molasses for the best balance of sweetness and depth.
How do I get clean, sharp slices?
Chill the bars completely (at least 4 hours or overnight). Use a sharp knife, and run it under hot water, wiping it dry between each cut. This ensures the frosting and cheesecake don’t drag across the surface.
Can I make these bars ahead of time?
Absolutely. These bars are perfect for making ahead. You can prepare them up to 2 days in advance and store them in the refrigerator. Wait to add the frosting until just before serving for the freshest look, or frost them the day before—they’ll still be delicious.
Pin This Recipe!
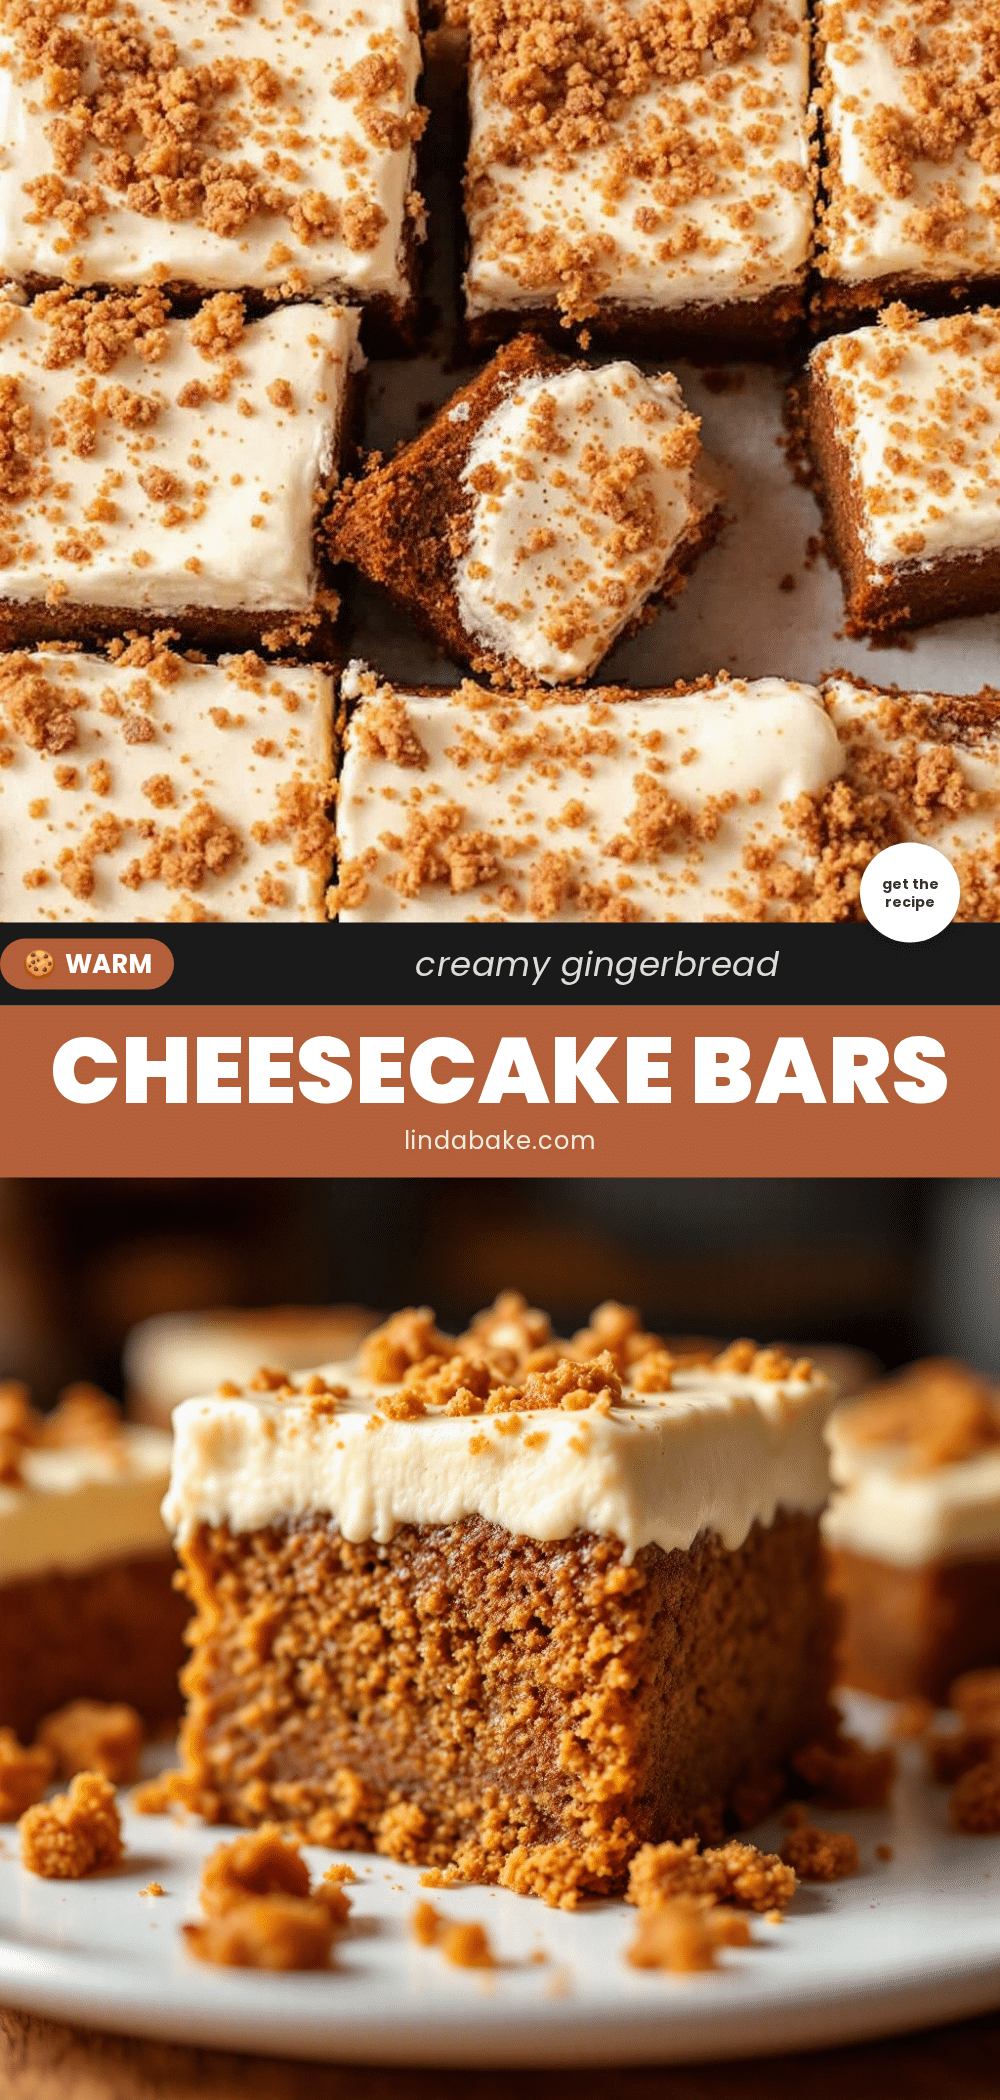
Perfect Gingerbread Cheesecake Bars with Cream Cheese Frosting
These Perfect Gingerbread Cheesecake Bars combine a deeply spiced gingerbread crust with a smooth, tangy cheesecake filling, all topped with a creamy cream cheese frosting. They’re the ultimate holiday treat that’s easy to make and even easier to enjoy.
- Prep Time: 30 minutes
- Cook Time: 35 minutes
- Total Time: 5 hours 5 minutes (includes chilling)
- Yield: 16 servings 1x
- Category: Dessert
- Cuisine: American
Ingredients
- 1 ½ cups (190g) all-purpose flour
- ½ cup (113g) unsalted butter, melted
- ½ cup (100g) light brown sugar, packed
- ¼ cup (85g) unsulphured molasses
- 2 teaspoons ground ginger
- 1 teaspoon ground cinnamon
- ½ teaspoon ground cloves
- 1 teaspoon baking soda
- ¼ teaspoon salt
- 16 oz (450g) cream cheese, softened
- ½ cup (100g) granulated sugar
- ¼ cup (60g) sour cream, at room temperature
- 1 teaspoon vanilla extract
- 2 large eggs, at room temperature
- 4 oz (113g) cream cheese, softened (for frosting)
- ¼ cup (57g) unsalted butter, softened (for frosting)
- 1 cup (120g) powdered sugar (for frosting)
- ½ teaspoon vanilla extract (for frosting)
- Pinch of salt (for frosting)
Instructions
- Preheat your oven to 350°F (175°C). Line a 9×9-inch baking pan with parchment paper, leaving an overhang on two opposite sides.
- Make the crust: In a large bowl, whisk together the melted butter, brown sugar, and molasses until smooth. In a separate bowl, whisk the flour, ginger, cinnamon, cloves, baking soda, and salt. Add the dry ingredients to the wet ingredients and stir until just combined. The mixture will be thick and slightly sticky.
- Press the crust mixture into the prepared pan in an even layer. Bake for 10 minutes. Let cool slightly on a wire rack.
- Make the cheesecake filling: In a large mixing bowl, beat the softened cream cheese with an electric mixer on medium speed until smooth and creamy, about 2 minutes. Add the granulated sugar and beat until combined. Add the sour cream and vanilla extract, and beat until smooth.
- Add the eggs one at a time, beating on low speed after each addition just until incorporated. Do not overmix.
- Pour the cheesecake filling over the slightly cooled crust and spread evenly. Bake for 30-35 minutes, or until the edges are set and the center is still slightly jiggly.
- Cool the bars completely at room temperature (about 1-2 hours). Then cover and refrigerate for at least 4 hours, or overnight.
- Make the frosting: In a medium bowl, beat the softened cream cheese and butter together until smooth and fluffy. Gradually add the powdered sugar, beating on low speed until incorporated. Add the vanilla and salt, and beat until light and fluffy.
- Once the bars are fully chilled, use the parchment handles to lift them out of the pan. Spread the cream cheese frosting evenly over the top. Slice into 16 squares using a sharp knife, wiping the blade clean between cuts.
Notes
For best results, use room-temperature cream cheese and eggs to prevent lumps. Do not overbake; the center should still jiggle slightly. Chill thoroughly for clean slices. For a gluten-free version, substitute all-purpose flour with a 1:1 gluten-free baking flour blend.
Nutrition
- Serving Size: 1 bar
- Calories: 280
- Sugar: 20
- Sodium: 220
- Fat: 18
- Saturated Fat: 10
- Carbohydrates: 28
- Fiber: 1
- Protein: 4
Keywords: gingerbread cheesecake bars, cream cheese frosting, holiday dessert, gingerbread, cheesecake bars, Christmas dessert


