“This tastes like a caramel apple, but better,” my nephew said, licking the spoon clean. And honestly, that was the moment I knew this recipe was a keeper. I had been messing around in the kitchen, trying to create a dip that captured the essence of fall without the sticky mess of a traditional caramel apple. You know the ones—where the caramel slides right off the apple and ends up all over your hands? I wanted something that actually stayed put, something you could dunk a crisp apple slice into without a struggle.
I started with apple cider, because if you’re going to make a fall dip, you need that concentrated, tangy-sweet apple flavor. I simmered it down, added some brown sugar, and crossed my fingers. The result was this thick, luscious, almost fudge-like caramel that is just *chef’s kiss* with fresh fruit. It’s not your average caramel dip. It’s got a depth of flavor that comes from reducing the cider, a little tang to balance the sweetness, and a texture that clings perfectly to every slice. It’s the kind of recipe that feels special but is deceptively simple to pull off.
This homemade apple cider caramel dip has become my go-to for everything from lazy Sunday afternoons to holiday gatherings. It’s the quiet hero of the snack table, and once you try it, you’ll understand why. It’s not just a dip; it’s a little bowl of autumn.
Why You’ll Love This Recipe
This isn’t just another caramel recipe. I’ve tested this dozens of times to make sure it’s foolproof, and I can confidently say it’s one of the best things to come out of my kitchen. Here’s why you’re going to absolutely love it:
- Simple Ingredients: No weird or hard-to-find stuff. You probably have most of these in your pantry right now. It’s all about letting the apple cider shine.
- Quick & Easy: It comes together in about 20 minutes. Seriously. Most of that time is hands-off, letting the cider reduce on the stove.
- Perfect for Fall: This is the ultimate autumn appetizer. It screams apple picking, hayrides, and cozy sweaters. It’s a guaranteed hit at any fall party.
- Crowd-Pleaser: Kids and adults go crazy for it. It’s a fun, interactive snack that feels more like a treat. I’ve seen people hover around this bowl at parties.
- Unbelievably Delicious: The flavor is next-level. It’s rich, buttery, and has that deep, caramelized apple taste that you just can’t get from a store-bought jar.
What makes this different from every other caramel dip out there is the cider reduction. It’s a simple technique that adds a world of flavor. You’re not just making a sweet dip; you’re making an apple cider caramel that tastes like you spent hours on it. It’s comfort food, pure and simple, but with a sophisticated twist that will impress everyone.
This is the kind of recipe that makes you close your eyes after the first bite. It’s that good. And the best part? It’s perfect for impressing guests without any stress. You can make it ahead of time, and it’s even better the next day. Trust me on this one.
What Ingredients You Will Need
This recipe uses simple, wholesome ingredients to deliver that incredible, deep caramel flavor. It’s all about quality and the magic of reduction. Here’s what you’ll need to grab:
- Apple Cider (2 cups / 480 ml): This is the star of the show. Use a good quality, unfiltered apple cider for the best flavor. The unfiltered kind has more apple solids, which adds body and a richer taste to the final caramel.
- Brown Sugar (1 cup, packed / 200 g): Light or dark brown sugar works. Dark brown sugar will give you a deeper, more molasses-like flavor. I usually go with light brown sugar for a classic caramel taste.
- Heavy Cream (1/2 cup / 120 ml): This adds richness and that luscious, smooth texture. Don’t substitute with milk or half-and-half, or your dip won’t be as thick and creamy.
- Unsalted Butter (4 tablespoons / 56 g): Adds flavor and helps create a silky-smooth texture. I always use unsalted so I can control the salt level.
- Vanilla Extract (1 teaspoon): A good quality vanilla enhances all the other flavors. It rounds out the sweetness and adds warmth.
- Salt (1/4 teaspoon): Don’t skip this! A little salt balances the sweetness and makes the caramel flavor pop. I like to use a flaky sea salt for a little texture at the end, but regular salt works fine.
Ingredient Selection Tips: For the best results, I recommend using a brand like Martinelli’s for the apple cider—it’s consistently good. When it comes to butter, I’m a fan of Kerrygold for its rich, creamy taste. If you’re looking for a dairy-free option, you can substitute the heavy cream with full-fat coconut cream and use a vegan butter. The flavor will change slightly, but it will still be delicious.
Substitution Guidance: Need a gluten-free option? This recipe is naturally gluten-free! Just make sure your vanilla extract is certified gluten-free if you have a sensitivity. For a deeper flavor, you could add a pinch of cinnamon or a dash of apple pie spice along with the salt.
Equipment Needed
You don’t need a lot of fancy equipment for this one, which is part of its charm. Here’s what you’ll need to have on hand:
- Medium Heavy-Bottomed Saucepan: This is crucial. A heavy bottom prevents the caramel from scorching. I’ve ruined a batch using a thin pot, so trust me on this one. A stainless steel or enameled cast iron pot works great.
- Whisk: A good whisk is your best friend here. You’ll use it to stir the cider and sugar together and to incorporate the cream and butter smoothly.
- Measuring Cups and Spoons: For accuracy. Caramel can be finicky, so precise measurements matter.
- Wooden Spoon or Silicone Spatula: For stirring the caramel as it thickens. A silicone spatula is great for scraping every last bit of deliciousness out of the pan.
- Heatproof Bowl or Jar: For storing the finished dip. A glass mason jar works perfectly.
- Sharp Knife and Cutting Board: For slicing your apples. A good, sharp knife makes all the difference for clean, even slices.
If you don’t have a heavy-bottomed saucepan, you can use a regular one, but you’ll need to watch it like a hawk and stir constantly. I’ve done it in a pinch, and it works, but the heavy-bottomed pot is a game-changer for even heat distribution. A good quality whisk is a worthwhile investment, too. It makes the process so much smoother.
Preparation Method
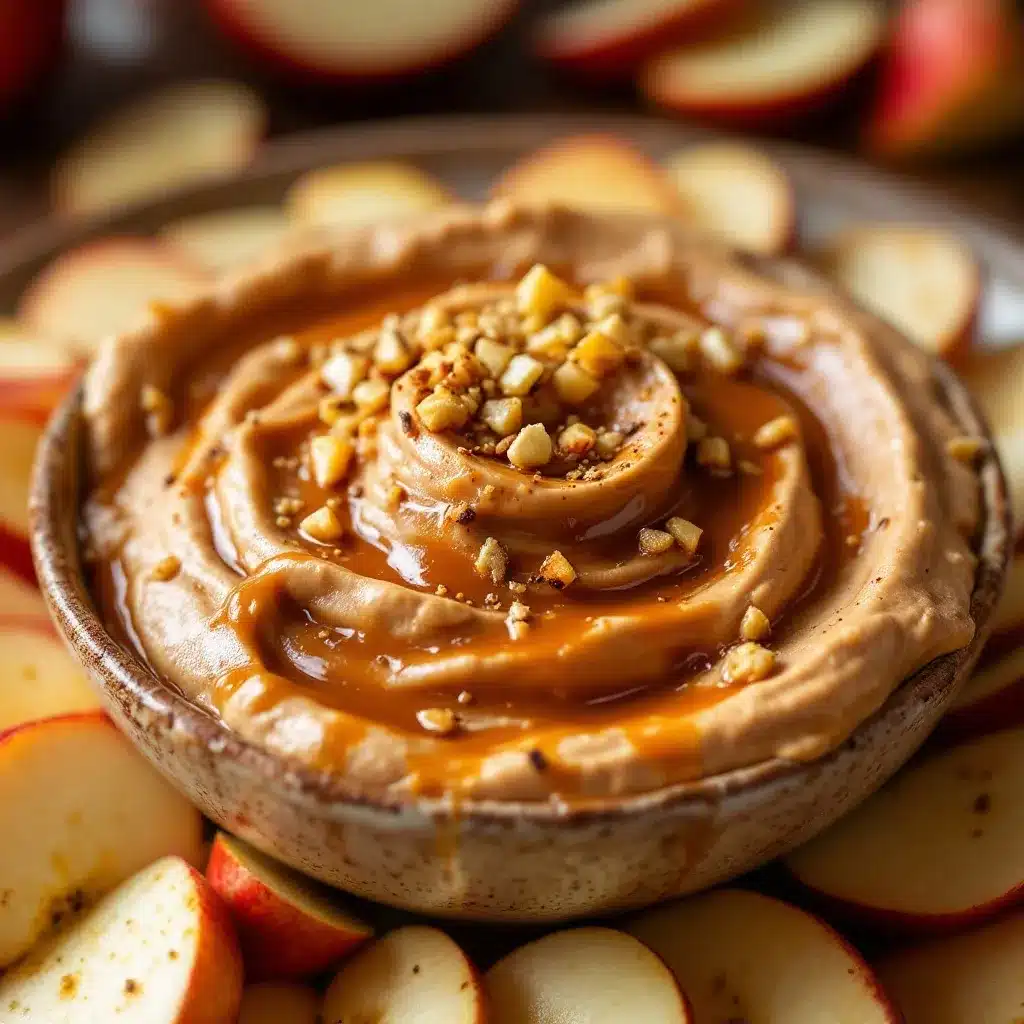
Alright, let’s get to the fun part. Making this dip is almost as satisfying as eating it. Follow these steps, and you’ll have a perfect batch every time.
- Reduce the Cider (10-12 minutes): Pour the 2 cups of apple cider into your medium heavy-bottomed saucepan. Bring it to a boil over medium-high heat. Once it’s boiling, reduce the heat to medium-low and let it simmer. You want it to reduce down to about 1/2 cup. This will take 10-12 minutes. You’ll know it’s ready when it’s thick, syrupy, and smells intensely of apples. Don’t walk away! Stir it occasionally to prevent it from burning on the bottom.
- Add the Sugar (2 minutes): Once the cider has reduced, add the packed brown sugar. Whisk until the sugar is completely dissolved. The mixture will look grainy at first, but keep whisking. It will smooth out into a beautiful, dark syrup. Let it come to a gentle boil again and cook for another minute.
- Incorporate the Cream and Butter (3-4 minutes): Reduce the heat to low. Carefully pour in the heavy cream and add the butter. The mixture will bubble up a bit, so be cautious. Whisk constantly until the butter is melted and everything is fully combined. You’ll have a smooth, luscious caramel sauce.
- Season and Thicken (2-3 minutes): Remove the pan from the heat. Stir in the vanilla extract and the 1/4 teaspoon of salt. Give it a taste. Need a little more salt? Add a pinch. The caramel will be fairly thin at this point, but it will thicken significantly as it cools.
- Cool and Serve: Pour the hot caramel into your heatproof bowl or jar. Let it cool at room temperature for about 15-20 minutes. It will continue to thicken. You can serve it warm, which is amazing, or let it cool completely to a spreadable, dip-able consistency. If you let it cool completely, it will have a fudge-like texture that is absolutely divine.
Pro-Tip: For the perfect apple slices, toss them in a little bit of lemon juice or a mixture of water and lemon juice to prevent browning. This is a lifesaver if you’re making the dip ahead of time. The dip itself will keep beautifully in the fridge for up to a week.
Cooking Tips & Techniques
I’ve made this recipe more times than I can count, and I’ve definitely had my share of caramel catastrophes. Here are my best tips to make sure yours turns out perfect every single time.
- Don’t Walk Away from the Cider: This is the most important tip. When you’re reducing the apple cider, it can go from perfectly syrupy to burnt in seconds. Stay by the stove, stir it occasionally, and watch for that thick, bubbly consistency. The first time I made it, I got distracted by a phone call, and my kitchen smelled like burnt apples for days. Learn from my mistake!
- Use a Heavy-Bottomed Pan: I cannot stress this enough. A thin pan will create hot spots, and your caramel will scorch. A heavy pan distributes the heat evenly, giving you a smooth, consistent caramel every time. It’s a small detail that makes a huge difference.
- Low and Slow for the Cream: When you add the heavy cream, keep the heat on low. If the heat is too high, the cream can curdle or separate, leaving you with a grainy texture. You want a gentle simmer, not a rolling boil.
- Patience is a Virtue: The caramel will look quite thin when you first take it off the heat. Don’t panic! It needs time to cool and set. Let it sit at room temperature for at least 15-20 minutes. If you refrigerate it, it will become even thicker. It’s like magic.
- Timing is Everything: For a party, I like to make the dip a day ahead. The flavors meld together beautifully overnight, and it gives the caramel plenty of time to set to the perfect dipping consistency. Then, I just take it out of the fridge 30 minutes before serving to let it soften slightly.
Variations & Adaptations
This recipe is a fantastic base for all sorts of creative twists. Here are a few of my favorite ways to change it up, depending on my mood or what I have on hand.
- Spiced Apple Cider Caramel: Add 1/2 teaspoon of ground cinnamon, 1/4 teaspoon of ground ginger, and a pinch of ground cloves to the pot along with the brown sugar. This gives the dip a chai-like warmth that is perfect for a cold evening. It’s my go-to for holiday parties.
- Salted Bourbon Caramel: For an adult version, add 1 tablespoon of good quality bourbon along with the vanilla extract. Then, finish the dip with a generous sprinkle of flaky sea salt, like Maldon. The bourbon adds a smoky depth that pairs beautifully with the apple cider. It’s a huge hit at grown-up gatherings.
- Dairy-Free / Vegan Version: This one is surprisingly easy. Substitute the heavy cream with full-fat coconut cream (the thick part from a can of coconut milk) and use a high-quality vegan butter. The coconut flavor is subtle and complements the apple cider wonderfully. It’s just as rich and decadent as the original.
- Dip for Everything: While this is amazing with apple slices, don’t stop there! It’s incredible drizzled over pancakes, waffles, or vanilla ice cream. I’ve even used it as a topping for my easy no-bake peanut butter granola bites for an extra-special treat. It’s also fantastic as a dip for pretzels or fresh pear slices.
- Spicy Kick: Add a small pinch of cayenne pepper or a tiny dash of chipotle powder along with the salt. The heat is subtle but it really makes the sweetness of the apple and caramel pop. It’s an unexpected twist that always gets people talking.
Serving & Storage Suggestions
How you serve this dip is almost as important as how you make it. Here’s how to make it look and taste its best.
Serving: This dip is best served at room temperature. If you’ve made it ahead and stored it in the fridge, take it out about 30 minutes before you’re ready to serve. This allows it to soften to the perfect, dippable consistency. For a beautiful presentation, pour the caramel into a small, shallow bowl and arrange a colorful platter of sliced apples around it. I love using a mix of Granny Smith (for tartness), Honeycrisp (for sweetness), and Fuji (for crunch). A sprinkle of flaky sea salt and a few fresh thyme leaves on top of the caramel makes it look incredibly elegant.
Storage: Store any leftover dip in an airtight container in the refrigerator. It will keep perfectly for up to one week. The texture will become much firmer, almost like a soft fudge. This is totally normal.
Reheating: To bring it back to a dippable consistency, you can microwave it in 10-second intervals, stirring in between, until it’s soft. Alternatively, you can place the container in a bowl of warm water for a few minutes. Do not overheat it, or it can become grainy.
Flavor Development: Honestly, this dip tastes even better the next day. The flavors have a chance to meld and deepen, becoming even more complex and delicious. It’s one of those rare recipes that improves with a little patience. This is a great make-ahead appetizer for your next fall gathering, especially if you’re planning a menu around other easy snacks like bacon-wrapped little smokies for a full spread.
Nutritional Information & Benefits
While this is definitely a treat, it’s made with real, whole ingredients, which is always a win in my book. Here’s a quick look at what you’re getting in a serving (about 2 tablespoons of dip).
- Estimated Per Serving: Calories: 120, Fat: 7g, Carbohydrates: 15g, Sugar: 14g, Protein: 1g.
- Health Benefits: The apple cider is a great source of antioxidants. Apples themselves are packed with fiber and Vitamin C. While this dip is indulgent, pairing it with fresh fruit makes it a more balanced snack than, say, a candy bar.
- Dietary Considerations: This recipe is naturally gluten-free. As mentioned, it can easily be made dairy-free and vegan with a few simple substitutions. It’s also nut-free, making it a safe option for many people with allergies.
- Potential Allergens: Dairy (butter, heavy cream).
- Personal Perspective: I believe in balance. This dip is a celebration of fall flavors, and it’s meant to be enjoyed. It’s the kind of treat that makes you feel good because you made it yourself with love and quality ingredients. It’s a far cry from processed, store-bought options.
Conclusion
This homemade apple cider caramel dip is more than just a recipe; it’s a little piece of autumn you can make in your own kitchen. It’s simple, it’s stunning, and it tastes like you spent hours perfecting it. The deep, rich flavor from the reduced cider is something you just can’t get from a jar, and it pairs so perfectly with crisp, fresh apple slices.
I really hope you give this one a try. It’s become a staple in my home, and I have a feeling it will be in yours, too. Feel free to play around with the variations I mentioned—make it spicy, make it boozy, or keep it classic. The best recipes are the ones you make your own.
I’d love to hear how it turns out for you! Did you add any fun twists? Did you serve it with something other than apples? Drop a comment below and let me know. And if you’re looking for other easy, delicious fall treats, you have to check out my easy apple nachos with peanut butter drizzle for another fun way to enjoy the season’s best fruit. Happy dipping!
Frequently Asked Questions
Can I use apple juice instead of apple cider?
You can, but the flavor won’t be as rich or deep. Apple cider is unfiltered and has more apple solids, which gives the caramel a better body and a more intense apple taste. Apple juice is thinner and more processed, so your dip might be a little less flavorful and take longer to thicken.
Why is my caramel grainy?
Grainy caramel is usually a sign that the sugar crystallized. This can happen if you stir the mixture too vigorously once it’s boiling, or if a bit of undissolved sugar gets splashed onto the sides of the pan. To prevent this, make sure your sugar is fully dissolved before you bring it to a boil, and avoid stirring once it’s boiling. Using a heavy-bottomed pan also helps.
Can I make this dip ahead of time?
Absolutely! In fact, I highly recommend it. The dip tastes even better the next day after the flavors have had time to meld. Make it a day ahead, store it in an airtight container in the fridge, and take it out 30 minutes before serving to let it soften to room temperature.
How do I prevent my apple slices from turning brown?
This is a classic problem. The easiest solution is to toss your sliced apples in a little bit of lemon juice or a mixture of water and lemon juice (about 1 tablespoon of lemon juice per cup of water). You can also use a commercial product like Fruit-Fresh. Just make sure to drain them well before serving.
What else can I dip in this caramel besides apples?
So many things! This dip is incredibly versatile. Try it with fresh pear slices, pretzel sticks, graham crackers, or even chunks of pound cake. It’s also amazing drizzled over ice cream, pancakes, or waffles. You can even use it as a filling for crepes or a topping for your copycat pumpkin cream cheese muffins for an over-the-top breakfast treat.
Pin This Recipe!
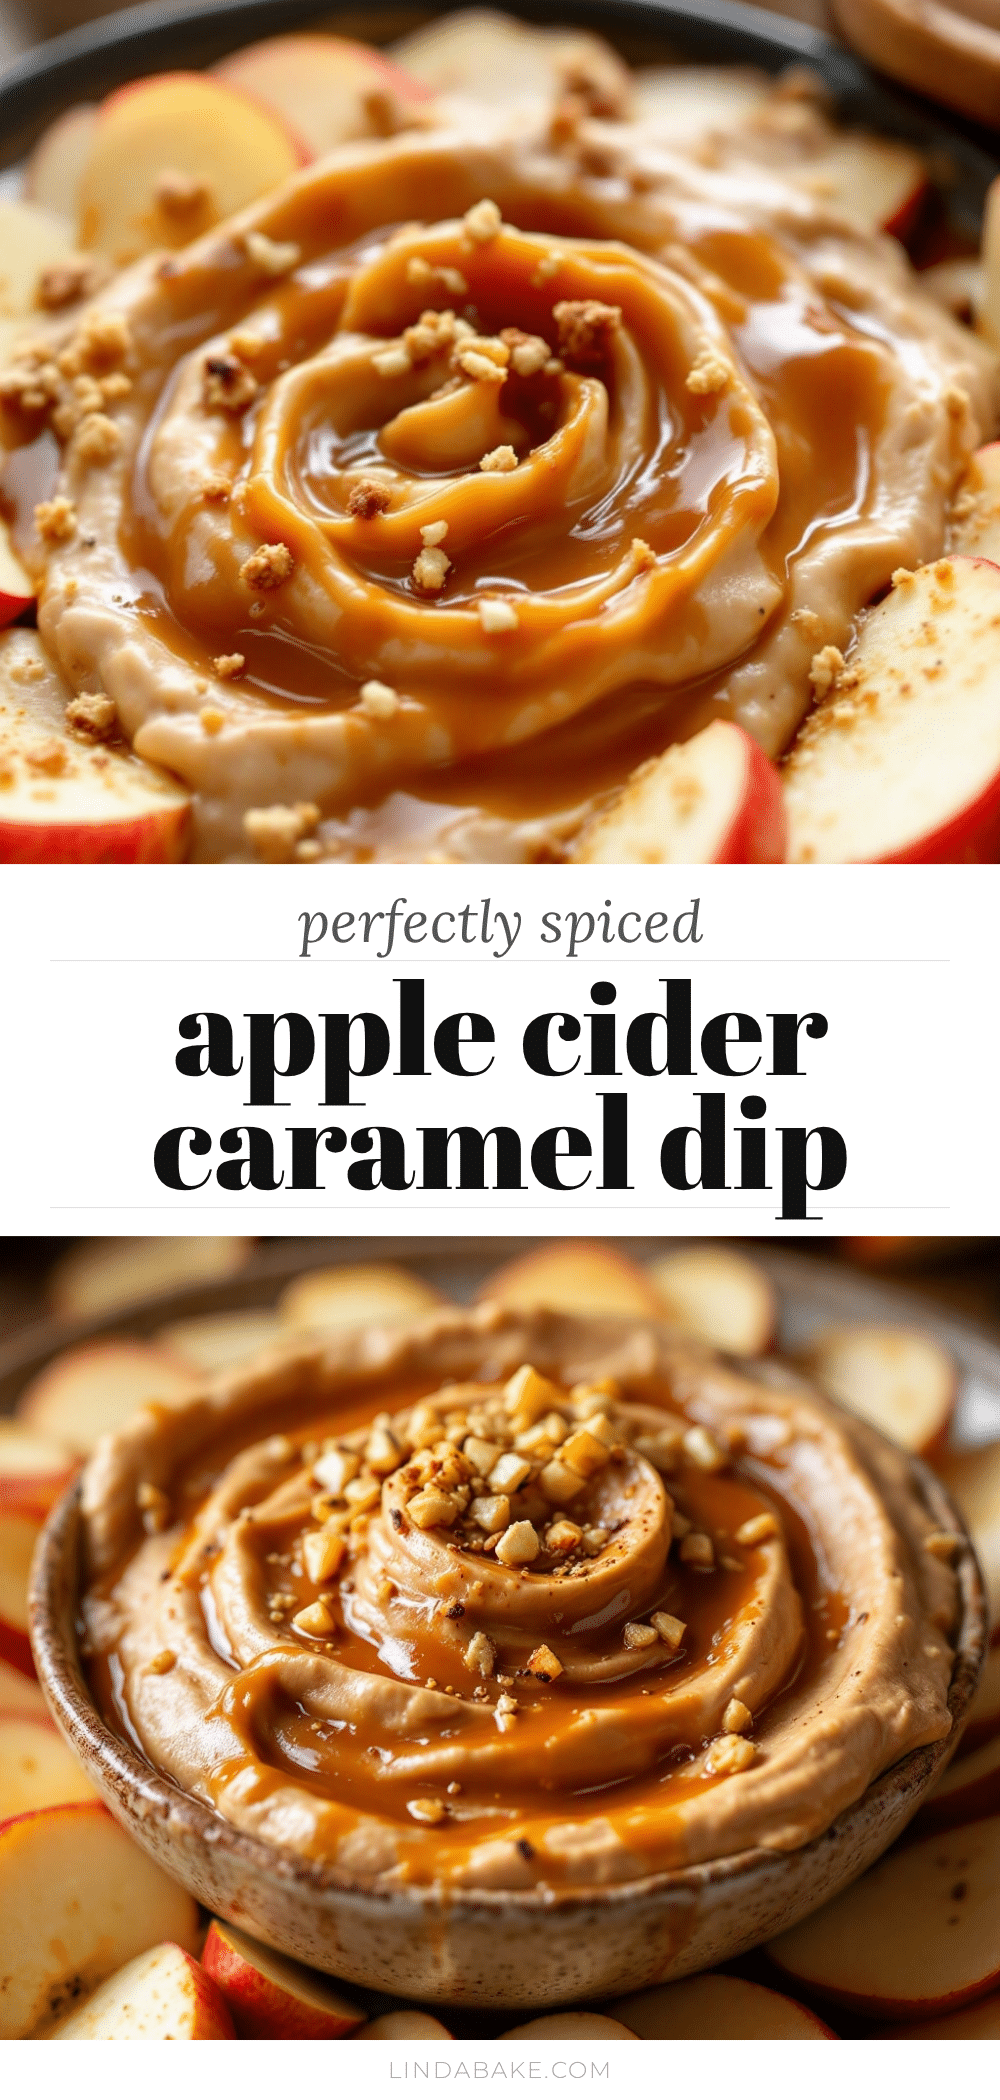
Homemade Apple Cider Caramel Dip: The Best Easy Fall Appetizer

This thick, luscious, almost fudge-like caramel dip captures the essence of fall with a deep, tangy-sweet apple flavor from reduced cider. It’s perfect for dipping apple slices and is a guaranteed hit at any gathering.
- Prep Time: 5 minutes
- Cook Time: 15 minutes
- Total Time: 20 minutes
- Yield: 8 servings 1x
- Category: Appetizer
- Cuisine: American
Ingredients
- 2 cups (480 ml) apple cider
- 1 cup (200 g) packed brown sugar
- 1/2 cup (120 ml) heavy cream
- 4 tablespoons (56 g) unsalted butter
- 1 teaspoon vanilla extract
- 1/4 teaspoon salt
Instructions
- Reduce the Cider: Pour the apple cider into a medium heavy-bottomed saucepan. Bring to a boil over medium-high heat, then reduce to medium-low and simmer until reduced to about 1/2 cup, 10-12 minutes. Stir occasionally.
- Add the Sugar: Add the packed brown sugar and whisk until completely dissolved. Let the mixture come to a gentle boil and cook for another minute.
- Incorporate the Cream and Butter: Reduce heat to low. Carefully pour in the heavy cream and add the butter. Whisk constantly until the butter is melted and everything is fully combined, 3-4 minutes.
- Season and Thicken: Remove from heat. Stir in the vanilla extract and salt. The caramel will be thin but will thicken as it cools.
- Cool and Serve: Pour the hot caramel into a heatproof bowl or jar. Let cool at room temperature for 15-20 minutes. Serve warm or at room temperature.
Notes
For the best flavor, use unfiltered apple cider. The dip can be made a day ahead and stored in the refrigerator; let it come to room temperature before serving. To prevent apple slices from browning, toss them in lemon juice or a water-lemon juice mixture.
Nutrition
- Serving Size: 2 tablespoons
- Calories: 120
- Sugar: 14
- Sodium: 75
- Fat: 7
- Saturated Fat: 4
- Carbohydrates: 15
- Protein: 1
Keywords: apple cider caramel dip, fall appetizer, easy caramel dip, homemade caramel, apple dip


