“Mom, can you make those peanut butter bars again? The ones that don’t need the oven?” My daughter asked this while shoving her lunchbox into the sink, peanut butter still smeared on her cheek. And that was it — I knew I had stumbled onto something real. Not every recipe gets requested before the dishes are even washed.
I’d been trying to find a lunchbox snack that wouldn’t turn into a crumbly mess by noon. Granola bars left a trail of oat dust in her backpack. Crackers got soggy. Store-bought protein bars cost more than my coffee habit. Then one afternoon, with the pantry looking bare and the oven already occupied with a casserole, I just started mixing things together in a bowl. Peanut butter. Honey. Oats. A few chocolate chips because, honestly, why not?
The first batch was a little too sticky. The second? Too dry. But the third — the one where I finally stopped measuring and started tasting — that was the one. These easy no-bake peanut butter lunchbox bars came out perfectly chewy, just sweet enough, and sturdy enough to survive a chaotic school morning. No baking, no fuss, no expensive ingredients. Just pure, honest snack food that actually works.
I’ve made these bars more times than I can count now. They’ve survived field trips, soccer practices, and late-night homework sessions. And every time I pack one in a lunchbox, I remember that afternoon in my kitchen, mixing by hand, hoping for the best. Sometimes the best recipes come from necessity. And sometimes they come from a kid who just wants something good to eat.
Why You’ll Love This Recipe
Let me tell you why these bars have become the most-requested snack in my house — and probably will be in yours too.
- No Oven Required: It’s summer. Or maybe your oven is full of casserole. Or you just don’t want to turn on the heat. These bars come together on the stovetop or even just in the microwave. No preheating, no waiting, no sweating.
- 5 Main Ingredients: Peanut butter, honey, oats, chocolate chips, and a pinch of salt. That’s it. You probably have all of them right now. I’ve made these at 10 PM in my pajamas because I forgot to prep lunch for the next day.
- Perfect for Lunchboxes: These bars hold their shape. They don’t crumble into a million pieces. They don’t get soggy by lunchtime. They’re the lunchbox hero nobody talks about.
- Kid-Approved and Adult-Friendly: My kids inhale these. My husband sneaks them from the fridge. I’ve even brought them to book club and watched grown women fight over the last piece.
- Completely Customizable: Swap the chocolate chips for dried fruit. Add coconut flakes. Use almond butter instead. This recipe is forgiving and flexible — exactly what a busy weeknight needs.
What makes these bars different from every other no-bake recipe out there? Texture. I’ve tested this until the ratio of wet to dry ingredients is just right — not too sticky, not too crumbly, but perfectly chewy. The peanut butter coats every oat without making things greasy. The honey binds everything together without turning it into candy. And the chocolate chips? They melt just enough to create little pockets of sweetness without overwhelming the peanut butter flavor.
These bars are the kind of snack that makes you feel good about what you’re feeding your family. No weird preservatives. No complicated instructions. Just real food that tastes like a treat. And honestly? That’s the best kind of recipe to have in your back pocket.
What Ingredients You Will Need
This recipe uses simple, wholesome ingredients that deliver big flavor without any fuss. Most of these are pantry staples, which means you can make these bars anytime the craving hits.
- Peanut Butter (1 cup, creamy): I recommend using a natural, no-stir peanut butter like Skippy Natural or Jif Natural. Avoid the oily, separation-heavy natural brands unless you’re willing to stir vigorously — they can make the bars greasy. For the best texture, use a peanut butter that’s smooth and spreadable at room temperature.
- Honey (½ cup): This is the glue that holds everything together. Raw honey works beautifully, but any liquid honey will do. If you’re vegan, swap in maple syrup or agave nectar — just know the bars will be slightly softer.
- Rolled Oats (2 cups): Old-fashioned rolled oats give the bars their chewy texture. Quick oats work in a pinch, but they’ll make the bars more crumbly. Steel-cut oats are too hard and won’t soften enough — save those for breakfast.
- Chocolate Chips (½ cup, semi-sweet): I use Ghirardelli semi-sweet chips because they melt beautifully and aren’t too sweet. Milk chocolate chips work if you prefer a sweeter bar. For a healthier twist, try dark chocolate chips or even chopped dark chocolate.
- Salt (¼ teaspoon): A pinch of salt balances the sweetness and brings out the peanut butter flavor. If your peanut butter is already salted, you can skip this — but I never do.
- Vanilla Extract (1 teaspoon, optional): This adds warmth and depth. It’s not strictly necessary, but I always add it. It makes the bars taste more “baked” even though they’re not.
- Butter or Coconut Oil (2 tablespoons): This helps the bars hold together and adds richness. Coconut oil makes them dairy-free. Butter gives them a slightly more traditional flavor.
Ingredient Selection Tips: For the best results, use room-temperature peanut butter and honey. Cold ingredients don’t mix as smoothly and can create lumps. If your honey has crystallized, warm it gently in the microwave for 10-15 seconds before mixing.
Substitution Guidance: Need a nut-free version? Sunflower seed butter works beautifully. Just note that the bars will have a slightly green tint (that’s normal — it’s a reaction between sunflower seeds and baking soda, even though we’re not baking here). For gluten-free, use certified gluten-free rolled oats. For lower sugar, reduce the honey to ⅓ cup and add an extra tablespoon of peanut butter.
Equipment Needed
You don’t need fancy tools for these bars. Here’s what you’ll need:
- Medium Saucepan: For melting the peanut butter, honey, and butter together. A heavy-bottomed pan works best to prevent scorching.
- 8×8-inch Baking Dish: This is the perfect size for bars that are thick enough to be satisfying but not so thick they fall apart. A 9×9 works too — your bars will just be slightly thinner.
- Parchment Paper: Line your dish with parchment, leaving some overhang on two sides. This makes lifting the bars out incredibly easy. Trust me on this.
- Wooden Spoon or Silicone Spatula: For mixing. A silicone spatula is great for scraping every last bit of peanut butter mixture into the dish.
- Measuring Cups and Spoons: For accuracy. I’ve eyeballed this recipe before and regretted it — the bars were either too sticky or too dry.
- Sharp Knife: For cutting clean bars. A chef’s knife works best. A serrated knife can work but might crumble the edges.
Budget-Friendly Options: Don’t have an 8×8 dish? Use a loaf pan or even a pie plate — just adjust the thickness. No parchment? Grease the dish well with butter or cooking spray. The bars will be harder to remove, but they’ll still taste great.
Preparation Method
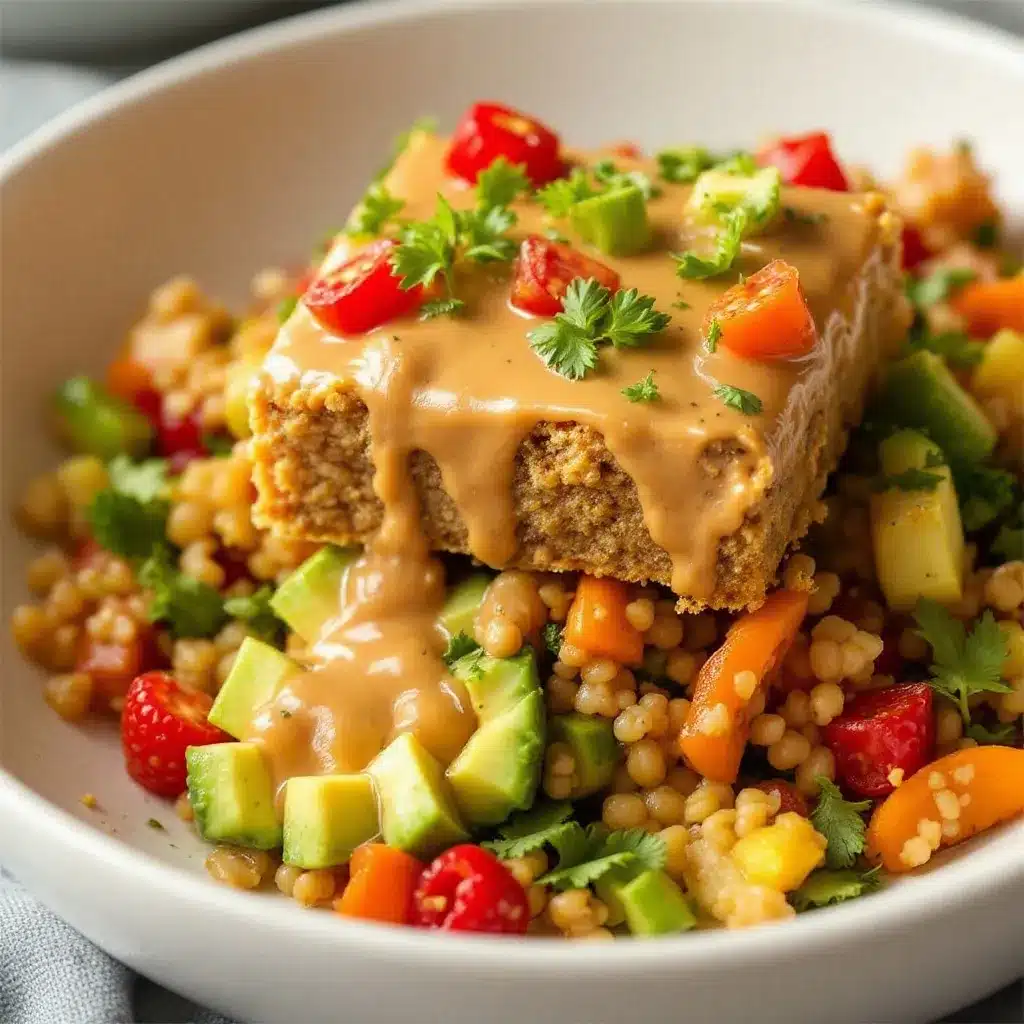
These bars come together in about 15 minutes of active time. The hardest part is waiting for them to set in the fridge.
- Line your baking dish: Cut a piece of parchment paper long enough to cover the bottom and come up two sides of your 8×8-inch dish. Press it in so it lies flat. This will create “handles” for lifting the bars later.
- Melt the wet ingredients: In a medium saucepan over low heat, combine 1 cup creamy peanut butter, ½ cup honey, and 2 tablespoons butter or coconut oil. Stir constantly with a wooden spoon or silicone spatula. The mixture will start smooth and glossy after about 2-3 minutes. Don’t walk away — it can burn quickly if left unattended.
- Add the vanilla and salt: Once everything is melted and smooth, remove the pan from heat. Stir in 1 teaspoon vanilla extract (if using) and ¼ teaspoon salt. The mixture will smell amazing at this point — like warm peanut butter cookies.
- Mix in the oats: Pour in 2 cups rolled oats. Stir until every oat is coated in the peanut butter mixture. This takes about a minute of steady stirring. The mixture will look thick and slightly sticky — that’s exactly what you want.
- Fold in the chocolate chips: Add ½ cup chocolate chips and fold them in gently. Don’t overmix, or the chips will melt completely. You want some whole chips visible for texture.
- Press into the dish: Scrape the mixture into your prepared dish. Use the back of a spoon or a piece of parchment paper to press it down firmly and evenly. Press hard — this is what keeps the bars from falling apart later. The mixture should be compact and level.
- Chill until firm: Place the dish in the refrigerator for at least 2 hours, or up to overnight. I’ve found that 3 hours is the sweet spot — the bars are firm enough to cut cleanly but not rock-hard.
- Cut and serve: Once chilled, lift the bars out using the parchment overhang. Place on a cutting board and use a sharp knife to cut into 12-16 squares. A clean cut matters here — sawing motion can crumble the edges. Press down firmly and pull the knife through.
Sensory Cues: When you press the mixture into the dish, it should feel dense and slightly tacky — like thick cookie dough. If it feels too dry and crumbly, add a tablespoon of warm honey or peanut butter. If it feels too wet and sticky, add another ¼ cup of oats. The mixture should hold together when you squeeze a small amount in your hand.
Personal Tip: I always chill the mixture for the full 3 hours. I’ve tried rushing it at 1 hour, and the bars were too soft to cut cleanly. Patience pays off here. Also, if you’re making these for a lunchbox, cut them into smaller squares — kids’ hands are smaller, and they’ll appreciate a snack that’s easy to hold.
Cooking Tips & Techniques
I’ve made these bars at least 30 times. Here’s what I’ve learned the hard way so you don’t have to.
Don’t Overheat the Peanut Butter: Low heat is your friend. High heat can cause the peanut butter to separate and become oily. If you see oil pooling on top, you’ve gone too far. Take it off the heat immediately and stir vigorously to re-emulsify.
Press, Don’t Pat: When you put the mixture in the dish, press down firmly with even pressure. I use a flat-bottomed measuring cup or a glass to really compact it. This prevents air pockets and ensures every bar holds together.
Chill Completely Before Cutting: This is non-negotiable. Warm bars will crumble and fall apart. Cold bars cut cleanly and look beautiful. I once tried to cut them after 45 minutes and ended up with a pile of delicious but ugly crumbles.
Use a Wet Knife for Clean Cuts: Run your knife under hot water, dry it quickly, then cut. The warmth helps the knife glide through without sticking. Wipe the blade clean between cuts for the best results.
Room Temperature Matters: If your kitchen is hot and humid, the bars might be stickier. If it’s cold and dry, they might be firmer. Adjust your chilling time accordingly — longer in hot weather, shorter in cold.
My Biggest Failure: I once substituted crunchy peanut butter because that’s all I had. The bars were fine, but the texture was off — the peanut pieces made it hard to press the mixture evenly. Stick with creamy for the best results.
Variations & Adaptations
This recipe is a blank canvas. Here are some of my favorite variations:
- Chocolate Peanut Butter Dream: Add 2 tablespoons of cocoa powder to the dry oats before mixing. The chocolate-peanut butter combo is unbeatable. I make this version when I want something that feels like dessert.
- Trail Mix Bars: Replace half the chocolate chips with dried cranberries, chopped almonds, and sunflower seeds. These are perfect for hiking or after-school snacks. My kids call them “adventure bars.”
- Vegan Version: Use maple syrup instead of honey and coconut oil instead of butter. The bars will be slightly softer, so chill them for an extra hour. They’re still delicious and completely plant-based.
- Low-Sugar Option: Reduce honey to ⅓ cup and add ¼ cup unsweetened applesauce. The bars will be less sweet but still satisfying. I make these for myself when I’m trying to cut back on sugar.
- Nut-Free School-Safe: Use sunflower seed butter and certified oat-free oats (if needed). These bars are safe for nut-free classrooms and still taste amazing. Just warn everyone about the green tint!
I once made a batch with white chocolate chips and dried cherries for a Valentine’s Day treat. They were gone in 20 minutes. Don’t be afraid to experiment — this recipe is forgiving.
Serving & Storage Suggestions
These bars are best served cold or at room temperature. I prefer them straight from the fridge — they’re firmer and hold together better. If you’re packing them in a lunchbox, they’ll be at room temperature by lunchtime and still perfect.
Serving Ideas:
- Pack one in a lunchbox with a side of fresh fruit and a yogurt tube. It’s a complete meal that kids actually eat.
- Serve as an after-school snack with a glass of milk. My kids say it’s “the best part of coming home.”
- Cut into tiny squares and serve at a party or playdate. They’re bite-sized and mess-free.
- Crumble over vanilla ice cream for a quick dessert. Trust me on this one.
Storage Instructions:
- Refrigerator: Store in an airtight container for up to 2 weeks. Layer them between sheets of parchment paper to prevent sticking. I use a glass container with a tight lid.
- Freezer: These bars freeze beautifully. Wrap individually in plastic wrap, then place in a freezer bag. They’ll keep for up to 3 months. Thaw in the fridge overnight or at room temperature for 30 minutes.
- Counter: They’ll last 3-4 days at room temperature in an airtight container. But honestly, they never last that long in my house.
Flavor Development: These bars actually taste better after a day or two in the fridge. The flavors meld together, and the texture becomes more uniform. I always try to make them a day ahead if I can.
Nutritional Information & Benefits
Here’s the nutritional breakdown for one bar (based on 16 bars per batch):
| Nutrient | Amount Per Bar |
|---|---|
| Calories | 210 |
| Total Fat | 12g |
| Saturated Fat | 4g |
| Carbohydrates | 24g |
| Fiber | 3g |
| Sugar | 14g |
| Protein | 6g |
| Sodium | 95mg |
Health Benefits: These bars are packed with protein from the peanut butter and fiber from the oats. They provide sustained energy without the sugar crash of processed snacks. The oats are rich in beta-glucan, which supports heart health. Peanut butter is full of healthy monounsaturated fats and vitamin E.
Dietary Considerations: This recipe is naturally vegetarian. For gluten-free, use certified gluten-free oats. For vegan, use maple syrup and coconut oil. For nut-free, use sunflower seed butter. Always check labels if you’re cooking for someone with allergies.
I love that these bars are a treat I can feel good about. They’re not health food, but they’re real food — made with ingredients I recognize and trust. And that matters.
FAQs
Can I use quick oats instead of rolled oats?
Yes, but the texture will be different. Quick oats are more finely ground, so the bars will be softer and more crumbly. They’ll still taste great, but they won’t hold together as well. If you use quick oats, chill the bars for an extra hour before cutting.
How do I make these bars nut-free for school?
Substitute sunflower seed butter for the peanut butter. Use certified oat-free oats if needed. The bars will have a slightly different flavor and a greenish tint (that’s normal), but they’re completely nut-free and safe for school. I’ve made this version for my daughter’s classroom, and they were a hit.
Can I double this recipe?
Absolutely. Double all the ingredients and use a 9×13-inch baking dish. The bars will be the same thickness, and the chilling time stays the same. Just make sure you have a large enough saucepan for melting the wet ingredients.
Why are my bars falling apart?
This usually happens for one of three reasons: you didn’t press the mixture firmly enough into the dish, you didn’t chill them long enough, or your ratio of wet to dry ingredients was off. Next time, press harder, chill for at least 3 hours, and make sure you’re using exactly 1 cup of peanut butter and ½ cup of honey.
Can I use natural peanut butter that separates?
You can, but you’ll need to stir it really well first. Natural peanut butter that’s too oily can make the bars greasy and less stable. If you’re using a natural brand, stir until the oil is fully incorporated, then measure. I’ve done this before, and it works — just expect a slightly softer bar.
Conclusion
These easy no-bake peanut butter lunchbox bars are the kind of recipe that makes you wonder why you ever bought store-bought snacks. They’re simple, satisfying, and endlessly adaptable. Whether you’re packing lunchboxes, feeding hungry kids after school, or just need something sweet that doesn’t require turning on the oven, these bars deliver every time.
I love that this recipe has become a staple in my kitchen. It’s the one I turn to when I’m tired, when I’m busy, when I just need something that works. And every time I see my daughter’s face light up when she finds one in her lunchbox, I remember that the best recipes aren’t complicated — they’re the ones made with love and a little bit of peanut butter.
Try these bars this week. Customize them to your taste. Make them with your kids. Share them with friends. And when you do, come back and tell me how they turned out. I’d love to hear about your variations, your successes, and even your happy accidents. Drop a comment below or tag me in your photos. Happy snacking!
P.S. If you loved these bars, you’ll also love my easy no-bake peanut butter granola bites — they’re like the bite-sized cousins of this recipe. And for something completely different but equally lunchbox-friendly, try my easy mini turkey meatball lunchbox cups. Both are crowd-pleasers in my house!
Pin This Recipe!
Easy No-Bake Peanut Butter Bars: Best Lunchbox Snack
These easy no-bake peanut butter lunchbox bars are perfectly chewy, just sweet enough, and sturdy enough to survive a chaotic school morning. Made with 5 main ingredients, they’re the perfect lunchbox snack that won’t crumble or get soggy.
- Prep Time: 15 minutes
- Cook Time: 0 minutes
- Total Time: 2 hours 15 minutes (includes chilling time)
- Yield: 16 servings 1x
- Category: Snack
- Cuisine: American
Ingredients
- 1 cup creamy peanut butter (natural, no-stir recommended)
- ½ cup honey
- 2 cups rolled oats (old-fashioned)
- ½ cup semi-sweet chocolate chips
- ¼ teaspoon salt
- 1 teaspoon vanilla extract (optional)
- 2 tablespoons butter or coconut oil
Instructions
- Line an 8×8-inch baking dish with parchment paper, leaving overhang on two sides for easy removal.
- In a medium saucepan over low heat, combine 1 cup creamy peanut butter, ½ cup honey, and 2 tablespoons butter or coconut oil. Stir constantly until smooth and glossy, about 2-3 minutes.
- Remove from heat and stir in 1 teaspoon vanilla extract (if using) and ¼ teaspoon salt.
- Pour in 2 cups rolled oats and stir until every oat is coated. The mixture should be thick and slightly sticky.
- Gently fold in ½ cup semi-sweet chocolate chips. Do not overmix to keep some chips visible.
- Scrape the mixture into the prepared dish. Press down firmly and evenly using the back of a spoon or a piece of parchment paper.
- Refrigerate for at least 2 hours, preferably 3 hours, until firm.
- Lift the bars out using the parchment overhang. Place on a cutting board and cut into 12-16 squares with a sharp knife.
Notes
For best results, use room-temperature peanut butter and honey. Chill for at least 3 hours for clean cuts. Bars can be stored in the refrigerator for up to 2 weeks or frozen for up to 3 months. For vegan version, use maple syrup and coconut oil. For nut-free, use sunflower seed butter.
Nutrition
- Serving Size: 1 bar
- Calories: 210
- Sugar: 14
- Sodium: 95
- Fat: 12
- Saturated Fat: 4
- Carbohydrates: 24
- Fiber: 3
- Protein: 6
Keywords: no-bake peanut butter bars, lunchbox snack, easy snack, peanut butter oats, no-bake bars, kid-friendly snack


