I figured pear preserves would be a sticky, sugary mess that took hours of babysitting a bubbling pot. It took about one batch of these Homemade Cinnamon Vanilla Pear Preserves for that assumption to fall apart completely. Honestly, the first time I made them I was half-convinced I’d done something wrong because it felt too easy. You know that feeling when a recipe works almost suspiciously well? That was this.
It started on a random Tuesday in early autumn. My neighbor had dropped off a brown paper bag overflowing with Bosc pears from her tree. They were beautiful—freckled skin, that distinctive long neck—but they were also, let’s be real, about three days from turning into compost. I had maybe an hour before I needed to pick up my kid from school. So I stood there, holding a pear, trying to figure out how to save them all without making yet another batch of muffins.
The answer came from a half-remembered conversation with my grandmother about “putting up” fruit. She always said the best preserves weren’t about complicated techniques but about trusting the fruit to do the work. So I grabbed a knife, a heavy pot, and a vanilla bean I’d been hoarding for a special occasion. Thirty minutes of hands-on work later, I had a pot of something that smelled like a warm hug. The pears softened into this gorgeous, jammy texture without me having to stand there stirring constantly. The cinnamon and vanilla just sort of melted into the background—supporting the pear, not shouting over it.
These preserves have become my fall ritual now. They’re the thing I make when I want to feel like I’ve accomplished something meaningful before noon. And honestly? They’re the reason I actually look forward to pear season every year.
Why You’ll Love This Recipe
This isn’t your grandmother’s fussy canning project. These Homemade Cinnamon Vanilla Pear Preserves are designed for real people with real kitchens and real schedules.
- Simple Ingredients : You need exactly six ingredients. No pectin packets, no commercial thickeners, nothing you can’t pronounce. Just pears, sugar, lemon juice, cinnamon, vanilla, and a pinch of salt.
- Quick & Easy : The active prep time is about 30 minutes. The rest is just letting the pot do its thing while you unload the dishwasher or fold laundry.
- Perfect for Gifting : A jar of these tied with a ribbon is the kind of homemade gift that makes people actually excited. Way better than another scented candle.
- Crowd-Pleaser : I’ve yet to meet someone who doesn’t love these. They’re sweet but not cloying, spiced but not overwhelming. Even picky eaters go for seconds.
- Unbelievably Delicious : The texture is this perfect balance between chunky and spreadable. The vanilla adds a warmth that makes you want to eat it straight from the jar. (No judgment here.)
What makes these preserves different from every other recipe out there? It’s the method. Most recipes will tell you to cook the pears down into a uniform mush. I take a different approach—I let some chunks remain, so you get these lovely pockets of soft pear suspended in the jammy base. It’s a texture thing that makes every bite interesting. Plus, using a whole vanilla bean instead of extract gives you those tiny black specks of flavor that look beautiful and taste incredible.
This recipe is the kind that makes you close your eyes after the first bite. It’s comfort food reimagined—healthier than store-bought jam, but with the same soul-soothing satisfaction. Perfect for spreading on toast, swirling into yogurt, or just eating by the spoonful when nobody’s watching.
What Ingredients You Will Need
This recipe uses simple, wholesome ingredients to deliver bold flavor and satisfying texture without the fuss. Most of these are pantry staples, and the ones that aren’t are worth seeking out.
For the Preserves
- 3 pounds ripe but firm pears (about 6-7 medium pears, Bosc or Bartlett work great) — peeled, cored, and cut into ½-inch chunks. The firmness matters here; you want pears that are sweet and fragrant but still hold their shape during cooking. If they’re too soft, they’ll turn into pear sauce instead of preserves.
- 2 cups granulated sugar — this isn’t just for sweetness. Sugar acts as a natural preservative and helps the fruit release its natural pectin. I’ve tried reducing the sugar and the texture just isn’t the same. Trust the process.
- ¼ cup fresh lemon juice (from about 2 lemons) — the acid brightens the flavor and helps the preserves set. Bottled lemon juice works in a pinch, but fresh really does taste better here.
- 1 whole vanilla bean — splurge on a good one. I like Madagascar Bourbon vanilla beans for their rich, creamy flavor. If you only have vanilla extract, use 2 teaspoons added at the very end of cooking.
- 1 cinnamon stick (about 3 inches) — or 1 teaspoon ground cinnamon if that’s what you have. The stick infuses more gently and gives a subtler flavor that doesn’t overpower the pears.
- Pinch of fine sea salt — sounds weird in a sweet recipe, but salt makes everything taste more like itself. It balances the sweetness and deepens the pear flavor.
Ingredient Tips & Substitutions
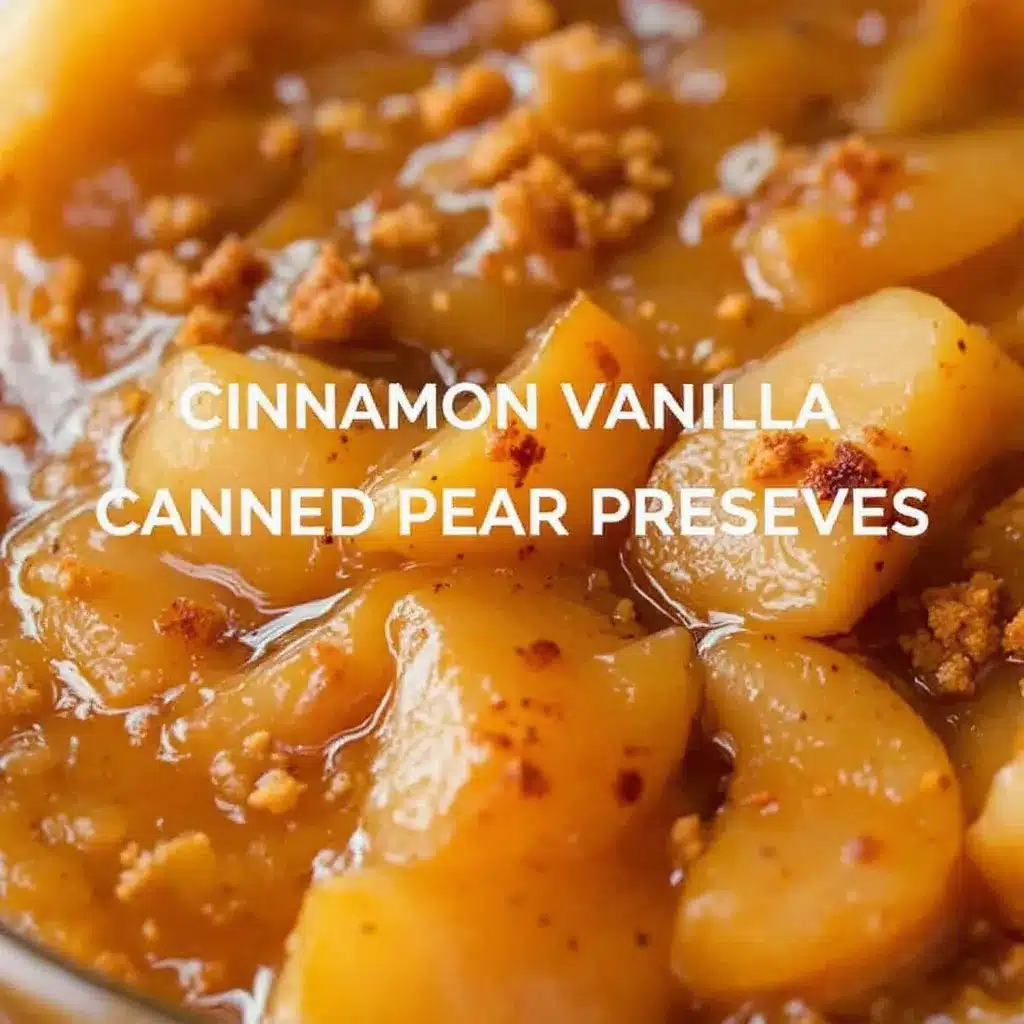
- Pear varieties : Bosc pears hold their shape beautifully and have a honeyed sweetness. Bartletts break down a bit more, giving you a softer preserve. A mix of both is my favorite.
- Vanilla options : If you don’t have a vanilla bean, scrape the seeds from the pod and add both the seeds and the pod to the pot. The pod infuses extra flavor even after you remove it. Or use 2 teaspoons of good vanilla extract stirred in after the preserves are done cooking.
- Sugar alternatives : I don’t recommend swapping all the sugar for honey or maple syrup because it changes the texture and shelf stability. But you can replace up to ¼ cup of the sugar with honey for a different flavor profile.
- Spice variations : Add a star anise or a strip of orange zest along with the cinnamon for a more complex flavor. Just remember to fish them out before jarring.
Equipment Needed
You don’t need a fancy canning setup for this recipe. Here’s what actually matters:
- Heavy-bottomed pot or Dutch oven (4-5 quart capacity) — the heavy bottom distributes heat evenly and prevents scorching. I use my Le Creuset for this, but any heavy stainless steel or enameled pot works. Avoid thin pots; you’ll end up with burnt bits.
- Sharp chef’s knife and cutting board — peeling and coring 3 pounds of pears is a lot faster with a good knife. A Y-shaped peeler also makes the peeling part go quickly.
- Wooden spoon or heatproof spatula — for stirring. Metal can scratch your pot’s finish.
- Canning jars with lids (4 half-pint jars or 2 pint jars) — make sure they’re clean and sterilized. I run mine through the dishwasher on the sanitize cycle.
- Small plate or saucer — for testing the set. Pop it in the freezer before you start cooking.
- Canning funnel and jar lifter (optional but helpful) — if you plan to can these for long-term storage. For refrigerator preserves, you can skip these.
If you don’t have a jar lifter, use tongs. If you don’t have a canning funnel, a regular funnel works fine. The point is: don’t let equipment stop you from making these.
Preparation Method
Take a deep breath. This is easier than you think. Here’s how to make these Homemade Cinnamon Vanilla Pear Preserves step by step.
Step 1: Prep the Pears (15 minutes)
Wash the pears well. Peel them using a vegetable peeler or a sharp knife. Cut each pear in half lengthwise and scoop out the core with a melon baller or teaspoon. Cut the pears into ½-inch chunks. Don’t stress about uniformity, but try to keep pieces roughly the same size so they cook evenly. You should end up with about 6-7 cups of chopped pears.
As you work, toss the pears with the lemon juice in a large bowl. This prevents browning and adds brightness. I learned this the hard way after my first batch turned an unappealing grayish color. Lemon juice fixes that completely.
Step 2: Split the Vanilla Bean (2 minutes)
Lay the vanilla bean flat on your cutting board. Use a paring knife to slice it open lengthwise, from tip to tip. Don’t cut all the way through—just enough to open it like a book. Use the back of the knife to scrape out the tiny black seeds. You’ll use both the seeds and the pod in this recipe. The pod infuses flavor while it cooks, and you’ll fish it out later.
Step 3: Cook the Preserves (45-60 minutes)
In your heavy-bottomed pot, combine the chopped pears, sugar, lemon juice, vanilla bean seeds and pod, and the cinnamon stick. Add the pinch of salt. Stir everything together gently with your wooden spoon. Let it sit for 10-15 minutes. This maceration step draws out the pears’ natural juices and starts dissolving the sugar. You’ll see liquid pooling at the bottom of the pot.
Place the pot over medium heat. Stir occasionally until the sugar dissolves completely and the mixture comes to a gentle boil. This takes about 5-7 minutes. Once it’s bubbling, reduce the heat to medium-low. You want a steady simmer, not a violent boil. Skim off any foam that rises to the surface with a spoon. That foam is just air bubbles and impurities; removing it gives you clearer preserves.
Let the preserves simmer uncovered for 35-45 minutes, stirring every 5-7 minutes. The mixture will thicken and darken. You’ll notice the pears becoming translucent and the liquid reducing. Toward the end, stir more frequently to prevent sticking.
Step 4: Test for Doneness (2 minutes)
While the preserves cook, place a small plate in the freezer. When you think the preserves are close, drop a teaspoon of the hot mixture onto the cold plate. Let it sit for 30 seconds. Tilt the plate. If the preserves wrinkle and move slowly, like thick syrup, they’re done. If they run like water, keep cooking for another 5-10 minutes and test again.
Another test: run your finger through the blob on the plate. If the trail stays separated and doesn’t fill back in, you’ve got a good set.
Step 5: Remove the Spices & Jar (5 minutes)
Fish out the cinnamon stick and the vanilla bean pod (rinse and dry the vanilla pod; you can bury it in sugar to make vanilla sugar). Let the preserves cool in the pot for 5 minutes. This helps the fruit distribute evenly instead of floating to the top.
Ladle the hot preserves into your sterilized jars, leaving ¼ inch of headspace at the top. Wipe the rims clean with a damp paper towel. Screw on the lids fingertip-tight—don’t crank them down too hard.
Step 6: Process for Storage (Optional, 10 minutes)
For long-term pantry storage, process the filled jars in a boiling water bath for 10 minutes (adjust for altitude). For refrigerator preserves, just let the jars cool to room temperature, then pop them in the fridge. They’ll keep for 3-4 weeks refrigerated, or up to a year if properly canned.
Let the jars sit undisturbed for 12-24 hours. You’ll hear that satisfying “pop” as the lids seal. If a lid doesn’t seal, just refrigerate that jar and use it first.
Cooking Tips & Techniques
I’ve made this recipe about a dozen times now, and I’ve made every mistake in the book so you don’t have to.
Don’t walk away from the pot toward the end of cooking. I learned this the hard way when I got distracted by a phone call and came back to preserves that had turned into pear candy. The last 15 minutes require your attention. Stir frequently, especially near the bottom where things can scorch.
Use a heavy-bottomed pot. This is non-negotiable for even heat distribution. Thin pots create hot spots that burn the sugar before the pears have a chance to soften. My first attempt was in a cheap stainless pot, and I spent an hour scrubbing burnt sugar off the bottom.
Trust the process with the sugar. I know it seems like a lot. I tried reducing it once and ended up with preserves that were thin and bland. The sugar isn’t just for sweetness—it’s essential for texture and preservation. If you want to reduce sugar, look for recipes specifically formulated for low-sugar preserves, not this one.
Prep everything before you start cooking. This is one of those recipes where having all your ingredients measured and your jars sterilized before you turn on the heat makes everything smoother. The actual cooking time flies by, and you don’t want to be scrambling to find a clean jar while your preserves are bubbling away.
Use the cold plate test rather than relying on cooking times. Every batch is different depending on the pears’ ripeness and water content. The cold plate test never lies. If you don’t have a plate, put a spoon in the freezer and test on that.
Variations & Adaptations
Once you’ve mastered the basic Homemade Cinnamon Vanilla Pear Preserves, here are some fun ways to switch things up:
Spiced Chai Pear Preserves
Add 4 cardamom pods, 2 star anise, and a 1-inch piece of fresh ginger (sliced) along with the cinnamon stick. Remove them before jarring. The warm spice notes pair beautifully with the vanilla and pear. I made this version for a holiday gift exchange and got requests for the recipe from three different people.
Vanilla Bourbon Pear Preserves
Add 2 tablespoons of good bourbon during the last 5 minutes of cooking. The alcohol cooks off, leaving behind a subtle warmth that complements the vanilla. This version is incredible on buttermilk biscuits. If you’re looking for another easy treat to pair with these preserves, try making my easy matcha green tea tiramisu parfaits for a completely different but equally satisfying dessert experience.
Low-Sugar Version (Not for Canning)
Reduce the sugar to 1 cup and add 1 tablespoon of chia seeds during the last 10 minutes of cooking. The chia seeds help thicken the preserves without extra sugar. This version won’t have the same shelf stability, so keep it refrigerated and use within 2 weeks. The texture is a bit different—more like a chia jam—but the flavor is still fantastic.
Apple-Pear Blend
Swap half the pears for firm apples (Granny Smith or Honeycrisp work well). The apples add natural pectin and a slightly tarter flavor that balances the sweetness. This is a great option if you have a mix of fruit to use up. The cooking time stays the same.
Ginger-Pear Preserves
Add 2 tablespoons of finely minced fresh ginger along with the pears. The ginger adds a bright, slightly spicy kick that cuts through the sweetness. I love this version on toast with cream cheese. It’s also fantastic as a glaze for roasted pork or chicken.
Serving & Storage Suggestions
These preserves are incredibly versatile. Here’s how to enjoy them and keep them at their best.
Serving Ideas
- On toast or biscuits : The classic. Spread generously on warm, buttered toast, buttermilk biscuits, or English muffins. The preserves soften slightly from the heat, creating this gorgeous, jammy layer.
- With cheese : Spoon over brie or goat cheese for an easy appetizer. The sweetness pairs beautifully with sharp cheddar or creamy blue cheese. This is my go-to party trick.
- In yogurt or oatmeal : Swirl a spoonful into plain Greek yogurt or warm oatmeal. It adds sweetness and flavor without processed sugar.
- As a glaze : Brush over baked ham, pork chops, or roasted chicken during the last 10 minutes of cooking. The preserves caramelize into a beautiful, flavorful crust.
- In cocktails : Stir a spoonful into sparkling water, prosecco, or bourbon for an instant fall cocktail. It’s a great way to use up the last bit in the jar.
Storage Instructions
- Refrigerator : Once opened, store in the fridge for 3-4 weeks. Always use a clean, dry spoon to avoid introducing bacteria.
- Freezer : Pour cooled preserves into freezer-safe containers, leaving ½ inch of headspace. Freeze for up to 6 months. Thaw in the refrigerator overnight.
- Pantry (canned) : Properly sealed jars can be stored in a cool, dark place for up to 1 year. Once opened, refrigerate.
Reheating
If your preserves crystallize or thicken too much in the fridge, simply microwave the jar (lid removed) for 15-20 seconds, or place the jar in a bowl of warm water. Stir and it’ll return to its original consistency.
Flavors actually improve after a day or two in the fridge. The vanilla and cinnamon meld together, and the pear flavor becomes more concentrated. So don’t worry if they taste slightly different right after cooking—they’ll settle into perfection.
Nutritional Information & Benefits
While these preserves are a treat, they also offer some surprising nutritional perks. Per 2-tablespoon serving (approximate):
- Calories : 65
- Carbohydrates : 17g
- Sugar : 15g
- Fiber : 1g
- Vitamin C : 4% DV
- Potassium : 2% DV
Pears are an excellent source of dietary fiber, particularly pectin, which supports digestive health. They also contain antioxidants like vitamin C and copper, which help fight inflammation. The lemon juice adds additional vitamin C, and the cinnamon has been studied for its potential blood sugar-regulating properties.
Dietary considerations : This recipe is naturally gluten-free, dairy-free, and vegan. It contains no nuts or common allergens beyond fruit. The sugar content is higher than some commercial jams, but you’re also getting real fruit without artificial preservatives or high-fructose corn syrup.
I personally love that I can control exactly what goes into these preserves. No mysterious additives, no corn syrup, just real food. That matters to me when I’m feeding my family.
Conclusion
These Homemade Cinnamon Vanilla Pear Preserves are the kind of recipe that makes you feel like you’ve accomplished something real. They’re simple enough for a beginner but rewarding enough for an experienced cook. The combination of sweet, fragrant pears with warm cinnamon and rich vanilla is pure autumn magic in a jar.
I hope you give this recipe a try and make it your own. Maybe add a little extra cinnamon, or swap in a different variety of pear. That’s the beauty of preserves—they’re forgiving and adaptable. If you’re in the mood for another easy homemade treat, you might also enjoy my creamy no-mayo chicken salad wraps for a completely different kind of comfort food.
I’d love to hear how yours turn out. Leave a comment below and let me know what you served them with, or tag me in your photos on social media. Happy preserving, friends.
Frequently Asked Questions
Can I use frozen pears for this recipe?
Yes, but thaw them completely and drain off any excess liquid before cooking. Frozen pears tend to be softer, so the preserves will have a smoother texture. You may need to cook them a few minutes longer to evaporate the extra moisture.
Why did my preserves turn out too runny?
This usually happens when the pears are too ripe or you didn’t cook them long enough. Next time, use firmer pears and cook until the mixture passes the cold plate test. You can also cook runny preserves a bit longer to thicken them up.
Can I reduce the sugar in this recipe?
You can, but it will change the texture and shelf stability. For refrigerator preserves, you can reduce sugar to 1½ cups. For canning, stick with the full amount to ensure proper preservation. If you’re looking for a lower-sugar option, try the chia seed variation mentioned above.
How do I know if my jars are properly sealed?
After processing, let the jars cool completely. Press the center of each lid. If it doesn’t pop back, it’s sealed. You can also remove the ring and try to lift the jar by the lid—if it holds, you’re good. If a jar doesn’t seal, just refrigerate it and use it within a few weeks.
What’s the difference between preserves, jam, and jelly?
Preserves contain whole or large pieces of fruit in a syrupy base. Jam is made from crushed or chopped fruit, giving a smoother texture. Jelly uses only fruit juice, so it’s clear and firm. These pear preserves fall somewhere between preserves and jam, with tender chunks of pear suspended in a thick, spreadable base.
Pin This Recipe!
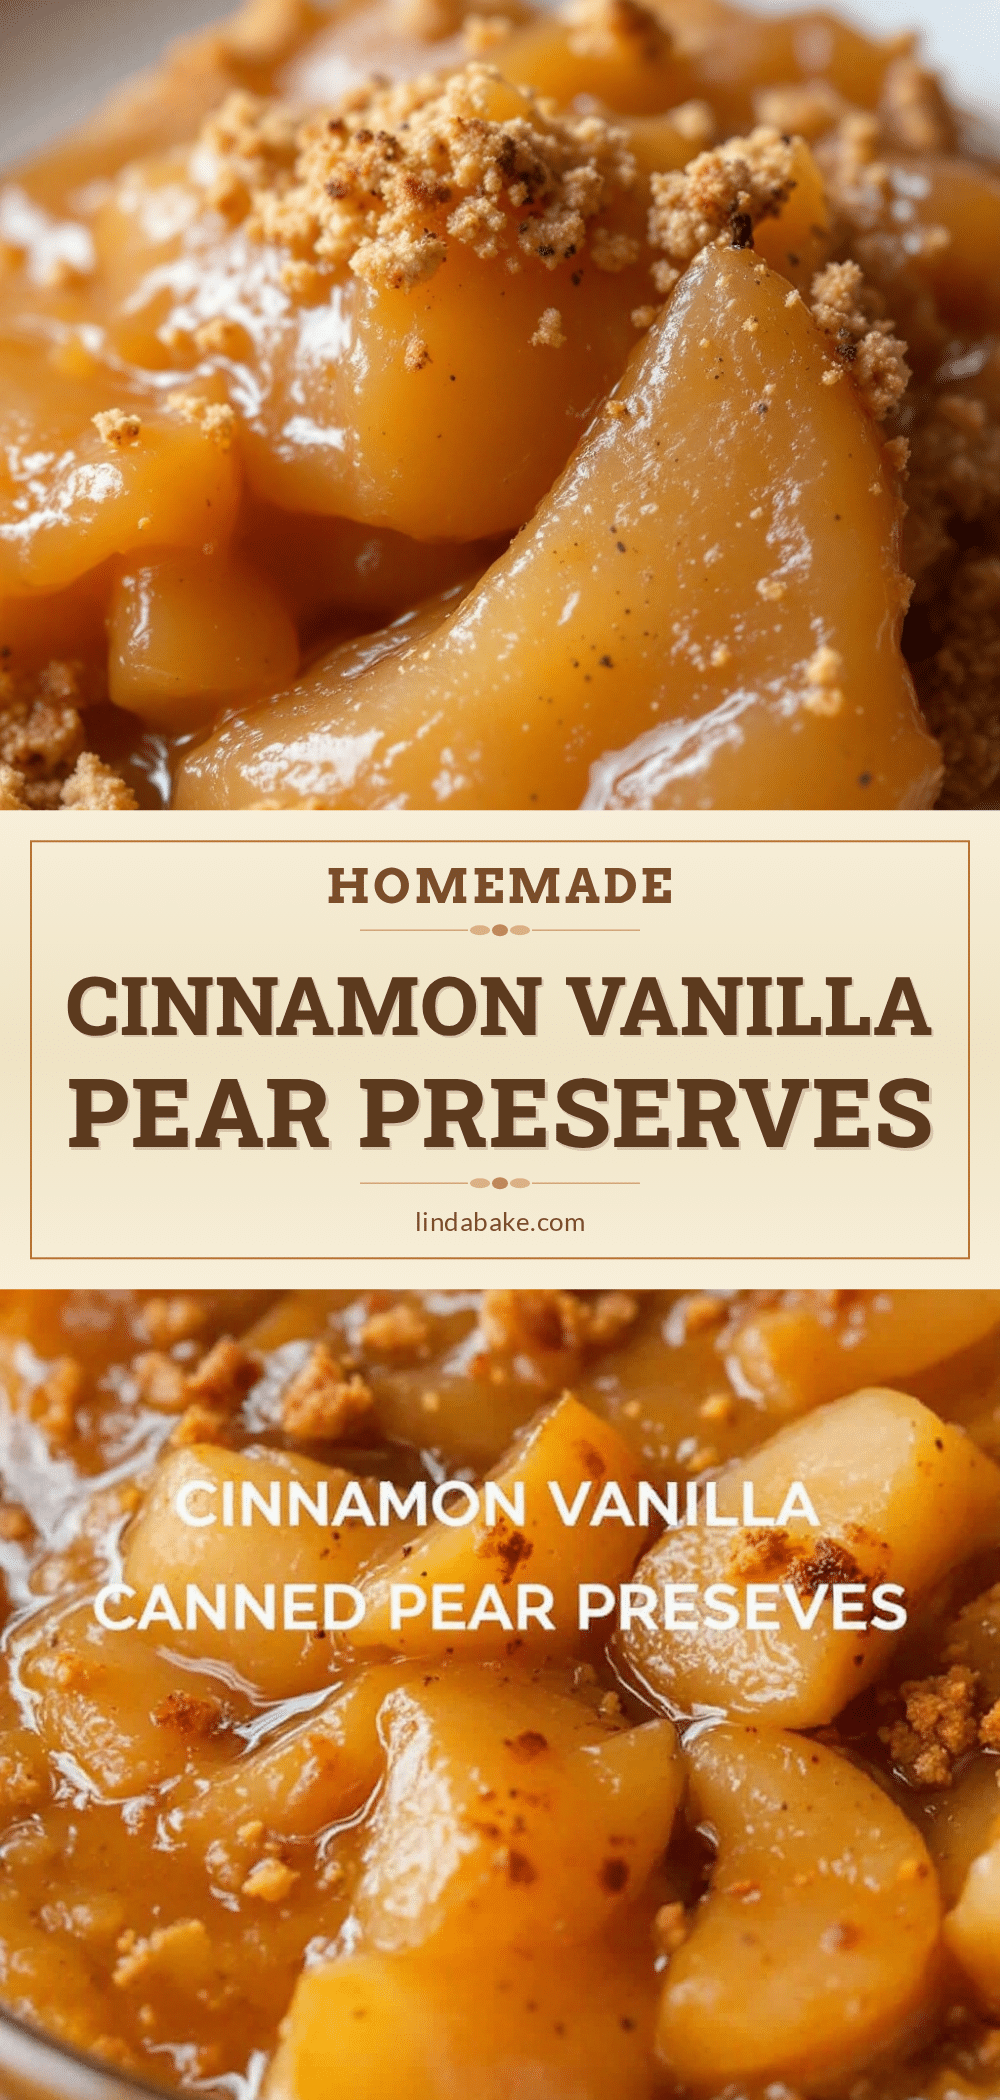
Homemade Cinnamon Vanilla Pear Preserves: Easy Canning Recipe
These Homemade Cinnamon Vanilla Pear Preserves are surprisingly easy to make with just six simple ingredients. Perfect for spreading on toast, gifting, or enjoying by the spoonful, this recipe delivers a perfect balance of sweet pears, warm cinnamon, and rich vanilla.
- Prep Time: 30 minutes
- Cook Time: 45 minutes
- Total Time: 1 hour 15 minutes
- Yield: 4 half-pint jars (about 32 servings of 2 tablespoons each) 1x
- Category: Preserves
- Cuisine: American
Ingredients
- 3 pounds ripe but firm pears (about 6–7 medium pears, Bosc or Bartlett work great), peeled, cored, and cut into ½-inch chunks
- 2 cups granulated sugar
- ¼ cup fresh lemon juice (from about 2 lemons)
- 1 whole vanilla bean (Madagascar Bourbon recommended)
- 1 cinnamon stick (about 3 inches)
- Pinch of fine sea salt
Instructions
- Prep the pears: Wash, peel, and core the pears. Cut into ½-inch chunks. Toss with lemon juice in a large bowl to prevent browning.
- Split the vanilla bean: Slice the vanilla bean lengthwise and scrape out the seeds. Reserve both seeds and pod.
- Combine ingredients: In a heavy-bottomed pot, combine pears, sugar, lemon juice, vanilla bean seeds and pod, cinnamon stick, and salt. Let sit for 10-15 minutes to macerate.
- Cook the preserves: Place pot over medium heat. Stir until sugar dissolves and mixture comes to a gentle boil (5-7 minutes). Reduce heat to medium-low and simmer uncovered for 35-45 minutes, stirring every 5-7 minutes. Skim off any foam.
- Test for doneness: Place a small plate in the freezer. Drop a teaspoon of hot preserves onto the cold plate. If it wrinkles and moves slowly like thick syrup, it’s done. If it runs, cook 5-10 more minutes and test again.
- Remove spices: Fish out the cinnamon stick and vanilla bean pod. Let preserves cool in the pot for 5 minutes.
- Jar the preserves: Ladle hot preserves into sterilized jars, leaving ¼ inch headspace. Wipe rims clean and screw on lids fingertip-tight.
- Process for storage (optional): For long-term storage, process jars in a boiling water bath for 10 minutes. For refrigerator preserves, let cool to room temperature then refrigerate. Let jars sit undisturbed for 12-24 hours to seal.
Notes
Don’t walk away from the pot toward the end of cooking. The last 15 minutes require attention to prevent scorching. Use a heavy-bottomed pot for even heat distribution. Trust the process with the sugar—it’s essential for texture and preservation. Prep everything before you start cooking. Use the cold plate test rather than relying on cooking times. Flavors improve after a day or two in the fridge.
Nutrition
- Serving Size: 2 tablespoons
- Calories: 65
- Sugar: 15
- Sodium: 5
- Carbohydrates: 17
- Fiber: 1
Keywords: pear preserves, homemade preserves, cinnamon vanilla pear preserves, easy canning recipe, pear jam, fall preserves, homemade jam, pear recipe, vanilla bean preserves


