Third time in a week and I still have cheese crumbs on my shirt.
That is the reality of building the perfect easy rustic charcuterie board for beginners. You know the drill. You buy the fancy crackers. You buy the expensive salami. You stand there with a wooden board that costs more than your first car, trying to look like a French chef who doesn’t sweat.
The first time, I overcomplicated it. I tried to fold the prosciutto into little rosettes. It looked like a flower exploded on a plate. My guests ate the fruit and ignored the meat entirely.
The second time, I went too minimalist. Just three types of cheese and a handful of grapes. It looked elegant, sure. But it also looked sad. Like I gave up halfway through the grocery store.
This time? This time I stopped trying to be perfect. I just grabbed what I liked. I threw some fig jam in a random bowl. I let the cheese crumble where it wanted to. And somehow, it worked.
I don’t know if it’s the rustic vibe or just the fact that I’m too tired to care, but this approach feels less like hosting and more like sharing. It’s that specific moment when you pull a board out and everyone crowds around like it’s a buffet line at a wedding. You know that look. It’s pure joy.
I kept pulling back to this because it’s honest. It doesn’t require a degree in culinary arts. It just requires a shopping trip and a willingness to eat as you go. And let’s face it, that’s the real secret to a good board. You have to taste-test the supplies.
I ended up making two batches of pickles to go with it. Not because the recipe called for it, but because I ran out of crackers before I ran out of cheese. That’s the kind of happy problem you want to have.
So, here is my third attempt. It’s messy. It’s colorful. And it’s the easiest way to feel like a party host without the stress.
Why You’ll Love This Rustic Charcuterie Board
Let’s be real for a second. Who has time to cook a full dinner when they just want to hang out? This recipe changes the game. It’s not just food; it’s an event.
Here is why this specific setup works so well for people who are new to this whole charcuterie thing:
- Zero Cooking Required: Seriously. No oven, no stove, no burning your kitchen down. You just open packages and arrange things. It is the ultimate lazy chef’s dream. If you can make a sandwich, you can make this board.
- Uses What You Have: You likely already have half the ingredients in your fridge. The cheese? Check. The crackers? Check. That jar of pickles from last month? Perfect. It reduces grocery stress significantly.
- Perfect for Any Crowd: Whether you are hosting a bridal shower, a game day tailgate, or just a Tuesday night with neighbors, this format works. It’s adaptable. If your guests are keto, they eat the meat and cheese. If they are vegetarian, they go crazy for the fruits and nuts.
- Looks Expensive, Costs Less: People think charcuterie boards are only for rich people. They aren’t. You can build a stunning board for under $30 if you shop smart. It looks like you spent hours planning, but you spent twenty minutes.
- Interactive and Fun: It gets people talking. “What is this meat?” “Try the honey with the blue cheese.” It breaks the ice. It’s better than copycat lunchable bento boxes because it feels more grown-up and less like packing a school lunch.
This isn’t just about feeding people. It’s about creating a vibe. It’s the kind of board that makes you close your eyes after the first bite of a well-paired cracker and sigh. It’s comfort food, but fancy. It’s approachable. It’s the kind of meal that says, “I care that you are here,” without requiring you to stand in the kitchen for three hours while everyone else hangs out in the living room.
I’ve tested this with picky eaters, food critics, and my own messy family. It always lands. It’s reliable. And that reliability is what makes it a staple in my rotation.
What Ingredients You Will Need
The beauty of this recipe is that it relies on simple, high-quality ingredients to deliver bold flavor without the fuss. You don’t need a PhD in gastronomy to understand how these components work together. You just need balance.
Think of your board as a landscape. You need mountains (cheese), valleys (meats), and little oases (fruits and jams). Here is what you need to build that terrain.
For the Meats (The Salty Backbone)
- Prosciutto di Parma: Thinly sliced. This adds that salty, savory punch. (I prefer the brand Aldi, honestly, it’s surprisingly good for the price).
- Soppressata or Salami: Cut into thick rounds or folded strips. You need some texture here. Look for one with visible red pepper flakes if you like a little kick.
- Smoked Sausage or Andouille: Sliced into coins. This adds a different protein profile. It pairs amazingly well with sweet jams.
For the Cheeses (The Creamy Center)
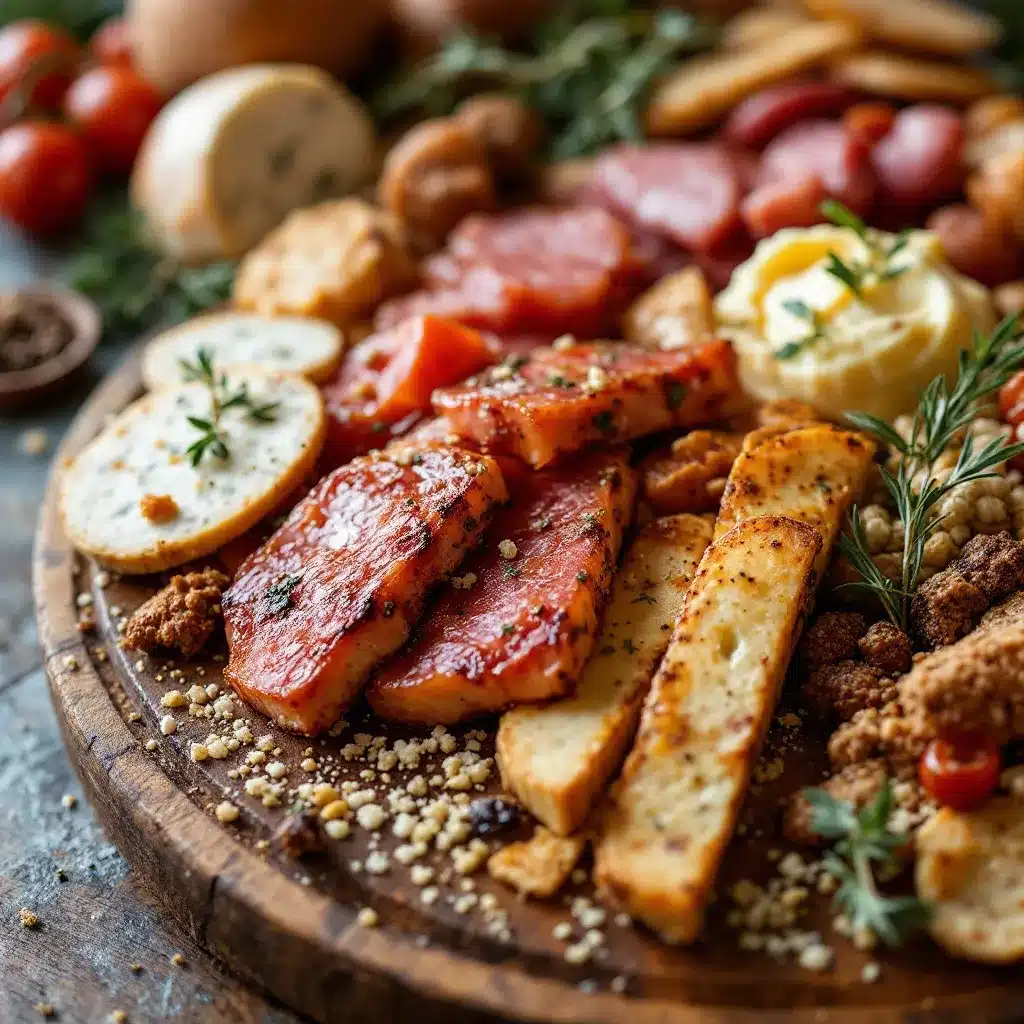
- Sharp Cheddar Block: Cut into cubes or thin slices. A sharp cheddar provides a nice bite that cuts through the richness.
- Brie or Camembert: Leave the rind on. It’s edible and adds a creamy, mushroomy flavor. Let it come to room temperature before serving, or it will be hard as a rock.
- Aged Gouda or Manchego: These have a crystalline crunch that feels luxurious. Sliced thinly, they melt in your mouth.
For the Crunch and Filler (The Texture)
- Mixed Crackers: Get a variety. Water crackers, seeded flatbreads, and maybe some sweet biscotti. Diversity is key so you don’t get palate fatigue.
- Roasted Almonds or Pecans: Adds a nutty crunch. Toasting them yourself is better, but store-bought works fine.
- Olives: Kalamata or green olives. The brine adds a sharp contrast to the fat in the cheese.
For the Sweet and Fresh (The Balance)
- Fresh Grapes or Berries: Red grapes pop nicely. Strawberries add color. They cut the saltiness of the meat.
- Dried Figs or Apricots: Chewy and sweet. They pair exceptionally well with the sharp cheddar.
- Fig Jam or Honey: Essential. You need something sticky and sweet to put on top of the cheese.
- Mustard: Whole grain mustard is great for dipping. It adds a tangy kick.
You can swap these out based on what is in season. In the summer, swap dried figs for fresh peaches. In the winter, stick to apples and pears. The goal is variety in color and texture, not a strict ingredient list.
Equipment Needed
You don’t need much. In fact, over-buying equipment is the biggest mistake beginners make. You don’t need a specialized charcuterie knife set. You don’t need a $200 marble slab.
- A Large Serving Surface: A wooden cutting board, a slate tray, or even a large clean baking sheet works. Wood feels more rustic and warm, which fits the theme perfectly. Avoid plastic if you can; it looks cheap.
- Small Bowls orramekins: For the jams, mustards, and olives. Ceramic or glass looks best. If you don’t have small bowls, you can use small jars or even hollowed-out bread rolls as bowls.
- A Knife: Just one good chef’s knife or a serrated bread knife is enough. You need to slice the cheese and meat. Keep it sharp.
- Tongs: Highly recommended. Nobody wants to touch the food with their hands directly, especially if you are hosting. It’s hygienic and keeps your board looking tidy.
If you have a cheese knife with the little holes in the blade, use it for the soft cheeses. It helps the cheese release from the knife. For hard cheeses, a standard knife is fine.
Preparation Method
Building the board is easier than you think. The trick is to do it in layers, not all at once. If you just throw everything on, it looks like a mess. Follow these steps for a professional look.
Step 1: Prep Your Ingredients (10 Minutes)
- Take all your cheeses out of the fridge. Let them sit for 30 minutes before serving. Cold cheese tastes bland. Room temperature cheese tastes like cheese.
- Slice your meats. Don’t just lay them flat. Fold prosciutto into loose nests. Fold salami in half and then in half again. This creates height and visual interest. It looks like you tried.
- Cut your hard cheeses into cubes or thin slices. Leave soft cheeses like Brie whole or cut them into quarters.
Step 2: Place the Anchor Items (5 Minutes)
- Start with the bowls. Place your small bowls of jam, mustard, and olives on the board first. Place them in different corners or along the edges. This anchors the board and creates spaces for the other items.
- If you have a large wheel of cheese or a whole Brie, place that in the center or slightly off-center. This is your focal point.
Step 3: Add the Meats (5 Minutes)
- Arrange your folded meats around the bowls and the large cheese. Don’t just pile them. Fan them out. If you have too much meat, drape it over the edge of a bowl or tuck it into a corner.
- Leave gaps. You don’t need to fill every single inch. Empty space makes the food look more abundant and intentional.
Step 4: Add the Cheeses (5 Minutes)
- Place your cubed or sliced hard cheeses near the meats. Try to group similar textures together, but don’t be too rigid. Scatter them a bit.
- If you have crackers, place them near the cheeses and meats. You can stack them vertically in a bowl or fan them out on the board. Vertical stacking adds great height.
Step 5: Fill the Gaps (5 Minutes)
- This is the fun part. Fill the empty spaces with fruits, nuts, and pickles.
- Use grapes to fill small holes. Use dried fruit to bridge gaps between meats.
- Scatter nuts loosely. You want them to look accidental, like they just fell there.
Step 6: Final Touches
- Wipe the edges of the board with a damp cloth. Crumbs look bad.
- Add fresh herbs like rosemary or thyme sprigs for a pop of green. It makes the board look fresh and expensive.
- Step back and look. Does it look balanced? Add more of whatever is missing. It’s your board. Make it yours.
Cooking Tips & Techniques
I’ve made a lot of mistakes building boards. Here is what I learned so you don’t have to.
- Temperature Matters: I cannot stress this enough. Warm cheese is bad. Room temperature cheese is good. If you build the board and it sits out for an hour, the soft cheese might get too runny. Build it 30-45 minutes before guests arrive.
- Don’t Overcrowd: Beginners often try to fit everything on the board. It’s better to have a few items spaced out than a crowded mess. Your eye needs room to rest.
- Use Height: A flat board is boring. Use small bowls, stack crackers, fold meat. Verticality makes the board look dynamic and inviting.
- Color Contrast: Try to have a variety of colors. Red grapes, white cheese, brown meat, green herbs, orange apricots. If your board is all beige, it will look dull. Add a bright fruit or a dark jam to break it up.
- Keep it Simple: You don’t need 10 types of cheese. Three to four is the sweet spot. Too many options can overwhelm guests. They will just pick the thing they recognize.
I once tried to make a board with seven types of cheese. It was a disaster. People just grabbed the cream cheese because it was familiar. Stick to the basics.
Variations & Adaptations
This recipe is a skeleton. You can put any meat on it. Here are a few ways to change it up.
- Vegan Version: Swap the meats for marinated tofu or seitan. Use vegan cheeses (though they can be hit or miss). Load it up with nuts, seeds, fresh fruits, and hummus. It’s just as satisfying.
- Keto Friendly: Skip the crackers and bread. Add more nuts, olives, and cheese. Use pork rinds instead of crackers for crunch. This is perfect for low-carb diets.
- Sweet Tooth: Make a dessert board. Swap meats for cookies, brownies, and fresh fruit. Use chocolate dips and whipped cream. It’s a great alternative to a cake.
- Seasonal Twist: In the fall, add pumpkin seeds and pear slices. In the spring, add asparagus spears and strawberries. Use what is fresh and local.
I tried a version with spicy pepperoni and sweet honey mustard once. It was a weird combo, but it worked surprisingly well. Don’t be afraid to experiment.
Serving & Storage Suggestions
Serve this board at room temperature. It’s the best way to taste the flavors.
- Pairing: It goes great with white wine, beer, or even just sparkling water with lemon. If you want a warm drink, it pairs well with coffee or tea.
- Leftovers: If you have leftovers, wrap the meats and hard cheeses in plastic wrap. Store them in the fridge for 2-3 days. Soft cheeses like Brie last only 1-2 days. Do not freeze the board components; the texture will suffer.
- Reheating: You don’t need to reheat this. Just let it sit out for 15 minutes if it gets cold in the fridge.
The flavors meld together over time. The crackers might get soft if they sit near the jam for too long. So, try to eat it within a few hours of building it.
Nutritional Information & Benefits
This board is high in protein and fat, which keeps you full. It’s not exactly a diet food, but it’s not junk food either.
- Protein: The meats and cheeses provide a good amount of protein.
- Fat: Healthy fats from the nuts and olive oil (if used in marinades).
- Carbs: The crackers and fruits provide carbohydrates. You can control this by choosing low-carb crackers.
It’s a balanced meal in the sense that you get a bit of everything. It’s great for snacking without the guilt of processed chips.
Conclusion
Building an easy rustic charcuterie board for beginners is simpler than you think. It’s about having fun with food and sharing it with people you like.
Don’t worry about being perfect. Worry about being generous.
Try this board out. Add your favorite jams. Swap the meats for what you like. Make it your own. And then, call your friends over and watch them eat.
If you try this, let me know how it went in the comments. Did you add something unexpected? Did someone steal all the prosciutto? I want to hear about it.
And if you liked this, check out my easy loaded pulled pork nacho bar for another no-cook party idea.
Enjoy the food. Enjoy the company. That’s what it’s all about.
FAQs
How long before the party should I build the board?
Build it 30-45 minutes before guests arrive. This gives the cheese time to come to room temperature and the meats to lose their chill.
Can I use pre-sliced meats and cheeses?
Yes, absolutely. Pre-sliced is fine. But if you have time, slicing it yourself looks nicer and allows you to control the thickness.
What if I don’t have a wooden board?
Use a large platter, a slate tray, or even a clean marble countertop. The surface just needs to be large and sturdy.
How many people does this board serve?
It depends on the size of the board. A standard 18×12 inch board can serve 6-8 people as an appetizer. For a main meal, plan for 1-1.5 pounds of meat and cheese per person.
Can I make this board vegan?
Yes. Use vegan cheeses, marinated tofu, nuts, fruits, and crackers. It’s just as delicious and visually appealing.
Pin This Recipe!
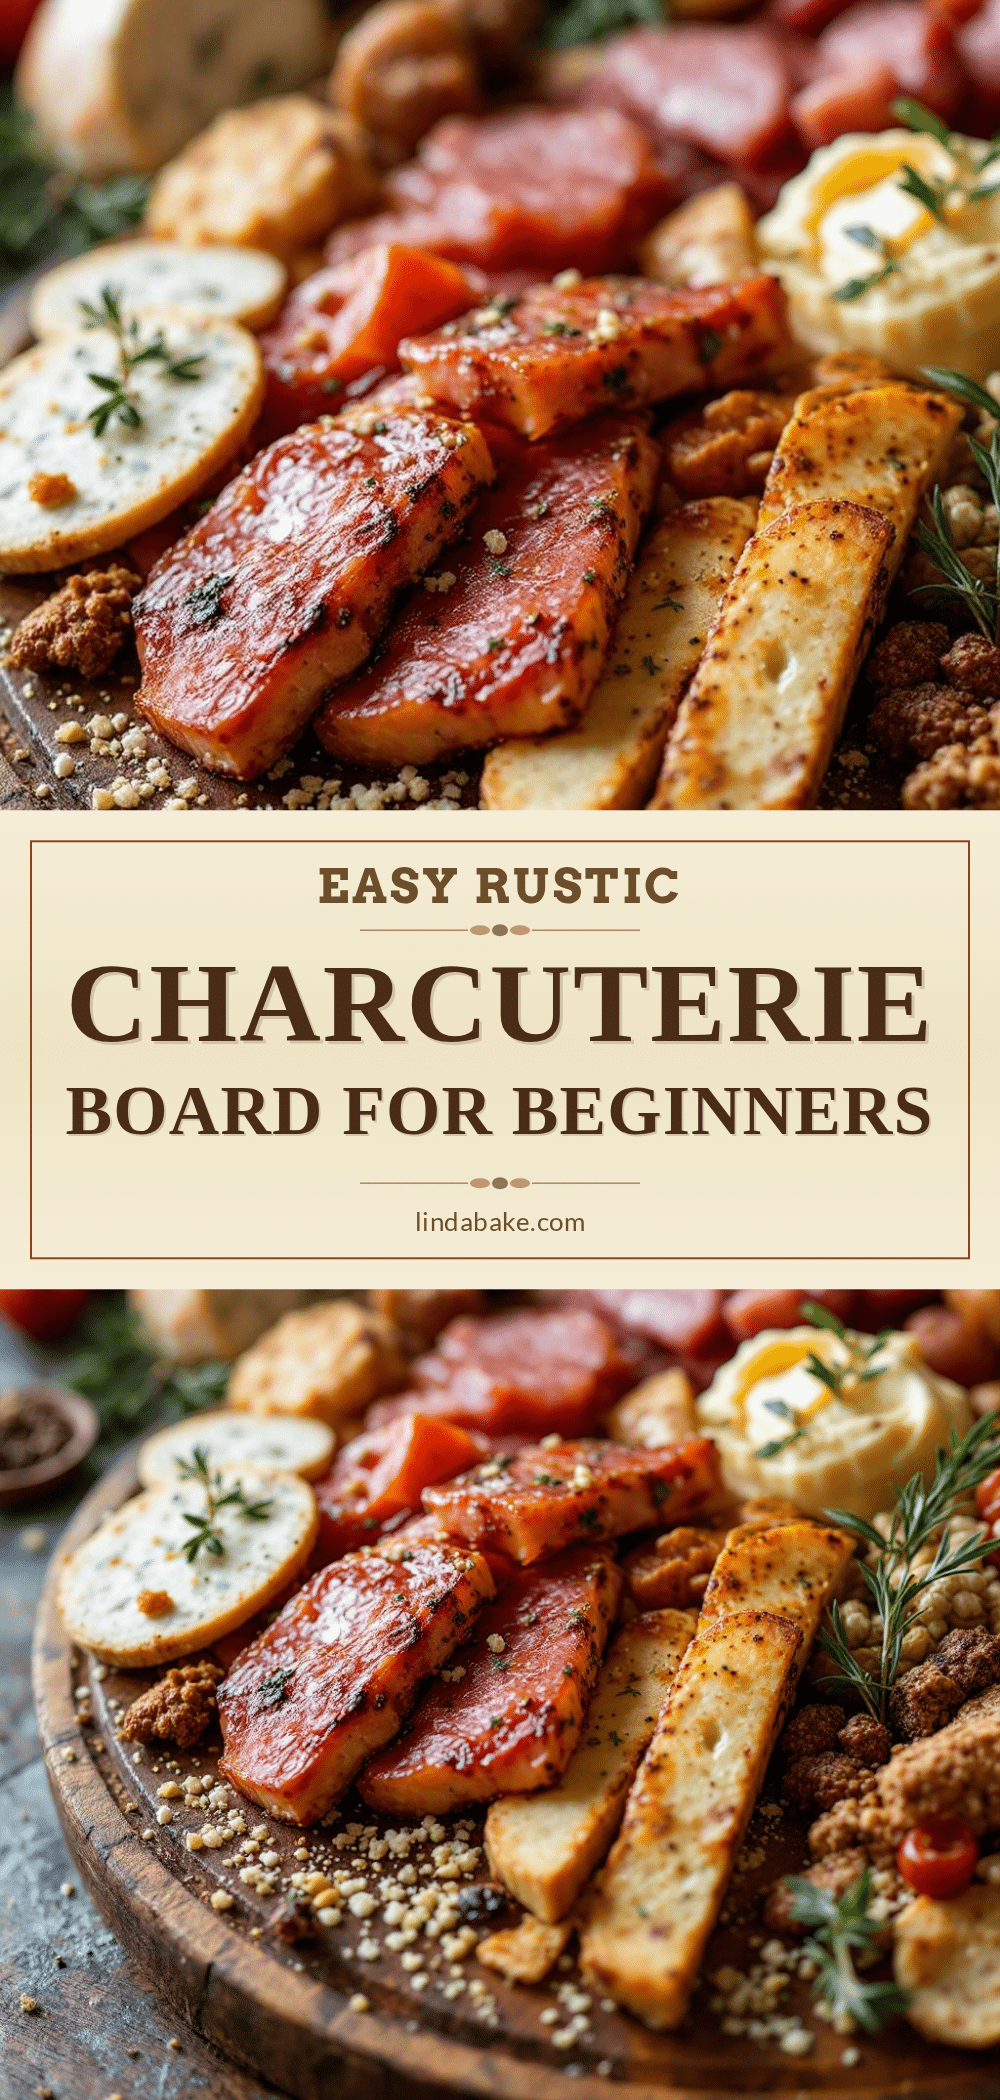
Easy Rustic Charcuterie Board for Beginners
A stress-free, no-cook charcuterie board that relies on simple, high-quality ingredients and an intuitive arrangement method. Perfect for beginners who want to create an impressive spread without culinary expertise.
- Prep Time: 30 minutes
- Cook Time: 0 minutes
- Total Time: 30 minutes
- Yield: 6-8 servings
- Category: Appetizer
- Cuisine: International
Ingredients
- Prosciutto di Parma (thinly sliced)
- Soppressata or Salami (thick rounds or folded strips)
- Smoked Sausage or Andouille (sliced into coins)
- Sharp Cheddar Block (cubed or sliced)
- Brie or Camembert (whole or quartered)
- Aged Gouda or Manchego (sliced thinly)
- Mixed Crackers (water crackers, seeded flatbreads, biscotti)
- Roasted Almonds or Pecans
- Kalamata or Green Olives
- Fresh Grapes or Berries
- Dried Figs or Apricots
- Fig Jam or Honey
- Whole Grain Mustard
- Fresh herbs (rosemary or thyme sprigs)
Instructions
- Take all cheeses out of the fridge and let them sit for 30 minutes to reach room temperature.
- Slice meats: Fold prosciutto into loose nests and fold salami in half twice to create height.
- Cut hard cheeses into cubes or thin slices; leave soft cheeses like Brie whole or cut into quarters.
- Place small bowls of jam, mustard, and olives on the board in different corners or along the edges to anchor the layout.
- Place a large wheel of cheese or whole Brie in the center or slightly off-center as the focal point.
- Arrange folded meats around the bowls and large cheese, fanning them out and leaving gaps for visual appeal.
- Place cubed or sliced hard cheeses near the meats, grouping similar textures but scattering them slightly.
- Place crackers near cheeses and meats, stacking them vertically or fanning them out.
- Fill empty spaces with fruits, nuts, and pickles, using grapes for small holes and scattering nuts loosely.
- Wipe the edges of the board with a damp cloth to remove crumbs.
- Add fresh herb sprigs for color and final presentation.
Notes
Build the board 30-45 minutes before guests arrive to allow cheese to reach room temperature. Avoid overcrowding the board; leave empty space to make the food look more abundant. Use height by stacking crackers and folding meat. Serve at room temperature for best flavor.
Nutrition
- Serving Size: Varies based on boar
- Calories: 450
- Sugar: 10
- Sodium: 800
- Fat: 35
- Saturated Fat: 15
- Carbohydrates: 20
- Fiber: 2
- Protein: 20
Keywords: charcuterie board, rustic appetizer, no cook recipe, party food, beginner guide, cheese board, meat board, easy entertaining


