The plate was empty before the last guest even finished their drink. That was the third time that happened this month. My niece stared at the bare ceramic, then looked at me with that specific, wide-eyed accusation that only children can master. She didn’t say anything. She just pointed at the corner of the table where the plate used to sit.
I had to go to the kitchen to confirm the damage. The white chocolate was gone. The pretzel sticks, snapped in half to look like gnarled fingers, had vanished into thin air. My husband was laughing, crumbs on his shirt, telling me I should start charging admission. Honestly, I wasn’t even mad. I was just impressed. These treats are dangerous.
I originally made them because I needed something spooky but not too scary for the elementary school party. I didn’t think they’d become the main event. Usually, the fruit skewers or the veggie tray get ignored. Not this time. The combination of salty crunch and sweet cream is just too good to resist.
Now, whenever I make crispy white chocolate witch fingers, I make double the batch. It’s a precaution. You know how it goes. One batch never lasts. It’s become a little tradition, a quiet little win that happens every October. I love that simple ingredients can create such a big reaction. It’s satisfying in a way that complex desserts rarely are.
Why You’ll Love This Recipe
Let’s be real for a second. Halloween baking can be a nightmare. You spend hours piping intricate designs, only for the kids to go straight for the candy bowl. This recipe flips the script. It’s spooky, yes, but it’s also genuinely delicious. I’ve tested dozens of versions over the years, from using real almonds to trying different chocolate brands. This specific combination is the winner. It’s the kind of treat that makes you close your eyes after the first bite because the texture is just that good.
Here is why this recipe sticks out from the crowd:
- Quick & Easy: You can have these assembled in under 15 minutes. No baking, no oven heat, no mess. Perfect for busy weeknights or last-minute party prep when you’re running around trying to get kids ready.
- Simple Ingredients: You likely already have everything in your kitchen. Pretzels, white chocolate, and a little food coloring. No fancy grocery trips needed. It’s pantry-staple magic.
- Perfect for Parties: Great for trick-or-treaters, classroom swaps, or a cozy movie night snack. They are easy to grab and eat with one hand, which is a huge plus when you’re holding a pumpkin bucket.
- Crowd-Pleaser: Always gets rave reviews from kids and adults alike. The salty-sweet combo is universal. Even my pickiest eater, who usually refuses anything “green,” asks for these.
- Unbelievably Delicious: The texture and flavor combo is next-level comfort food. The crunch of the pretzel against the snap of the chocolate is addictive.
What makes this different from the rest? It’s the technique. I’ve seen people use whole pretzel rods, but they are too thick and often break. Using half pretzel sticks gives you the perfect finger shape. Plus, the food coloring tip I share later is key. It makes the “fingernails” look realistic without tasting weird. It’s not just another version—it’s your best version. It’s comfort food reimagined for Halloween.
What Ingredients You Will Need
This recipe uses simple, wholesome ingredients to deliver bold flavor and satisfying texture without the fuss. You don’t need a lot, which is half the appeal. Let’s break down what you need to get started.
- Pretzel Sticks: You need standard, thin pretzel rods. Look for brands like Snyder’s of Hanover or any store brand that is crisp and not too salty. You will need about 12-15 sticks. (Note: Do not use thick pretzel rods; they are too chunky for this look.)
- White Chocolate Chips: High-quality melting wafers or chips work best. I recommend Ghirardelli or Baker’s Premium White Chocolate for the smoothest melt. Generic chips sometimes seize up or taste waxy. You’ll need about 1 cup.
- Green Food Coloring: Gel food coloring is non-negotiable here. Liquid coloring will make the chocolate grainy and tough. Wilton gel colors are my go-to because they are concentrated and vibrant. You only need a tiny amount.
- Red Food Coloring: Also gel-based. This is for the “blood” under the fingernails. A deep red or a mix of red and a drop of black works well for a more realistic look.
- Toothpicks: Wooden toothpicks are essential for holding the fingers steady while the chocolate sets. Make sure they are clean and dry.
If you want to get fancy, you can add a pinch of dried dill or parsley to the green coloring for a more “earthy” witch vibe, but honestly, the green gel alone looks spooky enough. For the red, a tiny dot of black food coloring creates a darker, more sinister shade. If you are making these for younger kids who might be sensitive to strong flavors, stick to just green. The pretzels should be fresh. If they are stale, the whole treat loses its crunch. Store them in an airtight container until you are ready to assemble.
Equipment Needed
You don’t need much here, which is great for cleanup. The main tool you need is a microwave-safe bowl. A glass measuring cup with a spout is actually better than a bowl because it makes dipping easier. The spout helps you pour the chocolate smoothly over the pretzel sticks without making a mess.
A silicone baking mat is highly recommended. Parchment paper works, but chocolate tends to stick to it if the room is humid. Silicone mats are reusable and make peeling off the finished fingers much easier.
You’ll also need small cups or ramekins for your food coloring. I use old takeout containers or small plastic lids. It’s a cheap way to keep your workspace organized. If you don’t have gel food coloring, you can use liquid, but you’ll need to add it in smaller increments to avoid seizing the chocolate.
For maintenance, always ensure your microwave-safe bowl is completely dry. Even a drop of water can cause the white chocolate to seize and become lumpy. If you use a microwave, a 30-second interval is safer than a long cook to prevent burning. White chocolate burns easily.
Preparation Method
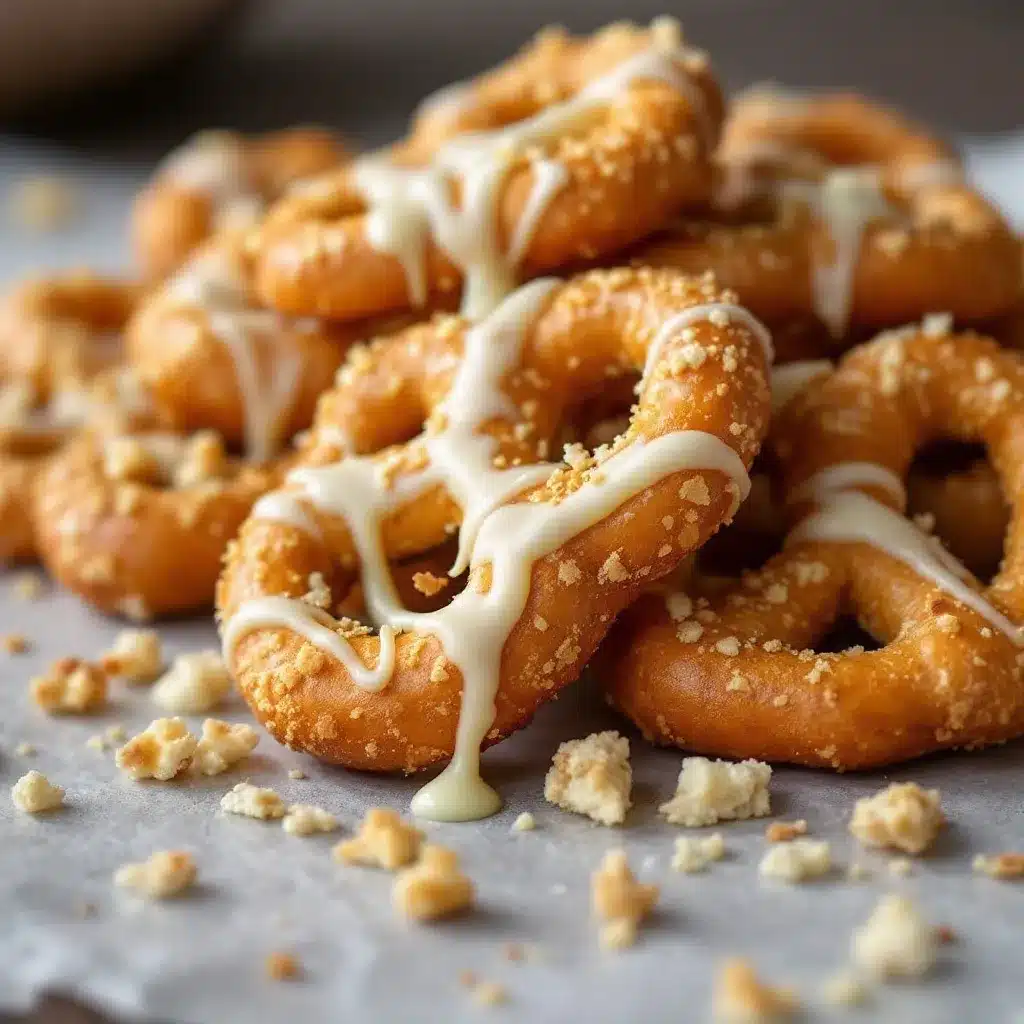
Getting these ready is straightforward, but timing is everything. Follow these steps carefully to ensure the best results.
- Prep Your Station (2 minutes): Line a baking sheet with a silicone mat or parchment paper. Break your pretzel sticks in half. You want pieces that are about 3-4 inches long. This is the length of a human finger. Arrange them neatly on the counter. Place your toothpicks nearby. (Tip: Have everything ready before you melt the chocolate so you don’t waste time hunting for tools.)
- Melt the White Chocolate (3-4 minutes): Place the white chocolate chips in your microwave-safe bowl. Microwave on high for 30 seconds. Remove and stir. If there are still chunks, microwave for another 15-20 seconds. Stir until smooth. (Warning: Do not overheat. White chocolate scorches quickly. If it looks lumpy, it’s too hot. Let it cool for 30 seconds before proceeding.)
- Divide and Color (2 minutes): Split the melted chocolate into two bowls. In one bowl, add a small amount of green gel food coloring. Stir until uniform. In the other, add a tiny amount of red gel coloring. You want the green to be opaque and the red to be deep. (Note: Add coloring gradually. You can always add more, but you can’t take it out.)
- Coat the Pretzels (5 minutes): Take a pretzel stick. Dip about two-thirds of it into the green chocolate. Lift it out and let the excess drip off for a few seconds. Place it on the prepared baking sheet. Insert a toothpick into the top of the pretzel stick (the part that is NOT chocolate) to act as a handle. Repeat with all pretzels. (Tip: Work in batches. Don’t dip too many at once or the chocolate will start to set before you can finish.)
- Add the “Blood” (2 minutes): While the green chocolate is still wet, take a toothpick and dip it into the red chocolate. Touch the tip to the tip of the green-coated pretzel, right where the “fingernail” would be. Drag it slightly down to create a dripping effect. Do this for all fingers. (Caution: Be gentle. The chocolate is soft. If you press too hard, the pretzel might break.)
- Set the Fingers (15-20 minutes): Place the baking sheet in the refrigerator. Let them chill for at least 15 minutes, or until the chocolate is completely hard. (Tip: If you are in a hurry, you can put them in the freezer for 10 minutes, but watch them closely so they don’t sweat when they come out.)
- Remove and Serve: Once set, gently pull out the toothpicks. If any chocolate gets on your fingers, just wipe it off with a paper towel. Arrange them on a platter. They are ready to eat immediately.
Cooking Tips & Techniques
I’ve made a lot of mistakes with chocolate before I got this right. The biggest one was using liquid food coloring. It turned my smooth white chocolate into a grainy mess. Stick to gel. It’s worth the extra cost.
Another common mistake is not tempering the chocolate properly. You don’t need to be a professional chocolatier, but you do need to respect the heat. If your chocolate is too hot, it will coat the pretzel unevenly. If it’s too cool, it will set too fast and leave streaks. Aim for a warm, fluid consistency.
Timing is also key. If you wait too long to add the red “blood,” the green chocolate will be set, and the red won’t stick. It will just sit on top and chip off. Work quickly after dipping.
If you are making a large batch, keep the melted chocolate warm by placing the bowl in a larger bowl of warm water. This prevents it from setting up while you work. Stir it occasionally to keep the color even.
Also, consider the humidity. If it’s a rainy day, chocolate takes longer to set and can become sticky. In that case, use the freezer method. It’s faster and more reliable in humid conditions.
Finally, don’t skip the toothpicks. They give you a clean handle to hold the finger while the chocolate sets. Without them, you’ll end up with fingerprints on your spooky treats, which is not the vibe we want.
Variations & Adaptations
You can tweak this recipe to fit different needs or tastes. Here are a few ideas I’ve tried:
- Gluten-Free Option: Use gluten-free pretzel sticks. They are widely available now. Just check the label to ensure they are made in a facility that handles gluten if that’s a concern. The texture might be slightly softer, so be gentle when dipping.
- Dairy-Free: Swap the white chocolate chips for dairy-free white chocolate melting wafers. Many brands like Enjoy Life or Guittard make good options. The melting process is the same.
- Orange “Orange” Fingers: Instead of green, use orange food coloring for a Halloween orange theme. Add a few orange sprinkles on top for extra texture. This looks great alongside traditional orange treats.
- Chocolate Drizzle: After the green chocolate sets, drizzle a little dark chocolate over the “fingernail” area for a more detailed look. It adds a nice contrast in color and flavor.
- Mini Version: Use mini pretzel sticks for bite-sized versions. These are perfect for adult parties or as party favors. The dipping time will be shorter, so keep an eye on them.
I once tried using almond extract in the white chocolate for flavor. It was good, but the kids preferred the neutral taste. Stick to the classic recipe unless you want to add a twist.
Serving & Storage Suggestions
Serve these at room temperature. If they are too cold, the chocolate can feel waxy. Let them sit out for 10 minutes before serving. They look best on a black platter or a white plate with orange napkins. The contrast makes the colors pop.
For storage, keep them in an airtight container at room temperature. They will stay fresh for up to 5 days. Do not refrigerate them long-term, as condensation can make them sticky. If you need to store them for longer, freeze them in a single layer, then transfer to a container. They will last for a month.
To reheat, just let them come to room temperature. Do not microwave them, as the chocolate will melt. If you want to add a fresh drizzle of chocolate, you can gently warm the chocolate and drizzle it on just before serving.
These treats travel well too. Put them in small cellophane bags and tie them with a black ribbon. They make great party favors.
Nutritional Information & Benefits
These treats are indulgent, so enjoy them in moderation. Each finger is roughly 50-70 calories, depending on the size of the pretzel and the amount of chocolate. The white chocolate provides calcium and energy, while the pretzels offer carbohydrates for fuel.
They are naturally gluten-free if you use gluten-free pretzels. They can be made dairy-free with the right chocolate. However, they are high in sugar and fat, so they are best enjoyed as a special treat.
I like to serve these alongside healthier options, like apple slices or veggie sticks, to balance out the meal. It’s a way to enjoy the fun without overdoing the sugar.
Conclusion
These crispy white chocolate witch fingers are a Halloween staple for a reason. They are easy, fun, and delicious. I love making them because they bring a smile to everyone’s face, from kids to adults. They are a simple way to add a spooky touch to your holiday celebrations.
I encourage you to try this recipe and customize it to your liking. Add your own colors or drizzles. Make it your own. I always love hearing how people adapt recipes to fit their needs.
If you make these, please leave a comment below. Let me know how they turned out. Did the kids love them? Did you add any twists? I read every comment and love hearing from you. Share your photos on social media and tag me. I’d love to see your creations.
Enjoy the process. Happy Halloween!
FAQs
Can I use dark chocolate instead of white chocolate?
Yes, you can use dark chocolate. However, the color will be brown, so the “witch finger” look will be less obvious. You can add green food coloring to dark chocolate, but it will result in a muddy green color. White chocolate provides the best canvas for the spooky colors.
Why did my chocolate seize?
Chocolate seizes when it comes into contact with water or steam. Make sure your bowl and utensils are completely dry. Also, avoid overheating the chocolate in the microwave. Stir frequently and heat in short intervals.
How long do these last?
They stay fresh at room temperature for up to 5 days in an airtight container. If you live in a hot or humid climate, store them in the refrigerator, but let them come to room temperature before serving to prevent condensation.
Can I make these ahead of time?
Yes, you can make them up to a week in advance. Store them in the freezer for longer storage. Thaw them at room temperature before serving. This is a great way to prep for parties.
What if I don’t have gel food coloring?
You can use liquid food coloring, but add it very slowly. Liquid coloring contains water, which can cause the chocolate to seize. Add just a tiny drop at a time and stir well. Gel coloring is preferred because it doesn’t affect the consistency.
Pin This Recipe!
Crispy White Chocolate Witch Fingers: 5-Ingredient Easy Halloween Treat

A spooky yet delicious Halloween treat made with salty pretzel sticks dipped in white chocolate and colored green and red to resemble witch fingers. No baking required, these easy-to-make snacks are perfect for parties and kids.
- Prep Time: 15 minutes
- Cook Time: 0 minutes
- Total Time: 15 minutes
- Yield: 12-15 servings 1x
- Category: Dessert
- Cuisine: American
Ingredients
- 12–15 standard thin pretzel sticks
- 1 cup white chocolate chips or melting wafers
- Green gel food coloring
- Red gel food coloring
- Wooden toothpicks
Instructions
- Line a baking sheet with a silicone mat or parchment paper. Break pretzel sticks in half to create 3-4 inch pieces.
- Place white chocolate chips in a microwave-safe bowl. Microwave on high for 30 seconds, stir, then microwave in 15-20 second intervals until smooth. Do not overheat.
- Divide the melted chocolate into two bowls. Stir green gel food coloring into one bowl and red gel food coloring into the other.
- Dip about two-thirds of each pretzel stick into the green chocolate. Let excess drip off and place on the prepared baking sheet.
- Insert a toothpick into the top of each pretzel stick (the non-chocolate end) to use as a handle.
- While the green chocolate is still wet, dip a toothpick into the red chocolate and touch it to the tip of the green-coated pretzel to create a ‘blood’ dripping effect.
- Refrigerate the baking sheet for 15-20 minutes, or until the chocolate is completely hard.
- Gently remove the toothpicks and serve at room temperature.
Notes
Use gel food coloring instead of liquid to prevent the chocolate from seizing. Ensure all equipment is completely dry. If the chocolate is too hot, let it cool slightly before dipping. For humid conditions, use the freezer to set the chocolate faster. Store in an airtight container at room temperature for up to 5 days.
Nutrition
- Serving Size: 1 witch finger
- Calories: 60
- Sugar: 5
- Sodium: 80
- Fat: 3
- Saturated Fat: 2
- Carbohydrates: 7
- Protein: 1
Keywords: Halloween treats, white chocolate, pretzel sticks, witch fingers, easy dessert, no bake, party snacks, gluten-free option, dairy-free option


