My husband said that last Tuesday, right in the middle of our living room. We were sitting on the couch, the TV was off, and the house was quiet for once. He held up a piece of the orange-and-white cluster he’d just pulled from the bowl, squinting at it like it was a magic trick. I didn’t answer right away. I just watched him pop it into his mouth, chew, and then let out this little hum of surprise. It’s the same sound he makes when he tries a new beer or finds a perfect parking spot at the grocery store.
That moment stuck with me. Not because of the compliment, but because of the confusion. For years, I’ve made popcorn snacks. You know the type—the cheesy, salty, buttery stuff that coats your fingers and leaves you needing a nap afterward. But this? This was different. It looked like a Halloween decoration but tasted like a childhood memory. The sweet vanilla crunch of the popcorn mixed with the slight chew of the melted candy corn created a texture that felt completely accidental, yet totally intentional.
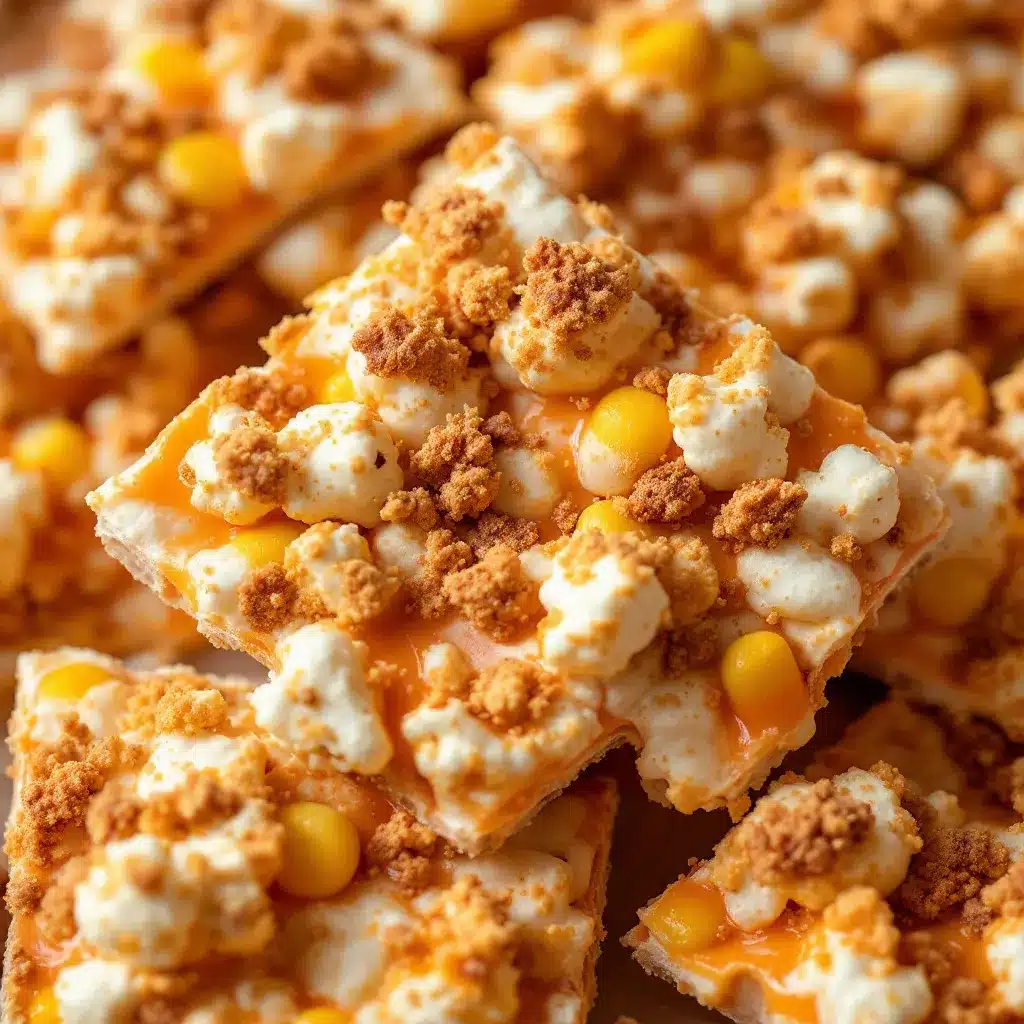
I didn’t plan this recipe. Honestly, I was just trying to use up the last bag of candy corn from last October’s party. I felt a bit guilty throwing it away, but I also knew I wasn’t going to eat it plain. So, I tossed it with some popcorn and melted white chocolate. I didn’t expect much. I expected a sticky mess. Instead, I got this bark. It breaks into jagged, colorful shards that are addictive in the best way possible.
My husband asked for the recipe before the bowl was even empty. That’s usually the bar I set for myself. If he doesn’t ask for seconds, I scrap it. If he asks for the recipe, I write it down. This one made it into the notebook immediately. It’s simple, it’s festive, and it tricks people into thinking you spent hours in the kitchen. You know, the kind of trick that wins you favor at the office potluck or the kid’s classroom party.
I’ve made it three times since then. Once for the neighborhood trick-or-treaters, once for a last-minute party gift, and once just because I wanted another bowl on the couch. Each time, the reaction is the same. People assume it’s store-bought. They assume it’s expensive. They don’t realize it’s just popcorn, sugar, and a few minutes of patience. It’s become my go-to for when I need to look like a hero without actually doing any heavy lifting. And let’s face it, that’s the best kind of cooking.
Why You’ll Love This Recipe
There are a lot of Halloween treats out there, but most of them fall into two camps: too much sugar without substance, or too complicated to actually enjoy. This Candy Corn Popcorn Bark sits in the sweet spot. It’s easy, but it feels fancy. Here is why this recipe has earned a permanent spot in my rotation.
- Quick & Easy: You can have this done in under 15 minutes. I’m not talking about prep time that involves measuring out ten different spices. I mean actual, real-time minutes. Melt, pour, sprinkle, chill. It’s perfect for those nights when you want a treat but don’t want to spend your evening standing over a stove.
- Simple Ingredients: You probably already have most of this in your pantry. Popcorn, white chocolate, and candy corn. That’s it. No fancy grocery trips needed. If you have a bag of microwave popcorn and a box of baking chips, you’re good to go. It’s the kind of recipe that reminds you how much you love simple things.
- Perfect for Halloween: It’s colorful, it’s fun, and it fits the season perfectly. But it’s not just for October. The white chocolate and vanilla flavor works year-round, but the orange and yellow specks scream autumn. It’s great for parties, classroom exchanges, or just a midnight snack while watching scary movies.
- Crowd-Pleaser: Kids love the colors. Adults love the nostalgia. I’ve served this to picky eaters who usually refuse anything with “candy” in it, and they’ve gone back for seconds. It’s universally liked, which is a rare feat in my house.
- Unbelievably Delicious: The texture is everything. You get the airy crunch of the popcorn, the smooth melt of the chocolate, and the slight chew of the candy corn. It’s a mouthfeel combo that keeps you coming back. It’s comfort food reimagined—sweeter, brighter, but with the same soul-soothing satisfaction as a bowl of warm soup.
What makes this different from just melting candy and calling it a day? It’s the balance. When you melt candy corn alone, it can get grainy or too stiff. By pairing it with popcorn and white chocolate, you create a structure that holds together but breaks apart easily. It’s not a hard candy rock; it’s a snackable bark. I’ve tried other versions that use caramel, but caramel can be sticky and messy to eat. This stays dry and clean. It’s the kind of treat you can eat with one hand while holding a drink with the other.
What Ingredients You Will Need
This recipe uses simple, wholesome ingredients to deliver bold flavor and satisfying texture without the fuss. You don’t need gourmet chocolates or exotic spices. In fact, keeping it basic is what makes it work. The magic is in the ratio of sweet to crunch.
- Plain Popcorn: You want light, airy popcorn. Microwave popcorn is fine, but if you have a good air-popper, use that. I recommend brands like Orville Redenbacher’s for their consistent puff. Avoid butter-heavy kernels if you can; you want the popcorn to absorb the chocolate, not fight against grease. About 12-15 cups popped is the target.
- White Chocolate Chips: This is your binder. I prefer high-quality white chocolate chips over the cheap baking chips. They melt smoother and have a better vanilla flavor. Ghirardelli or Guittard are my go-tos. If you can’t find white chocolate chips, you can use white chocolate bars chopped up, but chips are easier because they have stabilizers that help them melt evenly.
- Candy Corn: Yes, the actual candy. You can use the classic tri-color kind, or you can mix it with Halloween-themed candy corn if you want more orange. Just make sure they are the standard size, not the jumbo ones, unless you want huge chunks. I usually buy a big bag of the standard kind because it’s cheaper and easier to mix.
- Butter (Optional): A tablespoon of butter helps the chocolate melt smoother. It’s not strictly necessary, but it adds a richness that makes the white chocolate taste less like sugar and more like cream.
- Parchment Paper: You need this for lining your baking sheet. Do not skip this. The chocolate will stick to anything else, and you will be pulling shards off your pan for hours. Parchment paper makes cleanup a breeze.
If you want to get fancy, you can add a pinch of sea salt on top after pouring the chocolate. It cuts the sweetness and makes the vanilla pop. I did this one time and my husband said it tasted “expensive.” I didn’t tell him it was just salt from the shaker. For dietary needs, you can swap the white chocolate for dairy-free white chocolate chips, though they can be trickier to melt. I’ve used Enjoy Life chips before, and they work if you go slow on the heat.
Equipment Needed
You don’t need a lot of fancy gadgets for this. In fact, keeping the equipment minimal is part of the charm.
- Large Microwave-Safe Bowl: This is your main station. Make sure it’s big enough to hold all the popcorn and the melted chocolate. If it’s too small, you’ll end up with chocolate-covered fingers instead of bark. I use a 4-quart glass bowl. It’s easy to see through, so you can watch the chocolate melt.
- Microwave: Obviously. But if you prefer the stovetop, a double boiler works too. Just be careful not to let steam get into the chocolate, or it will seize up. I stick to the microwave because it’s faster and less messy for this specific recipe.
- Baking Sheet: A standard half-sheet pan is perfect. If you don’t have one, two jelly roll pans work fine. Just make sure they are flat and clean.
- Parchment Paper: As mentioned, this is non-negotiable. It saves you from scrubbing pans later.
- Spatula: A silicone spatula is best for scraping the bowl. It gets every bit of chocolate out. I have a few old ones that I don’t mind using for this because the chocolate is sticky and hard to clean otherwise.
If you don’t have a microwave-safe bowl, you can use a heatproof glass measuring cup, but you’ll have to pour the chocolate over the popcorn in stages. It’s less efficient but works in a pinch. For the baking sheet, any metal pan will do. Copper pans are nice but not needed. Just keep it simple.
Preparation Method
Let’s get into the how-to. This is where the magic happens. It’s straightforward, but there are a few tricks to make sure it turns out perfectly.
- Prep Your Pan: Line your baking sheet with parchment paper. Smooth it out so there are no big creases. If the paper is wrinkled, your bark will be uneven. You want a flat surface for even cooling. Set this aside.
- Pop the Corn: If you’re using microwave popcorn, pop two bags. If you’re popping it yourself, aim for about 12-15 cups of popped corn. Remove any unpopped kernels. Nobody likes a tooth-breaker in their snack. Let the popcorn cool completely. Warm popcorn will melt the chocolate prematurely.
- Melt the Chocolate: Place the white chocolate chips in your large microwave-safe bowl. Add the tablespoon of butter if you’re using it. Microwave on medium power (50%) for 30 seconds. Stir well. If it’s not fully melted, continue in 15-second intervals, stirring in between. Do not microwave on high! White chocolate burns easily. You want it smooth and liquid, not clumpy or scorched. This usually takes about 1-2 minutes total.
- Combine: Pour the melted chocolate over the cooled popcorn. Toss gently but thoroughly. You want every piece of popcorn coated. Use your spatula to fold the chocolate in. Don’t crush the popcorn; you want to keep the airy texture. If some spots are dry, add a tiny splash of melted chocolate. It’s better to have a little extra than to have dry kernels.
- Add the Candy Corn: Now, stir in the candy corn. Fold it in gently. You don’t need to coat every single piece of candy corn, but you want it distributed evenly throughout the mix. This is where you can see the colors starting to pop. It looks festive already.
- Spread: Pour the mixture onto your prepared baking sheet. Use your spatula to spread it out into a thin, even layer. Aim for about 1/2 inch thick. If it’s too thick, it will be hard to break and might not set properly. If it’s too thin, it might be too crunchy. Aim for the middle. Sprinkle a few extra candy corns on top if you want it to look extra festive.
- Chill: Place the pan in the refrigerator. Let it set for at least 30 minutes. You can do it in the freezer for 15 minutes if you’re in a hurry, but the fridge is safer. You’ll know it’s ready when it’s firm to the touch and doesn’t stick to your fingers.
- Break: Once set, lift the parchment paper out of the pan. Break the bark into irregular shards. Don’t try to cut it with a knife; it’s better to break it by hand. It gives it that rustic, homemade look. Store in an airtight container.
Cooking Tips & Techniques
I’ve made this recipe enough times to know where things can go wrong. Here are some tips to help you avoid common pitfalls.
- Don’t Overheat the Chocolate: This is the biggest mistake. White chocolate has a low burn point. If you see any steam or if it starts to look grainy, you’ve gone too far. Always go low and slow. If it seizes, add a teaspoon of warm milk and stir it out. It can sometimes be saved.
- Use Cool Popcorn: If your popcorn is warm, it will melt the chocolate before you can mix it. This leads to clumps. Let the popcorn sit out for 10 minutes after popping to cool down. It’s worth the wait.
- Stir, Don’t Mash: When combining the chocolate and popcorn, use a folding motion. If you stir too vigorously, you’ll break the popcorn into dust. You want distinct pieces, not a crumble.
- Thin Layer is Key: If you make the bark too thick, the center won’t set properly. It will stay soft and sticky. Spread it out thin so it cools evenly. This also makes it easier to break into pieces later.
- Humidity Matters: If it’s a humid day, the chocolate might not set as hard. Try to make this on a dry day, or pop it in the freezer for a few minutes to help it firm up. Humidity is the enemy of chocolate work.
I once made this on a rainy day and it took forever to set. I ended up putting it in the freezer, and it worked, but the texture was a bit more brittle. Next time, I’ll wait for a dry day. It’s a small thing, but it makes a difference in the final snap.
Variations & Adaptations
This recipe is a great base for experimentation. Once you master the basic ratio, you can play with flavors and colors.
- Pumpkin Spice Twist: Add a teaspoon of pumpkin pie spice to the melted chocolate before pouring it over the popcorn. It gives it a warm, autumnal flavor that pairs perfectly with the candy corn. It’s like a pumpkin latte in snack form.
- Dark Chocolate Swap: If you prefer less sweetness, swap half the white chocolate for dark chocolate chips. The bitterness of the dark chocolate balances the sweetness of the candy corn. It’s a more sophisticated flavor profile.
- Gluten-Free Option: Most popcorn and candy corn are naturally gluten-free, but check your labels. Some candy corns contain wheat starch. Use certified gluten-free popcorn and candy corn to keep it safe for celiacs.
- Color Change: Instead of candy corn, use Halloween M&Ms or Skittles. It changes the color profile completely. Orange and green M&Ms look great with white chocolate. It’s a fun variation for kids who don’t like the texture of candy corn.
- Butterfinger Crunch: Crush up some Butterfinger candies and mix them in. The peanut butter flavor is amazing with white chocolate. It’s like a candy bar version of the bark. I tried this once and it was a huge hit.
I usually stick to the classic version because it’s nostalgic, but the pumpkin spice one is a close second. It’s great for Thanksgiving leftovers or fall gatherings. The key is to keep the chocolate ratio the same, regardless of what mix-ins you add.
Serving & Storage Suggestions
This bark is best served at room temperature. Cold chocolate can taste waxy, so let it sit out for 10 minutes after taking it out of the fridge.
- Storage: Keep it in an airtight container at room temperature. It will stay fresh for up to two weeks. If it’s hot, store it in the fridge, but let it come to room temperature before eating. It won’t last long in my house, though. It usually disappears in three days.
- Pairing: It goes well with a cold glass of milk or a cup of coffee. The sweetness pairs nicely with the bitterness of coffee. It’s a great afternoon pick-me-up.
- Gift Idea: Package it in small cellophane bags with a ribbon. It makes a cute hostess gift or a party favor. Add a handwritten note for a personal touch.
- Flavors Over Time: The flavors meld together after a day or two. The popcorn absorbs some of the chocolate and candy corn flavors, making it taste even better. It’s one of those treats that improves with age, up to a point.
I’ve been known to hide a bag in my desk at work for emergency snacking. It’s a lifesaver during long meetings. Just make sure your coworkers don’t catch you eating it all.
Nutritional Information & Benefits
This is definitely a treat, not a health food. But it’s fun to know what’s in it.
- Calories: Each serving (about 1 ounce) is roughly 150 calories. It’s a moderate portion size, so don’t go overboard.
- Sugar: It’s high in sugar, mainly from the white chocolate and candy corn. If you’re watching your sugar intake, enjoy this in moderation.
- Fat: The fat comes from the white chocolate and butter. It’s mostly saturated fat, so keep that in mind.
- Carbs: High in carbs due to the popcorn and candy. It’s a quick energy boost, but not a sustained one.
- Allergens: Contains dairy (white chocolate) and potentially gluten (check labels). It may contain nuts if processed in a facility that handles nuts.
I don’t eat this every day, but I love it as a special treat. It’s a reminder that food is about joy, not just nutrition. Sometimes, you just need a little sugar and crunch.
Conclusion
This Irresistible Candy Corn Popcorn Bark is more than just a snack. It’s a moment of fun in a busy week. It’s easy to make, easy to eat, and easy to love. I hope you try it and enjoy it as much as I do. Feel free to customize it with your favorite mix-ins or flavors. It’s your recipe to make your own.
If you make this, I’d love to hear how it turns out. Leave a comment below with your thoughts or variations. Share it with your friends and family, and let me know if it becomes a hit at your next party. Thanks for reading, and happy baking!
FAQs
Can I use microwave popcorn for this recipe?
Yes, microwave popcorn works perfectly. Just make sure it’s plain or lightly salted. Avoid butter-heavy flavors as they can make the chocolate greasy.
How long does the bark last?
It lasts up to two weeks in an airtight container at room temperature. If it’s hot outside, store it in the fridge.
Can I substitute white chocolate with milk chocolate?
You can, but the flavor will be different. Milk chocolate is less sweet and has a cocoa flavor. It still works, but the classic look comes from white chocolate.
Why did my chocolate seize?
Water is the enemy of chocolate. If any water got into the bowl, the chocolate will seize. Always ensure your bowl and utensils are completely dry.
Is this recipe gluten-free?
Most popcorn and candy corn are naturally gluten-free, but you must check the labels. Some brands use wheat starch. Use certified gluten-free ingredients to be safe.
Pin This Recipe!
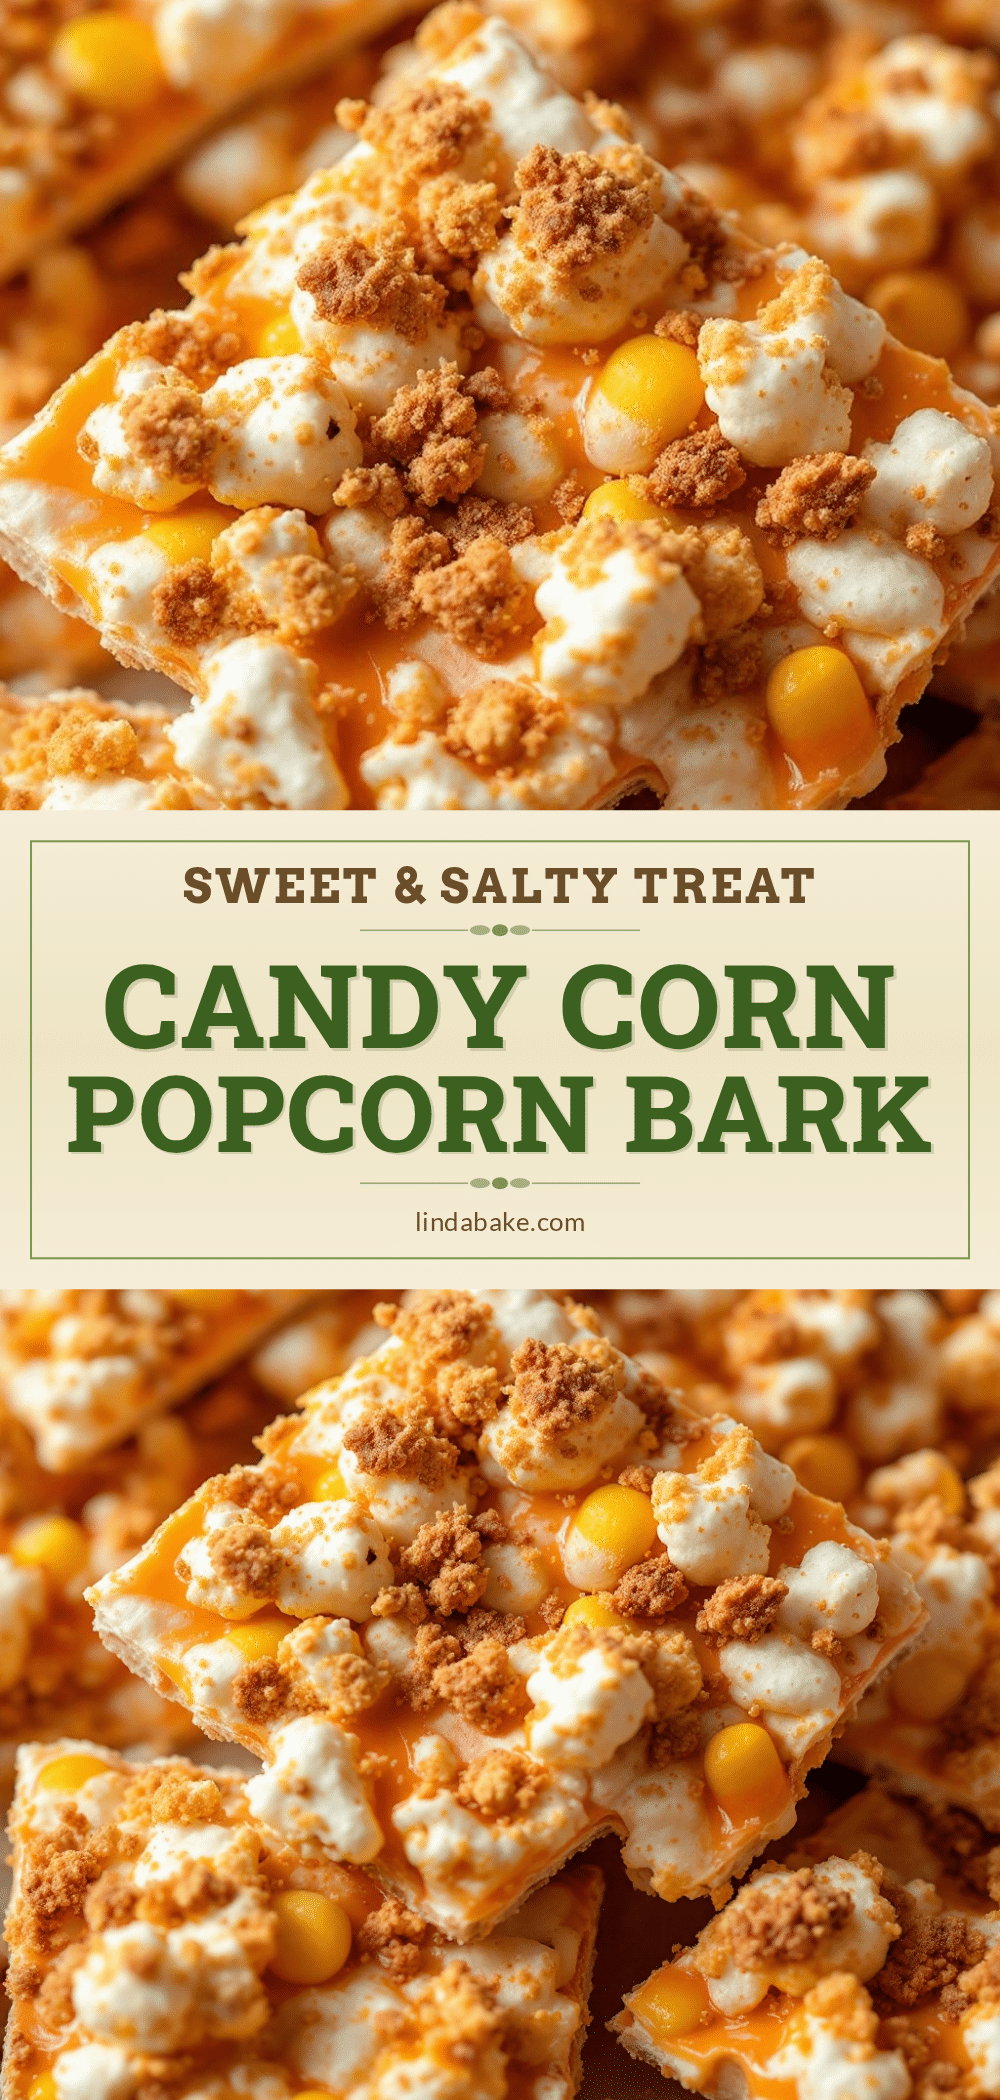
Irresistible Candy Corn Popcorn Bark: Best Easy Halloween Treat

A simple, festive Halloween snack made by coating plain popcorn and candy corn in melted white chocolate. This easy bark is sweet, crunchy, and perfect for parties or gifting.
- Prep Time: 5 minutes
- Cook Time: 10 minutes
- Total Time: 45 minutes
- Yield: 8 servings 1x
- Category: Dessert
- Cuisine: American
Ingredients
- 12–15 cups plain popped popcorn (microwave or air-popped)
- 2 cups white chocolate chips (high quality recommended)
- 1 cup candy corn (standard size)
- 1 tablespoon butter (optional, for smoother melting)
- Parchment paper (for lining baking sheet)
- Sea salt (optional, for sprinkling on top)
Instructions
- Line a standard half-sheet baking pan with parchment paper, smoothing out any wrinkles.
- Pop the popcorn and ensure it is completely cool before proceeding to prevent premature melting of the chocolate.
- Place white chocolate chips and butter (if using) in a large microwave-safe bowl.
- Microwave on medium power (50%) for 30 seconds, then stir well. Continue in 15-second intervals, stirring between each, until the chocolate is smooth and liquid. Do not overheat.
- Pour the melted chocolate over the cooled popcorn and gently fold with a spatula until every piece is coated. Avoid crushing the popcorn.
- Gently fold in the candy corn until evenly distributed throughout the mixture.
- Pour the mixture onto the prepared baking sheet and spread into a thin, even layer (about 1/2 inch thick).
- Sprinkle with extra candy corn or a pinch of sea salt if desired.
- Refrigerate for at least 30 minutes, or freeze for 15 minutes, until firm to the touch.
- Lift the parchment paper out of the pan and break the bark into irregular shards by hand. Store in an airtight container.
Notes
Ensure all equipment is completely dry to prevent the chocolate from seizing. Use cool popcorn to avoid melting the chocolate prematurely. If the chocolate seizes, add a teaspoon of warm milk and stir to save it. For best results, make on a dry day to ensure proper setting.
Nutrition
- Serving Size: 1 ounce (approx. 1 s
- Calories: 150
- Sugar: 14
- Sodium: 45
- Fat: 8
- Saturated Fat: 5
- Carbohydrates: 20
- Fiber: 1
- Protein: 2
Keywords: Halloween treat, candy corn, popcorn bark, white chocolate, easy snack, party food, gluten-free option, fall dessert


