My husband walked through the front door with three friends in tow, all of them claiming they were “just grabbing a quick bite” before heading to a movie. The clock read 7:45 PM, and the only thing in my fridge was a jar of mayonnaise, a head of garlic that was starting to sprout, and a bag of frozen fries that had been in the freezer since the previous weekend. Honestly, panic set in for about three seconds. I don’t do well with unplanned guests, especially when my kitchen looks like a disaster zone. But then I remembered that half-empty bottle of olive oil and the lemon sitting on the counter.
I didn’t have time to make anything from scratch that would feel substantial enough to pass as a real meal. We needed something fast, something that felt indulgent but required zero actual cooking skill. I grabbed my immersion blender and started tossing things into a tall jar. It wasn’t a planned dinner party; it was a salvage operation. The smell of roasted garlic hit the air almost immediately, masking the stress of the situation. By the time my guests sat down, I had a bowl of golden, crispy fries and a small dish of something that smelled like heaven.
They didn’t ask what it was. They just dipped. And dipped. And dipped again. One of them actually asked for the recipe before the movie started. That creamy garlic aioli for crispy fries became the star of the night, saving a chaotic evening from turning into a takeout delivery. It wasn’t fancy, but it was perfect. That night taught me that sometimes the best recipes are born from the panic of an empty fridge and the need to impress people you love with very little effort.
Why You’ll Love This Recipe
Let’s be honest, most aioli recipes out there feel like they require a culinary degree and a mortar and pestle. This one is different. I’ve tested this creamy garlic aioli for crispy fries dozens of times, tweaking the ratios until the texture was silky smooth and the flavor hit that sweet spot between tangy and savory. It’s not just another condiment; it’s a game-changer for how you experience simple foods.
- Quick & Easy: This comes together in under 10 minutes. You don’t need to cook anything or wait for it to chill. It’s perfect for busy weeknights or when you just want a snack without the fuss.
- Simple Ingredients: You likely already have everything in your kitchen. Mayonnaise, garlic, lemon juice, and olive oil. No fancy grocery trips needed for obscure spices.
- Perfect for Game Day: Whether you are watching the big game or hosting a casual hangout, this dip is a crowd-pleaser. It pairs beautifully with the bacon-wrapped little smokies for a savory bite that keeps everyone happy.
- Unbelievably Delicious: The texture is incredibly rich, and the garlic flavor is bold but not overpowering. It’s next-level comfort food that makes even plain fries taste gourmet.
What makes this recipe stand out is the balance. A lot of homemade aiolis turn out too sour or too heavy. By using a specific technique with the olive oil and lemon, I’ve managed to create a version that is light enough to dip repeatedly without feeling guilty. It’s the kind of recipe that makes you close your eyes after the first bite because the flavor is just that satisfying. It’s comfort food reimagined for the modern kitchen.
What Ingredients You Will Need
This recipe uses simple, wholesome ingredients to deliver bold flavor and satisfying texture without the fuss. The key here is quality over quantity. Since there are only a few components, each one plays a critical role in the final taste. You want ingredients that are fresh and potent to ensure the aioli doesn’t taste bland.
- Mayonnaise (1 cup): This is the base. I recommend using a high-quality brand like Hellmann’s or Duke’s for the best emulsion. Avoid “light” mayo, as it lacks the fat content needed for that rich, creamy mouthfeel.
- Garlic (3-4 cloves): Fresh garlic is non-negotiable here. Pre-minced jarred garlic has a metallic taste that ruins the freshness. Peel them and let them sit for a minute after mincing to activate the enzymes for better flavor.
- Lemon Juice (1 tablespoon): Freshly squeezed is essential. Bottled juice often tastes flat and can make the aioli taste bitter. The acidity cuts through the richness of the mayo.
- Olive Oil (2 tablespoons): Use a good extra virgin olive oil. This adds a fruity, peppery note that elevates the dip from basic to gourmet. If you have a strong olive oil, use less; if it’s mild, you can add a bit more.
- Dijon Mustard (1 teaspoon): This acts as an emulsifier and adds a subtle tang. It helps bind the oil and mayo together so the aioli doesn’t separate.
- Salt and Black Pepper (to taste): Kosher salt is best for controlling the seasoning. Freshly cracked black pepper adds a nice bite.
- Water (1-2 teaspoons): Optional, but useful if the aioli is too thick. It helps achieve that perfect drizzling consistency.
If you are looking for a substitute for the mayo, you can use Greek yogurt for a tangier, lower-fat option, though the texture will be thinner. For the garlic, if you are in a true pinch, a tiny pinch of garlic powder works, but the fresh flavor is what makes this aioli special. Always taste your garlic before adding it; some bulbs are much hotter than others.
Equipment Needed
You don’t need a lot of fancy gear to make this aioli. In fact, keeping it simple is part of the appeal. The most important tool is a tall, narrow container. An immersion blender works best because it allows you to blend directly in the jar, minimizing mess. If you don’t have one, a food processor or a blender works too, but you’ll need to transfer the ingredients, which can be messy.
A microplane or fine grater is helpful if you want to grate the garlic instead of mincing it. This creates a paste that blends more evenly, preventing large chunks of raw garlic from lingering in the dip. A small whisk is also useful if you choose to mix it by hand, though it takes more elbow grease. I’ve tried mixing by hand many times, and while it works, the immersion blender gives you that silky, restaurant-quality texture much faster. Just make sure your jar is tall enough so the blender doesn’t splash oil everywhere. A simple mason jar or the cup that came with your blender is perfect.
Preparation Method
- Prep the Garlic (2 minutes): Start by peeling your garlic cloves. If you are using a knife, mince them as finely as possible. For the smoothest aioli, I prefer to grate the garlic on a microplane. This turns the cloves into a paste that incorporates instantly. Place the garlic paste into your tall blending jar. Pro tip: If the garlic is very fresh and potent, you might want to start with 3 cloves and add the fourth after tasting.
- Add the Base Ingredients (1 minute): Add the mayonnaise, lemon juice, Dijon mustard, salt, and pepper to the jar with the garlic. Do not stir yet. Just dump everything in. The order doesn’t strictly matter for an immersion blender, but having the mayo on top helps keep the blender from splattering initially.
- Emulsify with Olive Oil (1 minute): Pour the olive oil over the top. It should sit on top of the mayo for a moment. This is the crucial step. If you are using an immersion blender, insert it all the way to the bottom of the jar. Turn it on and hold it steady at the bottom for about 10-15 seconds. You will see the mixture turn white and creamy right around the blender head.
- Blend and Scrape (2 minutes): Slowly pull the blender upward while it is still running. This pulls the top ingredients down and incorporates the oil. Scrape down the sides of the jar with a spatula if needed. Continue blending until the mixture is completely smooth and uniform. If it is too thick, add water one teaspoon at a time until you reach your desired consistency.
- Season and Chill (Optional): Taste the aioli. Add more salt or lemon if needed. While you can serve it immediately, letting it sit in the fridge for 30 minutes allows the garlic flavor to mellow and meld with the mayo. This step is highly recommended for the best flavor profile.
Keep an eye on the texture while blending. If you hear a grinding noise, the blender is too high. Keep it low and slow. The goal is a stable emulsion where the oil and mayo are fully integrated. It should look glossy and thick, similar to a heavy cream.
Cooking Tips & Techniques
One of the most common mistakes people make with aioli is letting the garlic overpower everything. Raw garlic can be quite aggressive. To avoid this, let your minced garlic sit out for about 5-10 minutes before mixing it with the mayo. This allows some of the harsh sulfur compounds to dissipate, resulting in a mellower, sweeter garlic flavor. Also, always use room temperature ingredients. Cold mayo and cold lemon juice can sometimes cause the emulsion to break or feel gritty. Let your mayo sit on the counter for 15 minutes before starting.
Another tip is to control the oil flow if you are doing it by hand. Slowly drizzle the oil in a thin stream while whisking constantly. This is the classic French technique for mayonnaise and applies here too. It takes patience, but the control you have over the texture is worth it. If the aioli breaks (separates into oil and liquid), don’t panic. Start with a teaspoon of Dijon mustard or a tablespoon of water in a clean bowl, and slowly whisk the broken mixture into it. It will come back together.
Multitasking is key when making this. While the aioli rests in the fridge, focus on getting your fries crispy. The timing should be such that the aioli is cold and thick when the fries are hot and fresh. The contrast in temperatures adds to the sensory experience. Also, taste your olive oil. If it tastes bitter or grassy, use less of it. You want the oil to complement, not dominate.
Variations & Adaptations
While the classic creamy garlic aioli for crispy fries is my go-to, this base recipe is incredibly versatile. You can adapt it to suit different tastes or dietary needs. For a spicy kick, add a teaspoon of chipotle powder or a few dashes of hot sauce. This pairs wonderfully with the easy loaded pulled pork nacho bar for a game day spread that has some heat.
If you want a herbal twist, stir in some fresh chopped parsley, chives, or dill. This turns it into a herb aioli, which is fantastic on fish tacos or roasted vegetables. For a dairy-free option, you can swap the mayo for a high-quality vegan mayonnaise. The texture might be slightly different, but the flavor will still be excellent. I’ve also tried adding a teaspoon of honey for a sweet-savory balance, which works surprisingly well if you are dipping sweet potatoes or fries.
For a lower-calorie version, replace half the mayo with Greek yogurt. This adds protein and tang but reduces the fat content. Just be aware that the texture will be lighter and more sour. You may need to adjust the lemon juice accordingly. Experimenting with these variations keeps the recipe fresh and exciting, allowing you to use it for more than just fries.
Serving & Storage Suggestions
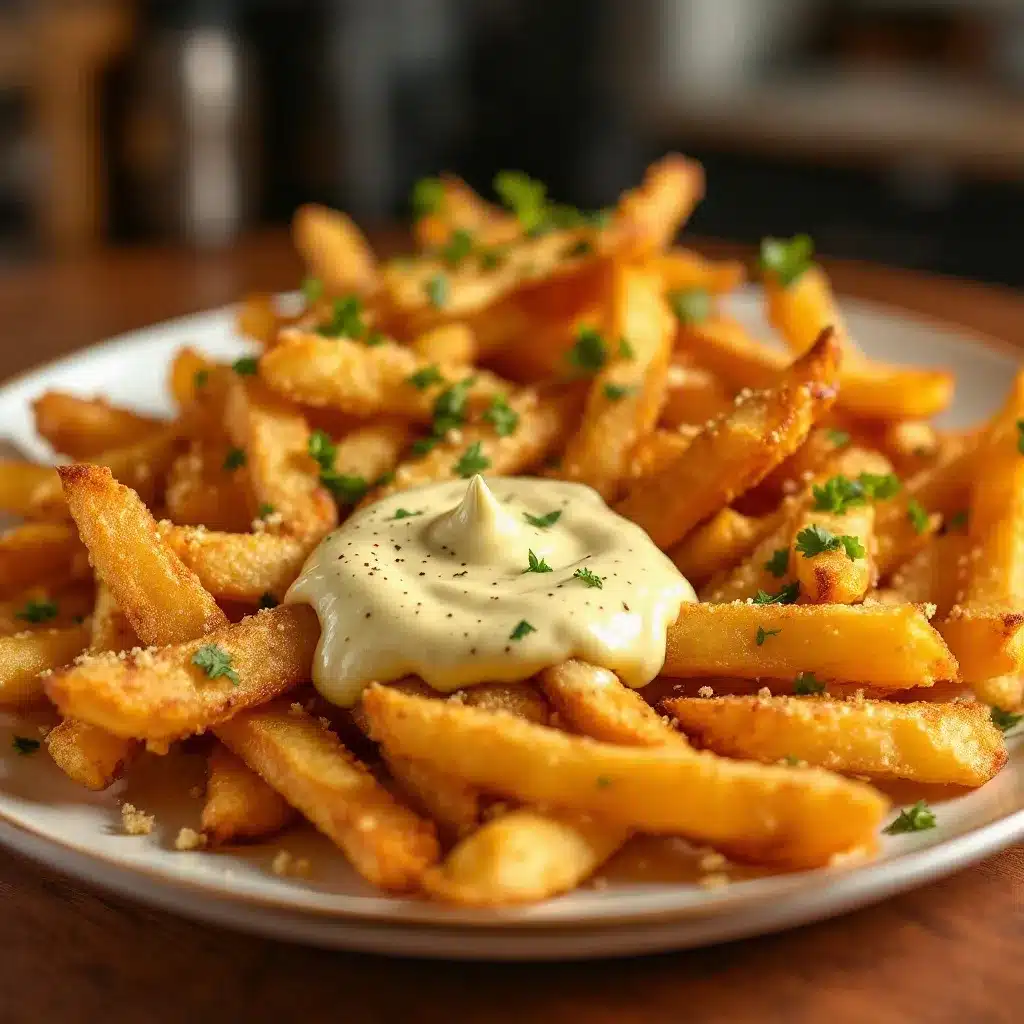
Serve this aioli at room temperature or slightly chilled for the best flavor. It pairs perfectly with hot, crispy fries, but don’t stop there. It’s also amazing on burgers, sandwiches, and roasted vegetables. For presentation, serve it in a small, shallow bowl with the fries arranged around it. This encourages dipping and keeps the fries crisp.
For storage, transfer any leftover aioli to an airtight container. It will keep in the refrigerator for up to 5 days. The garlic flavor will continue to intensify over time, so it might taste stronger on day 4 than on day 1. If you notice any separation, give it a good stir before serving. Do not freeze this aioli, as the emulsion will break and the texture will become grainy upon thawing.
When reheating fries, try to keep them crispy. An air fryer or oven works best to restore crunch. Avoid the microwave, which will make them soggy and ruin the experience. The aioli should always be served fresh or within a few hours of making it for the best quality.
Nutritional Information & Benefits
This aioli is rich in calories due to the mayonnaise and olive oil, so it’s best enjoyed in moderation. However, the ingredients are simple and recognizable. Olive oil provides healthy monounsaturated fats, which are good for heart health. Garlic has anti-inflammatory properties and may help boost immunity. Mayonnaise provides fats that help with satiety.
For those watching their sodium intake, be mindful of the salt added, as mayonnaise can already contain sodium. You can reduce the added salt or use a low-sodium mayo. This recipe is not gluten-free if you use a mayo that contains wheat-based stabilizers, so check your labels. Overall, it’s a flavorful treat that adds a nice variety to your meal, balancing the starch of the fries with rich, savory notes.
Conclusion
Making your own creamy garlic aioli for crispy fries is easier than you think and tastes infinitely better than anything from a jar. It transforms a simple snack into a gourmet experience with just a few minutes of effort. I hope you try this recipe and find it as useful for your last-minute dinner saves as it was for mine. Feel free to customize it with herbs or spices to match your taste.
I’d love to hear how you enjoy this dip. Do you stick to classic fries, or do you try it with vegetables? Leave a comment below with your favorite dipping combinations. If you make this, share a photo on social media and tag me. Happy cooking, and enjoy every dip!
FAQs
Can I make this aioli ahead of time?
Yes, you can make it up to 5 days in advance. Letting it sit in the fridge actually helps the flavors meld together, resulting in a deeper garlic taste.
Why is my aioli too runny?
If it’s too thin, you likely added too much olive oil or water. You can thicken it by adding more mayonnaise or refrigerating it for a few hours, as cold temps help emulsions set.
Can I use garlic powder instead of fresh garlic?
You can, but the flavor will be different. Garlic powder is more dusty and less pungent. If you use it, start with 1/2 teaspoon and adjust to taste.
Is this aioli gluten-free?
Most mayonnaise and olive oil are naturally gluten-free. However, always check the label on your mayonnaise, as some brands add wheat-based stabilizers.
How do I fix separated aioli?
If it separates, start with a fresh teaspoon of Dijon mustard in a clean bowl. Slowly whisk the separated mixture into the mustard until it re-emulsifies.
Pin This Recipe!
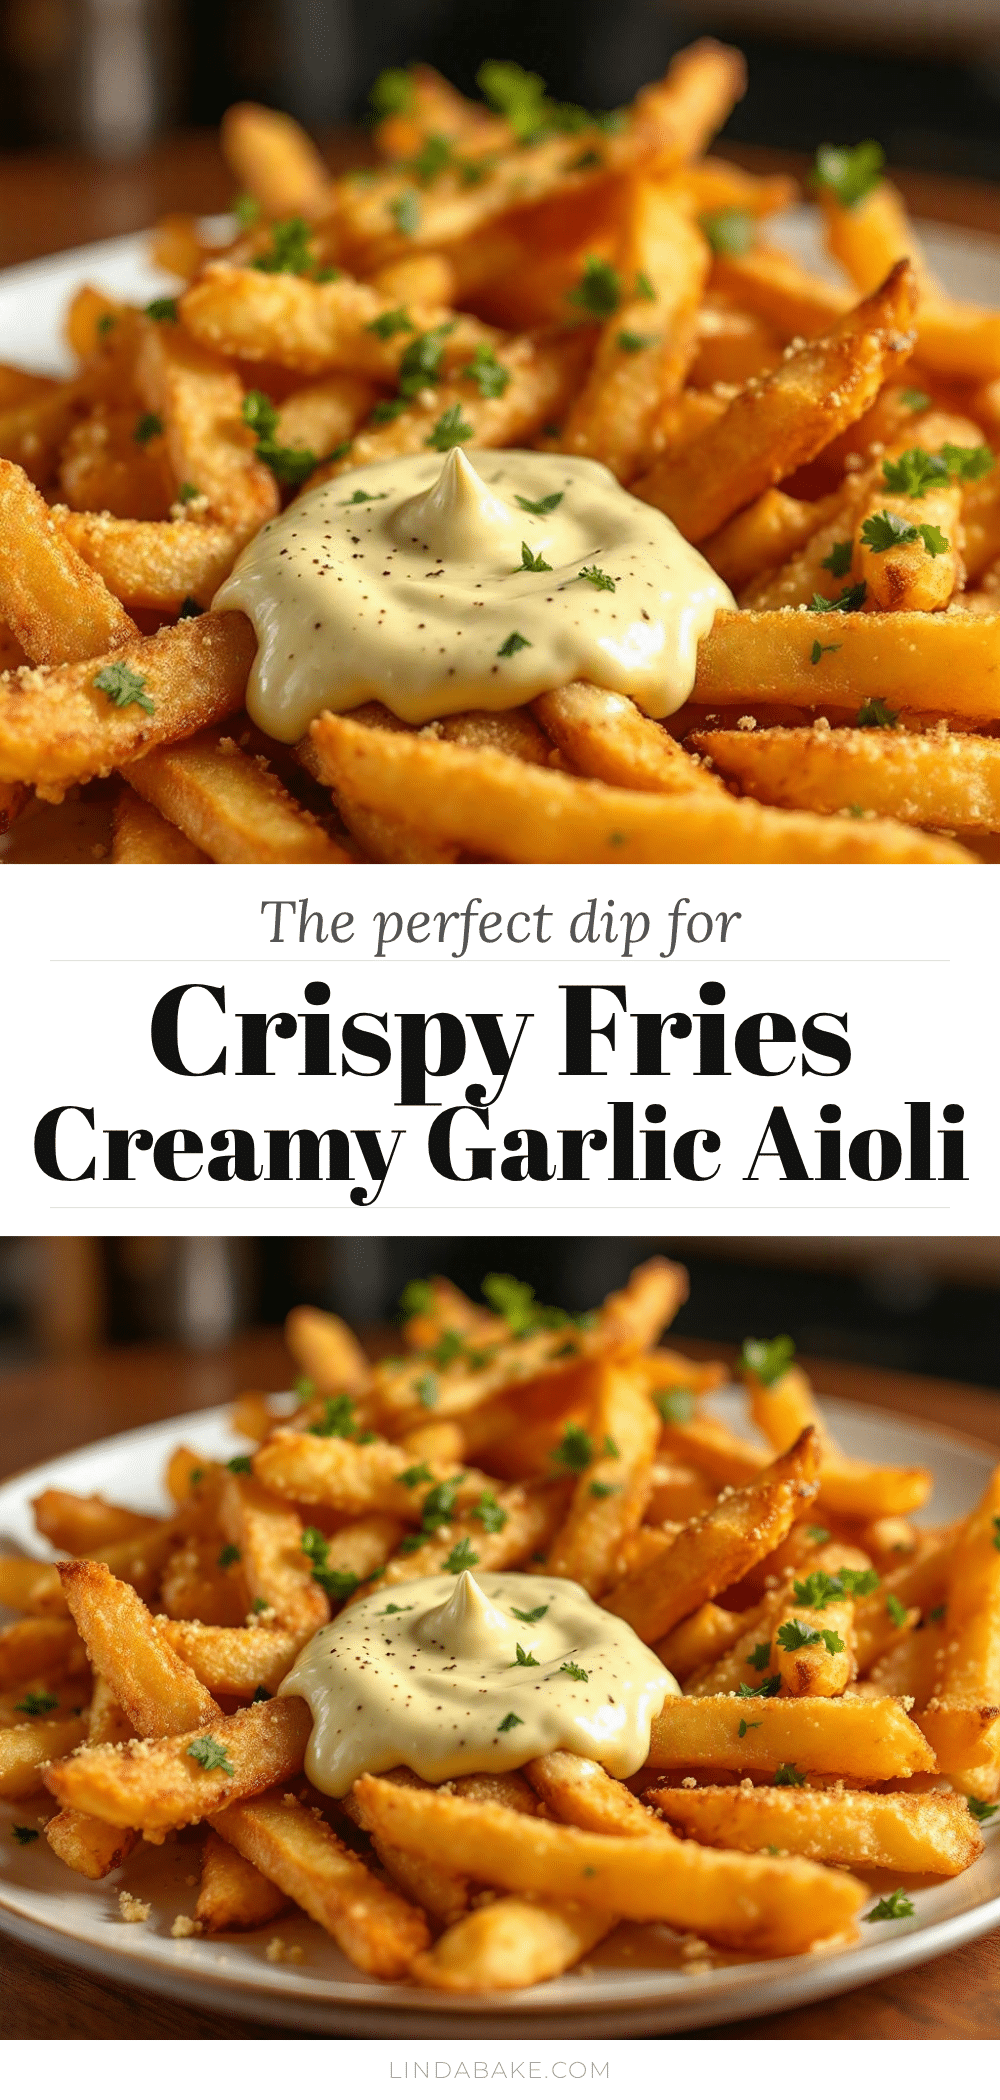
Creamy Garlic Aioli for Crispy Fries

A quick, 10-minute creamy garlic aioli made with simple ingredients like mayonnaise, fresh garlic, lemon juice, and olive oil. Perfect for dipping crispy fries or enhancing burgers and sandwiches.
- Prep Time: 10 minutes
- Cook Time: 0 minutes
- Total Time: 10 minutes
- Yield: 1 cup (approx. 8 servings) 1x
- Category: Condiments
- Cuisine: American
Ingredients
- 1 cup high-quality mayonnaise (such as Hellmann’s or Duke’s)
- 3–4 cloves fresh garlic, minced or grated into a paste
- 1 tablespoon freshly squeezed lemon juice
- 2 tablespoons extra virgin olive oil
- 1 teaspoon Dijon mustard
- Salt and black pepper to taste
- 1–2 teaspoons water (optional, for consistency)
Instructions
- Prep the garlic by peeling and mincing or grating it into a fine paste. Place the garlic paste into a tall, narrow blending jar.
- Add the mayonnaise, lemon juice, Dijon mustard, salt, and pepper to the jar. Do not stir yet.
- Pour the olive oil over the top of the mixture.
- Insert an immersion blender all the way to the bottom of the jar. Turn it on and hold it steady at the bottom for 10-15 seconds until the mixture turns white and creamy around the head.
- Slowly pull the blender upward while running to incorporate the top ingredients. Scrape down the sides with a spatula if needed.
- Blend until the mixture is completely smooth and uniform. Add water one teaspoon at a time if the aioli is too thick.
- Taste and adjust seasoning with more salt or lemon if needed. For best flavor, let it sit in the fridge for 30 minutes before serving.
Notes
Use room temperature ingredients to ensure a stable emulsion. If the aioli separates, whisk in a teaspoon of Dijon mustard or a tablespoon of water to fix it. Store in an airtight container in the refrigerator for up to 5 days. Do not freeze.
Nutrition
- Serving Size: 2 tablespoons
- Calories: 180
- Sodium: 150
- Fat: 20
- Saturated Fat: 3
- Carbohydrates: 1
- Protein: 1
Keywords: garlic aioli, aioli recipe, crispy fries dip, easy condiment, homemade mayo, garlic sauce, game day dip, quick recipe


