I figured pumpkin bars would be dry, dense little bricks that stuck to the roof of your mouth. It took about ten minutes for that assumption to fall apart completely. I was standing in my kitchen, holding a spatula that had just scraped the last bit of batter into the pan, feeling that familiar pang of skepticism. You know how it is with pumpkin desserts. They often promise a light, airy cloud and deliver a wet sponge that collapses under the weight of a spoon. Honestly, I had given up on bar-style pumpkin treats years ago. The crusts got soggy, the filling cracked, and the whole thing felt like a lot of effort for a mediocre result.
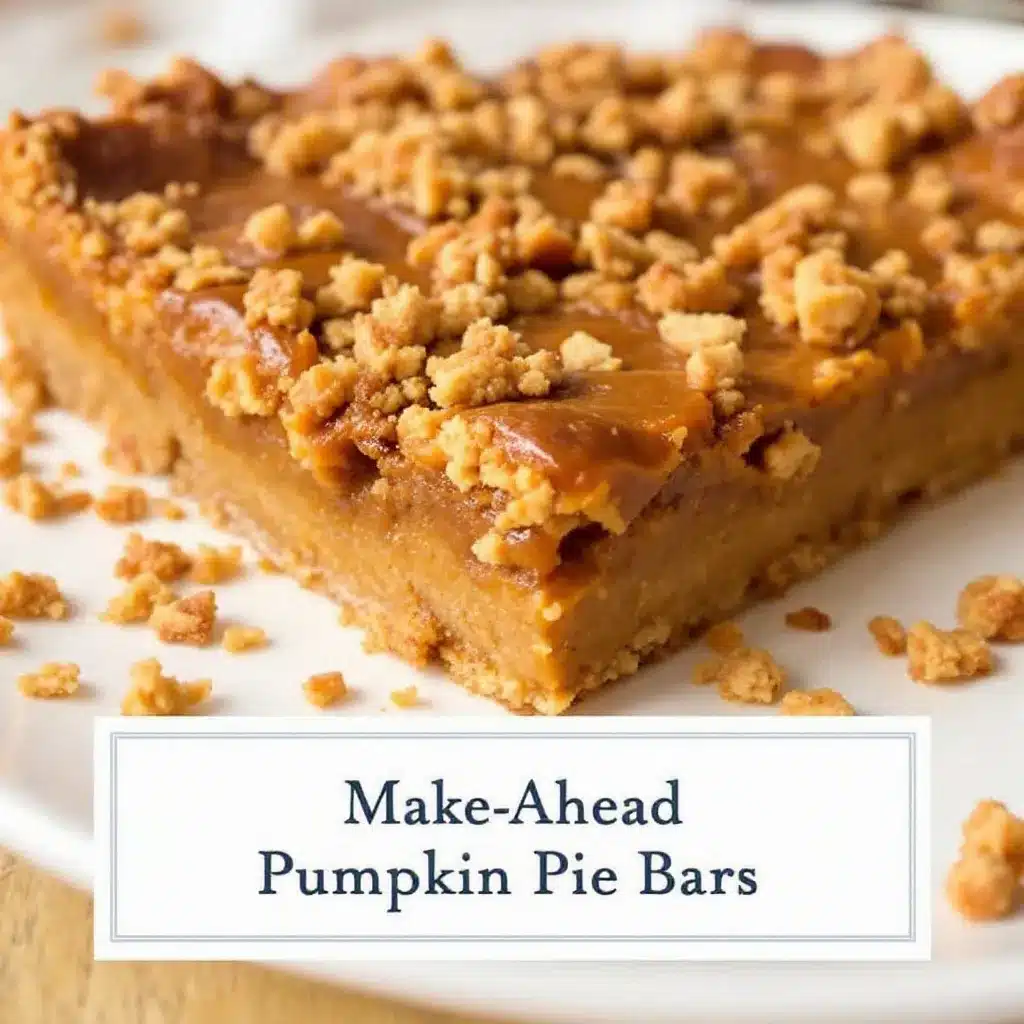
But then I tried a method that sounded too simple to work. I swapped the usual crumb topping for a thick, tangy cream cheese layer and let the bars rest overnight in the fridge. The result was not just edible; it was transformative. The texture is impossibly creamy, almost like a cheesecake hybrid, without the risk of a water bath or a cracked surface. I remember pulling the first square out of the pan, expecting it to crumble. Instead, it held its shape perfectly, with a clean cut and a swirl of orange and white that looked professional.
The smell hit me first, of course. Warm cinnamon, nutmeg, and a hint of ginger filling the house, but it was the taste that changed my mind. It wasn’t just sweet pumpkin; it was balanced, rich, and deeply comforting. I realized I had been overcomplicating things for no reason. These bars don’t need fancy techniques or expensive ingredients. They just need time to set and a little bit of patience.
Now, I make them for every gathering, from potlucks to quiet Tuesday nights. They travel well, they look impressive, and they disappear fast. The best part is that you can make them days in advance. The flavors actually get better as they chill, becoming more cohesive and intense. It’s the kind of dessert that solves a problem you didn’t know you had. You get the nostalgia of pumpkin pie without the hassle of a pie crust or the stress of timing the bake. It’s just pure, creamy, make-ahead goodness.
Why You’ll Love This Recipe
There is a specific kind of magic in these bars that separates them from the average pumpkin dessert. It comes down to texture and convenience, two things I prioritize when I’m cooking. Here is why this recipe has earned a permanent spot in my rotation:
- Quick & Easy: You can have these ready to eat in under two hours of active time, with the rest handled by the refrigerator. It is perfect for busy weeknights or last-minute holiday prep when you don’t want to be tethered to the oven.
- Simple Ingredients: No fancy grocery trips needed. You likely already have pumpkin puree, cream cheese, spices, and butter in your kitchen. It’s a pantry-friendly recipe that feels indulgent without the fuss.
- Perfect for Meal Prep: These are the ultimate make-ahead dessert. Bake them on Sunday, and you have dessert sorted for the entire week. They stay fresh in the fridge for up to five days, making them ideal for work lunches or after-school snacks.
- Crowd-Pleaser: They get rave reviews from kids and adults alike. The cream cheese layer adds a tang that cuts through the sweetness, making it sophisticated enough for dinner parties but fun enough for kids.
- Unbelievably Delicious: The texture is next-level. It’s not just soft; it’s velvety. The combination of the spiced pumpkin base and the dense, tangy topping creates a flavor profile that is pure comfort food.
What makes this recipe different is the balance. Many pumpkin bars are just sweet cake with a sprinkle of cinnamon. This version uses a high ratio of cream cheese to sugar, which gives it a professional bakery finish. It’s not just good—it is the kind that makes you close your eyes after the first bite. It’s comfort food reimagined, faster than pie but with the same soul-soothing satisfaction. Plus, if you’re looking for other pumpkin treats, you might enjoy checking out my copycat pumpkin cream cheese muffins for a breakfast version of this same flavor profile.
What Ingredients You Will Need
This recipe uses simple, wholesome ingredients to deliver bold flavor and satisfying texture without the fuss. The secret to the creamy texture lies in the quality of your dairy products and the balance of spices. Here is what you need to gather:
- For the Pumpkin Base:
- Unsalted butter, softened (adds richness and helps bind the crust)
- Granulated sugar (provides sweetness and structure)
- Large eggs, room temperature (helps the batter set properly)
- Pure pumpkin puree (not pumpkin pie filling; look for 100% pure pumpkin)
- All-purpose flour (creates the tender bar texture)
- Baking powder and baking soda (ensure they are fresh for the right rise)
- Ground cinnamon, ground ginger, and ground nutmeg (the classic pumpkin spice trio)
- Salt (a pinch to balance the sweetness)
- For the Cream Cheese Topping:
- Full-fat cream cheese, softened (essential for a smooth, non-grainy topping)
- Confectioners’ sugar (dissolves easily into the cream cheese)
- Vanilla extract (adds depth and aroma)
- Heavy cream (optional, for a looser, drizzle-able consistency)
I recommend using a block of cream cheese rather than the tub variety. The tub version has more moisture and additives, which can make the topping runny. For the pumpkin, stick to canned puree from a trusted brand like Libby’s or Native Forest. Fresh pumpkin can be used, but it requires roasting and pureeing first, which adds significant prep time. If you need a gluten-free option, you can swap the all-purpose flour for a 1:1 gluten-free baking blend, though the texture will be slightly denser.
Equipment Needed
You don’t need much to make these bars, but having the right tools makes the process smoother.
- 9×13 Inch Baking Pan: This is the standard size. Glass pans work well because they distribute heat evenly, but metal pans are fine too. Grease the pan thoroughly with butter or cooking spray.
- Mixing Bowls: You will need two medium bowls—one for the pumpkin batter and one for the cream cheese topping.
- Electric Mixer: A hand mixer or stand mixer is helpful for beating the cream cheese and sugar until smooth. Doing this by hand is possible but requires some arm strength.
- Spatula: A silicone spatula is best for scraping the bowls clean and spreading the batter evenly.
- Wire Cooling Rack: Essential for cooling the bars completely before adding the topping. Putting topping on warm bars will cause it to melt and slide off.
If you don’t have a hand mixer, a whisk and a lot of elbow grease will work. Just make sure to soften your butter and cream cheese well; cold dairy will result in lumps that are hard to whisk out.
Preparation Method
Follow these steps carefully to ensure the perfect texture.
- Prep the Pan and Oven: Preheat your oven to 350°F (175°C). Grease a 9×13 inch baking pan with butter or non-stick spray. Line it with parchment paper if you want easy removal, though greasing is usually sufficient.
- Mix the Dry Ingredients: In a medium bowl, whisk together the flour, baking powder, baking soda, cinnamon, ginger, nutmeg, and salt. Set this aside. This ensures the spices are evenly distributed throughout the batter.
- Cream the Butter and Sugar: In a large bowl, beat the softened butter and granulated sugar together until light and fluffy, about 2-3 minutes. This step incorporates air, which helps the bars stay tender rather than dense.
- Add Eggs and Pumpkin: Beat in the eggs one at a time, mixing well after each addition. Then, add the pumpkin puree and mix until just combined. Do not overmix here, or the bars might become gummy.
- Combine Wet and Dry: Gradually add the dry ingredients to the wet ingredients, mixing on low speed until just incorporated. The batter will be thick and sticky. Spread it evenly into the prepared pan. Use a spatula to smooth the top.
- Bake the Base: Bake for 20-25 minutes, or until the edges are golden and a toothpick inserted into the center comes out clean. The center might still look slightly soft, but it will firm up as it cools. Remove from the oven and let it cool completely on a wire rack. This is crucial. If you put the topping on too soon, it will melt.
- Make the Topping: While the bars cool, beat the softened cream cheese and confectioners’ sugar together until smooth and creamy. Add the vanilla extract and mix well. If the mixture is too thick to spread, add a tablespoon of heavy cream and beat again.
- Spread and Chill: Once the bars are completely cool, spread the cream cheese mixture evenly over the top. Return the pan to the refrigerator and chill for at least 2 hours, or preferably overnight. This allows the layers to set and the flavors to meld.
- Cut and Serve: Before serving, use a sharp knife to cut the bars into squares. Wipe the knife clean between cuts for neat edges. Enjoy cold or at room temperature.
Cooking Tips & Techniques
Getting the texture right is all about temperature and timing. Here are some professional tips to help you succeed.
- Room Temperature Ingredients: This is non-negotiable for the topping. Cold cream cheese will create lumps that you cannot whisk away. Take your cream cheese and butter out of the fridge at least an hour before you start baking.
- Don’t Overbake the Base: Pumpkin bars continue to cook in the pan after they come out of the oven. If you wait until the toothpick is completely clean, they might dry out. Pull them when the toothpick has a few moist crumbs on it.
- Cool Completely: I know it’s tempting to cut into them while they are warm, but resist. The cream cheese topping needs a solid base to adhere to. If the base is warm, the topping will slide off and create a mess.
- Sharp Knife for Cutting: Use a sharp chef’s knife and dip it in hot water between cuts. This helps get clean, sharp edges without squishing the bars. Wipe the blade dry after each cut to prevent sticking.
- Spice Freshness: Ground spices lose their potency over time. If your spices are more than six months old, buy fresh ones. The difference in flavor is noticeable and worth the small cost.
A common mistake is making the topping too sweet. Since the pumpkin base already has sugar, the topping should be tangy and slightly less sweet. Taste the cream cheese mixture before spreading it; adjust with a little more vanilla or a pinch of salt if needed.
Variations & Adaptations
You can customize these bars to fit your dietary needs or taste preferences.
- Gluten-Free: Swap the all-purpose flour for a high-quality 1:1 gluten-free flour blend. The texture will be slightly more crumbly, but still delicious.
- Dairy-Free: Use vegan butter and a dairy-free cream cheese alternative. Note that the texture of the topping may be slightly different, as some vegan creams have higher water content.
- Lower Sugar: Reduce the sugar in the pumpkin base by one-third. The cream cheese topping can also be made with a sugar substitute, though it may not whip as stiffly.
- Maple Glaze: For an extra touch, drizzle a simple maple glaze over the cream cheese layer before chilling. Mix powdered sugar with a little maple syrup and drizzle it on.
- Walnut or Pecan Crumble: Add a streusel topping made with flour, brown sugar, and chopped nuts for added crunch. This adds a nice texture contrast to the soft bars.
I once tried adding a layer of caramel sauce between the pumpkin base and the cream cheese topping. It was delicious but made the bars very sweet. If you try this, reduce the sugar in the base accordingly.
Serving & Storage Suggestions
These bars are best served chilled. The cold temperature highlights the tang of the cream cheese and keeps the texture firm.
- Storage: Store the bars in an airtight container in the refrigerator for up to 5 days. They can also be frozen for up to 3 months. Wrap the pan tightly in plastic wrap and then aluminum foil before freezing. Thaw in the refrigerator overnight before serving.
- Serving: Garnish with a dollop of whipped cream or a sprinkle of cinnamon for a festive look. They pair well with a cup of black coffee or a glass of cold milk.
- Reheating: These bars are best eaten cold. Reheating will melt the cream cheese topping and change the texture significantly.
The flavors develop over time, so they often taste better on the second or third day. The spices have more time to permeate the batter, creating a deeper, more complex flavor profile.
Nutritional Information & Benefits
While these bars are a dessert, they do offer some nutritional benefits. Pumpkin is rich in vitamins A and C, as well as fiber. The cream cheese adds protein and calcium. However, they are still a sweet treat, so enjoy in moderation.
- Calories: Approximately 250-300 calories per bar, depending on size.
- Carbohydrates: Around 30-35 grams per bar.
- Fat: About 15 grams per bar, primarily from the butter and cream cheese.
- Protein: Roughly 4-5 grams per bar.
For those watching their sugar intake, you can reduce the sugar in the base and use a sugar-free cream cheese topping. The pumpkin provides natural sweetness, so you don’t need as much added sugar as you might think.
Conclusion
These Creamy Make-Ahead Pumpkin Pie Bars are a game-changer for anyone who loves pumpkin dessert but hates the hassle of pie crusts. They are easy to make, delicious to eat, and perfect for meal prep. I hope you try this recipe and enjoy it as much as I do. It’s a simple recipe that delivers big flavor and impressive results.
Feel free to customize the spices or add your favorite toppings. I’d love to hear how you make them your own. Leave a comment below with your variations or questions. Share your photos on social media and tag me—I love seeing your creations. Enjoy these bars and make your pumpkin season memorable.
FAQs
Can I use pumpkin pie filling instead of pure pumpkin puree?
No, do not use pumpkin pie filling. It contains added sugars and spices that will throw off the balance of the recipe. Use 100% pure pumpkin puree for the best results.
How long do these bars last in the refrigerator?
They last up to 5 days in an airtight container in the refrigerator. They may also last up to a week, but the texture might start to soften slightly after day 5.
Can I freeze these bars?
Yes, you can freeze them for up to 3 months. Wrap the pan tightly in plastic wrap and aluminum foil. Thaw in the refrigerator overnight before serving.
Why is my cream cheese topping lumpy?
This usually happens if the cream cheese was not softened enough before mixing. Make sure to leave it at room temperature for at least an hour. If it is still lumpy, you can gently warm it in the microwave for 5-10 seconds and whisk again.
Can I make these bars ahead of time?
Absolutely. They are designed to be made ahead. You can bake the base and make the topping a day in advance, then assemble and chill them the day of your event. This actually improves the flavor.
Pin This Recipe!
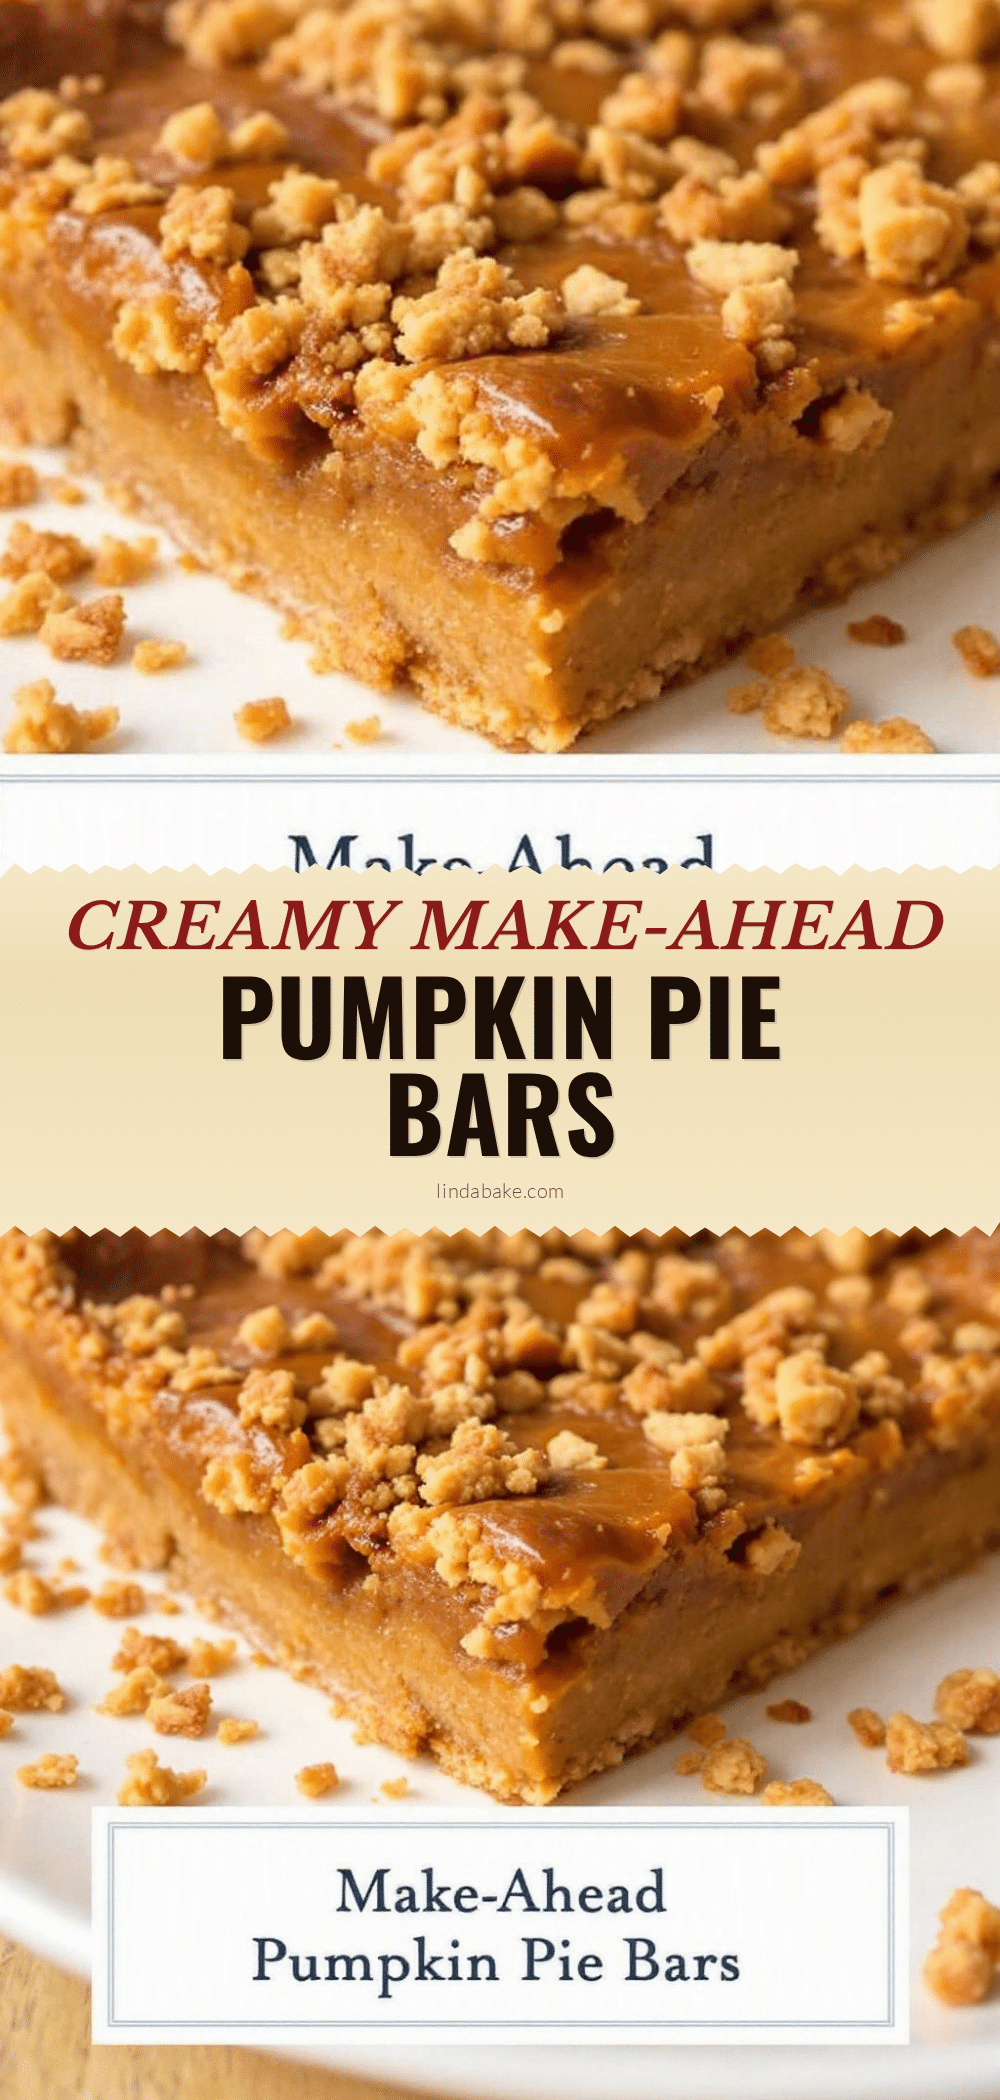
Creamy Make-Ahead Pumpkin Pie Bars
These creamy, make-ahead pumpkin bars feature a spiced pumpkin base topped with a tangy cream cheese layer. They are easy to prepare, perfect for meal prep, and offer a texture similar to a cheesecake hybrid without the hassle of a pie crust.
- Prep Time: 15 minutes
- Cook Time: 25 minutes
- Total Time: 40 minutes plus chilling time
- Yield: 12 servings
- Category: Dessert
- Cuisine: American
Ingredients
- Unsalted butter, softened
- Granulated sugar
- Large eggs, room temperature
- Pure pumpkin puree (not pumpkin pie filling)
- All-purpose flour
- Baking powder
- Baking soda
- Ground cinnamon
- Ground ginger
- Ground nutmeg
- Salt
- Full-fat cream cheese, softened
- Confectioners’ sugar
- Vanilla extract
- Heavy cream (optional, for consistency)
Instructions
- Preheat oven to 350°F (175°C). Grease a 9×13 inch baking pan with butter or non-stick spray.
- In a medium bowl, whisk together the flour, baking powder, baking soda, cinnamon, ginger, nutmeg, and salt.
- In a large bowl, beat the softened butter and granulated sugar together until light and fluffy, about 2-3 minutes.
- Beat in the eggs one at a time, mixing well after each addition. Add the pumpkin puree and mix until just combined.
- Gradually add the dry ingredients to the wet ingredients, mixing on low speed until just incorporated. Spread the batter evenly into the prepared pan.
- Bake for 20-25 minutes, or until the edges are golden and a toothpick inserted into the center comes out with a few moist crumbs. Remove from oven and let cool completely on a wire rack.
- While the bars cool, beat the softened cream cheese and confectioners’ sugar together until smooth. Add vanilla extract and mix well. Add heavy cream if the mixture is too thick.
- Once the bars are completely cool, spread the cream cheese mixture evenly over the top.
- Return the pan to the refrigerator and chill for at least 2 hours, or preferably overnight.
- Cut into squares with a sharp knife and serve chilled.
Notes
Ensure all dairy ingredients (butter and cream cheese) are at room temperature to prevent lumps. Do not use pumpkin pie filling; use 100% pure pumpkin puree. The bars must cool completely before adding the topping to prevent melting. For clean cuts, dip the knife in hot water between cuts. These bars taste better after sitting in the fridge for a day or two.
Nutrition
- Serving Size: 1 bar
- Calories: 275
- Sugar: 22
- Sodium: 150
- Fat: 15
- Saturated Fat: 9
- Carbohydrates: 32
- Fiber: 1
- Protein: 4
Keywords: pumpkin bars, cream cheese pumpkin bars, make ahead dessert, fall baking, pumpkin pie bars, easy pumpkin recipe, meal prep dessert