The serving spoon was gone. I had just turned my back to grab napkins from the counter, and when I looked back, the center of the dish was completely hollow. My brother-in-law was already reaching for a second helping, his fork scraping the bottom of the glass pan. He looked up with a guilty grin and asked if I had any leftovers in the fridge. I told him no, but he already knew the truth. This was the third time that week someone had asked for the recipe.
I honestly didn’t expect it to be this popular. I’ve made apple crisp before, but usually, it’s just a quick dessert to use up bruised fruit. This version felt different from the start. The smell of browning butter changed everything in the kitchen. It wasn’t just sweet anymore; it had this deep, nutty aroma that made the whole house feel warmer. You know how some smells just trigger a memory? This one felt like being wrapped in a blanket on a cold porch.
My sister-in-law, who usually sticks to light snacks, went back for seconds. Then my nephew, who claims he “doesn’t like dessert,” asked for the recipe link so he could make it for his friends. It’s funny how a simple change in technique can turn a standard treat into something people actually chase after. I wasn’t trying to be fancy, but the result was undeniable. The contrast between the soft, spiced apples and that crunchy oat topping was exactly what I was hoping for.
Now, I make this Cozy Brown Butter Apple Crisp with Oat Streusel whenever I need a win in the kitchen. It’s not complicated, but it feels special. The best part is knowing that the reaction on people’s faces is worth the extra five minutes it takes to brown the butter. It’s become my go-to way to show I care, without spending hours at the stove. And honestly, if it makes people happy, I’m happy.
Why You’ll Love This Recipe
There are a few reasons why this apple crisp has become a staple in my weekly rotation. It’s not just about the taste, though that’s definitely the main draw. It’s about the reliability and the depth of flavor that comes from taking just a little extra time with the basics. I’ve tested this recipe dozens of times, tweaking the butter ratio and the oat texture, to make sure it works every single time. Here is why it stands out from the crowd:
- Quick & Easy: Despite the fancy brown butter step, this comes together in under 45 minutes from start to finish. It is perfect for busy weeknights when you want something homemade but don’t have hours to spare.
- Simple Ingredients: You likely have everything you need in your pantry right now. No fancy grocery trips needed for obscure items. Just butter, flour, oats, sugar, and apples.
- Perfect for Fall Gatherings: Whether it is a casual Tuesday dinner or a holiday potluck, this dish fits right in. It pairs beautifully with other seasonal favorites, like the easy apple nachos with peanut butter drizzle if you want to get creative with your apple presentations.
- Crowd-Pleaser: It always gets rave reviews. Kids love the sweetness, and adults appreciate the sophisticated nutty flavor of the brown butter. It’s a crowd-pleaser that appeals to all ages.
- Unbelievably Delicious: The texture combo is next-level comfort food. The crisp topping doesn’t get soggy, and the apples stay tender but not mushy.
What makes this recipe different is the brown butter. Most recipes just use melted butter, which adds fat but not flavor. By browning it, you add a layer of complexity that tastes like caramel and nuts. It’s the kind of detail that makes people ask, “What’s in this?” when they take their first bite. It’s comfort food reimagined—healthier, faster, but with the same soul-soothing satisfaction. It’s perfect for impressing guests without stress, or turning a simple meal into something memorable.
What Ingredients You Will Need
This recipe uses simple, wholesome ingredients to deliver bold flavor and satisfying texture without the fuss. The magic really happens in how these basic items interact. The browning butter acts as a binder and a flavor booster, while the oats provide the necessary crunch. I like to keep the ingredient list short so you can focus on the technique rather than shopping. Here is exactly what you need to make this Cozy Brown Butter Apple Crisp with Oat Streusel.
- Unsalted Butter (1 cup / 226g): This is the star of the show. Using unsalted allows you to control the saltiness. I recommend high-quality butter, like Kerrygold or Plugrá, because the flavor really shines through when you brown it.
- All-Purpose Flour (1 cup / 120g): This helps bind the streusel together. Don’t skip this, or the topping will just be loose oats.
- Old-Fashioned Rolled Oats (1.5 cups / 150g): Use the big flakes, not instant oats. They hold their structure better and give you that chewy-crisp texture.
- Granulated Sugar (0.5 cup / 100g): Adds sweetness and helps the topping caramelize slightly in the oven.
- Brown Sugar (0.5 cup / 115g, packed): This adds moisture and a deeper molasses flavor that pairs perfectly with the apples.
- Ground Cinnamon (2 teaspoons): The classic spice for apple desserts. Make sure it’s fresh for the best aroma.
- Nutmeg (0.5 teaspoon): Just a pinch adds warmth and complexity.
- Apple Pie Spice (0.5 teaspoon): Optional, but I love the extra depth it provides. If you don’t have it, just add a bit more cinnamon.
- Granny Smith Apples (5-6 large): These are essential. They are tart and firm, so they don’t turn into applesauce when baked. You can mix in a few Honeycrisp for sweetness, but keep the Granny Smiths as the base.
- Lemon Juice (1 tablespoon): Prevents the apples from browning and adds a bright note to cut through the rich butter.
- Cornstarch (1 tablespoon): Helps thicken the apple juices so you don’t end up with a soupy bottom layer.
- Flaky Sea Salt (for finishing): A sprinkle on top after baking elevates the flavor profile significantly.
If you need a gluten-free option, you can swap the all-purpose flour for a 1-to-1 gluten-free baking blend. For the apples, Fuji or Gala works too, but you might need to add a bit more cornstarch since they are softer. Keep an eye on them so they don’t get too soft.
Equipment Needed
You don’t need a lot of fancy gadgets to make this, but having the right tools makes the process smoother. The most important item is a heavy-bottomed saucepan for browning the butter. If you use a thin pan, the butter might burn before you see the color change. A stainless steel or light-colored pan is best so you can actually see the milk solids turning golden brown.
For mixing the topping, a large bowl and a pastry cutter (or your hands) work well. I prefer using my fingers because it’s faster and helps break up the butter clumps effectively. For the apples, a sharp chef’s knife and a cutting board are necessary. I like to slice them into uniform wedges so they bake evenly.
You will need a 9×13 inch baking dish. Glass or ceramic is preferred because it distributes heat evenly. Metal pans can sometimes get too hot on the edges, leading to burnt crusts. If you don’t have a 9×13, a deep 9-inch square pan works, but you might need to adjust the baking time slightly.
A whisk is handy for mixing the dry ingredients for the topping, and a spatula is needed to stir the apples. I also recommend a rubber spatula for scraping the brown butter into the bowl, so you get all those flavorful brown bits. No special maintenance is needed for these tools, just keep your saucepan clean for next time!
How to Prepare the Apples
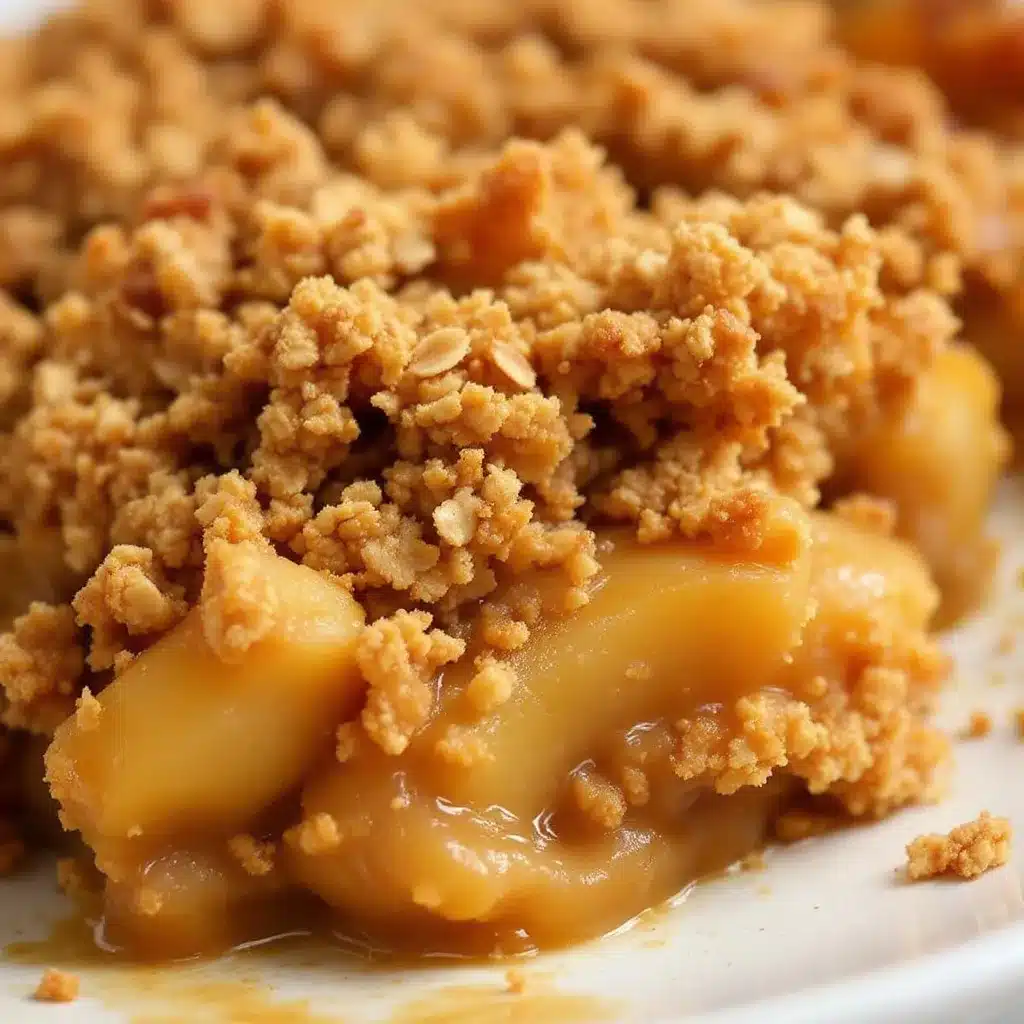
Start by peeling, coring, and slicing your apples. Aim for uniform slices, about 1/4 inch thick. This ensures they cook at the same rate. Place them in a large bowl and toss with the lemon juice and cornstarch. The lemon juice is crucial here; it keeps the apples from turning brown and adds a nice tang. Let them sit for about 10 minutes while you prepare the topping. This gives the cornstarch time to coat the slices properly, which will help thicken the juices later.
Browning the Butter
This is the step that changes everything. Melt your butter in a saucepan over medium heat. Stir it constantly with a wooden spoon. You will see it foam up and bubble. Keep stirring. The foam will start to subside, and you will hear a cracking sound. That is the water evaporating. Watch closely for small brown bits at the bottom of the pan. Once the butter smells nutty and looks like amber liquid, remove it from the heat immediately. Pour it into a heatproof bowl to stop the cooking process. This takes about 5-7 minutes.
Making the Oat Streusel
In a large mixing bowl, combine the flour, rolled oats, granulated sugar, brown sugar, cinnamon, nutmeg, and apple pie spice. Pour the warm brown butter over the dry ingredients. Use a pastry cutter or your fingers to mix everything together. You want the mixture to look like coarse sand with some larger clumps. These clumps are what give you the crunchy texture. Don’t overmix it into a paste.
Assembling and Baking
Preheat your oven to 375°F (190°C). Spread the tossed apple slices evenly into your greased 9×13 baking dish. Sprinkle the oat streusel mixture over the top, covering the apples completely. Bake for 45-50 minutes. You will know it is done when the topping is golden brown and the juices are bubbling up through the oats. If the top browns too quickly, cover it loosely with foil for the last 10 minutes. Let it cool for at least 15 minutes before serving. This allows the juices to set slightly, making it easier to serve.
Cooking Tips & Techniques
Browning butter can be intimidating if you haven’t done it before, but it is actually quite forgiving if you pay attention. The biggest mistake people make is walking away from the stove. Butter goes from perfect to burnt in seconds once the milk solids start to brown. If you smell a nutty aroma, you are close. If it smells like burnt toast, start over. Trust your nose more than your eyes sometimes.
Another tip is to use room temperature apples if possible. Cold apples straight from the fridge can lower the baking temperature of the dish, leading to longer cook times. Let them sit out for 20 minutes before slicing. Also, don’t skip the cornstarch. Apple juices are watery, and without a thickener, you’ll end up with a puddle at the bottom of your dish. The cornstarch creates a lovely syrupy consistency.
When mixing the streusel, leave some large chunks. Small, uniform crumbs will bake up hard and sandy. Large chunks create that signature crisp texture. If you prefer a softer topping, mix it more thoroughly, but I think the contrast is key to this recipe. Finally, let the crisp cool before serving. It is tempting to dig in hot, but the filling is incredibly hot and liquidy. Cooling for 15 minutes allows it to set, making it much easier to plate neatly.
Variations & Adaptations
While the classic apple version is my favorite, this recipe is very adaptable. You can easily swap the apples for other fruits. Pears work beautifully in this same recipe. They are softer, so reduce the baking time by 5-10 minutes. Peaches or plums also work well, especially in late summer. Just adjust the sugar slightly if the fruit is very sweet.
For a nuttier flavor, add 1/2 cup of chopped pecans or walnuts to the streusel. Toasting the nuts in the oven before adding them intensifies their flavor. If you want a gluten-free version, use gluten-free rolled oats and a 1-to-1 gluten-free flour blend. Make sure to check your oats label, as some are processed in facilities with wheat.
For a dairy-free option, use a high-quality vegan butter stick. Some brands brown better than others, so watch it closely. You can also swap the brown sugar for coconut sugar for a lower glycemic index. I tried using maple syrup instead of brown sugar once, but it made the topping too wet. Stick to granulated sugars for the best texture.
Serving & Storage Suggestions
This crisp is best served warm, right out of the oven. A scoop of vanilla ice cream is the classic pairing, but whipped cream or a slice of sharp cheddar cheese also works wonderfully. The saltiness of the cheese contrasts nicely with the sweet topping. If you want to get fancy, drizzle a little caramel sauce or salted caramel over the top before serving.
Store leftovers in an airtight container in the refrigerator for up to 5 days. The topping might lose some crispness in the fridge, so reheat individual portions in the oven or toaster oven at 350°F for 10 minutes. This restores the crunch. Avoid microwaving if you want to keep the texture, as it will make the oats soggy.
You can also freeze the crisp. Wrap the entire dish tightly in plastic wrap and foil, or transfer individual portions to freezer-safe containers. It will keep for up to 3 months. Thaw in the fridge overnight and reheat as described above. The flavors actually seem to meld and deepen after a day or two, making it even better the next day.
Nutritional Information & Benefits
This Cozy Brown Butter Apple Crisp with Oat Streusel offers a balance of comfort and nutrition. Apples are a great source of fiber and vitamin C, which supports immune health. The oats provide complex carbohydrates and beta-glucan, a type of fiber that helps lower cholesterol. While the brown butter and sugars add calories, the fiber from the fruit and oats helps moderate blood sugar spikes compared to other desserts.
Each serving contains approximately 350 calories, with a mix of carbs, fats, and a small amount of protein. It is naturally gluten-free if you use certified GF oats, making it accessible for many dietary needs. However, it contains dairy and nuts if you add pecans, so be mindful of allergens. I view this as a treat to be enjoyed mindfully, rather than a daily health food. It satisfies sweet cravings with real fruit and whole grains, which is better than refined sugar treats.
Conclusion
Making this Cozy Brown Butter Apple Crisp with Oat Streusel is a simple way to bring warmth to your kitchen. The brown butter step adds a level of sophistication that surprises everyone who tries it. It is reliable, delicious, and perfect for sharing. I hope you try this recipe and enjoy the process as much as I do. Feel free to customize it with your favorite spices or nuts. Let me know how it turns out in the comments below! I love hearing about your baking adventures. Share this recipe with friends who love fall desserts, and don’t forget to pin it for later. Happy baking!
Frequently Asked Questions
Can I use frozen apples for this crisp?
Yes, you can use frozen apples, but you need to thaw and drain them first. Frozen apples release a lot of water, which can make the crisp soggy. Pat them dry with paper towels before tossing them with the cornstarch and lemon juice.
What is the best apple for baking?
Granny Smith apples are the best choice because they hold their shape and offer a tart contrast to the sweet topping. Honeycrisp and Braeburn are also good options if you prefer a sweeter flavor. Avoid Red Delicious, as they tend to get mushy when baked.
Can I make this ahead of time?
Yes, you can assemble the crisp up to 24 hours in advance. Cover it tightly with plastic wrap and store it in the fridge. When you are ready to bake, let it sit at room temperature for 20 minutes, then bake as directed. You may need to add a few extra minutes to the baking time since it is starting cold.
Why did my topping get soggy?
Soggy topping usually happens if the apples release too much juice or if the topping is too thin. Make sure to use enough cornstarch to thicken the apple juices. Also, ensure your streusel clumps are large enough to create air pockets. Baking at the correct temperature helps evaporate moisture quickly.
How do I reheat leftovers?
Reheat individual portions in the oven or toaster oven at 350°F for 10-15 minutes. This restores the crispiness of the topping. Avoid microwaving, as it will make the oats soft and chewy instead of crunchy.
Pin This Recipe!
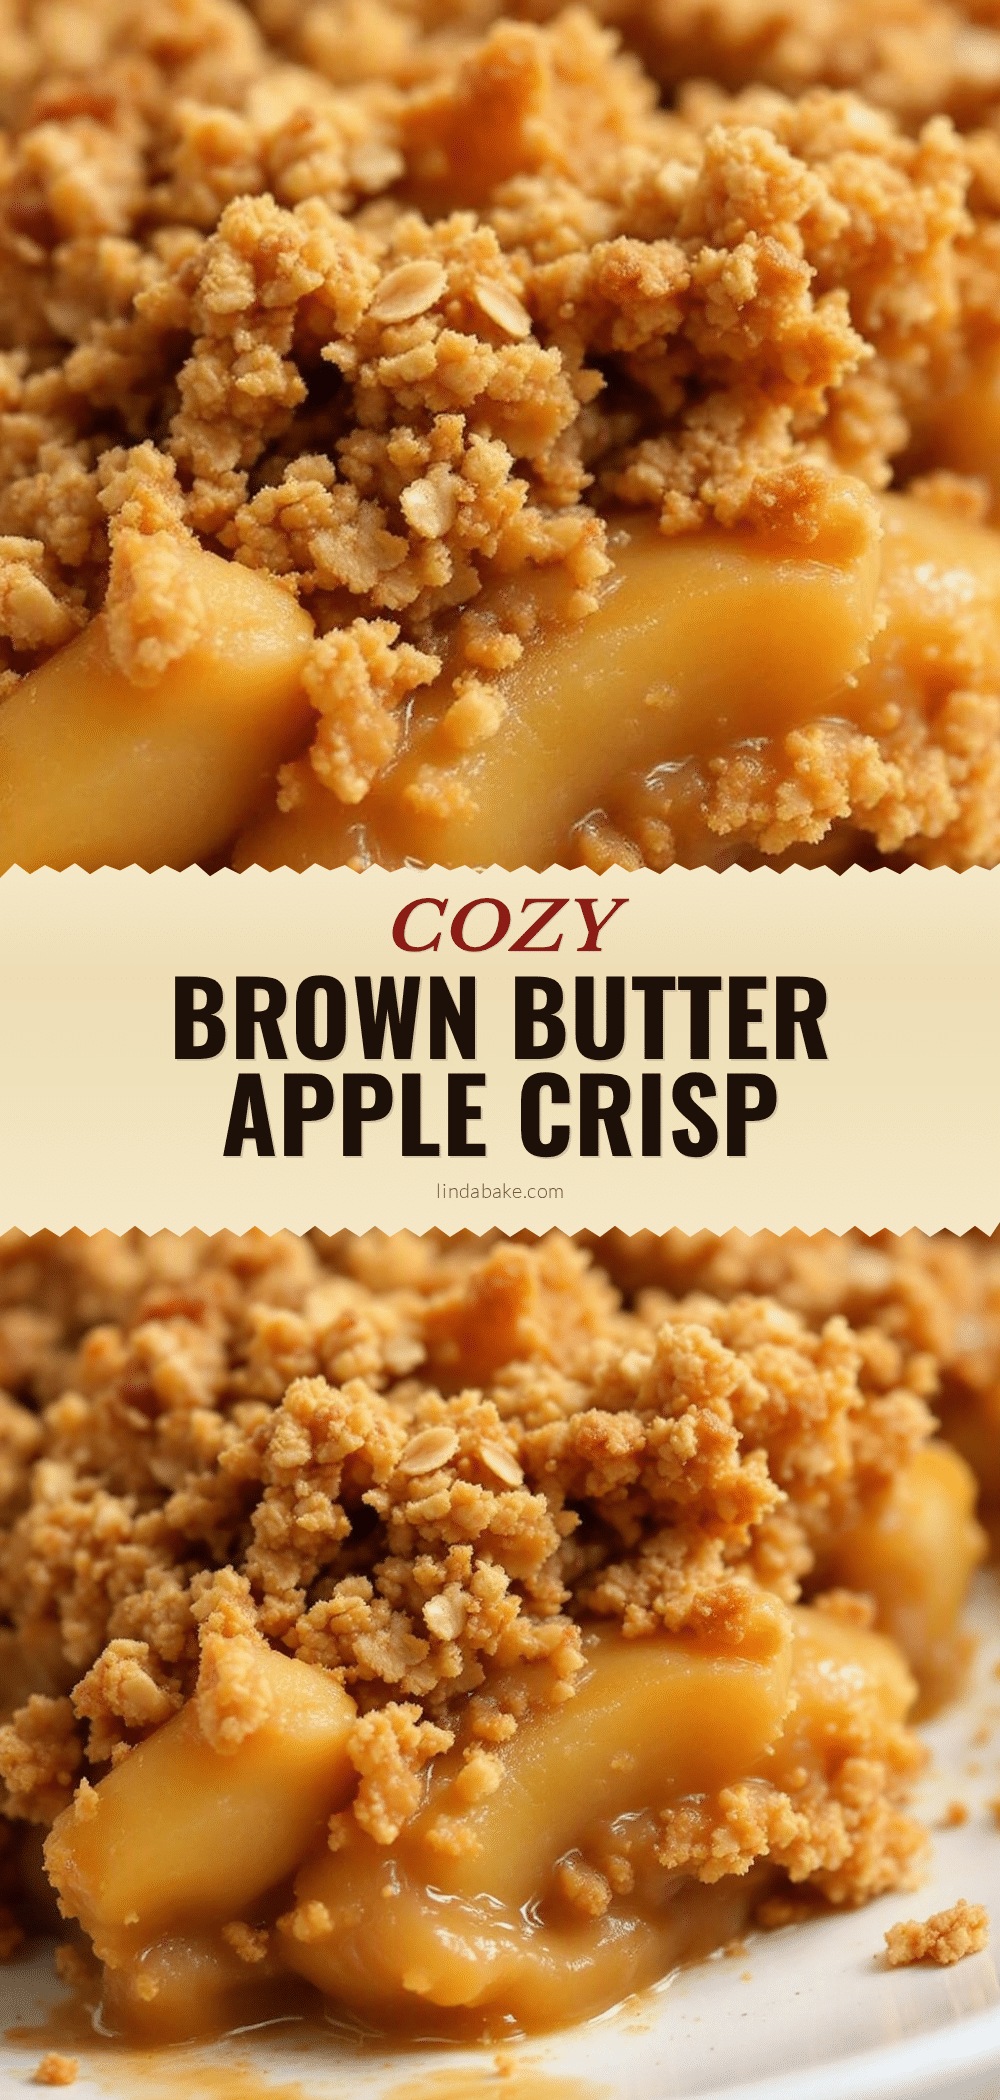
Cozy Brown Butter Apple Crisp with Oat Streusel

A rich and comforting fall dessert featuring tart Granny Smith apples topped with a crunchy, nutty oat streusel made with browned butter. This easy-to-make crisp is a crowd-pleaser that balances sweet and savory flavors.
- Prep Time: 15 minutes
- Cook Time: 45 minutes
- Total Time: 60 minutes
- Yield: 8 servings 1x
- Category: Dessert
- Cuisine: American
Ingredients
- 1 cup (226g) unsalted butter
- 1 cup (120g) all-purpose flour
- 1.5 cups (150g) old-fashioned rolled oats
- 0.5 cup (100g) granulated sugar
- 0.5 cup (115g) packed brown sugar
- 2 teaspoons ground cinnamon
- 0.5 teaspoon nutmeg
- 0.5 teaspoon apple pie spice (optional)
- 5–6 large Granny Smith apples, peeled, cored, and sliced
- 1 tablespoon lemon juice
- 1 tablespoon cornstarch
- Flaky sea salt for finishing
Instructions
- Preheat oven to 375°F (190°C).
- Peel, core, and slice apples into 1/4-inch thick wedges. Place in a large bowl and toss with lemon juice and cornstarch. Let sit for 10 minutes.
- Melt butter in a heavy-bottomed saucepan over medium heat. Stir constantly until the foam subsides and the butter turns amber with a nutty aroma (about 5-7 minutes). Remove from heat and pour into a heatproof bowl.
- In a large mixing bowl, combine flour, oats, granulated sugar, brown sugar, cinnamon, nutmeg, and apple pie spice.
- Pour the warm brown butter over the dry ingredients. Mix with a pastry cutter or fingers until the mixture resembles coarse sand with some larger clumps.
- Spread the tossed apple slices evenly into a greased 9×13 inch baking dish.
- Sprinkle the oat streusel mixture over the apples, covering them completely.
- Bake for 45-50 minutes, or until the topping is golden brown and juices are bubbling. If the top browns too quickly, cover loosely with foil for the last 10 minutes.
- Remove from oven and sprinkle with flaky sea salt.
- Let cool for at least 15 minutes before serving to allow juices to set.
Notes
For a gluten-free version, swap all-purpose flour for a 1-to-1 gluten-free baking blend and ensure oats are certified gluten-free. If using softer apples like Fuji or Gala, add a bit more cornstarch. The topping may lose crispness in the fridge; reheat in the oven at 350°F for 10 minutes to restore texture. Do not microwave as it makes oats soggy.
Nutrition
- Serving Size: 1 slice
- Calories: 350
- Sugar: 28
- Sodium: 120
- Fat: 18
- Saturated Fat: 11
- Carbohydrates: 45
- Fiber: 4
- Protein: 3
Keywords: apple crisp, brown butter, fall dessert, oat streusel, easy dessert, comfort food, gluten-free option


