I did not trust pumpkin seeds to deliver anything other than a dusty, sad snack until last October. Honestly, I thought roasting them with sugar sounded like a mistake that would just result in burnt, sticky messes on my baking sheet. I had seen too many videos of soggy seeds that tasted like cardboard, and I was ready to write them off as a waste of time. My mom used to make these in the 90s, but her version always ended up tasting more like burnt pumpkin pie filling than a crisp, satisfying bite. I kept waiting for the sugar to melt into a gluey trap instead of a delicate coating.
The turning point came when I was cleaning out a leftover pumpkin from a cheap Halloween decoration. I felt obligated to use it rather than throwing it away, so I scraped out the guts and decided to give it one last try. I was half-expecting failure, so I wasn’t even paying close attention to the oven timer. I walked away to check on some pumpkin cream cheese muffins that were baking nearby, thinking the seeds would just burn in the background.
When I walked back into the kitchen, the smell hit me first. It wasn’t the acrid scent of burnt sugar; it was warm, spiced, and surprisingly savory-sweet. I pulled the tray out and saw that the seeds were actually separate, not fused together in a clumpy heap. I picked one up, blew on it, and took a cautious bite. It shattered with a audible crunch, and the cinnamon sugar coating stayed intact. I stood there in my kitchen, completely surprised that something I had dismissed as a “junk food” idea actually tasted like a high-quality trail mix.
That single seed changed my whole perspective on what I could do with pumpkin guts. I realized I had been overcomplicating the process in my head, worrying about techniques that didn’t matter. The simplicity of just tossing them in butter, sugar, and spice was enough to make them irresistible. Now, whenever I see a pumpkin, I don’t see a decoration; I see a free bag of premium snacks waiting to happen. It’s a small victory, but it’s one I’m never going to forget.
Why You’ll Love This Recipe
You might be wondering why you should bother with these when you can just buy a bag of trail mix at the store. The truth is, store-bought seeds often taste overly salted or stale. This crispy cinnamon sugar baked pumpkin seeds recipe gives you total control over the sweetness and crunch. I’ve tested this method dozens of times to get the texture just right, ensuring they stay crisp for days without getting soggy.
Here is what makes this recipe stand out from the crowd:
- Quick & Easy: Most of the time is hands-off roasting. You spend about 10 minutes prepping, and the oven does the heavy lifting. It’s perfect for busy weeknights when you need a snack fix fast.
- Simple Ingredients: You likely already have everything in your pantry. Pumpkin seeds, butter, brown sugar, cinnamon, and salt. No fancy grocery trips needed.
- Zero Waste Cooking: This is the perfect way to use up the insides of a carving pumpkin or a leftover pie pumpkin. It’s sustainable and saves money.
- Crowd-Pleaser: Kids love the sweet taste, and adults appreciate the healthy fats. They are great for movie nights, parties, or just a mid-afternoon pick-me-up.
- Unbelievably Delicious: The combination of salty, sweet, and spicy creates a flavor profile that is addictive. It’s next-level comfort food that feels like a treat but is actually nutritious.
What makes this recipe different is the low-and-slow roasting method combined with a sugar coating that caramelizes rather than melts. Many recipes tell you to toss seeds in sugar and roast them at high heat, which burns the sugar instantly. My method uses a gentle bake to dry out the seeds first, then adds the sugar mixture at the end. This ensures every seed is coated in a delicate, crunchy shell. It’s not just a snack; it’s a satisfying crunch that stops hunger cravings in their tracks. Plus, unlike cheesy popcorn mixes, these are gluten-free and packed with protein.
What Ingredients You Will Need
This recipe relies on simple, wholesome ingredients to deliver bold flavor and satisfying texture without the fuss. The key is using fresh seeds and quality spices to make a big difference in the final taste. You don’t need exotic items, just the basics done right.
- Pumpkin Seeds (Pepitas): You will need about 2 cups of raw, shelled seeds. You can buy these pre-shelled, but using seeds from a fresh pumpkin is free and rewarding. Look for seeds that are plump and green, not yellow or shriveled. If using fresh seeds, make sure they are thoroughly cleaned and dried.
- Unsalted Butter: I recommend using real butter, not oil, for the richest flavor. Butter helps the sugar adhere and adds a savory depth. Use about 2 tablespoons. Melt it beforehand to make mixing easier.
- Brown Sugar: Dark brown sugar is my go-to because it has more molasses, which gives a deeper, caramel-like flavor. It creates a nicer crust than white sugar. Use about 3 tablespoons. If you prefer less sweetness, you can reduce this to 2 tablespoons.
- Ground Cinnamon: A generous amount of cinnamon is essential for that classic pumpkin spice vibe. Use about 1 teaspoon. If you have a fresh jar of cinnamon, the aroma will be much stronger.
- Sea Salt: Since we are using unsalted butter and brown sugar, salt is crucial to balance the sweetness. Use about 1/2 teaspoon of fine sea salt. Flaky salt on top after baking adds a nice visual touch.
- Optional Pinch of Cayenne: If you like a little kick, add a tiny pinch of cayenne pepper. It contrasts beautifully with the sweet cinnamon and makes the snack more interesting.
For the best results, I personally prefer using organic pumpkin seeds if you are buying them pre-shelled, as they tend to be fresher. If you are cleaning seeds from a pie pumpkin, make sure to remove all the stringy pulp. It helps to soak them in water and rub them between your hands to get the goo off. Rinse well and pat dry. Freshly squeezed lemon juice in the rinse water can also help remove any remaining slime, though it’s not strictly necessary.
Equipment Needed
You don’t need any fancy gadgets to make these seeds. A few basic kitchen tools are all you need to get professional results.
- Baking Sheet: Use a standard half-sheet pan. A light-colored metal pan is best because it conducts heat evenly. Dark pans can sometimes burn the sugar too quickly.
- Parchment Paper: Line your baking sheet with parchment paper. This is non-negotiable for a sticky sugar coating. It makes cleanup a breeze and prevents the seeds from sticking to the pan.
- Mixing Bowls: You will need a small bowl for melting the butter and a larger bowl for tossing the seeds. A medium-sized bowl is ideal for the final coating toss.
- Spatula: A silicone spatula is helpful for spreading the seeds in an even layer on the baking sheet. It also helps scrape the butter mixture out of the small bowl.
- Mesh Strainer (Optional): If you are cleaning fresh seeds, a fine-mesh strainer is great for rinsing them thoroughly under running water.
I’ve tried using silicone baking mats before, but they can sometimes prevent the seeds from getting as crisp because they trap a bit of moisture. Parchment paper allows for better air circulation and browning. If you don’t have parchment, you can use aluminum foil, but be sure to grease it lightly to prevent sticking. A simple wire whisk can also be used to mix the dry spices if you prefer, but a fork works just as well.
Preparation Method
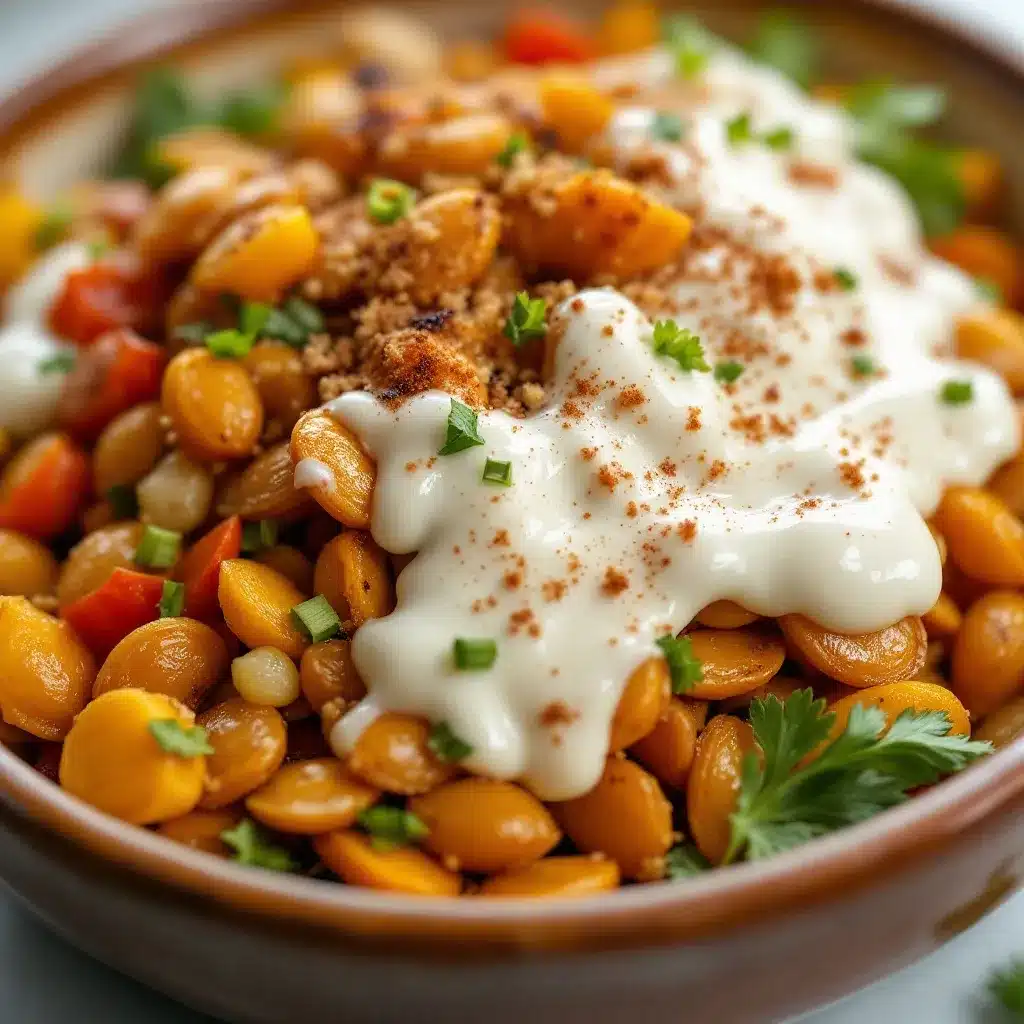
Follow these steps carefully to ensure your seeds come out perfectly crispy. The timing is important, so don’t rush the process.
- Preheat the Oven: Set your oven to 300°F (150°C). This lower temperature is key. High heat burns sugar, so we want to dry the seeds gently first. Let the oven come to full temperature while you prep the seeds.
- Prep the Seeds: If using fresh seeds, rinse them thoroughly to remove all pulp. Pat them completely dry with paper towels. Moisture is the enemy of crispiness. If using store-bought raw seeds, give them a quick rinse and dry as well to remove any dust. Spread them out on a clean kitchen towel to air dry for 10 minutes if they are still damp.
- First Roast (Drying): Spread the dry seeds in a single layer on your parchment-lined baking sheet. Do not crowd them. Roast for 15 minutes. This step removes residual moisture. After 15 minutes, remove the tray and let them cool for 5 minutes. They will still be chewy at this stage, which is normal.
- Prepare the Coating: While the seeds cool, melt the butter in a small microwave-safe bowl or saucepan. In a separate medium bowl, whisk together the brown sugar, cinnamon, salt, and cayenne (if using). Make sure there are no large clumps of sugar.
- Combine: Add the slightly cooled seeds to the bowl with the sugar mixture. Pour the melted butter over the seeds. Toss everything together vigorously until every single seed is coated. You want a glossy, sandy appearance. If the mixture looks too dry, add another teaspoon of melted butter. If it looks too wet, add a sprinkle more sugar.
- Second Roast (Caramelizing): Spread the coated seeds back onto the baking sheet in a single layer. Roast for another 10-15 minutes. Watch them closely after the 10-minute mark. You want them to turn golden brown and smell fragrant. Stir them halfway through to ensure even browning.
- Cool Completely: Remove the tray from the oven. The seeds will still feel soft when hot. This is crucial: let them cool completely on the tray. As they cool, the sugar coating will harden and become crunchy. Do not taste test while they are hot, or you will burn your tongue and think they are done before they are.
Total time including prep and cooling is about 1 hour, but active time is only 15 minutes. Patience during the cooling phase is what separates crunchy seeds from chewy ones.
Cooking Tips & Techniques
Getting the texture right can be tricky the first time, so here are some insider tips from my testing kitchen.
- Dry is Key: The most common mistake is not drying the seeds enough before the first roast. If they start wet, they will steam instead of roast. Use paper towels and be thorough.
- Single Layer: Never overcrowd the pan. If seeds are stacked on top of each other, the bottom ones won’t crisp up. Use two trays if necessary.
- Watch the Sugar: Sugar burns faster than seeds. Keep a close eye on the oven during the second roast. If they are browning too fast, lower the temperature by 25 degrees.
- Stir Midway: Stirring the seeds halfway through the second roast ensures even color. Some seeds may brown faster than others depending on their position on the tray.
- Cooling is Mandatory: I cannot stress this enough. Hot seeds are soft. Let them sit for at least 20 minutes after removing from the oven. They will crisp up as they reach room temperature.
I once tried to speed up the process by turning up the heat, and the result was a tray of black, bitter seeds. It was a costly lesson. Another time, I didn’t dry them enough, and they turned out gummy. Now, I always dry them overnight in a low oven if I have time, but the 15-minute roast works well for quick results. Trust the process, and you will be rewarded with a crunchy snack.
Variations & Adaptations
While the cinnamon sugar version is my favorite, you can easily adapt this recipe to suit your tastes or dietary needs.
- Savory Herb: Skip the sugar and cinnamon. Toss the seeds with olive oil, garlic powder, onion powder, and dried rosemary. Roast as directed. This is great for pizza nights.
- Spicy Chipotle: Add smoked paprika and chili powder to the sugar mixture for a sweet-heat combo. It pairs well with cold beer or spicy dips like buffalo chicken dip.
- Maple Pecan: Swap the butter for maple syrup and add chopped pecans. Roast the nuts and seeds together for a fancy trail mix.
- Gluten-Free & Vegan: This recipe is naturally gluten-free. To make it vegan, substitute the butter with coconut oil or a plant-based butter alternative. The texture will be slightly different but still delicious.
- Low Sugar: Reduce the brown sugar by half and mix it with a sugar substitute like erythritol. You may need to add a bit more cinnamon to compensate for the lost volume.
I’ve tried making these with sunflower seeds instead of pumpkin seeds, and they work just as well. The roasting time is the same. You can also add vanilla extract to the butter mixture for a dessert-like flavor. Get creative with your spice blends, but always stick to the low-and-slow roasting method for best results.
Serving & Storage Suggestions
These seeds are best served at room temperature. They make a perfect snack for watching movies, hiking, or adding to a salad for extra crunch. You can also serve them alongside soups or chili as a side dish.
For storage, let the seeds cool completely before transferring them to an airtight container. They will stay crisp in the pantry for up to 2 weeks. If you live in a humid climate, store them in the refrigerator to maintain crunchiness. They can also be frozen for up to 3 months. To re-crisp any seeds that have gone soft, spread them on a baking sheet and warm them in the oven at 300°F for 5 minutes.
I often pack these in small bags for lunchbox additions or office snacks. They are healthier than chips and don’t leave grease on your fingers. Try pairing them with a glass of milk or a cup of tea for a classic comfort snack experience.
Nutritional Information & Benefits
Pumpkin seeds are a nutritional powerhouse. They are rich in magnesium, zinc, and healthy fats. A 1/4 cup serving of roasted seeds contains about 150 calories, 8 grams of protein, and 13 grams of fat. The cinnamon adds antioxidants without extra sugar. This snack is also gluten-free, dairy-free (if using oil), and paleo-friendly. It’s a great way to boost your immune system and support heart health while satisfying a sweet craving. Just be mindful of the sugar content if you are watching your intake.
Conclusion
Making crispy cinnamon sugar baked pumpkin seeds is easier than you think and tastes infinitely better than store-bought versions. I hope this recipe encourages you to stop throwing away pumpkin guts and start turning them into something delicious. It’s a small change that makes a big difference in your snack rotation.
Feel free to experiment with different spices and sweeteners to find your perfect blend. I’d love to hear how you customize this recipe. Leave a comment below with your favorite variations or share your results on social media. Happy snacking!
FAQs
Can I use roasted seeds from the store?
Yes, but you will need to adjust the roasting time. Since they are already roasted, you only need to toss them in the sugar mixture and warm them through for 5-7 minutes to melt the sugar slightly. Do not roast them for the full time or they will burn.
Why are my seeds still chewy after cooling?
This usually means they didn’t dry out enough during the first roast or they weren’t cooled completely. Make sure to spread them in a single layer and let them sit for at least 20 minutes after removing from the oven.
Can I make these ahead of time?
Absolutely. They keep well in an airtight container for up to 2 weeks. You can make them a few days before a party to save time.
What kind of pumpkin should I use?
Any pumpkin works, but sugar pumpkins or pie pumpkins have the best seeds. Large carving pumpkins have larger seeds that are also great, but they may take longer to dry.
Is it okay to eat the green skin?
Yes, the green skin is edible and nutritious. Most people eat the whole seed. If you prefer white pepitas, you can boil the seeds briefly to remove the green skin before roasting, but it’s not necessary.
Pin This Recipe!
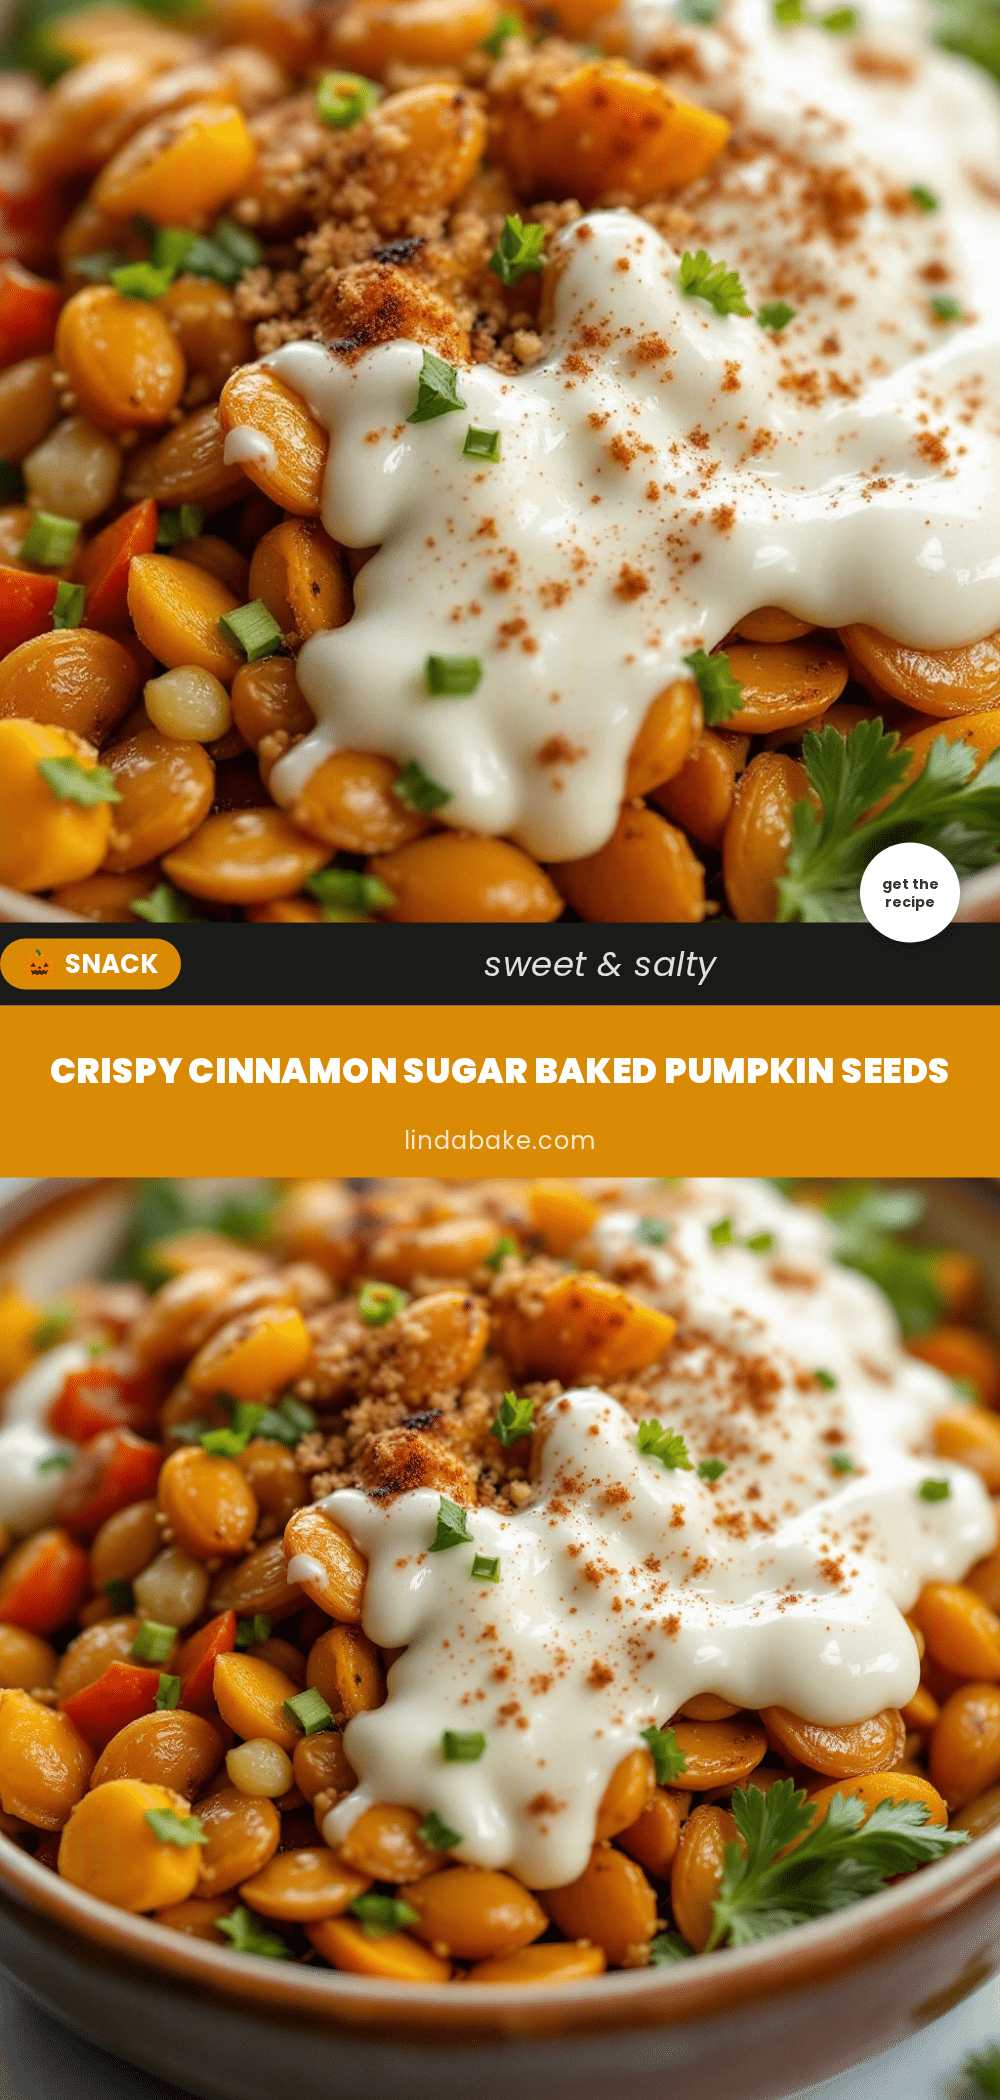
Crispy Cinnamon Sugar Baked Pumpkin Seeds: Easy Snack
A simple, zero-waste recipe for transforming pumpkin seeds into a crunchy, sweet, and savory snack using a low-and-slow roasting method that prevents burning and ensures maximum crispiness.
- Prep Time: 15 minutes
- Cook Time: 30 minutes
- Total Time: 1 hour
- Yield: 4 servings 1x
- Category: Snack
- Cuisine: American
Ingredients
- 2 cups raw pumpkin seeds (pepitas)
- 2 tablespoons unsalted butter, melted
- 3 tablespoons dark brown sugar
- 1 teaspoon ground cinnamon
- 1/2 teaspoon fine sea salt
- Pinch of cayenne pepper (optional)
Instructions
- Preheat oven to 300°F (150°C).
- Rinse fresh seeds thoroughly to remove pulp, then pat completely dry with paper towels. If using store-bought seeds, rinse and dry to remove dust.
- Spread dry seeds in a single layer on a parchment-lined baking sheet.
- Roast seeds for 15 minutes to dry them out, then remove and let cool for 5 minutes.
- While seeds cool, melt butter and whisk together brown sugar, cinnamon, salt, and cayenne in a separate bowl.
- Add cooled seeds to the sugar mixture, pour melted butter over them, and toss vigorously until every seed is coated.
- Spread coated seeds back onto the baking sheet in a single layer.
- Roast for another 10-15 minutes, stirring halfway through, until golden brown and fragrant.
- Remove from oven and let cool completely on the tray (at least 20 minutes) until the sugar coating hardens and seeds are crunchy.
Notes
Ensure seeds are completely dry before roasting to prevent steaming. Do not overcrowd the pan; use two trays if necessary. Seeds will feel soft when hot but will crisp up as they cool completely. Store in an airtight container for up to 2 weeks.
Nutrition
- Serving Size: 1/4 cup
- Calories: 150
- Sugar: 9
- Sodium: 150
- Fat: 13
- Saturated Fat: 4
- Carbohydrates: 12
- Fiber: 2
- Protein: 8
Keywords: pumpkin seeds, pepitas, cinnamon sugar, baked snacks, zero waste, gluten-free, healthy snack, fall recipes, pumpkin carving


