The clock on the microwave blinked 5:55 PM. Halloween was in three hours. The grocery store was a twenty-minute drive, but the traffic near the school was already parking lot status. I looked at the counter. There was a bag of Rice Krispies, a tub of butter, and a bag of marshmallows that had been sitting there since last month’s baking disaster.
Honestly, I was about to order takeout. But then I remembered the kids’ party at the community center started at 7:00 PM. No one wants to eat pizza slices at a kids’ party. They want finger foods. They want things they can hold without getting sauce on their hands. They want orange.
So, I threw the butter in the pot. I dumped the marshmallows in. I stirred until my arm burned a little. Then, I grabbed a bottle of orange food coloring I keep for emergencies like this (and for when my son asks why his mac and cheese isn’t the color of a sunset). The smell hit me first. Sweet, buttery, nostalgic. It smelled like every October I ever had.
I mixed in the cereal. The kids came running, drawn by the sugar and the chaos. They didn’t ask what it was. They just started shaping it. Some made balls. Some made triangles. I showed them how to pinch the top to make a stem. It took ten minutes. Maybe fifteen if you’re messy, which I was.
By the time I pulled the tray out, the doorbell rang again. It was just the neighbor, but I felt a strange sense of victory. These weren’t gourmet. They weren’t healthy. But they were perfect. They were easy Halloween Rice Krispie Treat pumpkins. And they were going to save my night.
I didn’t plan this. I just improvised. But you know what? Sometimes the best recipes come from panic. This recipe stuck because it’s real. It’s what happens when you’re tired, you’re busy, and you just need something sweet to hand to a group of excited children.
Why You’ll Love This Recipe
Let’s be honest for a second. Baking from scratch during Halloween season is a lot of work. You’ve got decorations to hang, costumes to find, and candy to sort. You do not need another recipe that requires twelve ingredients and a stand mixer. This recipe is different because it respects your time. It’s not just “easy”; it’s smart.
I’ve tested this method over five Halloweens now. I’ve tried using less butter (it gets dry). I’ve tried using mini marshmallows (they melt too fast and burn easily). I’ve tried shaping them before the mixture cooled (it sticks to everything). The version below is the one that works. It’s the one my family requests every year.
Here is why this recipe actually works:
- Quick & Easy: Comes together in under 15 minutes. Perfect for busy weeknights or last-minute cravings when you realize you forgot to buy party snacks.
- Simple Ingredients: No fancy grocery trips needed. You likely already have marshmallows, cereal, and butter in your kitchen. If you don’t have orange food coloring, you can use pumpkin pie spice, though the color won’t be as vibrant.
- Perfect for Halloween Parties: Great for classroom exchanges, neighborhood trick-or-treat handouts, or cozy dinners where you want a festive touch without the hassle.
- Crowd-Pleaser: Always gets rave reviews from kids and adults alike. The shape is fun, and the taste is familiar comfort food.
- Unbelievably Delicious: The texture is chewy but firm enough to hold its shape. It’s the kind of treat that makes you close your eyes after the first bite and remember being a kid.
What makes this recipe stand out from the rest is the shaping technique. Most people just dump the mixture into a pan and cut it into squares. Boring. These pumpkins are individual portions. They look professional, but they require zero piping skills. I learned this trick when I was trying to impress a friend who has three kids and zero patience. I showed her how to grab a handful, roll it, and pinch it. She said it was the easiest thing she’d ever made. That’s the goal here. It’s comfort food reimagined for the modern, busy parent. It’s faster than waiting for a delivery app to find you a driver, and it’s healthier than a box of store-bought cookies because you control the sugar. It’s perfect for impressing guests without stress, or turning a simple meal into something memorable.
What Ingredients You Will Need
This recipe uses simple, wholesome ingredients to deliver bold flavor and satisfying texture without the fuss. The beauty of Rice Krispie treats is that the ingredient list is short, but the quality of each item matters. You don’t need expensive gourmet chocolate or rare spices. You need the right balance of crunch and chew.
Here is what you need to gather before you start. I recommend having everything measured out and ready because the marshmallow mixture sets up fast. Once that butter melts and the marshmallows pop, you have about two minutes to mix in the cereal before it starts to clump.
- Unsalted Butter: 3 tablespoons. I recommend using high-quality butter like Land O’Lakes or Kerrygold. Salted butter works too, but you might want to reduce any added salt in other parts of your menu. Softened butter melts faster, saving you time over the stove.
- Marshmallows: 10 ounces (about 4 cups). Standard white marshmallows are best here. Avoid the toasted ones; they have a different texture that doesn’t melt as smoothly. If you can’t find a 10-ounce bag, you can use two 6-ounce bags, but watch your pot size closely.
- Rice Krispies Cereal: 6 cups. Do not use puffed rice or puffed wheat. It has to be the crispy rice. The shape holds the structure of the pumpkin. If you need a gluten-free option, look for certified gluten-free crispy rice cereal, but be aware the texture might be slightly softer.
- Orange Food Coloring: Gel food coloring is best. Liquid coloring can make the treats too wet and sticky. A few drops of orange gel will give you that classic Halloween hue without altering the consistency. If you prefer a more natural approach, you can skip this and use a pinch of pumpkin pie spice, but you lose the visual impact.
- Optional Chocolate: 1/4 cup semi-sweet chocolate chips. For the stems and eyes, melted chocolate adds a nice contrast. Use good quality chips that melt smoothly. If you’re allergic to chocolate, you can use orange M&Ms or even fondant for the decorations.
- Butter for Greasing: You’ll need a little extra butter or cooking spray to grease your hands and the baking sheet. This is crucial. Do not skip this step. You will regret it.
I always keep a bag of marshmallows in the pantry for emergencies like this. It’s a staple. The cereal is cheap, which is nice when you’re feeding a crowd. The food coloring is the only “specialty” item, but it lasts forever. You can also use this same base recipe to make other shapes, like ghosts (white, no coloring) or bats (black food coloring). It’s a versatile foundation. Just remember, the ratio of cereal to marshmallow is key. Too much cereal, and they’re dry. Too much marshmallow, and they’re a sticky mess. This ratio is tested and true.
Equipment Needed
You don’t need a lot of fancy tools to make these. In fact, the fewer tools you use, the faster you’ll clean up. Here is what I use every time.
- Large Saucepan: A 3-quart or 4-quart pot is ideal. It needs to be big enough to hold the melting marshmallows and the 6 cups of cereal. If the pot is too small, you’ll overflow it. I use a heavy-bottomed stainless steel pot because it distributes heat evenly and prevents burning.
- Silicone Spatula: This is non-negotiable. A metal spoon will scratch your pot, and a wooden spoon might not scrape the sides well enough. A flexible silicone spatula helps you get every bit of melted marshmallow out of the pot and into the cereal. It also makes cleaning easier.
- Baking Sheet: A standard half-sheet pan lined with parchment paper or a silicone baking mat. Parchment paper is easier to clean, but a silicone mat is reusable and saves money in the long run. Just make sure it’s large enough to spread the treats if you’re making them in bulk.
- Microwave-Safe Bowl: If you’re adding chocolate stems, you’ll need a small bowl for melting. I use a 1-cup glass measuring cup because it’s easy to stir and pour.
- Small Knife or Paring Knife: For cutting the chocolate stems if they get too long. Also useful for trimming any excess marshmallow if you mess up a shape.
I’ve tried using non-stick pans, but they often leave a residue that makes the cereal stick. A well-seasoned cast iron pot or a good stainless steel one is best. If you don’t have a silicone spatula, a sturdy rubber scraper works too. Just make sure it’s heat-resistant. Also, keep a bowl of warm water nearby to dip your hands in if the mixture gets too sticky. It’s a pro tip that saves your sanity.
Preparation Method
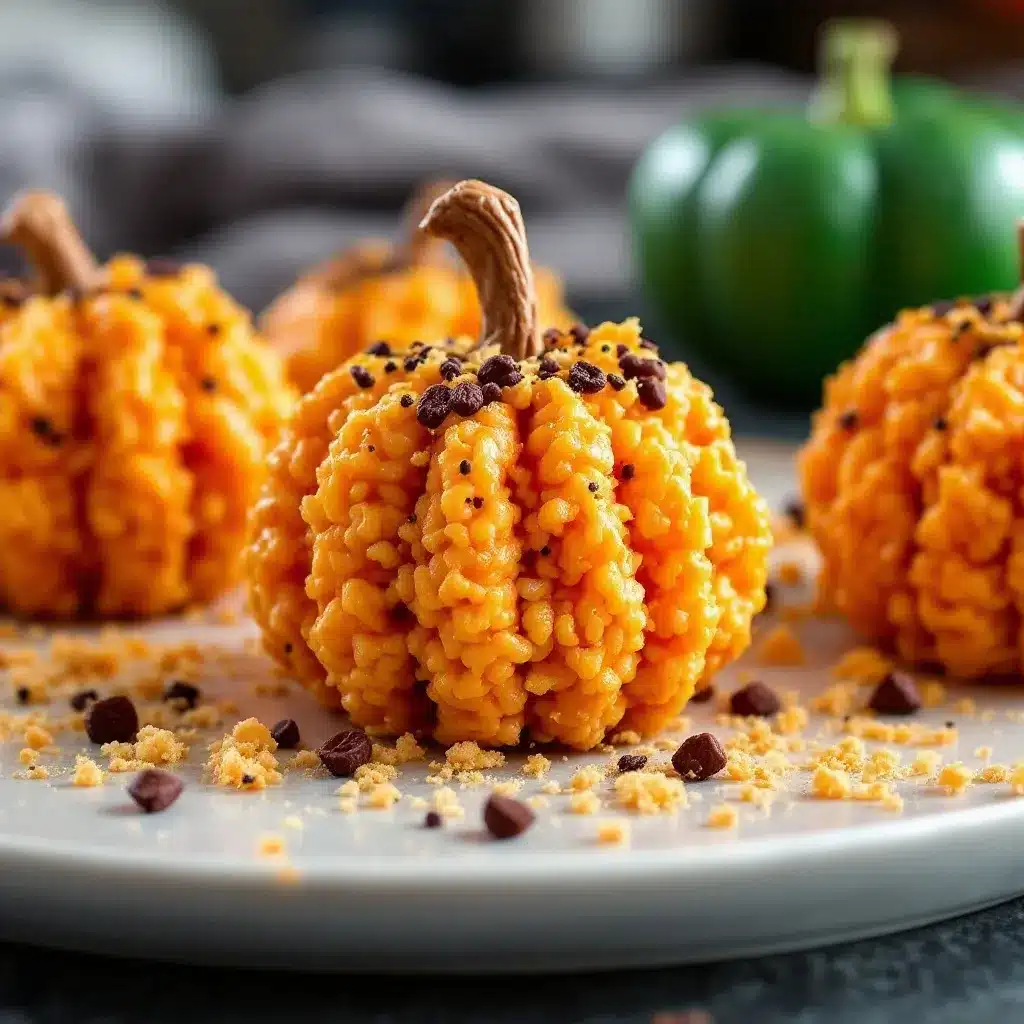
Making these treats is straightforward, but timing is everything. Follow these steps carefully to get the perfect texture.
- Prep Your Station (2 minutes): Line your baking sheet with parchment paper. Grease it lightly with butter or cooking spray. Also, grease your hands with a little butter or cooking spray. This is the most important step. If your hands aren’t greased, the mixture will stick to you, and you’ll be picking marshmallow bits off your fingers for the next hour. Set out your spatula and your bowl of warm water for dipping hands.
- Melt the Butter (3 minutes): Place your large saucepan over medium-low heat. Add the 3 tablespoons of butter. Let it melt slowly. Do not let it brown. You just want it fully liquid. If you’re in a rush, you can use medium heat, but watch it closely. Burnt butter tastes terrible and will ruin the whole batch.
- Add Marshmallows (3 minutes): Once the butter is melted, add the entire bag of marshmallows. Stir gently with your silicone spatula. The marshmallows will start to melt and clump together. Keep stirring. They will look lumpy at first. Don’t panic. This is normal. Keep stirring until they are completely smooth and glossy. This usually takes about 2-3 minutes. If they start to stick to the bottom, lower the heat immediately.
- Add Food Coloring (1 minute): Once the marshmallows are smooth, remove the pot from the heat. Add 3-5 drops of orange gel food coloring. Stir quickly. The color will spread fast. If you want a deeper orange, add more drops. Remember, the color will darken slightly as it cools. It’s better to go a little lighter than too dark.
- Combine with Cereal (2 minutes): Immediately dump the 6 cups of Rice Krispies into the pot. Do not wait. The marshmallow mixture starts to set as soon as it cools. Fold the cereal into the marshmallow mixture. Use a gentle folding motion. You want to coat every piece of cereal without crushing it. This should take about 1-2 minutes. If it’s too hard to mix, you can put the pot back on the lowest heat for 10 seconds to soften it up, but be careful not to melt it further.
- Shape the Pumpkins (5-7 minutes): Grab a handful of the mixture (about 1/4 cup). Roll it between your greased palms to form a ball. Then, gently press one end to make it slightly oval. Pinch the top to create a little stem. Place it on the prepared baking sheet. Repeat with the rest of the mixture. You should get about 12-15 small pumpkins. If the mixture gets too hard to shape, dip your hands in the warm water for a second, then dry them and add a tiny bit more grease.
- Add Chocolate Details (5 minutes): Melt the chocolate chips in the microwave in 30-second intervals, stirring in between. Once smooth, use a toothpick or a small spoon to add tiny dots for eyes and a stem on top of each pumpkin. If you don’t have chocolate, you can use orange candy melts or just leave them plain. Let them set at room temperature for 10 minutes.
The whole process takes about 20 minutes from start to finish. The hardest part is shaping them quickly before they cool. Don’t worry if they aren’t perfect. They’re supposed to look rustic and fun. Imperfect shapes are part of the charm.
Cooking Tips & Techniques
I’ve made these treats so many times that I’ve learned a few tricks to avoid common pitfalls. The biggest mistake people make is using too much heat. Low and slow is the way to go with marshmallows. If you use high heat, the bottom burns while the top is still hard. This creates a bitter taste that you can’t hide.
Another tip is to grease everything. Your hands, your spatula, your bowl. Marshmallow is sticky. If you don’t grease your tools, you’ll spend more time cleaning than cooking. I keep a small dish of cooking spray next to the stove for quick touch-ups.
Timing is also key. Once you add the cereal, you have to work fast. The mixture cools rapidly. If you’re slow, you’ll end up with a hard lump that’s impossible to mix. Have your baking sheet ready before you even start melting the butter. This way, you can move seamlessly from the pot to the sheet.
I also recommend using gel food coloring over liquid. Liquid coloring adds water to the mixture, which can make the treats soggy. Gel coloring is concentrated, so you use less, and it doesn’t affect the texture. If you don’t have gel, you can use a tiny amount of liquid, but add it very slowly.
Finally, don’t over-press the treats. When you shape them, just gently mold them. If you press too hard, you’ll compress the air pockets, and they’ll become dense and chewy in an unpleasant way. You want them light and airy. Let them sit at room temperature to set. Don’t put them in the fridge; condensation can make them sticky.
Variations & Adaptations
While the classic orange pumpkin is the star, there are plenty of ways to twist this recipe. I’ve experimented with different flavors and colors over the years.
- Ghost Treats: Skip the orange food coloring. Keep the marshmallow mixture white. Shape them into ghost forms by rounding the bottom and adding a jagged top. Use chocolate chips for eyes and a mouth. These are great for a spooky but cute vibe.
- Pumpkin Spice: Add a teaspoon of pumpkin pie spice to the melted butter before adding the marshmallows. This adds a warm, autumnal flavor that complements the sweetness. It’s a subtle change, but it makes the treat feel more like fall.
- Gluten-Free: Use certified gluten-free crispy rice cereal. The rest of the ingredients are naturally gluten-free, but always check your marshmallow and chocolate packaging for cross-contamination warnings if you have celiac disease.
- Vegan Version: Use vegan butter and vegan marshmallows (like Dandies). The technique is the same, but vegan marshmallows can be trickier to melt. You might need to add a splash of plant-based milk to help them smooth out.
- Chocolate Dipped: After shaping the pumpkins, dip the bottom half into melted chocolate. Let it harden on parchment paper. This adds a nice crunch and makes them look more like actual candy.
I tried the vegan version once for a friend. It worked, but the texture was slightly chewier. It was still delicious, though. The pumpkin spice variation is my personal favorite. It tastes like a cookie without the baking. It’s a great way to use up leftover pumpkin spice if you have some hanging around from the summer.
Serving & Storage Suggestions
These treats are best served at room temperature. They don’t need to be chilled. In fact, chilling them can make the marshmallow harden too much, losing that nice chew. Arrange them on a platter with some green leaves or orange napkins for a festive touch. They go well with hot chocolate or apple cider.
For storage, keep them in an airtight container at room temperature. They will stay fresh for up to 5 days. If you live in a humid climate, they might get sticky sooner. In that case, store them in the fridge, but let them come to room temperature before serving. They won’t last long in the house, though. They usually disappear within a day.
You can also freeze them. Place them in a single layer on a baking sheet and freeze until solid. Then transfer them to a freezer bag. They will last for up to 3 months. Thaw them at room temperature before serving. The texture might be slightly softer after freezing, but they are still good.
I usually make a double batch. One batch lasts for the party, and the other is for snacking at home. It’s a win-win. The flavors develop over time, getting slightly chewier as they sit. This is actually a good thing. It gives them a more substantial mouthfeel.
Nutritional Information & Benefits
Let’s talk about nutrition for a second. These treats are definitely a dessert. They are high in sugar and carbohydrates. A single pumpkin treat has about 150-200 calories, depending on the size. They are not a health food. However, they are simple. There are no artificial preservatives if you make them from scratch. The marshmallows provide quick energy, which is nice for active kids. The cereal offers some crunch and texture, which can be satisfying.
If you’re watching your sugar intake, you can reduce the amount of marshmallows by 20%, but the texture will be less chewy. You can also use reduced-sugar marshmallows, though they don’t melt as well. The best approach is moderation. Enjoy them as a special treat, not an everyday snack.
For those with allergies, be mindful of cross-contamination. If you’re using gluten-free cereal, ensure your pot and utensils are clean. The main allergens here are dairy (butter) and potentially soy (if using certain marshmallows or chocolate). Always check labels.
I view these as a fun, occasional indulgence. They bring joy, and that has its own nutritional value. Happiness is good for you. Just don’t eat the whole batch in one sitting. Trust me.
Conclusion
These Easy Halloween Rice Krispie Treat pumpkins are more than just a snack. They are a memory maker. They are the kind of recipe that brings people together in the kitchen. I love them because they are forgiving. You can’t mess them up. You can make them with kids, with friends, or alone on a quiet night. They are quick, cheap, and delicious.
I encourage you to try them. Experiment with the shapes. Try the pumpkin spice variation. Share them with your neighbors. I bet you’ll have some left over for yourself. That’s the secret. Make extra.
Please share your creations with me. Tag me on social media or leave a comment below. I love seeing how you customize these treats. Did you add sprinkles? Did you make ghosts? Tell me all about it. And if you try this recipe, don’t forget to rate it. Your feedback helps me create better content for you.
Thanks for reading. Happy Halloween, and happy cooking.
Frequently Asked Questions
Can I make these treats ahead of time?
Yes, you can make them up to 5 days in advance. Store them in an airtight container at room temperature. They will stay fresh and chewy. If you need to store them longer, freeze them for up to 3 months.
Why are my treats too sticky?
This usually happens if you use too much heat or too much marshmallow. Make sure you use low heat when melting the marshmallows. Also, ensure you are greasing your hands well. If they are still sticky, you can sprinkle a little extra cereal on them or refrigerate them for 10 minutes to firm up.
Can I use mini marshmallows?
Yes, you can, but they melt faster. You need to watch the pot closely to prevent burning. Also, mini marshmallows can create a denser texture. Regular marshmallows are preferred for the classic airy texture.
How do I get the chocolate to stick to the pumpkins?
Make sure the chocolate is melted smoothly and not too hot. Use a toothpick to dip into the chocolate and then touch it to the pumpkin. If the pumpkin is too cold, the chocolate might not adhere well. Let the pumpkins sit at room temperature before adding the chocolate details.
Can I make these gluten-free?
Yes, simply use certified gluten-free crispy rice cereal. Ensure all other ingredients, including the marshmallows and chocolate, are also certified gluten-free if you have celiac disease. The rest of the recipe remains the same.
Pin This Recipe!
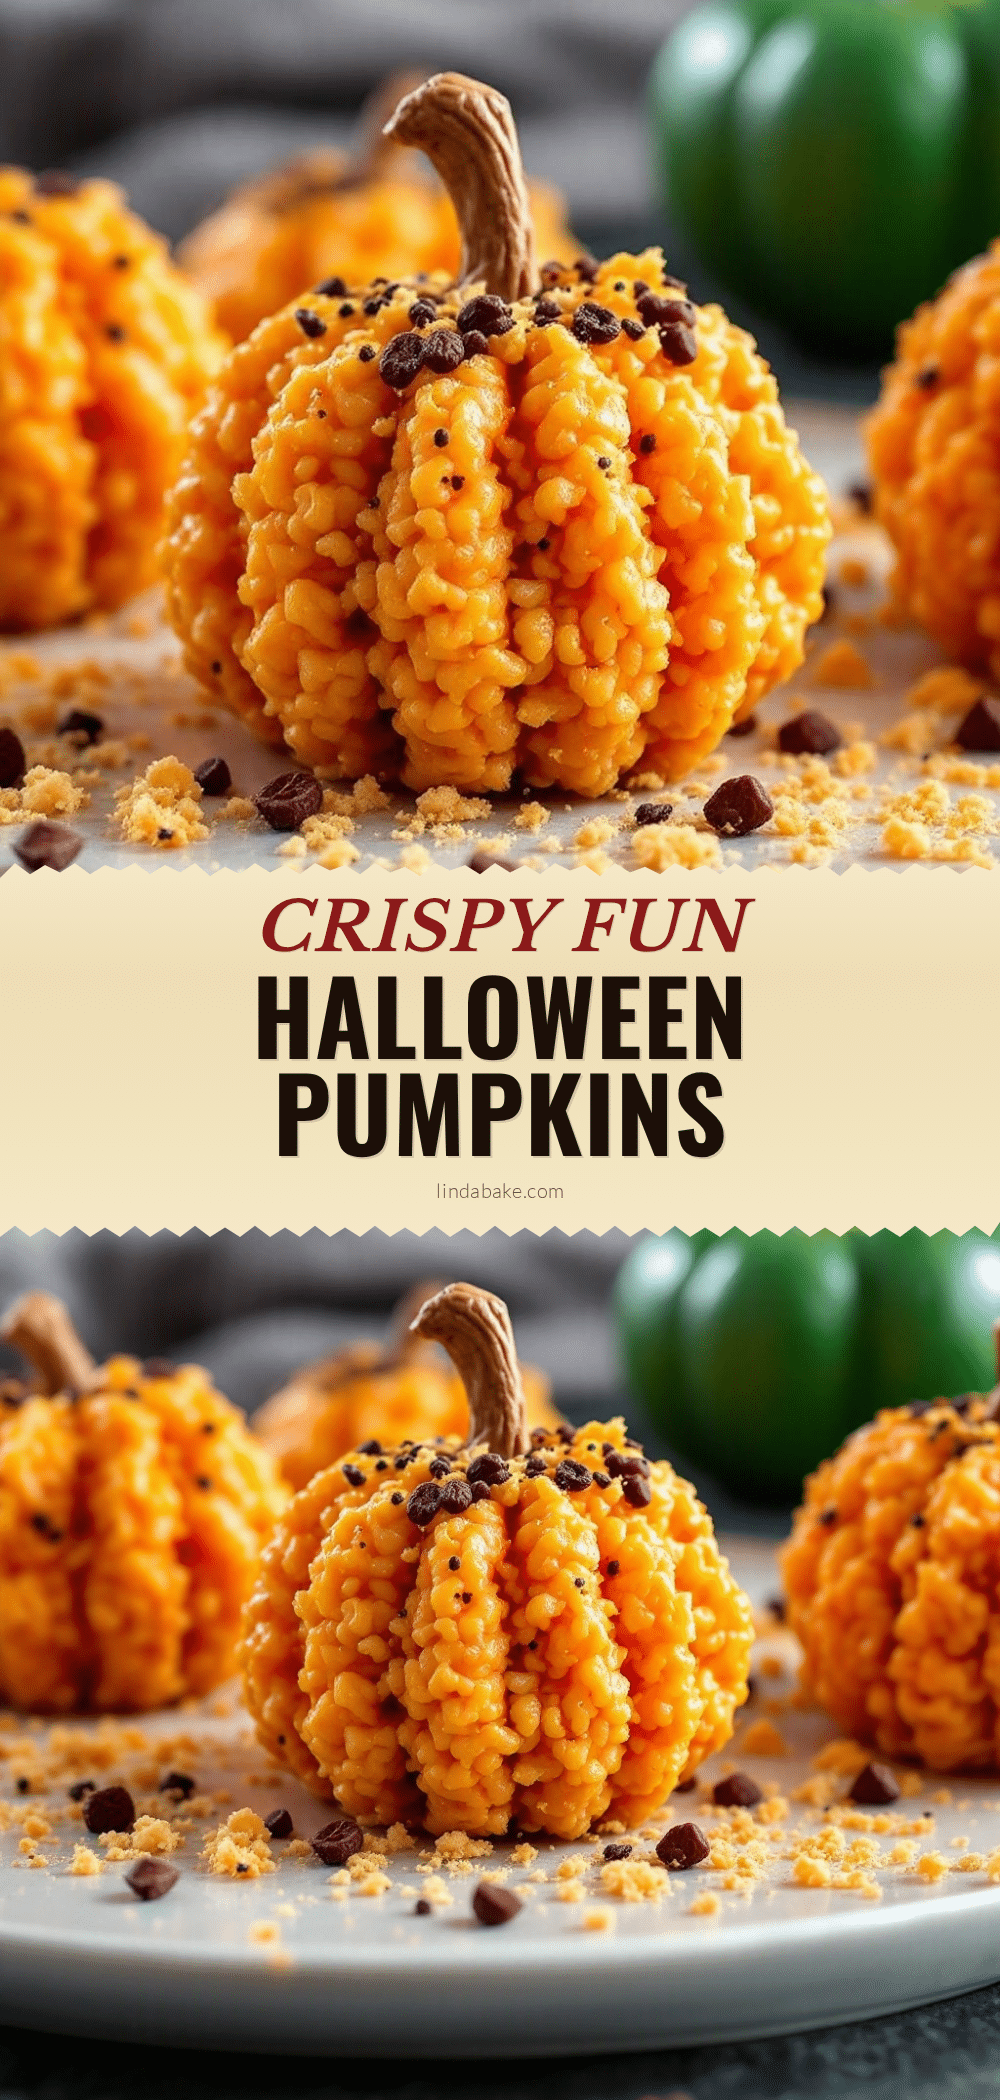
Easy Halloween Rice Krispie Treat Pumpkins
A quick, no-bake Halloween treat made with simple ingredients like marshmallows, butter, and Rice Krispies cereal, shaped into festive pumpkins with optional chocolate details.
- Prep Time: 10 minutes
- Cook Time: 10 minutes
- Total Time: 20 minutes
- Yield: 12-15 servings 1x
- Category: Dessert
- Cuisine: American
Ingredients
- 3 tablespoons unsalted butter
- 10 ounces (about 4 cups) standard white marshmallows
- 6 cups Rice Krispies cereal
- 3–5 drops orange gel food coloring
- 1/4 cup semi-sweet chocolate chips (optional, for stems and eyes)
- Extra butter or cooking spray for greasing hands and baking sheet
Instructions
- Line a baking sheet with parchment paper and grease lightly with butter or cooking spray. Grease your hands with butter or cooking spray as well.
- Place a large saucepan over medium-low heat and melt the 3 tablespoons of butter slowly. Do not let it brown.
- Add the marshmallows to the melted butter and stir gently with a silicone spatula until completely smooth and glossy (about 2-3 minutes). Lower heat if sticking occurs.
- Remove the pot from heat and stir in the orange gel food coloring until evenly distributed.
- Immediately dump the Rice Krispies cereal into the pot and fold gently until every piece is coated (1-2 minutes).
- Grab about 1/4 cup of the mixture, roll it into a ball between greased palms, press one end to make it oval, and pinch the top to create a stem. Place on the prepared baking sheet. Repeat to make 12-15 pumpkins.
- Melt the chocolate chips in the microwave in 30-second intervals, stirring in between. Use a toothpick to add eyes and stems to the pumpkins. Let set at room temperature for 10 minutes.
Notes
Use gel food coloring instead of liquid to prevent sticky treats. Grease hands and tools thoroughly as marshmallow is very sticky. Work quickly after adding cereal as the mixture sets fast. Do not refrigerate as condensation can make them sticky. For gluten-free, use certified gluten-free crispy rice cereal.
Nutrition
- Serving Size: 1 small pumpkin trea
- Calories: 175
- Sugar: 20
- Sodium: 120
- Fat: 6
- Saturated Fat: 3
- Carbohydrates: 28
- Fiber: 1
- Protein: 2
Keywords: Halloween, Rice Krispie Treats, No-Bake, Kids Party, Easy Dessert, Pumpkin Treats, Fall Snacks


