“So… are these like, muffins, or are they stuffing?” my brother-in-law asked, squinting at the pan coming out of the oven. He had one eyebrow raised, the way he does when he’s skeptical but also a little hopeful. I said, “Both. Just wait.” And honestly, I didn’t blame him for the question. The concept of a stuffing muffin sounds a little silly at first—like someone tried to reinvent Thanksgiving and got carried away. But that first bite? He didn’t ask any more questions. He just grabbed a second one, and then a third, and I knew I had stumbled onto something worth keeping. These Perfect Brown Butter Sage Stuffing Muffins aren’t just a gimmick. They’re the best parts of classic stuffing—crispy edges, tender middle, that warm sage flavor—all packed into a single, grab-and-ready portion. No more fighting over the corner pieces of the baking dish. Every single muffin gets its own crispy crown. It’s genius, and I kind of wish I had thought of it years ago.
The idea actually came from a total disaster. I had made a huge batch of stuffing for a Friendsgiving, and I accidentally doubled the broth. It was a soupy, sad mess. I was about to toss the whole thing when I thought, “What if I bake it in a muffin tin?” The extra moisture would steam the inside, and the exposed tops would get golden and crunchy. It was a gamble, but it worked. That first batch was a little rough around the edges, but the concept was solid. I spent the next few weeks tweaking it—browning the butter, toasting the bread cubes, getting the sage-to-bread ratio just right. And now, this is the version I make for every holiday gathering, and sometimes just for a random Sunday dinner. It’s that good.
These stuffing muffins are the kind of recipe that makes you feel like a kitchen genius, even though they’re surprisingly simple. They look fancy on a plate, but the process is straightforward and forgiving. Honestly, it’s the perfect side dish for when you want something that feels special without spending all day in the kitchen. Trust me on this one.
Why You’ll Love These Perfect Brown Butter Sage Stuffing Muffins
Let me tell you why these little guys have become my most-requested recipe. I’ve tested this dozens of times, tweaking the moisture level, the bake time, and the herb balance until it was just right. This isn’t just another stuffing recipe—it’s the one that solves every stuffing problem you’ve ever had.
- Crispy Edges for Everyone: No more fighting over the corner pieces. Every muffin gets its own golden, crunchy exterior. It’s the ultimate solution for the crispy-obsessed.
- Perfectly Portioned: They come out of the pan looking like little presents. Great for buffets, potlucks, or just making sure everyone gets an equal share.
- Make-Ahead Magic: You can assemble them the day before and bake them right before serving. Or bake them fully and reheat—they stay moist and delicious.
- Simple, Real Ingredients: Nothing weird here. Stale bread, butter, onion, celery, sage, and broth. Ingredients you probably already have in your pantry.
- Brown Butter Secret: That nutty, deep flavor from browned butter takes these from good to “can I have the recipe?” in one bite.
What makes these different from every other stuffing recipe? It’s the texture game. The muffin format creates a higher ratio of crispy surface to soft interior than any casserole ever could. And the brown butter? It adds a layer of complexity that regular melted butter just can’t touch. It’s the kind of recipe that makes you close your eyes after the first bite. It’s comfort food reimagined—faster, smarter, and with the same soul-soothing satisfaction. Perfect for impressing guests without stress, or turning a simple weeknight dinner into something memorable.
What Ingredients You Will Need
This recipe uses simple, honest ingredients to deliver big flavor. Most of these are pantry staples, especially during the fall and winter months. Let’s walk through what you’ll need and why each one matters.
- 1 loaf (about 1 pound) good-quality bread, cut into ¾-inch cubes: I prefer a crusty sourdough or a country white loaf. Day-old or slightly stale bread is ideal—it soaks up the broth without turning to mush. If your bread is fresh, spread the cubes on a baking sheet and toast them at 300°F for 10-15 minutes.
- ½ cup (1 stick) unsalted butter: This is for browning. Don’t use salted butter here—you want to control the salt level yourself. I recommend a high-quality butter like Kerrygold for the best flavor.
- 1 large yellow onion, finely diced (about 1½ cups): Yellow onion gives the best savory backbone. Sweet onions would work in a pinch, but yellow is my go-to.
- 3 celery ribs, finely diced (about 1 cup): Celery is non-negotiable for classic stuffing flavor. It adds that fresh, slightly peppery note.
- 3 cloves garlic, minced: Adds a gentle warmth. Don’t skip it.
- 2 tablespoons fresh sage leaves, finely chopped: Fresh sage is key here. Dried sage is too dusty and can be overpowering. Look for sage leaves that are fragrant and not wilted.
- 1 tablespoon fresh thyme leaves (or 1 teaspoon dried): Thyme adds an earthy, lemony undertone that complements the sage perfectly.
- 1½ cups low-sodium chicken or vegetable broth: Low-sodium is important so you can control the salt. The broth is what hydrates the bread and creates that tender interior.
- 1 large egg, lightly beaten: The egg acts as a binder, helping the muffins hold their shape. Don’t skip it.
- ½ teaspoon salt: I use fine sea salt. Adjust to your taste.
- ½ teaspoon black pepper: Freshly ground is best.
- Optional: ¼ cup freshly grated Parmesan cheese: This is my secret trick. It adds a salty, umami boost and helps the tops get extra crispy. Totally optional, but highly recommended.
For the best results, use fresh herbs. If you only have dried, use about one-third of the amount listed. And if you want to make this vegetarian, swap the chicken broth for a good-quality vegetable broth.
Equipment Needed
You don’t need any fancy gadgets for this recipe. Here’s what you’ll need:
- 12-cup standard muffin tin: A non-stick pan is best. If you only have a regular pan, grease it well with butter or non-stick spray.
- Large skillet or sauté pan: For browning the butter and cooking the vegetables. A light-colored pan (stainless steel or enameled) makes it easier to see the butter change color.
- Large mixing bowl: For combining the bread and the vegetable-butter mixture.
- Whisk: For beating the egg and mixing the broth.
- Wooden spoon or spatula: For stirring the bread mixture.
- Cooling rack: For cooling the muffins after baking so the bottoms don’t get soggy.
If you don’t have a muffin tin, you can bake this mixture in an 8×8-inch baking dish—just increase the bake time by 10-15 minutes. The texture will be different (less crispy surface area), but it will still be delicious. I’ve also used a jumbo muffin tin for bigger portions; just bake them for 5-10 minutes longer.
Preparation Method
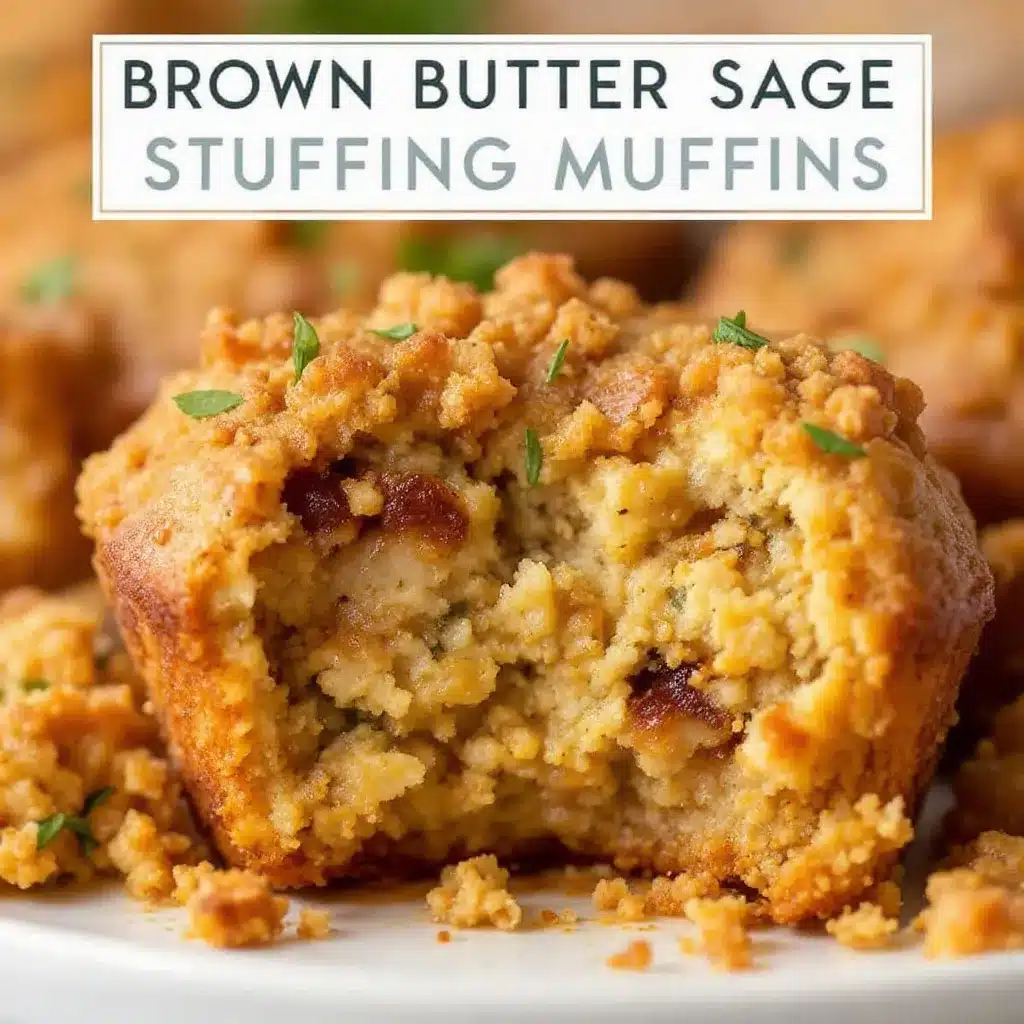
Let’s make these Perfect Brown Butter Sage Stuffing Muffins. The process is straightforward, but I’ll walk you through every step with tips I’ve learned from making these dozens of times.
- Preheat your oven to 375°F (190°C). Generously grease a 12-cup muffin tin with butter or non-stick spray. Don’t skimp on the greasing—these muffins like to stick.
- Prepare the bread cubes. If your bread isn’t stale, spread the cubes on a baking sheet and toast them in the oven for 10 minutes while it preheats. You want them dry but not browned. Set them aside in a large mixing bowl.
- Brown the butter. In a large skillet over medium heat, melt the butter. Swirl the pan occasionally. The butter will foam, then the foam will subside, and you’ll see little brown specks forming at the bottom. This takes about 5-7 minutes. Watch it closely—it can go from brown to burnt in seconds. Once it smells nutty and has a deep amber color, remove it from the heat immediately. Pour the browned butter into a heat-safe bowl, making sure to scrape all those brown bits into the bowl. Set aside.
- Cook the aromatics. In the same skillet (no need to wash it), add the diced onion and celery. Cook over medium heat for 5-7 minutes, until softened and translucent. Add the minced garlic and cook for another minute, until fragrant. Remove from heat.
- Combine the base. Add the cooked vegetables to the bowl with the bread cubes. Add the chopped sage, thyme, salt, and pepper. Toss everything together gently with a wooden spoon or your hands until the herbs are evenly distributed.
- Make the liquid mixture. In a small bowl or measuring cup, whisk together the chicken broth, the beaten egg, and about 3 tablespoons of the reserved browned butter. Reserve the remaining browned butter for brushing the tops.
- Hydrate the bread. Pour the broth mixture over the bread and vegetables. Toss gently but thoroughly. Let it sit for 5 minutes so the bread can absorb the liquid. The mixture should be moist but not soupy. If it looks dry, add a splash more broth. If it looks too wet, add a handful more bread cubes.
- Fill the muffin tin. Using a large spoon or an ice cream scoop, divide the stuffing mixture evenly among the 12 muffin cups. Press down gently to compact each muffin—this helps them hold their shape. Don’t overfill; the mixture should be level with the top of the pan.
- Bake. Place the muffin tin on the middle rack of your preheated oven. Bake for 20-25 minutes, until the tops are golden brown and crispy. If you’re using the Parmesan, sprinkle it over the tops during the last 5 minutes of baking.
- Finish and serve. Remove the pan from the oven. Let the muffins cool in the pan for 5 minutes. Then, run a knife around the edges of each muffin to loosen them. Carefully lift them out and transfer to a cooling rack. Brush the tops with the remaining reserved browned butter for extra flavor and shine. Serve warm.
Pro tip: For extra-crispy tops, after the muffins are done, turn the oven to broil and watch them for 1-2 minutes. They’ll get beautifully golden. But don’t walk away—they burn fast under the broiler!
Cooking Tips & Techniques
I’ve made every mistake in the book with this recipe so you don’t have to. Here are my best tips for perfect stuffing muffins every time.
Don’t rush the browning butter. I have burned more butter than I care to admit. The key is patience. Use a light-colored pan so you can see the color change. Swirl the pan constantly. The butter will go through phases: melt, foam, subside, then brown. Once you see those brown specks and smell that nutty aroma, pull it off the heat immediately. Pour it into a separate bowl—the residual heat from the pan can continue to cook it and turn it bitter.
The bread texture matters. Fresh, soft bread will turn into a gluey paste. Stale, dry bread gives you that perfect tender-but-sturdy texture. If you’re starting with fresh bread, cube it and let it sit out uncovered overnight. Or, as I mentioned, toast it in the oven. The drier the bread, the better it will absorb the broth without falling apart.
Season generously. Bread is a sponge for flavor, so don’t be shy with the salt and herbs. Taste the mixture before adding the egg (since you can’t taste raw egg). Add a pinch of salt, stir, and taste a bread cube. It should taste well-seasoned on its own.
Don’t overmix. Once you add the liquid, toss gently. Overmixing will break down the bread cubes and give you a dense, pasty texture. You want distinct pieces of bread that are coated but not broken.
Let them rest. After baking, let the muffins sit in the pan for 5 minutes. This allows them to set and makes them easier to remove. If you try to take them out immediately, they might fall apart.
Variations & Adaptations
This recipe is incredibly flexible. Here are some of my favorite variations:
- Add Sausage: Brown ½ pound of bulk breakfast sausage or Italian sausage in the skillet before cooking the vegetables. Crumble it and add it to the bread mixture. It adds a savory, meaty depth that’s perfect for a heartier meal.
- Make it Vegetarian: Use vegetable broth and add ½ cup of sautéed mushrooms for an umami boost. The mushrooms add a similar savory quality to the sausage.
- Add Dried Fruit: Stir in ½ cup of dried cranberries, chopped dried apricots, or golden raisins. The sweetness is a beautiful contrast to the savory sage and brown butter.
- Nutty Crunch: Add ½ cup of toasted pecans or walnuts, chopped. Toast them in a dry skillet over medium heat for 3-4 minutes until fragrant. Fold them in with the bread cubes.
- Gluten-Free Option: Use a good-quality gluten-free bread. Look for a sturdy loaf, not a soft sandwich bread. The texture will be slightly different, but it works.
- Dairy-Free Option: Use vegan butter or a high-quality olive oil for browning. The flavor won’t be exactly the same, but it will still be delicious.
I once made a version with crumbled bacon and sharp cheddar cheese mixed in. It was incredible. I served it alongside a simple roast chicken, and it felt like a complete meal. Don’t be afraid to experiment!
Serving & Storage Suggestions
These stuffing muffins are best served warm, straight from the oven. The contrast between the crispy top and the tender interior is at its peak within the first 15 minutes. I like to serve them on a platter with a sprinkle of fresh sage leaves and a little flaky sea salt on top.
They pair beautifully with roast chicken, turkey, pork chops, or even a hearty vegetarian stew. For a holiday meal, serve them alongside creamy hatch green chile chicken enchiladas for a fun twist on a traditional dinner. Or, for a game day spread, they’re a great side to easy loaded pulled pork nacho bar—the savory stuffing is a surprising but perfect complement to the spicy, tangy pork.
Storage: Store leftover muffins in an airtight container in the refrigerator for up to 4 days. The crispy tops will soften, but they’re still delicious. To reheat, place them on a baking sheet in a 350°F oven for 10 minutes. This will help restore some of the crispiness. You can also microwave them for 30 seconds, but they’ll be softer.
Freezing: These freeze beautifully. Bake them fully, let them cool completely, then place them on a baking sheet in the freezer until solid. Transfer to a freezer-safe bag or container. They’ll keep for up to 3 months. To reheat from frozen, bake at 350°F for 20-25 minutes, until heated through and crispy on top.
Honestly, the flavors get even better after a day in the fridge. The herbs meld together, and the brown butter flavor deepens. I often make a double batch just so I have leftovers for the next day.
Nutritional Information & Benefits
Here’s the estimated nutritional breakdown per muffin (based on 12 servings, without optional Parmesan):
- Calories: 185
- Fat: 9g
- Saturated Fat: 5g
- Carbohydrates: 22g
- Fiber: 1g
- Sugar: 2g
- Protein: 5g
- Sodium: 320mg
This recipe is a good source of complex carbohydrates from the bread, providing steady energy. The brown butter adds a small amount of healthy fat, which helps with the absorption of fat-soluble vitamins from the herbs and vegetables. Sage is known for its antioxidant properties and has been used traditionally to support digestion. Celery and onion provide fiber and essential vitamins like vitamin K and vitamin C.
Dietary Considerations: This recipe contains gluten (from the bread) and dairy (from the butter). It can be made vegetarian by using vegetable broth. For a gluten-free version, use gluten-free bread. For a dairy-free version, use vegan butter or olive oil. Always check your broth labels to ensure they meet your dietary needs.
Conclusion
These Perfect Brown Butter Sage Stuffing Muffins are everything I want in a side dish: crispy, tender, savory, and just a little bit fancy without being fussy. They solve the age-old problem of everyone fighting over the crispy bits, and they look gorgeous on a plate. Whether you’re serving them for Thanksgiving, a holiday brunch, or just a cozy Sunday dinner, they’re guaranteed to be a hit.
I love this recipe because it’s a reminder that sometimes the best ideas come from mistakes. That soupy, sad stuffing turned into something I now make on purpose all the time. It’s forgiving, flexible, and always delicious. I hope you’ll make them your own—add your favorite mix-ins, play with the herbs, and serve them with your favorite meals.
Have you tried these stuffing muffins? I’d love to hear how they turned out! Leave a comment below and let me know what variations you tried. And if you’re looking for more easy, delicious recipes, check out my best copycat pumpkin cream cheese muffins for a sweet fall treat. Happy cooking!
Frequently Asked Questions
Can I make these stuffing muffins ahead of time?
Absolutely! You can assemble the muffins in the tin, cover them with plastic wrap, and refrigerate for up to 24 hours before baking. Add 5-10 minutes to the bake time since you’re starting from cold. You can also bake them fully, let them cool, and reheat them in a 350°F oven for 10 minutes.
Can I use dried sage instead of fresh?
You can, but I really recommend fresh sage for this recipe. Dried sage can be a bit dusty and overpowering. If you only have dried, use 2 teaspoons instead of 2 tablespoons. The flavor will be different, but it will still work.
Why did my stuffing muffins fall apart?
This usually happens if the mixture is too dry or if you didn’t press the mixture firmly enough into the muffin cups. Make sure your bread is well-hydrated but not soggy, and press down gently but firmly when filling the cups. The egg also helps bind everything together, so don’t skip it.
Can I make these in a different pan?
Yes! You can bake the mixture in an 8×8-inch baking dish, a 9×13-inch dish, or even a cast-iron skillet. Just adjust the bake time—a larger, shallower dish will bake faster, while a deeper dish will take longer. The texture will be different, but the flavor will be just as good.
What’s the best bread to use?
A crusty sourdough or a good-quality country white bread is my top choice. Avoid soft, fluffy sandwich bread—it will turn into a paste. The bread should be sturdy enough to hold its shape after soaking up the broth. Day-old bread is ideal.
Pin This Recipe!
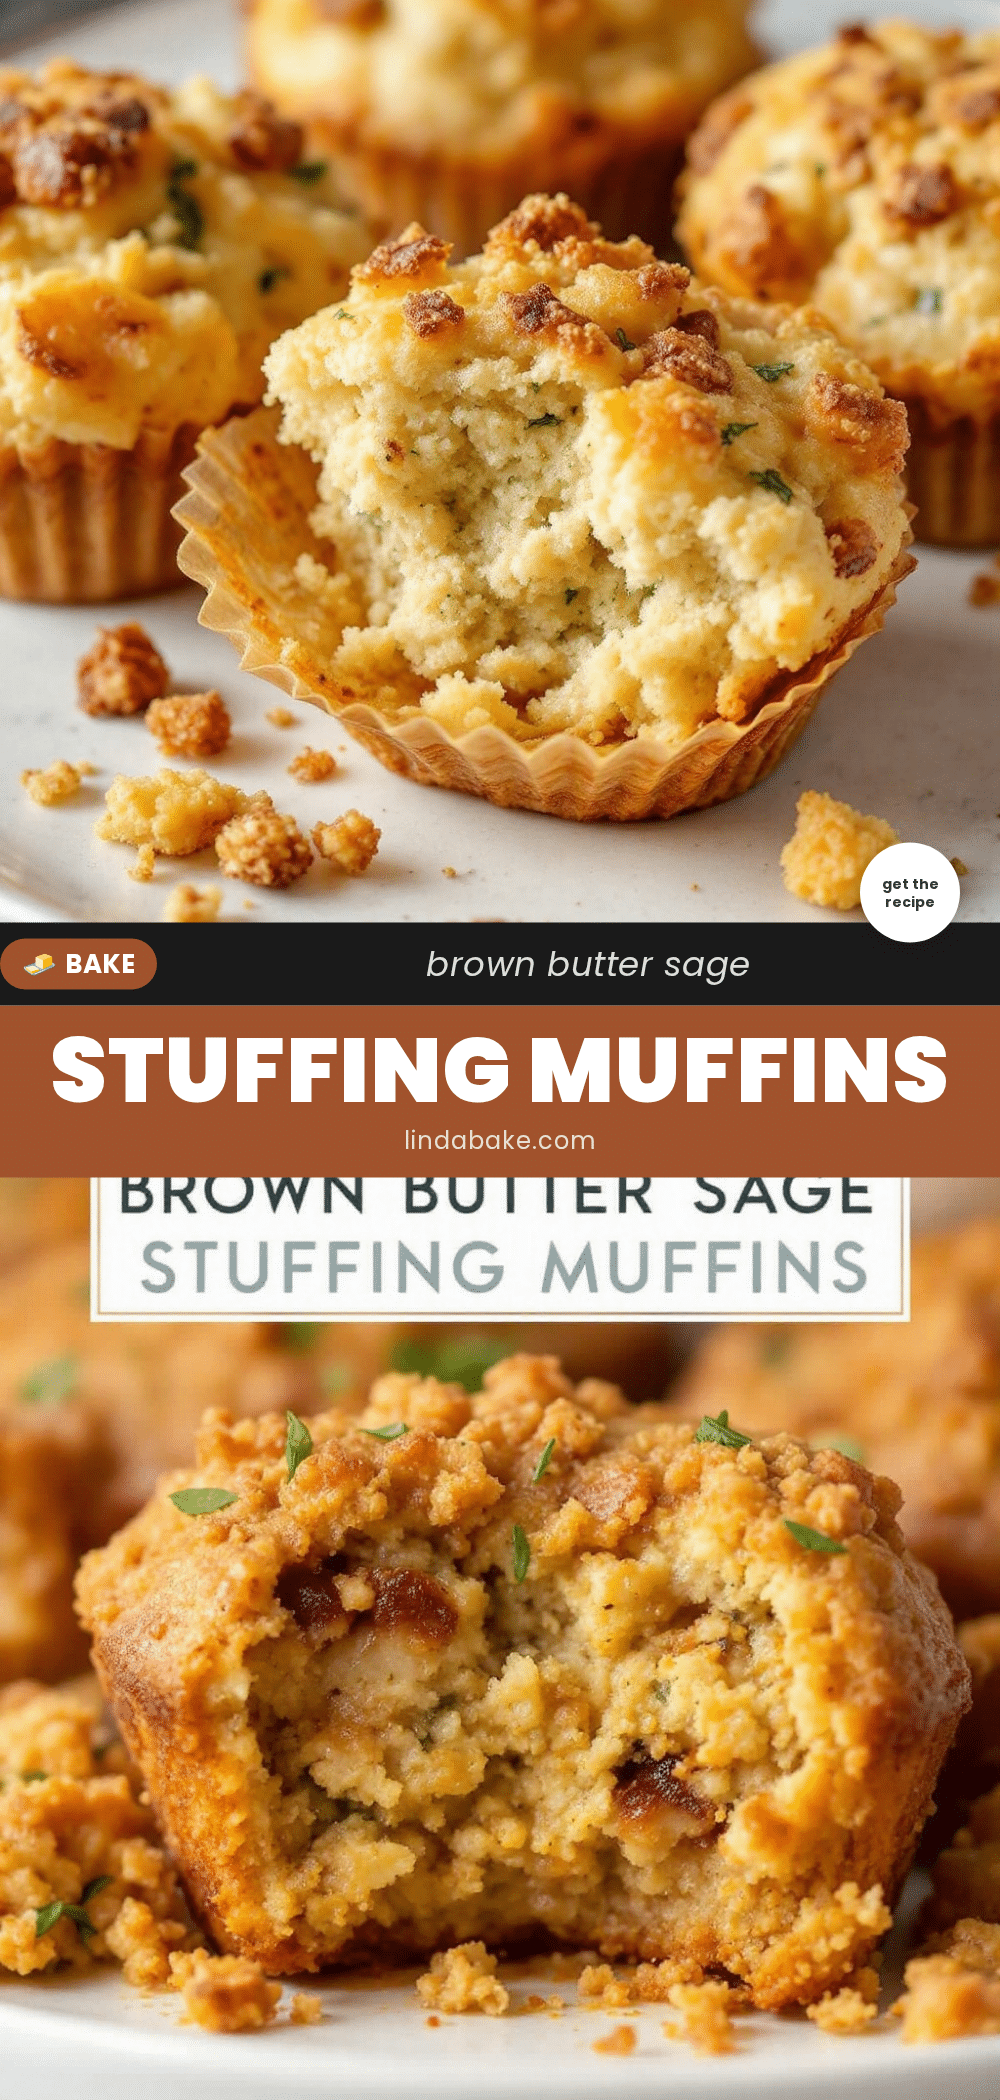
Perfect Brown Butter Sage Stuffing Muffins

These Perfect Brown Butter Sage Stuffing Muffins are a genius twist on classic stuffing, with crispy edges, a tender middle, and warm sage flavor in a grab-and-go portion. They solve the age-old problem of fighting over corner pieces and are perfect for holiday gatherings or a cozy Sunday dinner.
- Prep Time: 15 minutes
- Cook Time: 25 minutes
- Total Time: 40 minutes
- Yield: 12 servings 1x
- Category: Side Dish
- Cuisine: American
Ingredients
- 1 loaf (about 1 pound) good-quality bread, cut into ¾-inch cubes
- ½ cup (1 stick) unsalted butter
- 1 large yellow onion, finely diced (about 1½ cups)
- 3 celery ribs, finely diced (about 1 cup)
- 3 cloves garlic, minced
- 2 tablespoons fresh sage leaves, finely chopped
- 1 tablespoon fresh thyme leaves (or 1 teaspoon dried)
- 1½ cups low-sodium chicken or vegetable broth
- 1 large egg, lightly beaten
- ½ teaspoon salt
- ½ teaspoon black pepper
- Optional: ¼ cup freshly grated Parmesan cheese
Instructions
- Preheat your oven to 375°F (190°C). Generously grease a 12-cup muffin tin with butter or non-stick spray.
- If your bread isn’t stale, spread the cubes on a baking sheet and toast them in the oven for 10 minutes while it preheats. Set them aside in a large mixing bowl.
- In a large skillet over medium heat, melt the butter. Swirl the pan occasionally. The butter will foam, then the foam will subside, and you’ll see little brown specks forming at the bottom. This takes about 5-7 minutes. Once it smells nutty and has a deep amber color, remove it from the heat immediately. Pour the browned butter into a heat-safe bowl, making sure to scrape all those brown bits into the bowl. Set aside.
- In the same skillet, add the diced onion and celery. Cook over medium heat for 5-7 minutes, until softened and translucent. Add the minced garlic and cook for another minute, until fragrant. Remove from heat.
- Add the cooked vegetables to the bowl with the bread cubes. Add the chopped sage, thyme, salt, and pepper. Toss everything together gently until the herbs are evenly distributed.
- In a small bowl or measuring cup, whisk together the chicken broth, the beaten egg, and about 3 tablespoons of the reserved browned butter. Reserve the remaining browned butter for brushing the tops.
- Pour the broth mixture over the bread and vegetables. Toss gently but thoroughly. Let it sit for 5 minutes so the bread can absorb the liquid. The mixture should be moist but not soupy.
- Using a large spoon or an ice cream scoop, divide the stuffing mixture evenly among the 12 muffin cups. Press down gently to compact each muffin. Don’t overfill; the mixture should be level with the top of the pan.
- Place the muffin tin on the middle rack of your preheated oven. Bake for 20-25 minutes, until the tops are golden brown and crispy. If you’re using the Parmesan, sprinkle it over the tops during the last 5 minutes of baking.
- Remove the pan from the oven. Let the muffins cool in the pan for 5 minutes. Then, run a knife around the edges of each muffin to loosen them. Carefully lift them out and transfer to a cooling rack. Brush the tops with the remaining reserved browned butter. Serve warm.
Notes
For extra-crispy tops, after the muffins are done, turn the oven to broil and watch them for 1-2 minutes. They’ll get beautifully golden. But don’t walk away—they burn fast under the broiler!
Nutrition
- Serving Size: 1 muffin
- Calories: 185
- Sugar: 2
- Sodium: 320
- Fat: 9
- Saturated Fat: 5
- Carbohydrates: 22
- Fiber: 1
- Protein: 5
Keywords: stuffing muffins, brown butter sage stuffing, Thanksgiving stuffing, easy stuffing recipe, fall side dish, crispy stuffing, make-ahead stuffing


