My husband took one bite of these brown butter apple cider cookies, stopped mid-chew, and just stared at me. I thought something was wrong. He swallowed and said, very seriously, “You can’t give these away.” That was the first batch I made last fall, and honestly? He wasn’t wrong. These cookies have this way of making you slow down and pay attention, which is rare for something that comes together in about thirty minutes.
The thing about brown butter is that it smells like pure magic while it’s browning. It fills your kitchen with this nutty, toasty aroma that makes everyone wander in asking what you’re baking. And when you pair that with apple cider concentrate and a good coating of cinnamon sugar, you get a cookie that tastes like autumn in a single bite. The edges get slightly crisp, the centers stay soft and chewy, and that cinnamon sugar crust gives you the perfect little crunch on the outside.
I started testing this recipe because I wanted something that captured the cozy feeling of drinking hot apple cider on a cool afternoon but in cookie form. It took me a few tries to get the texture right, and I learned that the apple cider needs to be reduced first or the cookies turn out too flat. But once I figured that out, these became my go-to fall cookie. They’re the kind of cookie you make for a gathering and watch disappear before anything else on the table.
Why You’ll Love This Recipe
Quick & Easy
These cookies come together in under 30 minutes from start to finish. You don’t need any fancy equipment or complicated techniques. The brown butter step adds flavor but takes less than 10 minutes, and the rest is simple mixing and scooping.
Simple Ingredients
You probably already have most of these ingredients in your pantry. Butter, flour, sugar, eggs, cinnamon. The only special item is apple cider concentrate, which you can find in the juice aisle of most grocery stores during fall. No weird additives or hard-to-find specialty items.
Perfect for Fall Gatherings
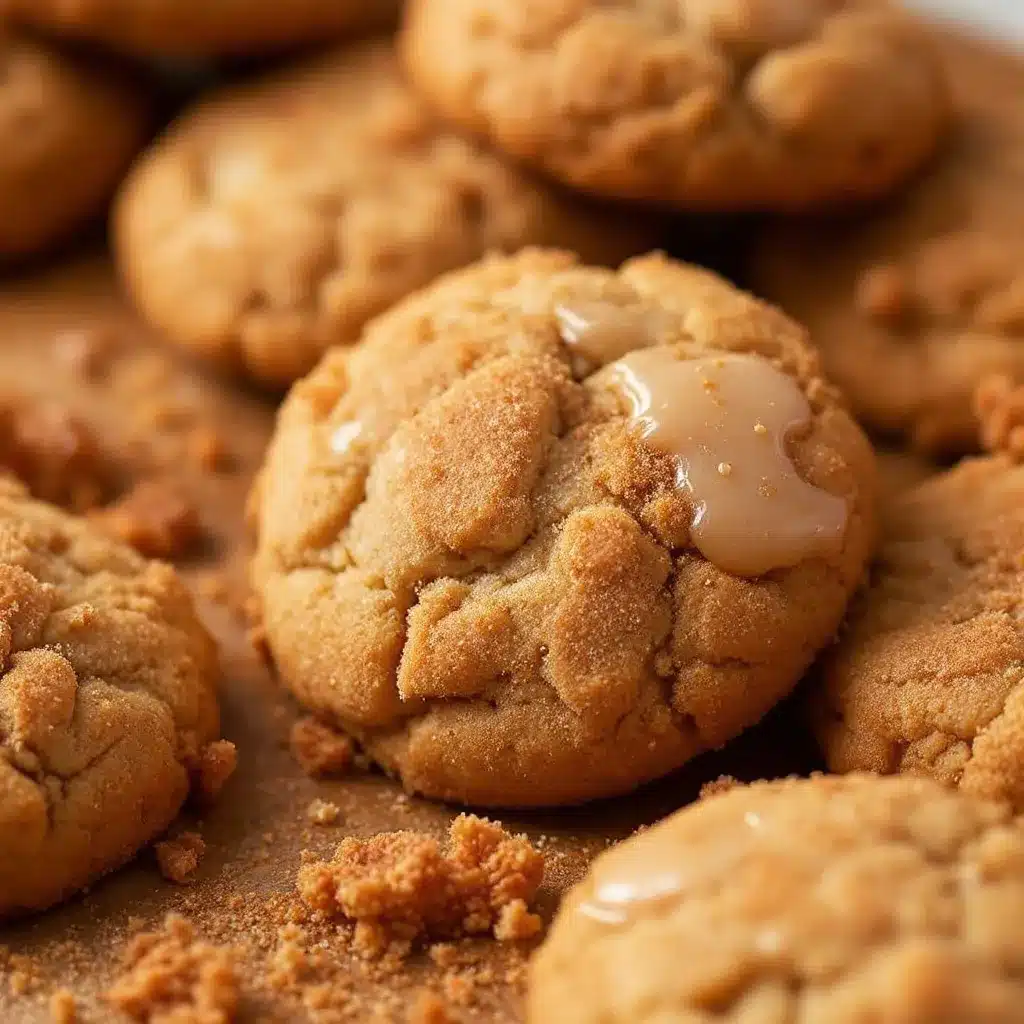
These cookies are made for cozy occasions. Whether you’re hosting a casual get-together, bringing something to a potluck, or just want a treat with your afternoon coffee, they fit right in. I’ve brought them to tailgates and they vanished as fast as the creamy buffalo chicken dip I usually bring.
Crowd-Pleaser
Every time I make these, someone asks for the recipe. Kids love the cinnamon sugar coating, and adults appreciate the sophisticated brown butter flavor. It’s rare to find a cookie that appeals to all ages, but this one does.
Unbelievably Delicious
The flavor combination is honestly next-level. The nutty brown butter, the concentrated apple cider sweetness, the warm cinnamon. It’s comfort food in cookie form. You’ll find yourself reaching for just one more, and then one more after that.
What Ingredients You Will Need
This recipe relies on simple, high-quality ingredients to create those deep, layered flavors. Each component plays a specific role in the texture and taste, so here’s what you’ll need and why it matters.
- Unsalted butter, 1 cup (2 sticks) – You’ll brown this for that signature nutty flavor. I prefer unsalted so I can control the salt level. Kerrygold is my go-to for the richest taste, but any good quality butter works.
- Apple cider concentrate, 1/4 cup – This is key. Don’t use regular apple cider or juice, it’s too watery. The concentrate gives you intense apple flavor without throwing off the liquid ratio. Look for it near the juices or in the frozen section.
- All-purpose flour, 2 1/4 cups – Standard all-purpose flour gives these cookies the perfect structure. Spoon and level your flour for the most accurate measurement.
- Granulated sugar, 3/4 cup – Adds sweetness and helps create those slightly crisp edges.
- Light brown sugar, 1/2 cup, packed – Brown sugar adds moisture and a subtle molasses flavor that pairs beautifully with the apple cider and brown butter.
- Large egg, 1 – Binds everything together and adds richness. Make sure it’s at room temperature for the best incorporation.
- Egg yolk, 1 – The extra yolk gives these cookies a chewier, more tender texture. Trust me on this one.
- Vanilla extract, 1 teaspoon – Enhances all the other flavors. Pure vanilla extract makes a difference here.
- Baking soda, 1 teaspoon – Helps the cookies spread just the right amount and gives them a nice lift.
- Salt, 1/2 teaspoon – Balances the sweetness and brings out the brown butter flavor. I use fine sea salt.
- Ground cinnamon, 1 teaspoon – Adds warmth and complements the apple flavor perfectly.
- For the cinnamon sugar coating:
- Granulated sugar, 1/4 cup – For rolling the dough balls before baking.
- Ground cinnamon, 1 tablespoon – Mixed with the sugar for that signature spiced coating.
Substitution notes: If you can’t find apple cider concentrate, you can reduce 1 cup of regular apple cider by simmering it on the stove until it’s thickened to about 1/4 cup. Let it cool completely before using. For a dairy-free version, use a high-quality vegan butter, though the browning process may be slightly different. I haven’t tested this with gluten-free flour yet, so I can’t guarantee results on that swap.
Equipment Needed
You don’t need a professional bakery setup for these cookies. Here’s what you’ll need and a few tips from my own kitchen experience.
- Light-colored saucepan – This is important for browning butter. A dark pan makes it hard to see the color change, and you can easily burn the butter. I use a stainless steel saucepan and it works perfectly.
- Mixing bowls – You’ll need a large bowl for the wet ingredients and a medium one for the dry ingredients. Glass or stainless steel both work fine.
- Whisk – For combining the dry ingredients and mixing the wet ingredients. A wooden spoon or spatula also works for the final mixing.
- Hand mixer or stand mixer – You can cream the butter and sugars by hand if you have strong arms, but a mixer makes it easier. I’ve done both and prefer my stand mixer for consistency.
- Baking sheets – Two standard half-sheet pans work well. Line them with parchment paper for easy cleanup and even baking.
- Cookie scoop – A 1.5-tablespoon scoop gives you uniform cookies that bake evenly. If you don’t have one, use a regular spoon and try to make them all the same size.
- Cooling rack – Letting the cookies cool on a rack prevents soggy bottoms. If you don’t have one, transfer them to a plate after a few minutes on the sheet.
- Small bowl – For the cinnamon sugar coating mixture.
That’s really it. No food processor, no special pans, no complicated gadgets. These are straightforward cookies that come together with basic kitchen tools.
Preparation Method
Step 1: Brown the Butter
Cut your butter into small, even pieces and place them in your light-colored saucepan. Set the heat to medium and let the butter melt completely, stirring occasionally with a rubber spatula. Once melted, the butter will start to foam and bubble. Keep stirring gently. After a few minutes, you’ll notice the foam subsiding and small brown specks forming at the bottom of the pan. The butter will smell nutty and toasty. This whole process takes about 5 to 7 minutes. As soon as those brown specks appear and the butter is amber-colored, remove it from the heat immediately. Pour it into a heat-safe bowl to stop the cooking process. Let it cool for 10 to 15 minutes. It should be warm but not hot when you add it to the sugars.
Step 2: Reduce the Apple Cider Concentrate
While the butter is cooling, pour your apple cider concentrate into a small saucepan and bring it to a gentle simmer over medium heat. Let it cook for 2 to 3 minutes, stirring occasionally, until it thickens slightly and reduces to about 3 tablespoons. You want it syrupy, not watery. Set it aside to cool. This step concentrates the apple flavor even more and removes some of the excess moisture that could make your cookies spread too much.
Step 3: Mix the Dry Ingredients
In a medium mixing bowl, whisk together the all-purpose flour, baking soda, salt, and ground cinnamon. Make sure everything is evenly distributed. Set this bowl aside while you work on the wet ingredients.
Step 4: Cream the Butter and Sugars
In a large mixing bowl, combine the cooled brown butter, granulated sugar, and packed light brown sugar. Beat them together with your hand mixer or stand mixer on medium speed for about 2 minutes. You want the mixture to look smooth and slightly lighter in color. Scrape down the sides of the bowl with a spatula to make sure everything is incorporated.
Step 5: Add the Egg, Yolk, and Vanilla
Add the room temperature egg and the extra egg yolk to the butter-sugar mixture, along with the vanilla extract. Beat on medium speed until everything is well combined and the mixture looks creamy. This takes about 1 minute. Scrape the bowl again. Now add the cooled, reduced apple cider concentrate and mix on low speed just until it’s incorporated. The mixture might look a little separated at this point, but that’s normal.
Step 6: Combine Wet and Dry Ingredients
Add the dry ingredient mixture to the wet ingredients in two additions. Mix on low speed after each addition, just until the flour disappears. Don’t overmix here, or your cookies will be tough. You want to stop as soon as you don’t see any more streaks of flour. The dough will be soft and slightly sticky, which is exactly what you want.
Step 7: Chill the Dough
Cover the bowl with plastic wrap and place it in the refrigerator for at least 30 minutes. This step is not optional. Chilling the dough solidifies the butter and allows the flavors to meld together. It also prevents the cookies from spreading too much in the oven. I’ve tested these without chilling and they turned into flat, sad discs. Trust me, the chill time matters.
Step 8: Preheat and Prepare
About 10 minutes before you’re ready to bake, preheat your oven to 350°F (175°C). Line your baking sheets with parchment paper. In a small bowl, mix together the 1/4 cup of granulated sugar and 1 tablespoon of cinnamon for the coating.
Step 9: Scoop and Coat
Using your cookie scoop or a spoon, portion out rounded tablespoons of dough. Roll each portion into a smooth ball between your palms. Drop each dough ball into the cinnamon sugar mixture and roll it around until it’s completely coated. Place the coated dough balls on the prepared baking sheets, spacing them about 2 inches apart. They will spread a bit, so give them room.
Step 10: Bake
Bake the cookies for 10 to 12 minutes, rotating the baking sheet halfway through for even browning. You’ll know they’re done when the edges are set and lightly golden, but the centers still look slightly soft and puffy. They will continue to bake on the sheet after you take them out. Don’t overbake them, or you’ll lose that soft, chewy center.
Step 11: Cool
Let the cookies cool on the baking sheet for 5 minutes. This allows them to set up properly. After 5 minutes, transfer them to a wire cooling rack to cool completely. If you try to move them too soon, they’ll fall apart. I learned this the hard way my first time making them.
Cooking Tips & Techniques
After making these cookies more times than I can count, here are the things I’ve learned that make the biggest difference.
Watch the brown butter closely. Brown butter can go from perfect to burnt in about 30 seconds. Once you see those brown specks form and smell that nutty aroma, pull it off the heat immediately. I’ve burned a batch before and had to start over. The smell of burnt butter is unmistakable and not in a good way.
Use room temperature eggs. Cold eggs can cause the brown butter to seize up and become grainy. If you forgot to take your eggs out ahead of time, place them in a bowl of warm water for 5 minutes before using them.
Don’t skip the chill time. I know it’s tempting to skip this step when you’re craving cookies, but the chilled dough spreads less and bakes up thicker and chewier. If you’re in a hurry, you can pop the dough in the freezer for 15 minutes instead of the fridge for 30.
Measure your flour correctly. Scooping flour directly from the bag with your measuring cup packs it down and gives you too much flour, which makes dry, crumbly cookies. Instead, spoon the flour into your measuring cup and level it off with a knife. This simple change improved my baking dramatically.
Bake one sheet at a time. If you try to bake two sheets at once, they won’t brown evenly. Place one sheet on the center rack and bake it, then let the sheet cool before placing the next batch on it. A hot baking sheet will cause the dough to start spreading before it even hits the oven.
For extra chewiness, slightly underbake them by pulling them out at the 10-minute mark. They’ll look underdone in the centers, but they’ll set up perfectly as they cool.
Variations & Adaptations
One of the best things about this recipe is how easily it adapts to different tastes and dietary needs. Here are some variations I’ve tried and loved.
Maple Glazed Version
Skip the cinnamon sugar coating and instead whisk together 1 cup of powdered sugar, 2 tablespoons of maple syrup, and 1 tablespoon of milk. Drizzle this over the cooled cookies for a sweet, maple-forward twist. The maple pairs beautifully with the apple and brown butter flavors.
Spiced Chai Variation
Add 1 teaspoon of chai spice blend to the flour mixture along with the cinnamon. The cardamom, ginger, and clove notes in chai spice add another layer of warmth that complements the apple cider beautifully. I made these for a fall book club and they were gone in minutes.
Gluten-Free Adaptation
Substitute the all-purpose flour with a 1-to-1 gluten-free baking flour blend that contains xanthan gum. I’ve tested this with Bob’s Red Mill 1-to-1 Baking Flour and the texture was surprisingly close to the original. The cookies might spread a tiny bit more, so add an extra 10 minutes to the chill time.
Dairy-Free Option
Use a high-quality vegan butter for the browning step. I’ve had good results with Miyoko’s European Style Cultured Vegan Butter. The browning process takes a little longer and the color change is subtler, but the flavor is still delicious. You’ll need to watch it carefully to avoid burning.
Apple Cider Caramel Drizzle
For an extra indulgent version, make a quick caramel sauce by melting 10 soft caramel candies with 2 tablespoons of apple cider over low heat. Drizzle this over the baked cookies along with a sprinkle of flaky sea salt. It’s over the top in the best way possible.
Serving & Storage Suggestions
These cookies are best served slightly warm, when the edges are still a little crisp and the centers are soft and tender. I like to serve them with a hot cup of coffee or a mug of spiced apple cider for the full fall experience. They also pair beautifully with a scoop of vanilla bean ice cream for a simple dessert.
For a cookie platter, I often arrange these alongside other fall favorites like my copycat pumpkin cream cheese muffins for a stunning spread. The combination of flavors is just perfect for autumn gatherings.
Storage instructions: Store the baked cookies in an airtight container at room temperature for up to 5 days. Place a slice of bread in the container to keep them soft, the cookies will absorb moisture from the bread and stay chewy longer. Change the bread slice every other day if you’re keeping them that long.
Freezer instructions: These cookies freeze beautifully. You can freeze the baked cookies in a single layer on a baking sheet, then transfer them to a freezer-safe bag for up to 3 months. Thaw at room temperature for about 30 minutes before serving. You can also freeze the unbaked dough balls on a baking sheet, then transfer them to a bag. Bake from frozen, adding 2 to 3 minutes to the baking time.
Reheating instructions: To revive day-old cookies, pop them in a 300°F oven for 3 to 4 minutes. This crisps up the edges and softens the centers again. You can also microwave them for 10 seconds, but they won’t have that same crisp edge texture.
One thing I’ve noticed is that these cookies actually taste better the next day. The flavors meld together overnight, and the brown butter taste becomes even more pronounced. So if you can resist eating them all on day one, you’re in for a treat on day two.
Nutritional Information & Benefits
Here’s the estimated nutritional breakdown for one cookie, based on a batch of 24 cookies. Please note these are estimates and will vary based on specific ingredients and portion sizes.
| Nutrient | Amount per Cookie |
|---|---|
| Calories | 165 |
| Total Fat | 9g |
| Saturated Fat | 5g |
| Cholesterol | 35mg |
| Sodium | 95mg |
| Total Carbohydrates | 21g |
| Sugars | 13g |
| Protein | 2g |
While these are definitely a treat, they do offer some redeeming qualities. The apples in the cider provide a small amount of vitamin C and antioxidants. Cinnamon has been shown to help regulate blood sugar levels and has anti-inflammatory properties. And honestly, sometimes the mental health benefit of enjoying a warm, homemade cookie with people you love is just as important as the nutritional content.
Dietary considerations: This recipe contains gluten, dairy, and eggs. For gluten-free and dairy-free options, check the variations section above. These cookies are not suitable for vegan diets in their current form, though I’m working on a vegan version.
Conclusion
These brown butter apple cider cookies have become my signature fall recipe, and I think they’ll become yours too. They capture everything I love about autumn in a single, perfect bite. The nutty brown butter, the concentrated apple sweetness, the warm cinnamon coating. It’s comfort food that feels special but comes together without any fuss.
What I love most about this recipe is how adaptable it is. You can dress them up with a glaze or caramel drizzle for a party, or keep them simple for an afternoon treat with coffee. They travel well, they freeze beautifully, and they make people smile. I’ve brought them to everything from casual game day gatherings to more formal dinner parties, and they always disappear first. In fact, they’re a perfect addition to any game day spread, offering a sweet contrast to all the savory snacks.
I’d love to hear how these turn out for you. Did you try any of the variations? Did you add your own twist? Drop a comment below and let me know. And if you share them on social media, tag me so I can see your beautiful cookies. Happy baking, friends!
Frequently Asked Questions
Can I use regular apple cider instead of concentrate?
I don’t recommend it. Regular apple cider has too much water content, which will make your cookies spread into thin, flat discs. If you can’t find concentrate, simmer 1 cup of regular apple cider on the stove until it reduces to about 1/4 cup. Let it cool completely before using.
Why did my cookies spread too much?
This usually happens for one of three reasons. Your dough wasn’t chilled long enough, your butter was too warm when you mixed it, or you used regular apple cider instead of concentrate. Make sure to chill the dough for at least 30 minutes and let the brown butter cool to room temperature before mixing.
Can I make the dough ahead of time?
Absolutely. You can make the dough up to 3 days in advance and keep it covered in the refrigerator. Let it sit at room temperature for about 10 minutes before scooping and rolling if it’s too firm to handle. You can also freeze the dough balls for up to 3 months.
How do I know when the brown butter is done?
Look for three signs. The butter will turn a golden amber color, you’ll see small brown specks forming at the bottom of the pan, and it will smell nutty and toasty. The whole process takes about 5 to 7 minutes over medium heat. Remove it from the heat immediately once you see those specks.
Can I double this recipe?
Yes, this recipe doubles beautifully. Just make sure you have a large enough mixing bowl and enough baking sheets to work in batches. The chilling time remains the same. I often double it for holiday cookie exchanges and it works perfectly every time.
Pin This Recipe!
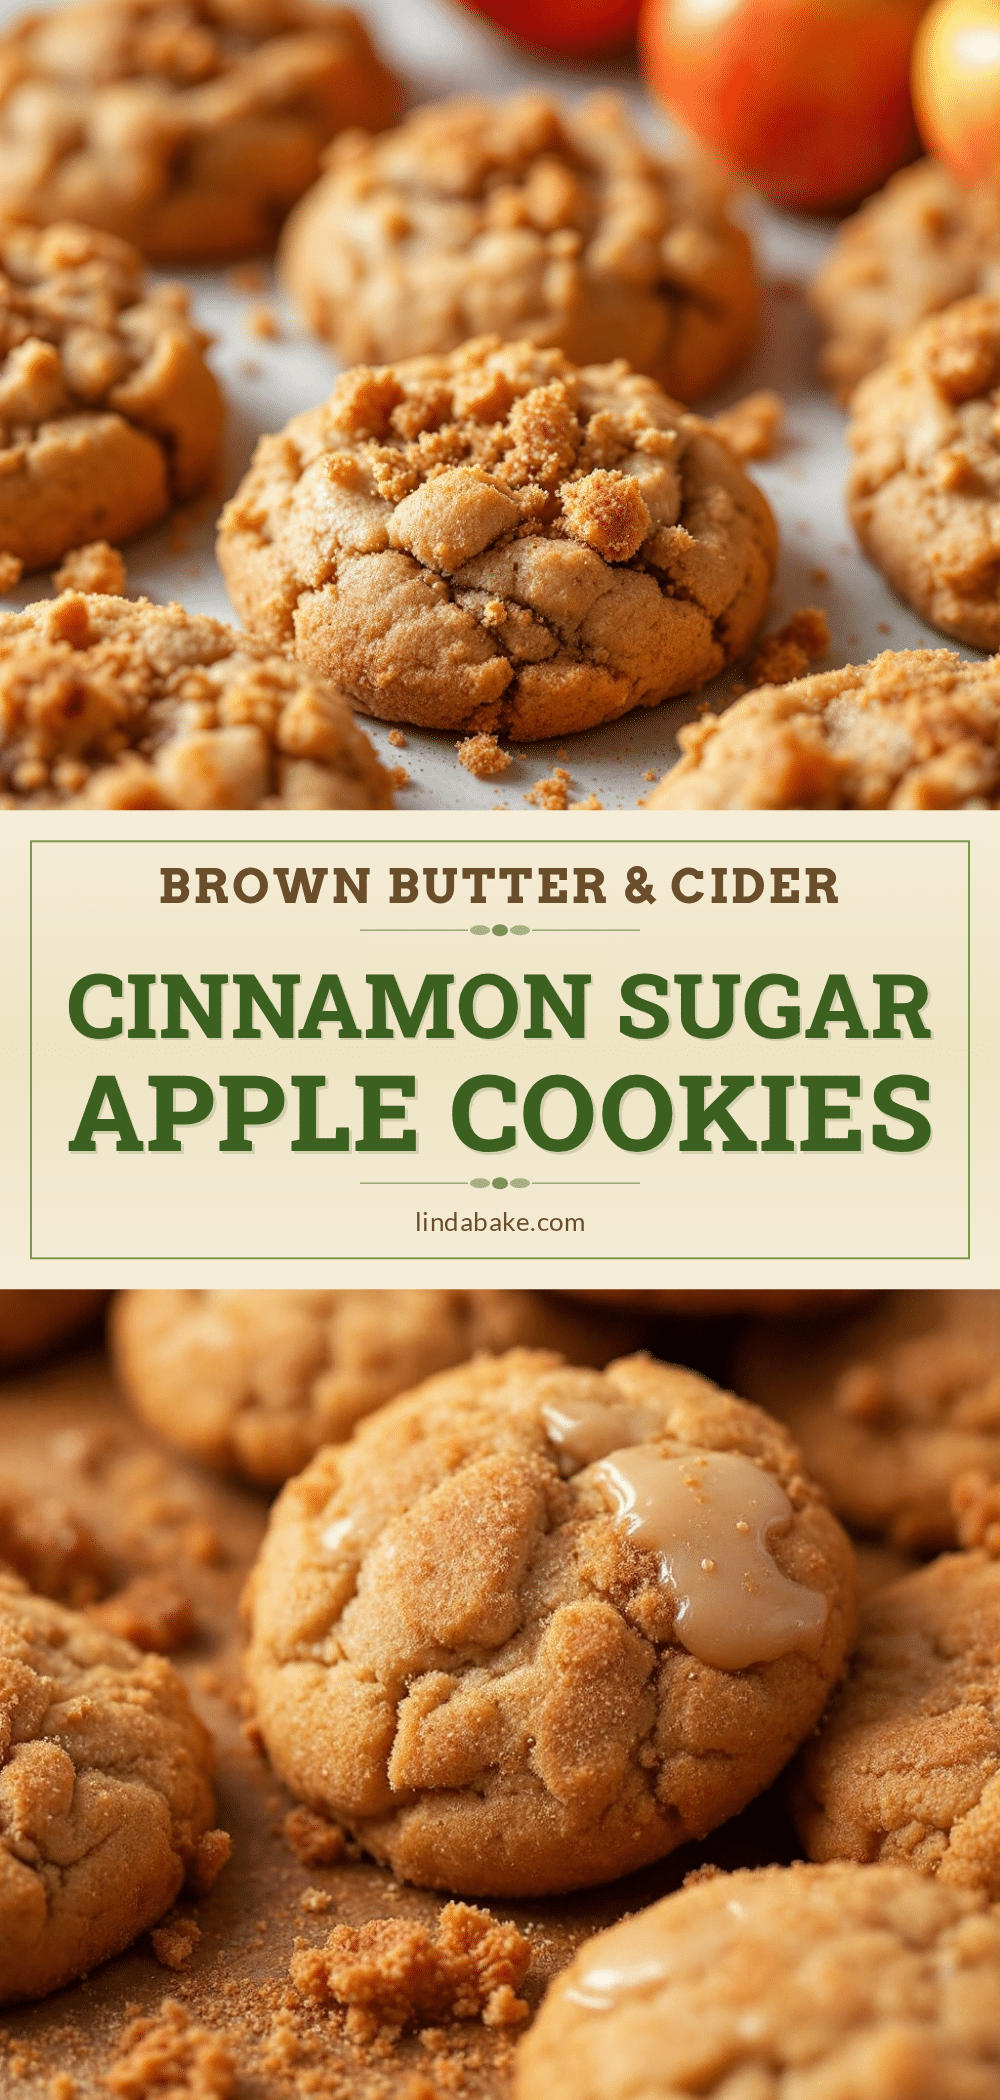
Perfect Brown Butter Apple Cider Cookies with Cinnamon Sugar

These brown butter apple cider cookies capture the cozy feeling of autumn in a single bite. With nutty brown butter, concentrated apple cider sweetness, and a warm cinnamon sugar coating, they’re quick to make and perfect for fall gatherings.
- Prep Time: 15 minutes
- Cook Time: 12 minutes
- Total Time: 57 minutes (including 30 minutes chilling)
- Yield: 24 cookies 1x
- Category: Dessert
- Cuisine: American
Ingredients
- 1 cup (2 sticks) unsalted butter
- 1/4 cup apple cider concentrate
- 2 1/4 cups all-purpose flour
- 3/4 cup granulated sugar
- 1/2 cup light brown sugar, packed
- 1 large egg, room temperature
- 1 egg yolk, room temperature
- 1 teaspoon vanilla extract
- 1 teaspoon baking soda
- 1/2 teaspoon salt
- 1 teaspoon ground cinnamon
- For the cinnamon sugar coating:
- 1/4 cup granulated sugar
- 1 tablespoon ground cinnamon
Instructions
- Brown the butter: Cut butter into small pieces and place in a light-colored saucepan over medium heat. Melt completely, stirring occasionally. Continue cooking until butter foams, then subsides, and brown specks form at the bottom (about 5-7 minutes). Remove from heat immediately and pour into a heat-safe bowl. Cool for 10-15 minutes until warm but not hot.
- Reduce the apple cider concentrate: Pour apple cider concentrate into a small saucepan and bring to a gentle simmer over medium heat. Cook for 2-3 minutes, stirring occasionally, until thickened to about 3 tablespoons. Set aside to cool.
- Mix dry ingredients: In a medium bowl, whisk together flour, baking soda, salt, and cinnamon. Set aside.
- Cream butter and sugars: In a large bowl, beat cooled brown butter, granulated sugar, and brown sugar with a hand mixer or stand mixer on medium speed for about 2 minutes until smooth and slightly lighter. Scrape down sides.
- Add egg, yolk, and vanilla: Add room temperature egg, egg yolk, and vanilla extract. Beat on medium speed until creamy, about 1 minute. Scrape bowl. Add cooled reduced apple cider concentrate and mix on low until just incorporated.
- Combine wet and dry ingredients: Add dry ingredients to wet ingredients in two additions, mixing on low after each until just combined. Dough will be soft and slightly sticky.
- Chill the dough: Cover bowl with plastic wrap and refrigerate for at least 30 minutes.
- Preheat and prepare: About 10 minutes before baking, preheat oven to 350°F (175°C). Line baking sheets with parchment paper. In a small bowl, mix 1/4 cup sugar and 1 tablespoon cinnamon for coating.
- Scoop and coat: Using a cookie scoop or spoon, portion rounded tablespoons of dough. Roll into smooth balls, then coat completely in cinnamon sugar mixture. Place on prepared baking sheets, spacing 2 inches apart.
- Bake: Bake for 10-12 minutes, rotating sheet halfway through. Edges should be set and lightly golden, centers still soft and puffy. Do not overbake.
- Cool: Let cookies cool on baking sheet for 5 minutes, then transfer to a wire rack to cool completely.
Notes
Watch brown butter closely as it can burn quickly. Use room temperature eggs to prevent butter from seizing. Don’t skip chilling the dough for at least 30 minutes to prevent spreading. For extra chewiness, slightly underbake by pulling out at 10-minute mark. Cookies taste even better the next day as flavors meld.
Nutrition
- Serving Size: 1 cookie
- Calories: 165
- Sugar: 13
- Sodium: 95
- Fat: 9
- Saturated Fat: 5
- Carbohydrates: 21
- Protein: 2
Keywords: brown butter cookies, apple cider cookies, cinnamon sugar cookies, fall cookies, easy cookie recipe


