November, and the only thing I want is a perfect herb butter roasted turkey. My hands are deep in a bowl of softened butter, the rosemary from my backyard bush is still damp from the morning rain, and the whole house smells like garlic and thyme. It’s a quiet kind of magic, this annual ritual. I don’t do it for the applause at the dinner table. I do it for the moment when I pull the roasting pan out of the oven, the skin crackling and golden, and I just stand there for a second, breathing it in. This turkey isn’t just a centerpiece for a holiday table. It’s a promise I make to myself every year: that I can still make something that feels this good, this slow, this right.
I’ve been making this Perfect Herb Butter Roasted Turkey with Garlic and Rosemary for about seven years now, and I still get a little nervous before I put it in the oven. That’s probably a good thing. It keeps me honest. The trick, I’ve learned, isn’t about some complicated brine or a fancy dry rub. It’s about a really good butter, a pile of fresh herbs, and the patience to let the bird come to room temperature before it goes in. Honestly, that last part is the hardest for me. I always want to rush it. But the turkey always wins, and I let it.
This recipe is the one I turn to when I want to feed the people I love the most. It’s not flashy, but it’s reliable. It’s the kind of meal that makes everyone slow down, pass the gravy boat, and ask for seconds. And that, right there, is why I keep coming back to it.
Why You’ll Love This Recipe
I’ve tested this herb butter roasted turkey recipe more times than I care to count. I’ve made it for small Thanksgivings, for Christmas Eve dinners, and for one random Tuesday in March when I just needed a reminder that I could still pull off a big, beautiful meal. Every single time, it delivers. Here’s why this one is different.
- Incredibly Moist Meat: The herb butter gets worked under the skin, right onto the breast meat. This keeps the white meat from drying out, which is honestly the biggest challenge with a whole turkey. The butter bastes the meat from the inside out.
- Crispy, Golden Skin: By patting the skin completely dry and giving it a generous coating of butter on the outside, you get that shatteringly crisp, deeply browned skin that everyone fights over.
- Simple, Familiar Ingredients: You don’t need a specialty grocery store for this. Butter, garlic, fresh rosemary, thyme, salt, and pepper. That’s it. These are things you probably already have in your kitchen or can grab in five minutes.
- Perfect for Holiday Gatherings: This turkey is the star of the show without being complicated. It’s impressive enough for a formal dinner but easy enough that you won’t be stressed out in the kitchen.
- Foolproof Technique: I’ve included all the little tips I’ve learned from my own mistakes. From drying the skin to letting the turkey rest, every step is designed to give you a perfect result, even if it’s your first time roasting a whole bird.
This isn’t just another turkey recipe. It’s the one that will make you close your eyes after the first bite. It’s the one your guests will text you about the next day. It’s comfort food, reimagined as a showstopper.
What Ingredients You Will Need
This recipe uses simple, wholesome ingredients to deliver big, bold flavor. The magic is in how they work together. Most of these are pantry staples or easy to find at any grocery store. I’ve included a few notes on what to look for to get the best results.
- 1 whole turkey (12-14 pounds), thawed: I usually buy a 12-14 pound bird because it’s the perfect size for a family dinner with leftovers. Make sure it’s completely thawed. A partially frozen turkey will cook unevenly. I recommend buying a fresh turkey if you can, but frozen works great too. Just give it a few days in the fridge to thaw.
- 1 cup unsalted butter, softened: Unsalted butter is key here. It lets you control the salt level. Let it sit on the counter for an hour so it’s soft and spreadable. Cold butter won’t mix with the herbs properly.
- 6 cloves garlic, minced: Fresh garlic is non-negotiable. The pre-minced stuff in a jar has a different flavor. I use a microplane to mince it super fine so it melts into the butter.
- 2 tablespoons fresh rosemary, finely chopped: Fresh rosemary is my favorite herb for this turkey. It’s piney and aromatic. Dried rosemary is too woody and can be a little sharp. I use the leaves from about 3-4 sprigs.
- 2 tablespoons fresh thyme leaves: Thyme is more subtle than rosemary, but it adds a lovely earthy depth. Run your fingers down the stem to strip the leaves off. It’s a little tedious, but worth it.
- 1 tablespoon fresh sage, finely chopped (optional): Sage is a classic Thanksgiving flavor. I add it when I have it on hand, but it’s totally optional. It adds a slightly peppery, almost floral note.
- 2 teaspoons kosher salt: I use Diamond Crystal kosher salt. It’s less salty by volume than Morton’s, so if you’re using a different brand, you might need to adjust. Season generously.
- 1 teaspoon black pepper, freshly ground: Freshly ground pepper makes a difference. Pre-ground pepper is dusty and less flavorful. Take the extra 30 seconds to grind it yourself.
- 1 lemon, halved: The lemon goes inside the cavity. It steams and adds a subtle brightness that cuts through the richness of the butter and meat.
- 1 onion, quartered: The onion does the same thing as the lemon. It adds sweetness and moisture to the cavity. No need to peel it.
- 4 sprigs fresh rosemary (for the cavity): These go inside the turkey with the lemon and onion. They perfume the meat from the inside out.
- 4 sprigs fresh thyme (for the cavity): Same as the rosemary. Stuff them in the cavity for extra flavor.
- 2 cups low-sodium chicken broth (for the pan): The broth goes in the bottom of the roasting pan. It keeps the drippings from burning and creates the base for an amazing gravy. Low-sodium is important so you can control the salt.
I always use Kerrygold butter for this recipe. It has a higher butterfat content, which means it’s richer and it browns beautifully. For the herbs, I grab a few bunches from the produce section. They’re usually sold together as “poultry herbs.” It’s a great shortcut.
Equipment Needed
You don’t need a ton of fancy equipment to make this herb butter roasted turkey, but a few key tools will make your life a lot easier. Here’s what I use every time.
- Large roasting pan with a rack: A sturdy roasting pan is essential. The rack lifts the turkey off the bottom of the pan so the heat can circulate evenly. If you don’t have a rack, you can use a few carrots and celery stalks as a makeshift rack. Just lay them in the bottom of the pan.
- Instant-read meat thermometer: This is the most important tool you will use. Don’t guess. A thermometer takes the stress out of roasting. I’ve ruined turkeys by overcooking them before I bought one. Aim for 165°F in the thickest part of the thigh.
- Kitchen twine: You’ll use this to tie the legs together. It helps the bird cook more evenly and keeps the stuffing (if you’re using it) inside. You can find it in the baking aisle or near the butcher counter.
- Basting brush (optional): I use a silicone basting brush to spoon the pan juices over the turkey every 30 minutes. A spoon works just fine too.
- Chef’s knife and cutting board: For chopping the herbs and garlic. A sharp knife makes the whole process faster and safer.
- Small bowl: For mixing the herb butter.
- Aluminum foil: You’ll use this to tent the turkey if the skin is browning too quickly. It’s a lifesaver.
If you don’t have a roasting rack, don’t stress. I’ve used a folded-up piece of heavy-duty aluminum foil in a pinch. Just roll it into a snake shape and place it under the turkey. It works surprisingly well.
Preparation Method
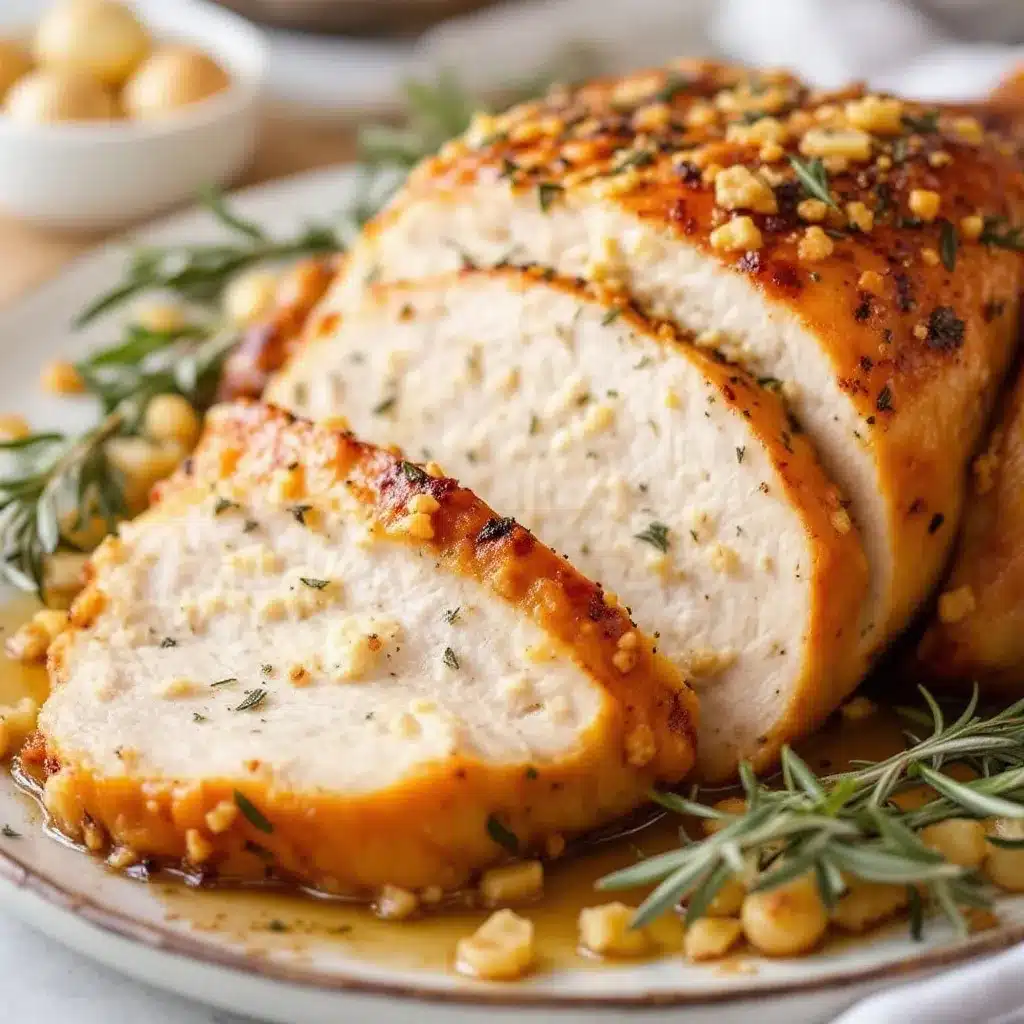
This is the part where we get our hands dirty. I’ve broken this down into clear steps so you can follow along without feeling lost. Take your time. This is a labor of love, and the process is part of the joy.
- Prep the Turkey: Remove the turkey from its packaging. Take out the giblets and neck from the cavity (save them for gravy if you like). Pat the turkey completely dry with paper towels, inside and out. This is the single most important step for crispy skin. Let the turkey sit on a tray in the fridge, uncovered, for at least 2 hours or overnight. This dries out the skin even more.
- Make the Herb Butter: In a small bowl, combine 1 cup softened unsalted butter, 6 minced garlic cloves, 2 tablespoons chopped rosemary, 2 tablespoons thyme leaves, and 1 tablespoon sage (if using). Add 1 teaspoon kosher salt and ½ teaspoon black pepper. Mix everything together with a fork until it’s well combined. It should look like a chunky, fragrant paste.
- Season the Cavity: Season the inside of the turkey cavity with a pinch of salt and pepper. Stuff the cavity with the halved lemon, quartered onion, 4 sprigs of rosemary, and 4 sprigs of thyme. This will steam and perfume the meat from the inside.
- Apply the Herb Butter (Under the Skin): This is the most important step. Gently use your fingers to loosen the skin from the breast meat. Be careful not to tear the skin. Start at the neck cavity and work your hands down between the skin and the meat. Take about ⅔ of the herb butter and push it under the skin, spreading it evenly over both breasts. From the outside, you can massage the butter to distribute it. This is what keeps the white meat so moist.
- Apply the Herb Butter (Outside the Skin): Take the remaining herb butter and rub it all over the outside of the turkey. Get the legs, the thighs, and the wings. Don’t forget the back. Season the entire bird generously with the remaining 1 teaspoon of salt and ½ teaspoon of pepper.
- Truss the Turkey: Tuck the wing tips under the body of the turkey. Use kitchen twine to tie the legs together at the ankles. This helps the turkey cook evenly and gives it a nice, compact shape. Don’t truss it too tightly; you just want to hold everything in place.
- Prepare the Pan: Place the turkey breast-side up on a rack in your roasting pan. Pour 2 cups of low-sodium chicken broth into the bottom of the pan. This will keep the drippings from burning.
- Roast the Turkey: Preheat your oven to 425°F (220°C). Place the turkey in the oven and roast for 30 minutes. This high heat will help the skin start to brown and crisp up. After 30 minutes, reduce the oven temperature to 350°F (175°C).
- Baste and Rotate: Roast the turkey for about 2 to 2 ½ hours more, basting every 30 minutes with the pan juices. Use a basting brush or a large spoon. If the skin is browning too quickly, tent the turkey loosely with aluminum foil.
- Check for Doneness: The turkey is done when an instant-read thermometer inserted into the thickest part of the thigh (without touching the bone) reads 165°F (74°C). The juices should run clear when you pierce the thigh. Start checking the temperature about 30 minutes before you think it will be done.
- Rest the Turkey: This is non-negotiable. Remove the turkey from the oven and transfer it to a cutting board. Let it rest, uncovered, for at least 20-30 minutes. This allows the juices to redistribute throughout the meat. If you cut into it too soon, all those juices will run out onto the cutting board, leaving you with dry meat.
- Carve and Serve: After resting, remove the twine and carve the turkey. I like to start by removing the legs and thighs, then slicing the breast meat against the grain. Serve immediately with your favorite sides.
One time, I forgot to take the giblets out before roasting. The smell was… memorable. I learned to double-check the cavity every single time. It’s a small thing, but it makes a big difference.
Cooking Tips & Techniques
I’ve made a lot of mistakes over the years. I’ve overcooked turkeys, under-seasoned them, and even dropped one on the floor (that was a sad day). Here are the tips I’ve learned the hard way so you don’t have to.
- Dry the Skin Thoroughly: I cannot stress this enough. Moisture is the enemy of crispy skin. Pat the turkey dry with paper towels, then let it sit uncovered in the fridge for a few hours. This is called dry-brining, and it’s the secret to that perfect golden-brown skin.
- Don’t Skip the Rest: A rested turkey is a juicy turkey. If you cut into it right out of the oven, the juices will flood your cutting board. Give it at least 20 minutes. I usually let it rest while I make the gravy.
- Use a Thermometer: Forget the pop-up timer that comes with the turkey. They’re notoriously inaccurate. An instant-read thermometer is your best friend. It takes the guesswork out of the process and guarantees a perfectly cooked bird every time.
- Baste Wisely: Basting helps keep the skin moist and adds flavor, but opening the oven door too often lets the heat out. I baste every 30 minutes and try to do it quickly. If you’re in a rush, you can skip basting altogether. The herb butter under the skin will do most of the work.
- Let it Come to Temperature: Take the turkey out of the fridge 1 hour before roasting. A cold turkey will cook unevenly. Letting it sit at room temperature for a bit helps it cook more evenly.
I once tried to rush the resting period because I was hungry and impatient. The turkey was fine, but it wasn’t as juicy as it could have been. Now I set a timer and walk away. It’s a small act of patience that pays off in a big way.
Variations & Adaptations
This recipe is a great base, but you can absolutely make it your own. Here are a few variations I’ve tried over the years.
- Citrus Herb Butter: Add the zest of one lemon and one orange to the herb butter. It adds a bright, fresh note that’s beautiful with the rosemary and garlic. I did this for a summer dinner party, and it was a huge hit.
- Spicy Herb Butter: Add 1-2 teaspoons of red pepper flakes or a minced chipotle pepper in adobo sauce to the butter. It gives the turkey a subtle warmth that’s unexpected and delicious. This is my go-to for a more adventurous crowd.
- Gluten-Free Gravy: Use cornstarch or arrowroot powder to thicken the pan drippings instead of flour. Mix 2 tablespoons of cornstarch with ¼ cup of cold water to make a slurry, then whisk it into the simmering drippings. It works like a charm.
- Dairy-Free Option: Substitute the butter with a high-quality vegan butter or olive oil. The flavor will be slightly different, but it will still be delicious. I’ve used Miyoko’s vegan butter with great results.
- Smoked Turkey: If you have a smoker, you can use this same herb butter recipe. Smoke the turkey at 225°F (107°C) for about 6-8 hours, or until the internal temperature reaches 165°F (74°C). The herb butter adds incredible flavor to the smoky meat.
I once made a version with a whole head of roasted garlic mixed into the butter. It was incredible. The roasted garlic was sweet and mellow, and it paired perfectly with the rosemary. If you have the time, it’s a fun twist.
Serving & Storage Suggestions
This turkey is best served fresh out of the oven, but I have plenty of tips for leftovers and make-ahead prep.
- Serving Temperature: Serve the turkey warm, right after it has rested. The skin will still be crispy, and the meat will be perfectly juicy. I like to arrange the carved meat on a large platter and garnish with a few fresh rosemary sprigs.
- Complementary Dishes: This turkey pairs beautifully with classic sides like mashed potatoes, stuffing, green bean casserole, and cranberry sauce. For a lighter option, try a simple roasted vegetable medley or a fresh arugula salad.
- Beverage Pairing: A crisp, dry white wine like a Sauvignon Blanc or a light-bodied red like a Pinot Noir is a great match. For a non-alcoholic option, try a sparkling apple cider or a rosemary-infused lemonade.
- Storage: Store leftover turkey in an airtight container in the refrigerator for up to 4 days. The meat will dry out a bit, so I like to add a splash of chicken broth before reheating.
- Reheating: The best way to reheat turkey is in a low oven. Place the slices in a baking dish, add a little broth or gravy, cover with foil, and heat at 300°F (150°C) for 15-20 minutes. You can also reheat it in a skillet over medium heat with a little butter. Avoid the microwave if you can; it tends to make the meat tough.
- Freezing: You can freeze leftover turkey for up to 3 months. Shred or slice the meat, place it in a freezer-safe bag, and squeeze out as much air as possible. Thaw in the refrigerator overnight before reheating.
I’ve found that the flavors of the turkey actually deepen overnight. The leftovers are almost as good as the first serving. I love using them in sandwiches, salads, or even a quick turkey pot pie.
Nutritional Information & Benefits
This herb butter roasted turkey is a great source of lean protein and essential nutrients. Here’s a rough estimate of the nutritional values per serving (based on a 6-ounce serving of breast meat).
- Calories: ~350
- Protein: ~45g
- Fat: ~18g
- Carbohydrates: ~2g
- Fiber: 0g
- Sugar: 0g
Turkey is a fantastic source of lean protein, which is essential for muscle repair and growth. It’s also rich in B vitamins, particularly B6 and B12, which support energy metabolism. The garlic and rosemary in this recipe are packed with antioxidants, which help fight inflammation. This dish is naturally low in carbohydrates, making it a great option for those following a low-carb or keto diet. If you are watching your sodium intake, you can reduce the salt or use a salt-free herb blend.
I love that this recipe feels indulgent but is actually quite wholesome. It’s a meal that nourishes both the body and the soul.
Conclusion
This Perfect Herb Butter Roasted Turkey with Garlic and Rosemary is more than just a recipe. It’s a tradition, a centerpiece, and a way to bring the people you love together around the table. It’s the kind of meal that makes you slow down, take a deep breath, and appreciate the simple things. The crispy skin, the juicy meat, the fragrant herbs—it all comes together in a way that feels both special and familiar.
I hope you give this recipe a try. Don’t be afraid to make it your own. Swap out the herbs, add a little spice, or try it on the smoker. The beauty of this recipe is that it’s forgiving. It wants you to succeed. And when you pull that golden-brown bird out of the oven and hear your family gasp, you’ll know exactly why I keep coming back to it year after year.
If you make this recipe, I’d love to hear about it. Leave a comment below and let me know how it turned out. Did you try a variation? Did you serve it with something special? Share your stories with me. And if you’re looking for more holiday inspiration, check out my copycat pumpkin cream cheese muffins for a perfect breakfast the next morning, or these easy ham and cream cheese pinwheels for a quick leftover snack. Happy roasting!
Frequently Asked Questions
Can I use dried herbs instead of fresh?
You can, but I really recommend fresh herbs for this recipe. Dried herbs are more concentrated and can be a little woody, especially rosemary. If you must use dried, use about 1 teaspoon of dried rosemary and 1 teaspoon of dried thyme instead of the fresh amounts.
How do I know when the turkey is done without a thermometer?
I always use a thermometer, but if you don’t have one, you can check by piercing the thigh with a knife. The juices should run clear, not pink. You can also wiggle the leg; it should feel loose in the joint. A thermometer is much more reliable, though.
My turkey skin is getting too dark. What should I do?
If the skin is browning too quickly, tent the turkey loosely with a piece of aluminum foil. This will protect the skin from direct heat while the inside continues to cook. I usually do this about halfway through the roasting time if the skin looks like it’s getting ahead of itself.
Can I stuff the turkey with stuffing?
You can, but it will increase the cooking time significantly. The stuffing needs to reach 165°F (74°C) to be safe, which means the turkey will have to cook longer. I prefer to cook my stuffing separately in a baking dish. It’s easier and safer.
How do I make gravy from the pan drippings?
After the turkey is done, pour the pan drippings through a fine-mesh strainer into a fat separator or a glass measuring cup. Let the fat rise to the top. Skim off the fat and reserve about ¼ cup. In a saucepan, whisk the fat with ¼ cup of all-purpose flour over medium heat until it forms a paste. Slowly whisk in the remaining drippings and enough chicken broth to reach your desired consistency. Simmer for 5 minutes, season with salt and pepper, and serve.
Pin This Recipe!
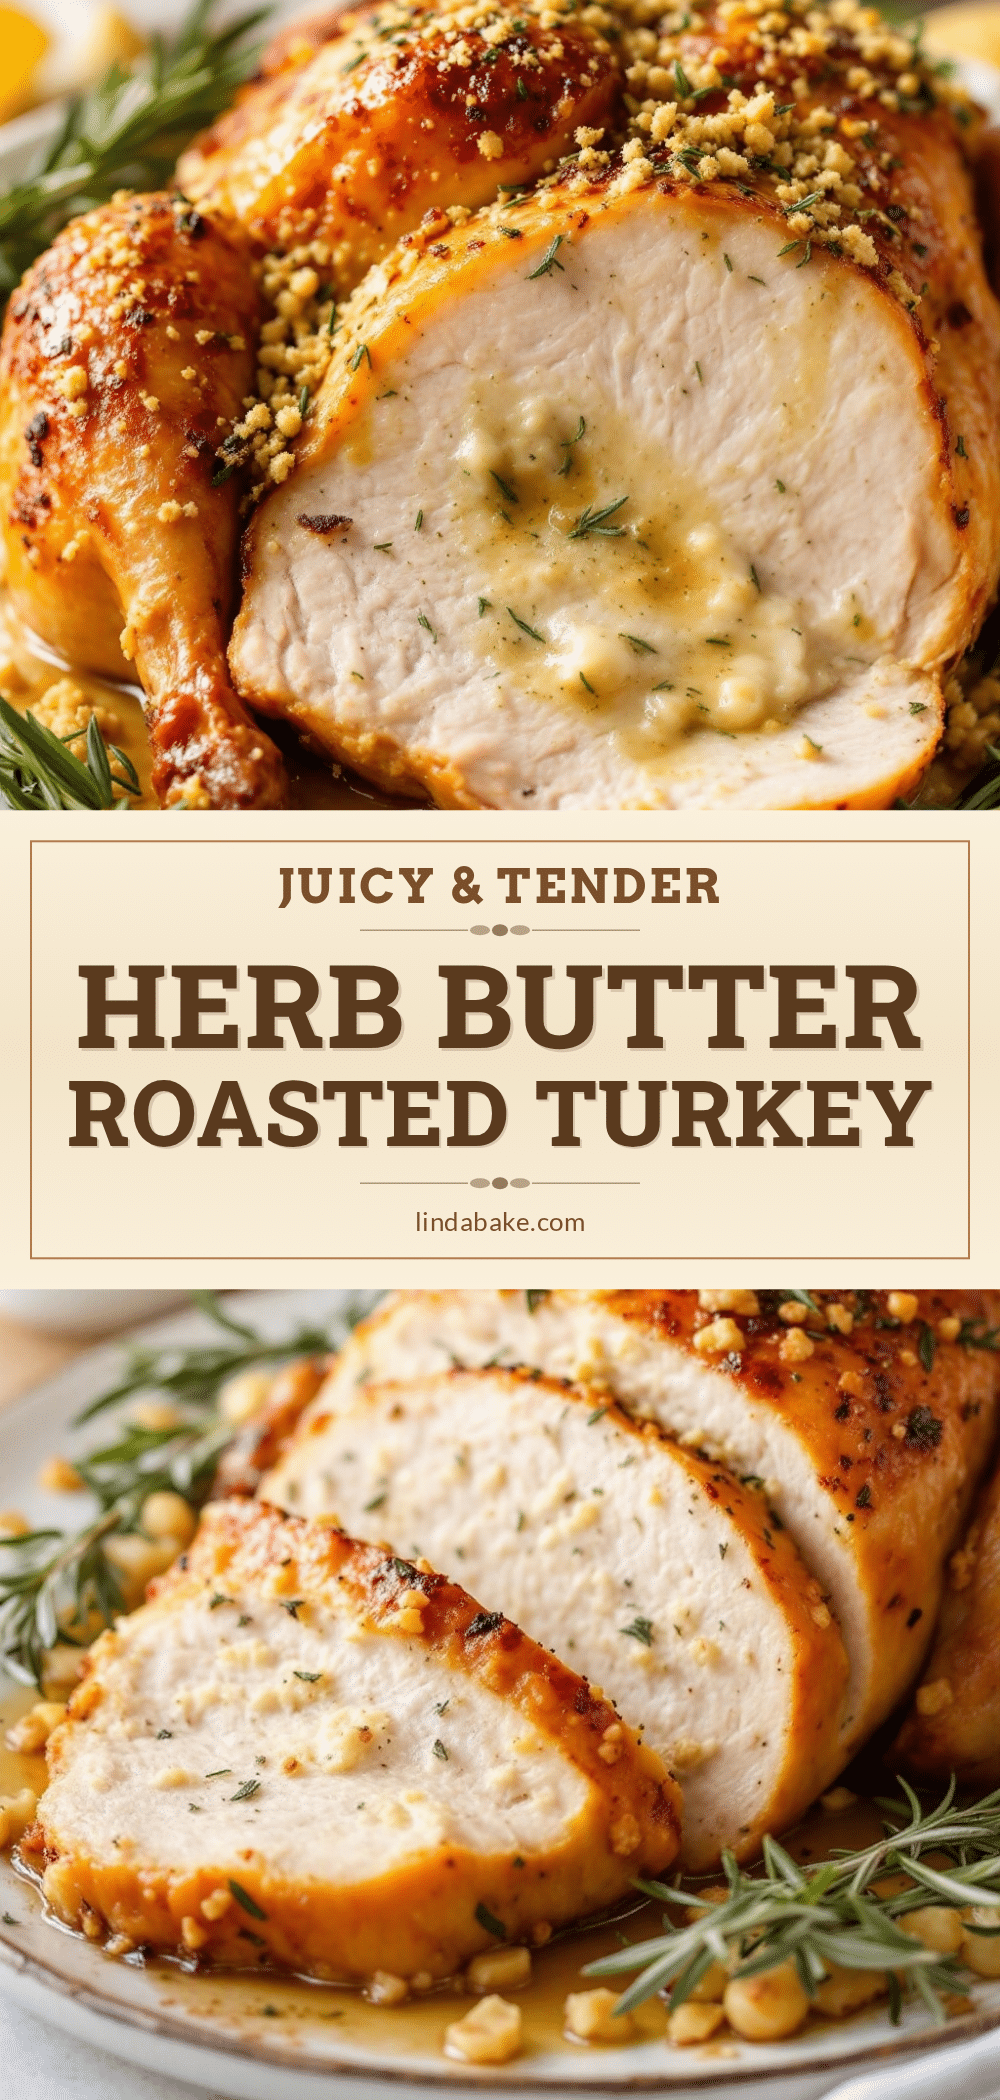
Perfect Herb Butter Roasted Turkey Recipe with Garlic
A foolproof herb butter roasted turkey with garlic and rosemary that delivers incredibly moist meat and crispy, golden skin. This recipe is perfect for holiday gatherings and uses simple, familiar ingredients for a showstopping centerpiece.
- Prep Time: 30 minutes
- Cook Time: 2 hours 30 minutes
- Total Time: 3 hours
- Yield: 8 servings 1x
- Category: Main Course
- Cuisine: American
Ingredients
- 1 whole turkey (12–14 pounds), thawed
- 1 cup unsalted butter, softened
- 6 cloves garlic, minced
- 2 tablespoons fresh rosemary, finely chopped
- 2 tablespoons fresh thyme leaves
- 1 tablespoon fresh sage, finely chopped (optional)
- 2 teaspoons kosher salt
- 1 teaspoon black pepper, freshly ground
- 1 lemon, halved
- 1 onion, quartered
- 4 sprigs fresh rosemary (for the cavity)
- 4 sprigs fresh thyme (for the cavity)
- 2 cups low-sodium chicken broth (for the pan)
Instructions
- Prep the Turkey: Remove the turkey from its packaging. Take out the giblets and neck from the cavity (save them for gravy if you like). Pat the turkey completely dry with paper towels, inside and out. This is the single most important step for crispy skin. Let the turkey sit on a tray in the fridge, uncovered, for at least 2 hours or overnight. This dries out the skin even more.
- Make the Herb Butter: In a small bowl, combine 1 cup softened unsalted butter, 6 minced garlic cloves, 2 tablespoons chopped rosemary, 2 tablespoons thyme leaves, and 1 tablespoon sage (if using). Add 1 teaspoon kosher salt and ½ teaspoon black pepper. Mix everything together with a fork until it’s well combined. It should look like a chunky, fragrant paste.
- Season the Cavity: Season the inside of the turkey cavity with a pinch of salt and pepper. Stuff the cavity with the halved lemon, quartered onion, 4 sprigs of rosemary, and 4 sprigs of thyme. This will steam and perfume the meat from the inside.
- Apply the Herb Butter (Under the Skin): This is the most important step. Gently use your fingers to loosen the skin from the breast meat. Be careful not to tear the skin. Start at the neck cavity and work your hands down between the skin and the meat. Take about ⅔ of the herb butter and push it under the skin, spreading it evenly over both breasts. From the outside, you can massage the butter to distribute it. This is what keeps the white meat so moist.
- Apply the Herb Butter (Outside the Skin): Take the remaining herb butter and rub it all over the outside of the turkey. Get the legs, the thighs, and the wings. Don’t forget the back. Season the entire bird generously with the remaining 1 teaspoon of salt and ½ teaspoon of pepper.
- Truss the Turkey: Tuck the wing tips under the body of the turkey. Use kitchen twine to tie the legs together at the ankles. This helps the turkey cook evenly and gives it a nice, compact shape. Don’t truss it too tightly; you just want to hold everything in place.
- Prepare the Pan: Place the turkey breast-side up on a rack in your roasting pan. Pour 2 cups of low-sodium chicken broth into the bottom of the pan. This will keep the drippings from burning.
- Roast the Turkey: Preheat your oven to 425°F (220°C). Place the turkey in the oven and roast for 30 minutes. This high heat will help the skin start to brown and crisp up. After 30 minutes, reduce the oven temperature to 350°F (175°C).
- Baste and Rotate: Roast the turkey for about 2 to 2 ½ hours more, basting every 30 minutes with the pan juices. Use a basting brush or a large spoon. If the skin is browning too quickly, tent the turkey loosely with aluminum foil.
- Check for Doneness: The turkey is done when an instant-read thermometer inserted into the thickest part of the thigh (without touching the bone) reads 165°F (74°C). The juices should run clear when you pierce the thigh. Start checking the temperature about 30 minutes before you think it will be done.
- Rest the Turkey: This is non-negotiable. Remove the turkey from the oven and transfer it to a cutting board. Let it rest, uncovered, for at least 20-30 minutes. This allows the juices to redistribute throughout the meat. If you cut into it too soon, all those juices will run out onto the cutting board, leaving you with dry meat.
- Carve and Serve: After resting, remove the twine and carve the turkey. I like to start by removing the legs and thighs, then slicing the breast meat against the grain. Serve immediately with your favorite sides.
Notes
Dry the skin thoroughly for crispy skin. Let the turkey come to room temperature for 1 hour before roasting. Use a thermometer for accurate doneness. Rest the turkey for at least 20-30 minutes before carving. For variations, try citrus herb butter, spicy herb butter, or a dairy-free option with vegan butter.
Nutrition
- Serving Size: 6 ounces
- Calories: 350
- Sodium: 600
- Fat: 18
- Saturated Fat: 10
- Carbohydrates: 2
- Protein: 45
Keywords: herb butter roasted turkey, roasted turkey, thanksgiving turkey, turkey with garlic and rosemary, holiday turkey, crispy skin turkey


