I figured a monster cookie cake would be just a giant cookie with some candy eyes thrown on top. It took about one bite of my first attempt to realize how wrong I was.
That first cake was dry, flat, and honestly—kind of sad. The candy eyes slid off like they were trying to escape. My kids stared at it, then at me, with that look that says “nice try, mom.” I knew I had to go back to the drawing board.
So I did what any reasonable person would do. I tested six different versions over the next two weeks. My kitchen looked like a flour bomb had gone off. But somewhere between batch three and four, something clicked. The texture got that perfect chewy edge. The chocolate chunks started staying put instead of sinking to the bottom. And those candy eyes? They finally stayed where I put them.
This best Halloween monster cookie cake is what came out of all that trial and error. It’s the kind of recipe that makes you look like you spent hours when really, you just followed a few smart tricks. The edges are crisp, the center is soft, and every bite has that perfect balance of salty and sweet that keeps your hand reaching for just one more piece.
Honestly, this cake has become our family’s official Halloween tradition. We make it every year on October 1st, and it never lasts more than 24 hours. There’s something about slicing into a giant cookie cake that feels special—like you’re breaking bread with a monster.
Why You’ll Love This Recipe
This isn’t just another cookie recipe that promises big and delivers flat. I’ve been developing recipes for over a decade, and this best Halloween monster cookie cake went through more rounds of testing than I care to admit. Here’s why it actually works:
- One Bowl, No Fuss : You don’t need a stand mixer or any fancy equipment. Just one bowl and a wooden spoon. The dough comes together in under 10 minutes, which leaves more time for decorating.
- Perfectly Chewy Texture : The secret is in the butter-to-sugar ratio and a short chill time. You get edges that crackle and a center that stays soft for days. No dry, crumbly disasters here.
- Kid-Approved and Adult-Loved : My kids fought over the last slice, and my husband snuck a piece before breakfast. It’s that good. The combination of chocolate chunks, M&Ms, and a hint of salt hits every craving.
- No Special Ingredients : Everything you need is probably already in your pantry. Butter, sugar, flour, eggs, vanilla, and your favorite Halloween candy. No weird extracts or hard-to-find flours.
- Customizable for Any Spooky Theme : Swap the M&Ms for candy corn, add pretzel pieces for crunch, or use green food coloring for a Frankenstein vibe. This recipe is a blank canvas for your Halloween creativity.
- Stays Fresh for Days : Unlike regular cookies that get hard by day two, this cake stays soft and chewy for up to four days. If it lasts that long in your house.
What makes this recipe different from every other monster cookie cake out there? It’s the technique of browning the butter just slightly. That extra step adds a nutty, caramel depth that makes the chocolate taste richer and the whole cake feel more indulgent. Plus, the short chill time prevents spreading, so your monster keeps its shape.
This isn’t just good—it’s the kind of cake that makes you close your eyes after the first bite. It’s comfort food with a spooky twist, perfect for Halloween parties, classroom treats, or a cozy night in with a scary movie.
What Ingredients You Will Need
This best Halloween monster cookie cake uses simple, everyday ingredients to create something truly monstrous in the best way. Every component plays a role in getting that perfect texture and flavor.
- Unsalted butter, 1 cup (2 sticks), softened to room temperature. I prefer using unsalted so I can control the salt level. If you only have salted butter, reduce the added salt by half.
- Light brown sugar, 1 cup, packed. This gives the cake its chewy texture and deep caramel flavor. Dark brown sugar works too, but it will make the cake slightly more moist and molasses-forward.
- Granulated sugar, ½ cup. The combination of brown and white sugar creates that perfect balance of chewy edges and soft center.
- Large eggs, 2, at room temperature. Cold eggs can cause the butter to seize, so let them sit out for 30 minutes before starting.
- Vanilla extract, 2 teaspoons. Pure vanilla makes a difference here. I use Nielsen-Massey because it’s potent and adds a warm, floral note.
- All-purpose flour, 2 ¼ cups. Spoon and level your flour—don’t scoop directly from the bag. Too much flour makes the cake dense and dry.
- Baking soda, 1 teaspoon. This helps the cake rise just enough without spreading too thin.
- Salt, ½ teaspoon. Don’t skip this. Salt balances the sweetness and makes the chocolate pop.
- Semi-sweet chocolate chunks, 1 cup. I prefer chunks over chips because they melt into puddles of chocolate. Ghirardelli chunks are my go-to.
- Halloween M&Ms, 1 cup. The orange, purple, and green ones add color and crunch. You can also use candy corn or chopped Reese’s cups.
- Candy eyes, about 20-30, for decorating. These are optional but essential for the monster look. You can find them at any craft store or online.
- Optional mix-ins: ½ cup pretzel pieces for salty crunch, ¼ cup sprinkles for extra color, or ½ cup white chocolate chips for contrast.
For the best results, use room temperature ingredients. Cold butter and eggs won’t cream together properly, which leads to a dense, flat cake. If you forget to take your eggs out, place them in a bowl of warm water for 5 minutes.
Equipment Needed
You don’t need a professional bakery setup to make this best Halloween monster cookie cake. Here’s what you’ll actually use:
- 9-inch round cake pan or springform pan. A springform pan makes removal easier, but a regular cake pan lined with parchment works perfectly too. I’ve used both, and the springform gives cleaner edges.
- Large mixing bowl. Any bowl works, but a wide, shallow bowl makes mixing easier.
- Wooden spoon or rubber spatula. No electric mixer required. A good wooden spoon builds arm strength and gives you better control over the dough.
- Parchment paper. Essential for easy removal. Cut a circle to fit the bottom of your pan.
- Cooling rack. Lets the cake cool evenly so the center sets properly.
- Measuring cups and spoons. Accurate measurements matter in baking. Use dry measuring cups for flour and sugar, and liquid measuring cups for vanilla.
- Small saucepan (optional). Only needed if you’re browning the butter, which I highly recommend.
If you don’t have a springform pan, a 9-inch cast iron skillet works beautifully. It gives the edges a wonderful crispness. Just make sure to grease it well. And if you’re on a budget, dollar store cake pans work fine—just line them with parchment and watch the baking time.
Preparation Method
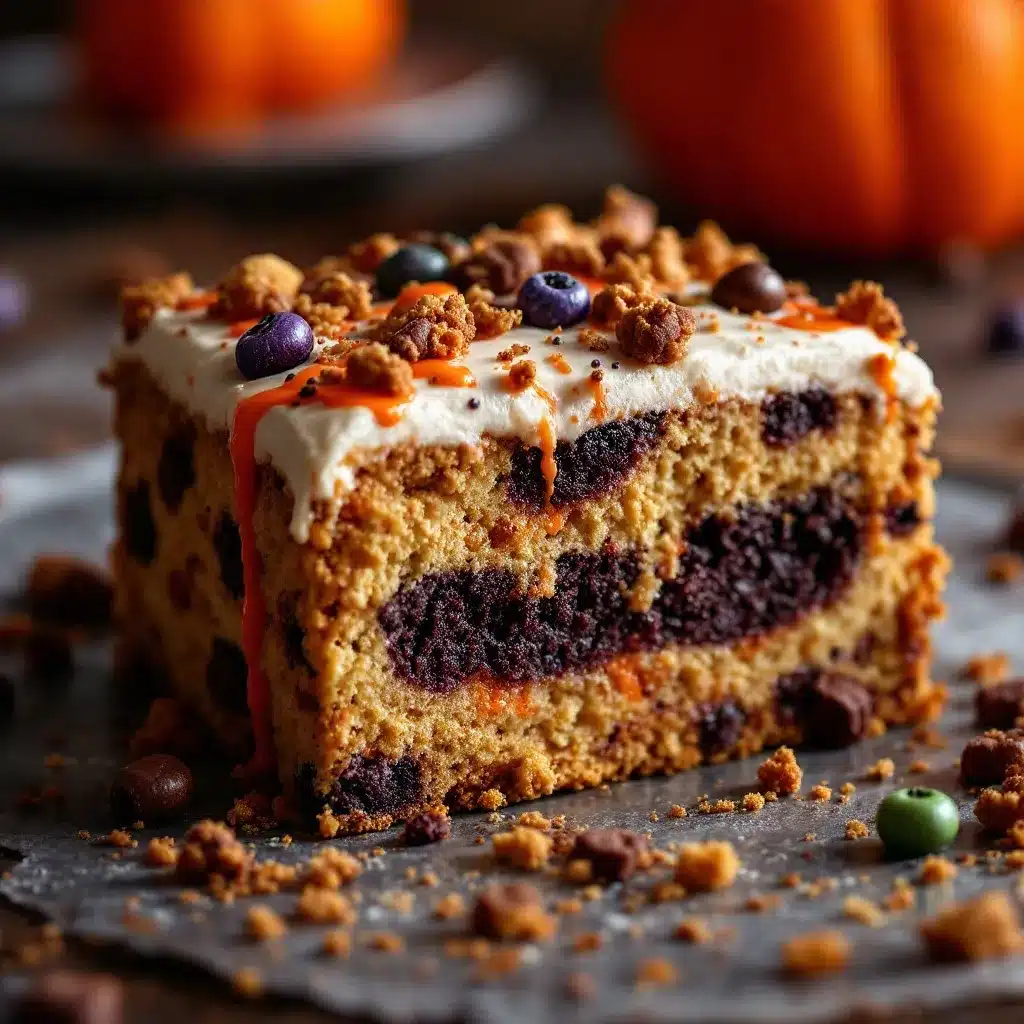
Making this best Halloween monster cookie cake is straightforward, but a few key steps make all the difference. Follow these closely, and you’ll get a cake that looks as good as it tastes.
- Preheat your oven to 350°F (175°C). Line your 9-inch pan with parchment paper and lightly grease the sides. This ensures the cake releases cleanly.
- Brown the butter (optional but recommended). In a small saucepan over medium heat, melt 1 cup of butter. Swirl the pan occasionally. You’ll see it foam, then turn golden brown with a nutty aroma. This takes about 5-7 minutes. Remove from heat immediately and let it cool for 10 minutes. Don’t skip the cooling—hot butter will cook the eggs.
- Cream the butter and sugars. In a large bowl, combine the browned butter (or softened butter) with 1 cup brown sugar and ½ cup granulated sugar. Mix vigorously with a wooden spoon for 2 minutes until the mixture looks light and fluffy. You’ll see it change color slightly.
- Add the eggs and vanilla. Crack 2 eggs into the bowl and add 2 teaspoons vanilla extract. Mix until just combined. Don’t overmix here—you don’t want to incorporate too much air.
- Combine the dry ingredients. In a separate small bowl, whisk together 2 ¼ cups flour, 1 teaspoon baking soda, and ½ teaspoon salt. This ensures even distribution of the leavening agent.
- Fold in the dry ingredients. Add the flour mixture to the wet ingredients in three additions, folding gently after each. Stop as soon as you no longer see streaks of flour. Overmixing develops gluten and makes the cake tough.
- Add the mix-ins. Fold in 1 cup chocolate chunks and 1 cup Halloween M&Ms. Reserve a handful of M&Ms for pressing on top later. The dough will be thick and slightly sticky—that’s perfect.
- Chill the dough (crucial step). Cover the bowl and refrigerate for at least 30 minutes, or up to 24 hours. Chilling prevents the cake from spreading too thin and gives you those thick, chewy edges. I’ve skipped this step before, and the result was a flat, sad cookie pancake.
- Press the dough into the pan. Transfer the chilled dough to your prepared pan. Use your hands or the back of a spoon to press it evenly. Don’t press too hard—you want a slightly uneven surface for texture.
- Bake for 25-30 minutes. The edges should be golden brown and set, while the center still looks slightly soft and puffy. A toothpick inserted in the center should come out with a few moist crumbs, not wet batter. If the top browns too quickly, tent with foil at the 20-minute mark.
- Cool completely in the pan. This is non-negotiable. The cake continues to set as it cools. If you try to remove it too soon, it will fall apart. Let it sit for at least 1 hour.
- Decorate with candy eyes. Once completely cool, press candy eyes into the top of the cake. You can arrange them in a monster face pattern or scatter them randomly for a “many-eyed beast” look. Use a tiny dab of frosting or melted chocolate to glue them on if they don’t stick.
Your kitchen will smell like a bakery at this point. The combination of browned butter, vanilla, and chocolate is intoxicating. Try not to cut into it immediately—I know it’s hard, but the texture improves dramatically after it fully sets.
Cooking Tips & Techniques
After making this best Halloween monster cookie cake more times than I can count, I’ve learned a few things the hard way. Here’s what I wish someone had told me:
Don’t skip the chill time. I know it’s tempting to rush, but that 30 minutes in the fridge is what separates a thick, bakery-style cookie cake from a flat, greasy mess. The butter solidifies slightly, which means less spread and more chew. I once made this without chilling and ended up with a cookie that spread to the edges of the pan and burned around the rim. Not cute.
Use a light hand when pressing the dough. You want it evenly distributed, but pressing too hard compacts the dough and makes the center dense. Think gentle persuasion, not aggression. Your hands are the best tool for this—they’re warm but controlled.
Check for doneness at 25 minutes. Every oven runs differently. My old oven would bake this in exactly 27 minutes, but my new one needs 30. The cake is done when the edges are set and golden, and the center jiggles just slightly when you shake the pan. It will continue to cook from residual heat as it cools.
Let it cool completely before decorating. Warm cake plus candy eyes equals melted, sliding monster faces. Trust me on this one. My first attempt looked like a zombie apocalypse. If you’re in a hurry, pop the cake in the fridge for 20 minutes after it’s cooled to room temperature.
Use a serrated knife for clean slices. A regular knife will drag through the chocolate chunks and make a mess. A serrated knife saws through cleanly, giving you those Instagram-worthy slices. Run the knife under hot water and wipe it dry between cuts for the cleanest edges.
Variations & Adaptations
This best Halloween monster cookie cake is endlessly adaptable. Here are some variations I’ve tried and loved:
- Gluten-Free Version : Substitute the all-purpose flour with a 1:1 gluten-free baking flour blend. I use King Arthur Measure for Measure. Add ½ teaspoon xanthan gum if your blend doesn’t include it. The texture will be slightly more tender but still delicious.
- Vegan Option : Use 1 cup vegan butter (I like Miyoko’s), 2 flax eggs (2 tablespoons ground flaxseed mixed with 6 tablespoons water, let sit for 5 minutes), and dairy-free chocolate chunks. The cake will be a bit more delicate, so handle it gently.
- Peanut Butter Monster Cake : Reduce the butter to ½ cup and add ½ cup creamy peanut butter. Cream it with the sugars. This adds a rich, nutty flavor that pairs perfectly with chocolate. My kids beg for this version.
- Candy Corn Craze : Replace the M&Ms with 1 cup candy corn and ½ cup chopped pecans. The candy corn stays chewy and adds a sweet, honey-like flavor. This is my personal favorite for Thanksgiving leftovers.
- Double Chocolate Monster : Replace ¼ cup of the flour with ¼ cup unsweetened cocoa powder. Use white chocolate chunks instead of semi-sweet. The contrast of dark cake and white chocolate is stunning.
- Air Fryer Method : Press the dough into a 7-inch round pan that fits your air fryer basket. Cook at 320°F (160°C) for 18-22 minutes. The edges get incredibly crispy while the center stays soft. Check at 18 minutes to avoid burning.
I tried the peanut butter version for a Halloween party last year, and it disappeared in 10 minutes. The peanut butter adds a savory note that balances the sweetness perfectly. Just make sure to use natural peanut butter without added sugar for the best texture.
Serving & Storage Suggestions
This best Halloween monster cookie cake is best served at room temperature, but warm with a scoop of vanilla ice cream is absolutely next-level. Here’s how to make the most of it:
Presentation ideas: Place the cake on a black or orange cake stand for maximum spooky effect. Arrange the candy eyes in a silly monster face pattern—two big eyes and a crooked smile. You can also drizzle melted white chocolate over the top to look like spider webs. Use a piping bag or a zip-top bag with the corner snipped off.
Perfect pairings: Serve with a cold glass of milk, a scoop of pumpkin ice cream, or a warm mug of apple cider. For an adult twist, pair it with a bourbon-spiked hot chocolate. The richness of the cake stands up to bold flavors.
Storage instructions: Store the cake in an airtight container at room temperature for up to 4 days. Do not refrigerate—the cold will dry it out and make the texture dense. If you need to store it longer, wrap the entire cake tightly in plastic wrap, then foil, and freeze for up to 3 months.
Reheating tips: For that fresh-from-the-oven taste, microwave individual slices for 15-20 seconds. For larger portions, place the cake in a 300°F (150°C) oven for 5-7 minutes. The edges will crisp up again, and the center will become soft and gooey.
Flavor development: This cake actually tastes better on day two. The flavors meld together, and the texture becomes even more chewy and cohesive. If you can resist eating it all on day one, you’re in for a treat.
Nutritional Information & Benefits
While this best Halloween monster cookie cake is definitely a treat, here’s a rough nutritional breakdown per slice (based on 12 servings):
- Calories: Approximately 420-450 per slice
- Fat: 22g (mostly from butter and chocolate)
- Carbohydrates: 55g
- Protein: 6g
- Sugar: 35g
- Fiber: 2g
Health benefits: Dark chocolate contains antioxidants and can support heart health in moderation. The eggs provide high-quality protein and essential vitamins like B12 and D. Using browned butter adds a depth of flavor that allows you to use less sugar overall. Plus, the act of baking itself is a proven stress reliever—something we all need during the Halloween chaos.
Dietary considerations: This recipe contains gluten, dairy, and eggs. For allergen-friendly versions, see the variations section above. If you’re watching your sugar intake, you can reduce the granulated sugar to ¼ cup, though the texture will be slightly less tender.
I personally love that this cake feels indulgent without being overly sweet. The salt and chocolate balance each other beautifully, so you don’t get that sugar crash feeling. It’s a treat you can feel good about sharing.
Conclusion
This best Halloween monster cookie cake is everything you want in a spooky season dessert—fun to make, delicious to eat, and guaranteed to impress. It’s the recipe I turn to year after year, and it never fails to bring smiles to faces both young and old.
What I love most about this cake is how forgiving it is. You can customize it endlessly, make it ahead of time, and it still comes out perfect. It’s the kind of recipe that makes you feel like a baking pro, even if you’re just starting out. The browned butter adds a touch of sophistication, while the candy eyes keep it playful.
I’d love to see your monster creations! Share your photos on social media and tag me—I genuinely get excited seeing how everyone puts their own spin on it. Did you add pretzels? Use candy corn instead of M&Ms? Make it gluten-free? Let me know in the comments below. Your version might just inspire someone else’s Halloween tradition.
So go ahead—preheat that oven, grab your candy eyes, and get ready to bake something monstrously delicious. Your Halloween party (or your family movie night) will thank you.
Frequently Asked Questions
Can I make this monster cookie cake ahead of time?
Absolutely! You can prepare the dough up to 24 hours in advance and keep it refrigerated. You can also bake the cake a day ahead and store it at room temperature. The texture actually improves overnight as the flavors meld together. Just add the candy eyes right before serving so they stay fresh and perky.
Why did my cookie cake spread too thin?
This usually happens for two reasons: the dough wasn’t chilled long enough, or the butter was too warm when you mixed it. Make sure to chill the dough for at least 30 minutes. If your kitchen is warm, chill it for a full hour. Also, check that your baking soda is fresh—old baking soda loses its leavening power and can cause spreading.
Can I use a different pan size?
Yes, but you’ll need to adjust the baking time. For an 8-inch pan, bake for 30-35 minutes. For a 10-inch pan, bake for 20-25 minutes. For mini cookie cakes (4-inch pans), bake for 12-15 minutes. Keep an eye on the edges—they should be golden brown when done. If you’re using a non-stick pan, reduce the temperature by 25°F to prevent over-browning.
How do I make the candy eyes stick?
The easiest method is to press them into the cake while it’s still slightly warm but not hot. If the cake is fully cool, use a tiny dab of royal icing, melted chocolate, or even a small dot of frosting as glue. I’ve also used a thin layer of corn syrup in a pinch—it works surprisingly well and dries clear.
Can I freeze this cookie cake?
Yes, and it freezes beautifully. Wrap the completely cooled cake tightly in plastic wrap, then a layer of aluminum foil. Freeze for up to 3 months. To thaw, leave it at room temperature for 2-3 hours. Do not unwrap it until it’s fully thawed to prevent condensation from making the surface soggy. Add the candy eyes after thawing for the best appearance.
Pin This Recipe!
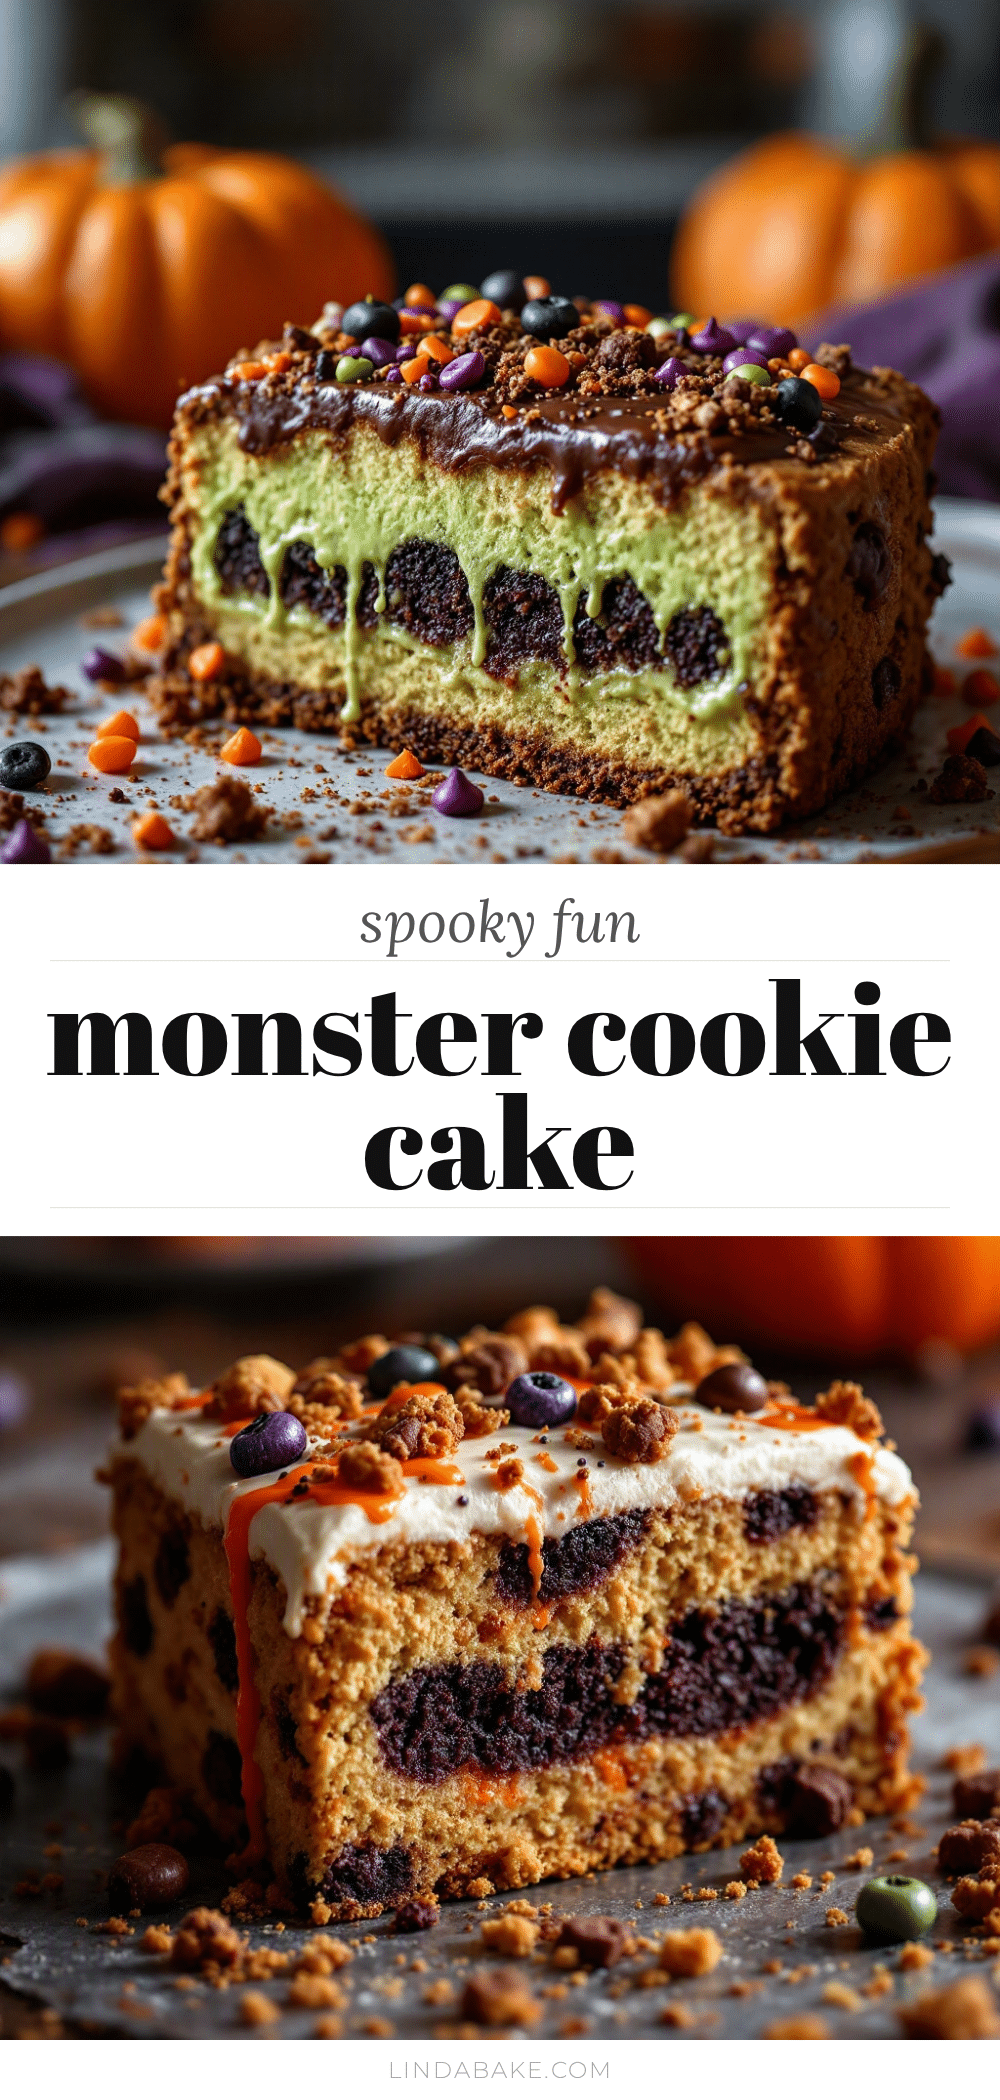
Best Halloween Monster Cookie Cake Recipe – Easy & Spooky
This best Halloween monster cookie cake is a giant, chewy cookie cake with crisp edges, a soft center, and a perfect balance of salty and sweet. Decorated with candy eyes, it’s a fun and spooky treat that’s perfect for Halloween parties, classroom treats, or a cozy night in.
- Prep Time: 15 minutes
- Cook Time: 30 minutes
- Total Time: 45 minutes
- Yield: 12 servings 1x
- Category: Dessert
- Cuisine: American
Ingredients
- 1 cup (2 sticks) unsalted butter, softened to room temperature
- 1 cup light brown sugar, packed
- ½ cup granulated sugar
- 2 large eggs, at room temperature
- 2 teaspoons vanilla extract
- 2 ¼ cups all-purpose flour
- 1 teaspoon baking soda
- ½ teaspoon salt
- 1 cup semi-sweet chocolate chunks
- 1 cup Halloween M&Ms
- 20–30 candy eyes, for decorating
- Optional: ½ cup pretzel pieces, ¼ cup sprinkles, ½ cup white chocolate chips
Instructions
- Preheat your oven to 350°F (175°C). Line your 9-inch pan with parchment paper and lightly grease the sides.
- Brown the butter (optional but recommended): In a small saucepan over medium heat, melt 1 cup of butter. Swirl the pan occasionally until it foams and turns golden brown with a nutty aroma, about 5-7 minutes. Remove from heat and let cool for 10 minutes.
- Cream the butter and sugars: In a large bowl, combine the browned butter (or softened butter) with 1 cup brown sugar and ½ cup granulated sugar. Mix vigorously with a wooden spoon for 2 minutes until light and fluffy.
- Add the eggs and vanilla: Crack 2 eggs into the bowl and add 2 teaspoons vanilla extract. Mix until just combined.
- Combine the dry ingredients: In a separate small bowl, whisk together 2 ¼ cups flour, 1 teaspoon baking soda, and ½ teaspoon salt.
- Fold in the dry ingredients: Add the flour mixture to the wet ingredients in three additions, folding gently after each. Stop as soon as no streaks of flour remain.
- Add the mix-ins: Fold in 1 cup chocolate chunks and 1 cup Halloween M&Ms. Reserve a handful of M&Ms for pressing on top later.
- Chill the dough: Cover the bowl and refrigerate for at least 30 minutes, or up to 24 hours.
- Press the dough into the pan: Transfer the chilled dough to your prepared pan. Use your hands or the back of a spoon to press it evenly.
- Bake for 25-30 minutes: The edges should be golden brown and set, while the center still looks slightly soft and puffy. If the top browns too quickly, tent with foil at the 20-minute mark.
- Cool completely in the pan: Let it sit for at least 1 hour.
- Decorate with candy eyes: Once completely cool, press candy eyes into the top of the cake. Use a tiny dab of frosting or melted chocolate to glue them on if needed.
Notes
Don’t skip the chill time—it prevents spreading and gives thick, chewy edges. Use a light hand when pressing the dough. Check for doneness at 25 minutes. Let cool completely before decorating. Use a serrated knife for clean slices. The cake tastes even better on day two.
Nutrition
- Serving Size: 1 slice
- Calories: 435
- Sugar: 35
- Sodium: 280
- Fat: 22
- Saturated Fat: 13
- Carbohydrates: 55
- Fiber: 2
- Protein: 6
Keywords: Halloween, monster cookie cake, cookie cake, Halloween dessert, spooky cake, easy cookie cake, kid-friendly, Halloween recipe


