Dropping a bag of black cocoa powder onto the kitchen floor at 9 PM on a Tuesday—that’s how this started. I was already three cups of coffee in, the Halloween party was the next day, and my kids had just informed me that the “store-bought cupcakes are fine, Mom,” which, honestly, is code for “we expect something amazing.” The powder went everywhere. I stood there, ankle-deep in what looked like volcanic ash, thinking about how the internet is full of black velvet recipes that just… aren’t. They’re gray. Or they taste like straight baking soda. Or they crumble the second you look at them.
So I did what any reasonable person would do: I scooped up what I could, wiped down the counter, and decided I was going to figure this out myself. Not because I’m a pastry chef (I’m not), but because I was stubborn and a little bit desperate. And also because I had already bought the spider rings and plastic eyeballs and there was no way I was letting those decorations go to waste on a sad, beige cupcake.
What came out of that chaotic, cocoa-dusted evening was a cupcake so dark it looked like it belonged in a haunted house—velvety, moist, with a crumb that actually holds together. The kind of cupcake that makes people stop mid-conversation and say, “Wait, what flavor is this?” It’s not just black food coloring slapped into a box mix. It’s real. It’s rich. And it’s the only black velvet recipe I’ve made twice in one week. These Best Black Velvet Halloween Cupcakes are the ones I keep coming back to, and I think you will too.
Why You’ll Love This Recipe
Let me be honest with you—I have tested a lot of black cupcake recipes. Some were dry. Some tasted like chemicals. Some were so fragile they fell apart before I could even get them frosted. This one? It’s the real deal. Here’s why it works:
- Perfectly Black Without Being Bitter : The secret is black cocoa powder. It gives you that deep, dramatic color without needing a whole bottle of food coloring. It also has a subtle Oreo-like flavor that pairs beautifully with cream cheese frosting.
- Moist and Tender : These cupcakes stay soft for days. The combination of buttermilk, oil, and a touch of vinegar keeps the crumb light and tender—not dense or gummy.
- No Fancy Equipment Needed : You don’t need a stand mixer or any special tools. A bowl, a whisk, and a muffin tin are all you need to pull these off.
- Perfect for Halloween (or Any Spooky Occasion) : These are the cupcakes that steal the show at parties. They look dramatic and impressive, but they’re actually one of the easiest things you can bake.
- Crowd-Pleaser : I brought a batch to my son’s school Halloween party, and they disappeared in under ten minutes. One mom asked me if I’d cater her kid’s birthday party. I said no, but I gave her the recipe.
Honestly, this is one of those recipes that makes you look like you spent hours in the kitchen when you really didn’t. It’s the kind of baking win we all need sometimes.
What Ingredients You Will Need
This recipe uses ingredients you probably already have in your pantry, plus one special star: black cocoa powder. Let me walk you through each one so you know exactly what to look for.
For the Cupcakes
- All-purpose flour (1 ½ cups / 190g) – Standard flour works best here. Don’t use bread flour; it’ll make the cupcakes too tough. Spoon and level your flour for the most accurate measurement.
- Black cocoa powder (½ cup / 50g) – This is the key ingredient. It’s different from regular cocoa powder—it’s darker, less acidic, and has a mild chocolate flavor. I use the brand Cacao Barry, but any black cocoa powder will work. You can find it at specialty baking stores or online.
- Granulated sugar (1 cup / 200g) – Regular white sugar. It adds sweetness and helps keep the cupcakes tender.
- Baking soda (1 teaspoon) – This reacts with the buttermilk and vinegar to give the cupcakes lift. Make sure it’s fresh—test it by dropping a pinch into vinegar; it should fizz immediately.
- Salt (½ teaspoon) – Balances the sweetness and enhances the chocolate flavor. I use fine sea salt.
- Buttermilk (1 cup / 240ml) – Adds tang and moisture. If you don’t have buttermilk, you can make a quick substitute: add 1 tablespoon of lemon juice or white vinegar to a measuring cup, then fill with milk to the 1-cup line. Let it sit for 5 minutes.
- Vegetable oil (½ cup / 120ml) – Keeps the cupcakes moist. You can use canola or any neutral oil. Don’t use olive oil; the flavor is too strong.
- Eggs (2 large, room temperature) – Room temperature eggs blend more evenly into the batter. If you forgot to take them out of the fridge, place them in a bowl of warm water for 5 minutes.
- Vanilla extract (2 teaspoons) – Pure vanilla is best, but imitation works fine. It rounds out the flavor.
- White vinegar (1 teaspoon) – Sounds weird, I know. But it reacts with the baking soda to create a light, fluffy texture. You won’t taste it at all.
For the Cream Cheese Frosting
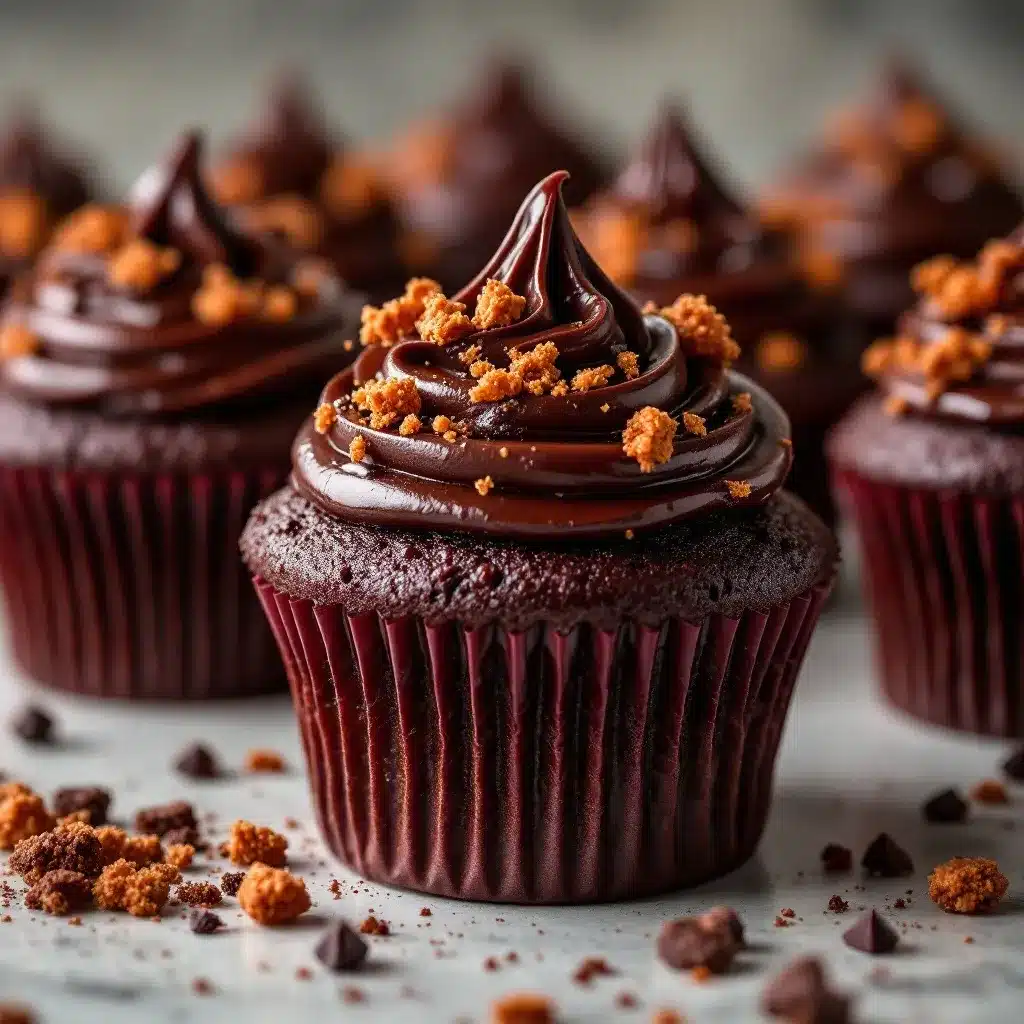
- Cream cheese (8 oz / 226g, softened) – Full-fat cream cheese gives the best texture. Low-fat versions can make the frosting runny. Let it sit out for at least 30 minutes before using.
- Unsalted butter (½ cup / 113g, softened) – Adds richness and stability. Make sure it’s softened but not melted.
- Powdered sugar (3 cups / 360g) – Sift it first to avoid lumps. You can add more if you want a stiffer frosting.
- Vanilla extract (1 teaspoon) – Same as above—pure is better, but not required.
- Pinch of salt – Just a tiny bit to cut the sweetness.
For Decoration (Optional but Fun)
- Orange and black sprinkles – Any Halloween-themed sprinkles work.
- Candy eyeballs – The googly kind are perfect.
- Chocolate spider rings – I found mine at a party supply store.
- Black sanding sugar – Adds a nice sparkle.
Equipment Needed
You don’t need a professional bakery setup for these cupcakes. Here’s what you’ll need:
- Muffin tin (12-cup standard size) – A light-colored metal pan works best for even baking. Dark pans can cause the bottoms to brown too quickly.
- Paper cupcake liners – Use black or Halloween-themed liners for extra spooky vibes. I’ve also used white liners and they work fine—the cake is so dark it shows through.
- Large mixing bowls – One for dry ingredients, one for wet. Glass or stainless steel is fine.
- Whisk – For mixing the dry ingredients. A fork works in a pinch, but a whisk is easier.
- Hand mixer or stand mixer – For the frosting. You can whisk it by hand, but your arm will get tired. I’ve done it both ways.
- Rubber spatula – For scraping down the bowl and folding ingredients.
- Cooling rack – Essential for cooling the cupcakes evenly. If you don’t have one, you can use the wire rack from your oven (just make sure it’s clean).
- Piping bag and tip – A large star tip (like Wilton 1M) gives a beautiful swirl. If you don’t have a piping bag, you can use a zip-top bag with the corner snipped off.
- Measuring cups and spoons – Accurate measurements matter in baking. I prefer metal measuring cups for dry ingredients and glass for liquids.
Preparation Method
Let’s get baking. I’ll walk you through every step so you don’t miss a thing.
- Preheat your oven to 350°F (175°C). Line your muffin tin with 12 paper liners. This is a non-negotiable step—don’t skip preheating. An oven that isn’t hot enough will make your cupcakes dense.
- Whisk the dry ingredients together. In a large bowl, combine the flour, black cocoa powder, sugar, baking soda, and salt. Whisk until everything is evenly distributed. You’ll notice the cocoa powder can be clumpy—break those up with your whisk or fingers.
- Mix the wet ingredients. In a separate bowl, whisk together the buttermilk, vegetable oil, eggs, vanilla extract, and white vinegar. Make sure the eggs are fully incorporated—you don’t want streaks of egg white floating around.
- Combine wet and dry. Pour the wet ingredients into the dry ingredients. Stir with a rubber spatula or whisk until just combined. Do not overmix. A few small lumps are fine. Overmixing will make the cupcakes tough.
- Fill the liners. Divide the batter evenly among the 12 liners. I use a cookie scoop or a ¼-cup measure to keep them consistent. Each liner should be about ⅔ full. If you overfill, the cupcakes will dome too much and might spill over.
- Bake. Place the muffin tin in the center of the oven. Bake for 18-22 minutes, or until a toothpick inserted into the center of a cupcake comes out clean or with a few moist crumbs. The tops should spring back when lightly touched. My oven runs hot, so I start checking at 17 minutes.
- Cool completely. Let the cupcakes cool in the pan for 5 minutes, then transfer them to a wire rack to cool completely. Do not frost them while they’re even slightly warm—the frosting will melt and slide right off. I learned this the hard way.
- Make the frosting. While the cupcakes are cooling, beat the softened cream cheese and butter together in a large bowl with a hand mixer until smooth and creamy (about 2 minutes). Add the powdered sugar one cup at a time, beating on low speed to avoid a sugar cloud. Add the vanilla and salt, then increase the speed to medium-high and beat for another 2 minutes until light and fluffy.
- Frost the cupcakes. Transfer the frosting to a piping bag fitted with a star tip. Pipe a swirl onto each cooled cupcake. If you don’t have a piping bag, you can spread the frosting with a knife—it won’t look as fancy, but it’ll taste just as good.
- Decorate. Add your sprinkles, candy eyes, or spider rings right away, before the frosting sets. Press them in gently so they stick.
Cooking Tips & Techniques
I’ve made these cupcakes more times than I can count, and I’ve learned a few things along the way. Here are my best tips for success:
- Room temperature ingredients matter. Cold eggs and cold buttermilk don’t emulsify as well, which can lead to a denser texture. Set everything out 30 minutes before you start.
- Don’t skip the vinegar. I know it sounds like a weird addition, but it reacts with the baking soda to create a lighter crumb. It’s a classic red velvet trick, and it works perfectly here.
- Black cocoa powder stains everything. Wear an apron. Use a dark-colored towel. And don’t panic if your counter looks like a crime scene—it wipes off easily with soap and water.
- Check your baking soda freshness. Old baking soda won’t give you enough lift. If you’re not sure, test it by adding a pinch to a small amount of vinegar. If it fizzes vigorously, you’re good.
- Let the cupcakes cool completely. I cannot stress this enough. Warm cupcakes + cream cheese frosting = a sad, melty mess. Be patient.
- For a deeper black color, let the batter rest. If you have time, let the batter sit for 10-15 minutes before baking. The cocoa powder will hydrate more, and the color will deepen.
Variations & Adaptations
One of the best things about this recipe is how versatile it is. Here are a few ways to switch it up:
- Vegan Version : Substitute the buttermilk with 1 cup of almond milk mixed with 1 tablespoon of lemon juice. Use flax eggs (2 tablespoons ground flaxseed mixed with 5 tablespoons water, let sit for 5 minutes) instead of regular eggs. Use vegan butter and vegan cream cheese for the frosting. I’ve tested this, and it works beautifully—the cupcakes are slightly denser but still delicious.
- Gluten-Free Option : Swap the all-purpose flour with a 1:1 gluten-free baking flour blend (I like Bob’s Red Mill). Add ¼ teaspoon of xanthan gum if your blend doesn’t already include it. The texture will be a bit more delicate, so handle the cupcakes gently.
- Chocolate Ganache Topping : Instead of cream cheese frosting, top these cupcakes with a dark chocolate ganache. Heat ½ cup of heavy cream until simmering, pour it over 4 oz of chopped dark chocolate, and stir until smooth. Let it cool slightly, then dip the tops of the cupcakes. It’s incredibly rich.
- Spooky Flavor Twist : Add 1 teaspoon of peppermint extract to the batter for a “minty midnight” flavor. It pairs surprisingly well with the black cocoa. I did this for a Christmas-themed party, and everyone loved it.
- Mini Cupcakes : Use a mini muffin tin and bake for 10-12 minutes. This is perfect for parties where you want people to try multiple treats. You’ll get about 36 mini cupcakes.
Serving & Storage Suggestions
These cupcakes are best served at room temperature. The cream cheese frosting softens up nicely, and the cake is perfectly moist. Here’s how to store them:
- Room Temperature : If you’re serving them within a few hours, you can leave them out on a platter. But if your kitchen is warm, the frosting might get soft. I like to keep them in a cool spot.
- Refrigerator : Store frosted cupcakes in an airtight container in the fridge for up to 5 days. Let them sit at room temperature for 30 minutes before serving—cold cream cheese frosting is too firm and loses its creamy texture.
- Freezer : You can freeze unfrosted cupcakes for up to 3 months. Wrap each one tightly in plastic wrap, then place them in a freezer bag. Thaw at room temperature, then frost and decorate. I’ve also frozen frosted cupcakes (without decorations), and they’re fine—just place them in a single layer in a freezer-safe container. Thaw in the fridge overnight.
- Flavor Development : Honestly, these cupcakes taste even better the next day. The flavors meld together, and the cake becomes even more moist. If you can, make them a day ahead.
Nutritional Information & Benefits
Let’s be real—these are cupcakes. They’re a treat, not a health food. But here’s a rough estimate per cupcake (with frosting):
- Calories : Approximately 380
- Fat : 22g
- Carbohydrates : 45g
- Protein : 5g
- Sugar : 32g
That said, black cocoa powder does contain antioxidants (similar to dark chocolate), and the cream cheese adds a bit of protein and calcium. But honestly? I make these because they make me happy. They’re a celebration. And sometimes, that’s the most important nutrient of all.
If you’re looking for a slightly lighter option, you can reduce the sugar in the frosting by using a sugar substitute like Swerve, or skip the frosting altogether and dust the cupcakes with powdered sugar. But I think the frosting is where the magic happens.
Conclusion
These Best Black Velvet Halloween Cupcakes are everything I wanted from that chaotic, cocoa-dusted night in my kitchen. They’re dark, dramatic, and delicious—the kind of cupcake that makes people do a double-take. They’re also surprisingly easy to make, which means you can spend less time stressing and more time enjoying the party.
I love this recipe because it’s proof that you don’t need to be a professional baker to create something show-stopping. You just need good ingredients, a little patience, and a willingness to get a little messy. And honestly? That’s kind of what Halloween is all about.
I’d love to hear how yours turn out. Did you add any fun decorations? Did you try a variation? Leave a comment below and let me know—I read every single one. And if you’re looking for more easy, crowd-pleasing treats, you might enjoy our easy matcha green tea tiramisu parfaits for a completely different kind of dessert, or these refreshing mango jalapeño agua fresca for a drink that pairs perfectly with a sweet treat.
Happy Halloween, and happy baking!
Frequently Asked Questions
Can I use regular cocoa powder instead of black cocoa powder?
You can, but your cupcakes won’t be black—they’ll be a dark brown. If you want the dramatic black color, stick with black cocoa powder. You can find it at specialty baking stores or online. If you’re in a pinch, use ¼ cup of regular cocoa powder and add black food coloring (gel works best) until you reach your desired shade.
Why did my cupcakes turn out dry?
Dry cupcakes are usually the result of overbaking or overmixing. Check your oven temperature with an oven thermometer—some ovens run hot. Also, make sure you’re measuring your flour correctly. Spoon it into the measuring cup and level it off with a knife. Scooping directly from the bag can pack the flour and lead to dry cupcakes.
Can I make these cupcakes ahead of time?
Absolutely! You can bake the cupcakes up to 2 days in advance. Store them in an airtight container at room temperature. Frost them the day you plan to serve them for the best texture. I’ve also frozen unfrosted cupcakes for up to 3 months—just wrap them tightly in plastic wrap and thaw at room temperature before frosting.
How do I get my cream cheese frosting to be stiff enough for piping?
Make sure your cream cheese and butter are softened but not warm. If the frosting is too soft, pop it in the fridge for 10-15 minutes before piping. You can also add a little more powdered sugar to stiffen it up. Just remember that cream cheese frosting will never be as firm as buttercream—that’s part of its charm.
Can I make this recipe into a cake instead of cupcakes?
Yes! Pour the batter into two greased 8-inch round cake pans and bake at 350°F (175°C) for 25-30 minutes, or until a toothpick comes out clean. You can use the same cream cheese frosting recipe—just double it if you want a thick layer between the cakes and on top. It makes a stunning Halloween layer cake.
Pin This Recipe!
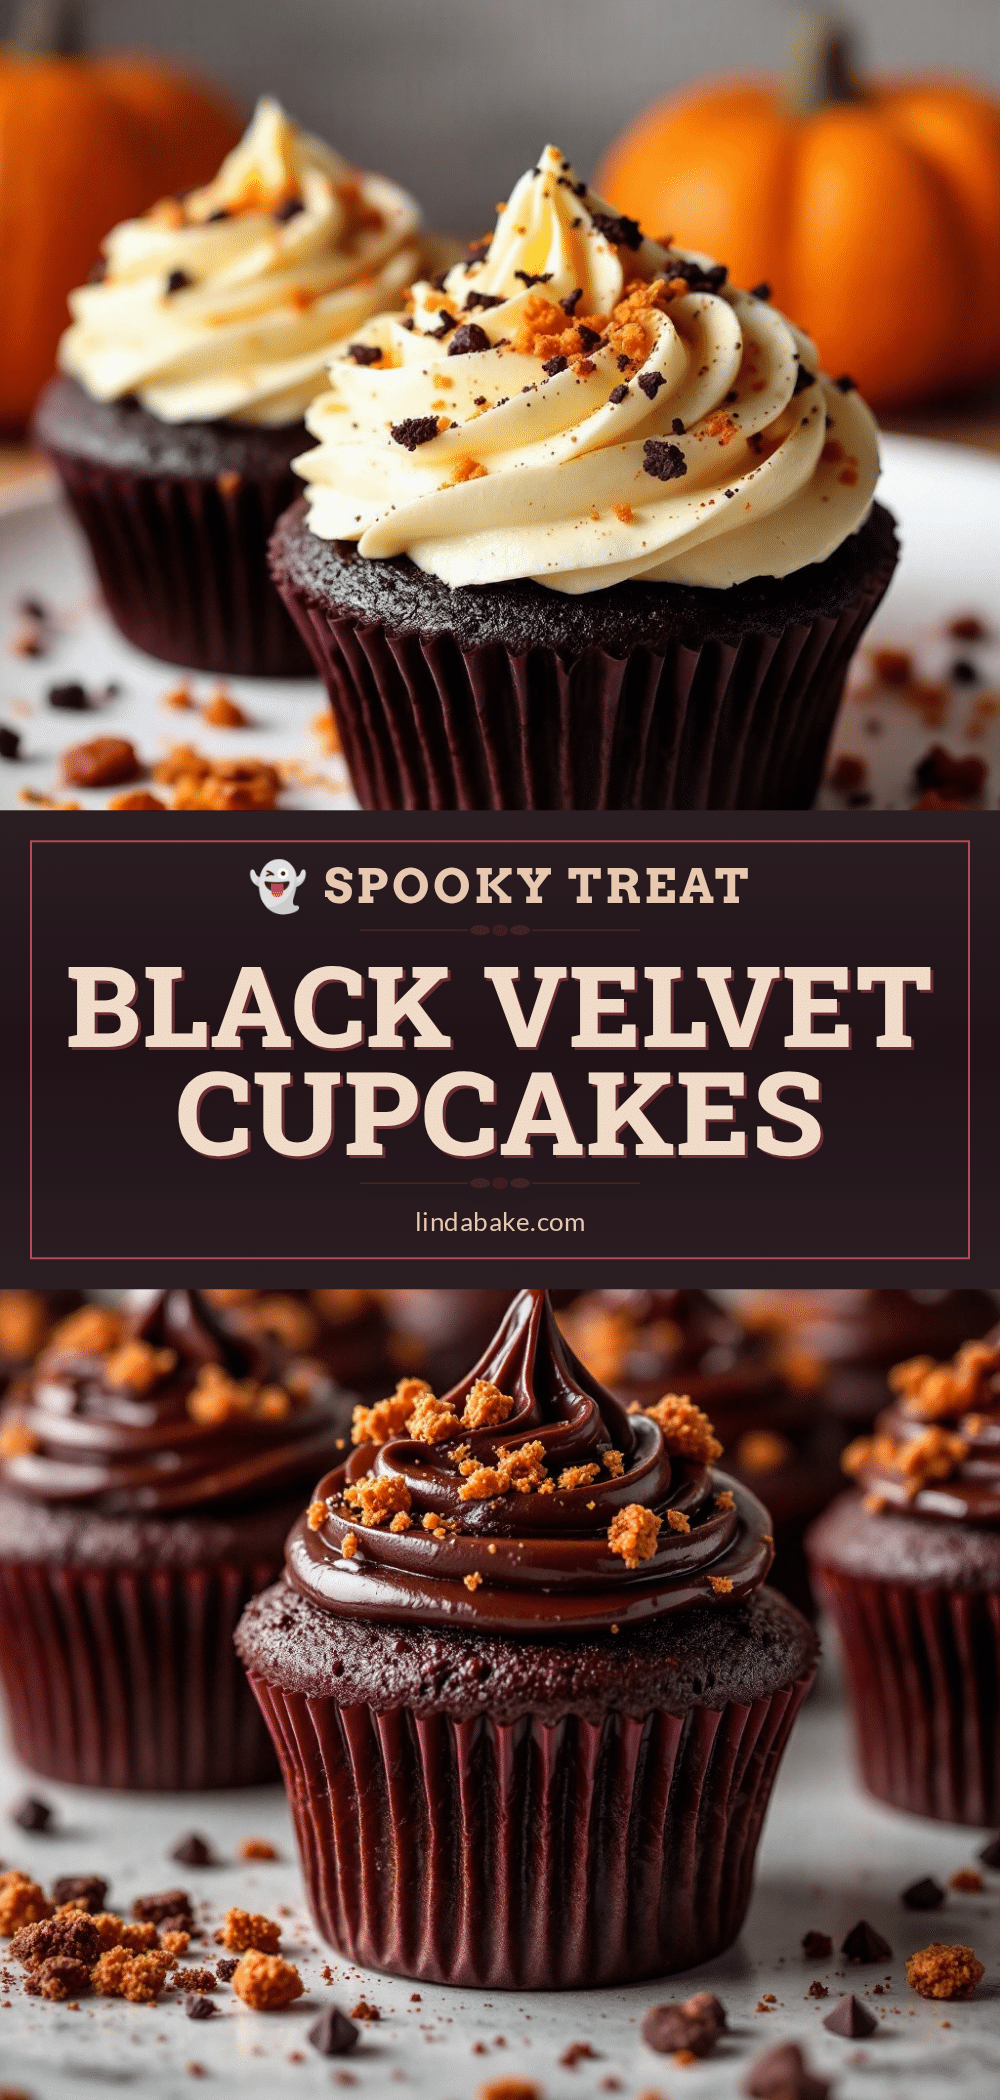
Best Black Velvet Halloween Cupcakes – Easy Spooky Recipe
These Best Black Velvet Halloween Cupcakes are dark, dramatic, and delicious—the kind of cupcake that makes people do a double-take. They’re surprisingly easy to make, with a moist, tender crumb and a rich, Oreo-like flavor from black cocoa powder.
- Prep Time: 15 minutes
- Cook Time: 20 minutes
- Total Time: 35 minutes
- Yield: 12 cupcakes 1x
- Category: Dessert
- Cuisine: American
Ingredients
- 1 ½ cups (190g) all-purpose flour
- ½ cup (50g) black cocoa powder
- 1 cup (200g) granulated sugar
- 1 teaspoon baking soda
- ½ teaspoon fine sea salt
- 1 cup (240ml) buttermilk
- ½ cup (120ml) vegetable oil
- 2 large eggs, room temperature
- 2 teaspoons vanilla extract
- 1 teaspoon white vinegar
- 8 oz (226g) cream cheese, softened
- ½ cup (113g) unsalted butter, softened
- 3 cups (360g) powdered sugar, sifted
- 1 teaspoon vanilla extract
- Pinch of salt
- Orange and black sprinkles (optional)
- Candy eyeballs (optional)
- Chocolate spider rings (optional)
- Black sanding sugar (optional)
Instructions
- Preheat your oven to 350°F (175°C). Line your muffin tin with 12 paper liners.
- In a large bowl, whisk together the flour, black cocoa powder, sugar, baking soda, and salt until evenly distributed.
- In a separate bowl, whisk together the buttermilk, vegetable oil, eggs, vanilla extract, and white vinegar until fully incorporated.
- Pour the wet ingredients into the dry ingredients. Stir with a rubber spatula or whisk until just combined. Do not overmix.
- Divide the batter evenly among the 12 liners, filling each about ⅔ full.
- Bake for 18-22 minutes, or until a toothpick inserted into the center comes out clean or with a few moist crumbs. The tops should spring back when lightly touched.
- Let the cupcakes cool in the pan for 5 minutes, then transfer them to a wire rack to cool completely.
- While the cupcakes are cooling, make the frosting: Beat the softened cream cheese and butter together in a large bowl with a hand mixer until smooth and creamy (about 2 minutes). Add the powdered sugar one cup at a time, beating on low speed. Add the vanilla and salt, then increase speed to medium-high and beat for another 2 minutes until light and fluffy.
- Transfer the frosting to a piping bag fitted with a star tip. Pipe a swirl onto each cooled cupcake.
- Decorate with sprinkles, candy eyes, or spider rings right away, before the frosting sets.
Notes
Room temperature ingredients matter for best texture. Don’t skip the vinegar—it reacts with baking soda for a lighter crumb. Black cocoa powder stains everything, so wear an apron. Let cupcakes cool completely before frosting to avoid melting. For a deeper black color, let the batter rest for 10-15 minutes before baking. These cupcakes taste even better the next day.
Nutrition
- Serving Size: 1 cupcake
- Calories: 380
- Sugar: 32
- Sodium: 280
- Fat: 22
- Saturated Fat: 10
- Carbohydrates: 45
- Fiber: 2
- Protein: 5
Keywords: black velvet cupcakes, Halloween cupcakes, black cocoa cupcakes, spooky cupcakes, cream cheese frosting, easy Halloween dessert


