By the fifth time I made these creamy Hatch green chile chicken enchiladas in two weeks, I finally stopped measuring the cream cheese. That’s when I knew I’d crossed a line—the kind of line you don’t come back from, honestly. The first batch was good. The second was better. By the fourth, I’d stopped following my own notes and started cooking by feel, which is usually when a recipe becomes mine.
It started with a paper bag of Hatch chiles a friend brought back from New Mexico. I had no plan, just a fridge full of roasted green chile and a vague memory of some enchiladas I’d eaten at a tiny spot in Santa Fe. The ones with the sauce so creamy you couldn’t tell where the chile ended and the sour cream began. I wanted that. So I started tinkering—three times that first weekend alone.
What kept me coming back wasn’t the heat (though these have a nice, warm buzz). It was the way the creaminess wrapped around the chile flavor without smothering it. Most creamy enchiladas taste like they’re hiding something. These don’t. The green chile stays front and center, and the cream just carries it.
Look, I’m not saying you’ll make these five times in two weeks. But I’m not saying you won’t.
Why You’ll Love This Recipe
These enchiladas aren’t complicated, but they taste like you spent hours. That’s the kind of cooking I love—where the ingredients do the heavy lifting, not you.
- Quick & Easy: From start to table in about 45 minutes. Perfect for a Tuesday when you need something that feels special but doesn’t demand a whole afternoon.
- Simple Ingredients: No weird stuff. Cream cheese, sour cream, shredded chicken, tortillas, and those glorious roasted chiles. You probably have most of it already.
- Perfect for Company: This is the dish people ask for the recipe after. It’s impressive without being fussy, and it feeds a crowd without breaking a sweat.
- Crowd-Pleaser: My kids devour these. My spice-wary mother-in-law asks for seconds. The heat is present but friendly—more of a warm hug than a punch.
- Unbelievably Delicious: The sauce is the star here. It’s velvety, tangy from the sour cream, and packed with that smoky, slightly sweet Hatch chile flavor that you just can’t get from a can of regular green chiles.
This isn’t just another enchilada recipe. The trick is blending the cream cheese into the sauce until it’s completely smooth—no lumps, no shortcuts. That one step changes everything. It creates a sauce that clings to every fold of the tortilla and soaks into the filling without making everything soggy. Trust me on this one.
What Ingredients You Will Need
This recipe relies on a short list of ingredients, each one pulling its weight. There’s no fluff here, just good, honest components that come together to make something genuinely special.
- Cooked, Shredded Chicken: About 3 cups. Rotisserie chicken is my go-to here—it’s already seasoned and saves you a step. If you’re cooking your own, poach it in salted water with a bay leaf for extra flavor.
- Hatch Green Chiles: The soul of this dish. Use roasted, peeled, and chopped Hatch chiles. If you can’t find fresh, canned Hatch chiles (look for the “Hatch” label) work beautifully. Regular green chiles are a fine substitute but won’t have quite the same depth.
- Cream Cheese: Full-fat, softened to room temperature. This is non-negotiable for the silkiest sauce. Low-fat versions can turn grainy.
- Sour Cream: Adds tang and richness. Full-fat again for best results. Greek yogurt works in a pinch, but the sauce will be slightly tangier.
- Chicken Broth: Low-sodium, so you control the salt. It thins the sauce to the perfect consistency.
- Monterey Jack Cheese: Melts like a dream. Shred it yourself from a block—the pre-shredded stuff has anti-caking agents that mess with the melt.
- Corn Tortillas: I prefer corn for their flavor and texture. They hold up better than flour in this creamy sauce. If you use flour, expect a softer, almost casserole-like result.
- Yellow Onion & Garlic: The aromatic base. Nothing fancy, just foundational flavor.
- Ground Cumin: A little warmth that plays nicely with the chiles. Don’t skip it—it’s the quiet MVP here.
- Kosher Salt & Black Pepper: To taste. Season the filling generously; the sauce needs less salt because the cheese adds some.
- Fresh Cilantro: For garnish. If you’re one of those people who thinks cilantro tastes like soap, leave it out. More for the rest of us.
- Optional: Pickled Jalapeños: For extra heat and acidity on top. I love the contrast they bring.
Equipment Needed
You don’t need a fancy kitchen to pull these off. Here’s what you’ll need:
- 9×13-inch Baking Dish: Standard size. Glass or ceramic works best—metal can react with the acidity in the chiles.
- Large Skillet: For making the sauce. A non-stick or stainless steel pan works fine.
- Mixing Bowls: One for the filling, one for shredding chicken if you’re doing it yourself.
- Cheese Grater: Please grate your own cheese. I know it’s an extra step, but the texture difference is real.
- Spatula or Wooden Spoon: For stirring the sauce until smooth.
- Measuring Cups and Spoons: For accuracy, especially with the broth and spices.
- Sharp Knife and Cutting Board: For dicing the onion and mincing the garlic.
If you don’t have a 9×13 dish, you can use two smaller dishes or even a cast-iron skillet. Just adjust the baking time slightly and keep an eye on it.
Preparation Method
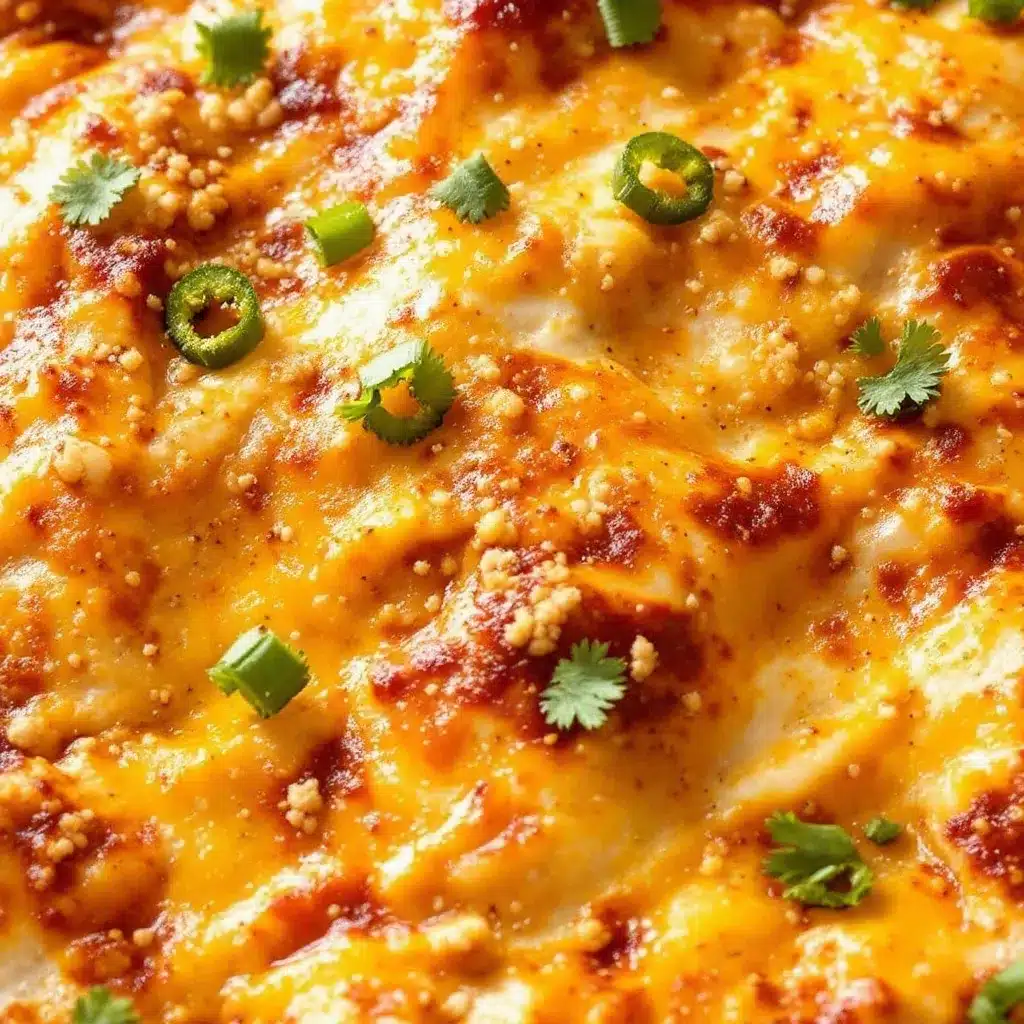
Let’s get cooking. I’ll walk you through every step so you end up with enchiladas that look like they came from a restaurant—but taste like home.
- Preheat and Prep: Preheat your oven to 375°F. Lightly grease your 9×13 baking dish with a little oil or non-stick spray. This prevents sticking and makes cleanup easier.
- Make the Filling: In a large bowl, combine the shredded chicken, 1 cup of the shredded Monterey Jack cheese, half of the chopped Hatch chiles, and a pinch of salt and pepper. Mix well. Taste it—it should be flavorful on its own. Set aside.
- Start the Sauce: In a large skillet over medium heat, add a tablespoon of oil. Sauté the diced onion for 3-4 minutes until translucent. Add the minced garlic and cook for another 30 seconds until fragrant. Don’t let the garlic burn—it turns bitter fast.
- Build the Cream Base: Reduce the heat to low. Add the softened cream cheese to the skillet and stir constantly until it’s completely melted and smooth. This takes about 2 minutes. Keep stirring—lumps are the enemy here.
- Add the Liquids: Pour in the chicken broth and sour cream. Whisk until the mixture is silky and uniform. Increase the heat to medium and let it come to a gentle simmer. It should thicken slightly, like a thin gravy.
- Finish the Sauce: Add the remaining Hatch chiles, ground cumin, and a pinch of salt. Stir and let it simmer for 2-3 minutes. Taste and adjust seasoning. The sauce should be creamy, slightly tangy, and warmly spicy. Turn off the heat.
- Warm the Tortillas: This step matters more than you think. Cold corn tortillas crack when you roll them. Wrap a stack of 8-10 tortillas in damp paper towels and microwave for 30-45 seconds. Or warm them one by one in a dry skillet for about 15 seconds per side. They should be pliable but not crispy.
- Assemble the Enchiladas: Spread about 1/2 cup of the sauce evenly across the bottom of your prepared baking dish. This prevents the tortillas from sticking and adds flavor to the bottom layer. Take a warm tortilla, place about 2-3 tablespoons of the chicken filling in a line down the center. Roll it up tightly and place it seam-side down in the dish. Repeat with the remaining tortillas and filling. You should get 8-10 enchiladas, fitting snugly in one layer.
- Top with Sauce and Cheese: Pour the remaining sauce evenly over the rolled enchiladas. Use a spatula to make sure every tortilla gets coated—dry spots will bake up tough. Sprinkle the remaining 1 cup of shredded Monterey Jack cheese over the top. Don’t skimp here; the cheese is the crown.
- Bake: Place the dish in the preheated oven and bake for 20-25 minutes, until the sauce is bubbly and the cheese is melted and starting to brown in spots. If you want a deeper golden top, switch to broil for the last 2 minutes. Watch it carefully—it goes from golden to burnt fast.
- Rest and Serve: Let the enchiladas rest for 5-10 minutes before serving. This lets the sauce set up a bit so you get clean slices. Garnish with fresh cilantro and pickled jalapeños if you’re using them. Serve hot.
Cooking Tips & Techniques
I’ve made enough mistakes with enchiladas to fill a small notebook. Here’s what I’ve learned so you don’t have to repeat them.
Don’t Overfill the Tortillas. I know it’s tempting to stuff them, but too much filling makes rolling difficult and the enchiladas fall apart. A modest 2-3 tablespoons is perfect. You want a few bites of tortilla with every bite of filling.
Room Temperature Cream Cheese is Crucial. Cold cream cheese won’t melt smoothly into the sauce. You’ll end up with little white lumps floating around. Leave it on the counter for 30 minutes before you start. If you forget, cut it into small cubes and microwave it in 10-second bursts until soft but not hot.
Toast Your Cumin. This is a tiny step that makes a big difference. Add the ground cumin to the skillet with the onions for the last 30 seconds before adding the cream cheese. Toasting it releases the oils and makes it taste warmer and more complex.
Don’t Overcook the Tortillas. If you warm them too long in the microwave, they become tough and rubbery. Just 30-45 seconds is enough. If you’re using a skillet, a few seconds per side is all it takes.
Let Them Rest. I know you’re hungry. But cutting into these right out of the oven gives you a soupy mess. Those 5-10 minutes of resting allow the sauce to thicken and the flavors to settle. Trust the process.
Variations & Adaptations
This recipe is a great starting point, but it’s also a canvas. Here are some ways to make it your own.
- Make it Spicier: Add a diced jalapeño to the onion sauté, or mix some chopped chipotle peppers in adobo into the sauce. The smoky heat pairs beautifully with the Hatch chiles.
- Go Vegetarian: Swap the chicken for black beans, pinto beans, or roasted sweet potatoes. The creamy sauce works with almost any filling. You won’t miss the meat.
- Use Flour Tortillas: For a softer, more casserole-like texture, use flour tortillas. They absorb the sauce differently and create a almost bread-pudding-like consistency. Not traditional, but delicious.
- Add Greens: Stir a handful of fresh spinach into the filling. It wilts down to nothing and adds color and nutrients without changing the flavor much.
- Top with Avocado: Sliced or diced avocado added right before serving gives a cool, creamy contrast to the warm, spicy enchiladas. It’s my favorite summer addition.
- Try a Different Cheese: Pepper Jack adds more heat. Cheddar gives a sharper flavor. A Mexican blend works in a pinch. Just avoid pre-shredded bags.
I once made a version with leftover Thai coconut curry pulled pork instead of chicken. It was a wild fusion experiment that somehow worked. The creamy coconut curry notes played off the Hatch chiles in a way I didn’t expect. Don’t be afraid to get creative with leftovers.
Serving & Storage Suggestions
These enchiladas are a meal in themselves, but a few thoughtful sides can turn them into a feast.
Serving: Serve them hot, right from the baking dish. A sprinkle of fresh cilantro and a few pickled jalapeños on top adds brightness and crunch. A dollop of extra sour cream or a squeeze of lime juice balances the richness. For a complete meal, pair them with a simple side salad dressed with lime and cilantro, or a bowl of refreshing mango jalapeño agua fresca for a cool, fruity contrast.
Storage: Leftover enchiladas keep beautifully. Store them in an airtight container in the refrigerator for up to 4 days. The flavors actually meld and deepen overnight, so they might taste even better the next day.
Reheating: The best way to reheat is in the oven at 350°F for 10-15 minutes, covered with foil to prevent drying out. The microwave works in a pinch but can make the tortillas a bit soft. If you’re reheating a single serving, a toaster oven is a great middle ground.
Freezing: These enchiladas freeze wonderfully. Assemble the dish completely but don’t bake it. Cover tightly with plastic wrap and then foil, and freeze for up to 3 months. To bake from frozen, add about 15-20 minutes to the baking time, removing the foil for the last 10 minutes to let the cheese brown.
Nutritional Information & Benefits
This is comfort food, so let’s be honest—it’s not a health food. But it’s made with real ingredients, and that counts for something.
Estimated per serving (1 enchilada): Calories: 380, Fat: 22g, Saturated Fat: 12g, Cholesterol: 85mg, Sodium: 620mg, Carbohydrates: 25g, Fiber: 3g, Sugar: 4g, Protein: 22g.
Health Highlights: Hatch green chiles are a good source of vitamin C and capsaicin, which may help boost metabolism. Chicken provides lean protein for muscle repair and satiety. The calcium from the cheese and sour cream supports bone health. Using corn tortillas adds a small amount of whole grain fiber.
Dietary Considerations: This recipe is naturally gluten-free when using corn tortillas. For a lower-fat version, use reduced-fat cream cheese and sour cream, though the texture will be slightly less luxurious. To reduce sodium, use low-sodium chicken broth and go easy on the added salt.
Potential Allergens: Dairy (cream cheese, sour cream, Monterey Jack). Corn (tortillas).
I’m not a nutritionist, and I don’t pretend to be one. But I do believe that food made with care from good ingredients is always a better choice than something processed. These enchiladas are a treat, and treats are part of a balanced life.
Conclusion
These creamy Hatch green chile chicken enchiladas are the kind of recipe that becomes a regular in your rotation. They’re simple enough for a weeknight, special enough for company, and flexible enough to adapt to whatever you have on hand. The sauce is the real star—rich, tangy, and packed with that unmistakable Hatch chile flavor that makes you close your eyes after the first bite.
What I love most about this recipe is how it feels both familiar and surprising. You know what you’re getting with enchiladas, but the creaminess and the depth of the chiles make it feel new every time. It’s comfort food that doesn’t put you to sleep—it wakes you up a little.
I’d love to hear how these turn out for you. Did you add something unexpected? Did you make them spicier? Did your family ask for them again the next night? Drop a comment below and let me know. And if you’re looking for another crowd-pleasing dish with a little kick, you might enjoy this spicy Korean-Mexican street corn dip—it’s the perfect appetizer to serve before these enchiladas.
Happy cooking, friend. Go make some enchiladas.
Frequently Asked Questions
Can I use canned green chiles if I can’t find Hatch?
Absolutely. Regular canned green chiles work fine, but the flavor will be milder and less complex. If you can find canned Hatch chiles (often labeled as such), they’re the next best thing to fresh.
Can I make this recipe dairy-free?
Yes, with some adjustments. Use dairy-free cream cheese and sour cream alternatives. Look for brands that are specifically designed for cooking, as some don’t melt well. The texture won’t be identical, but it will still be delicious.
Why did my tortillas crack when I rolled them?
This almost always means the tortillas weren’t warm enough. Corn tortillas need to be pliable to roll without cracking. Make sure you warm them thoroughly—either in the microwave with damp paper towels or in a dry skillet.
Can I use flour tortillas instead of corn?
Yes, and many people prefer them. Flour tortillas will give you a softer, more casserole-like texture. They absorb the sauce differently and don’t crack as easily. Just note that the dish won’t be gluten-free if you make this swap.
How do I know when the enchiladas are done baking?
The sauce should be bubbly around the edges, and the cheese on top should be fully melted and starting to brown in spots. If you want a deeper golden crust, switch to broil for the last 1-2 minutes, but watch carefully—it can burn quickly.
Pin This Recipe!
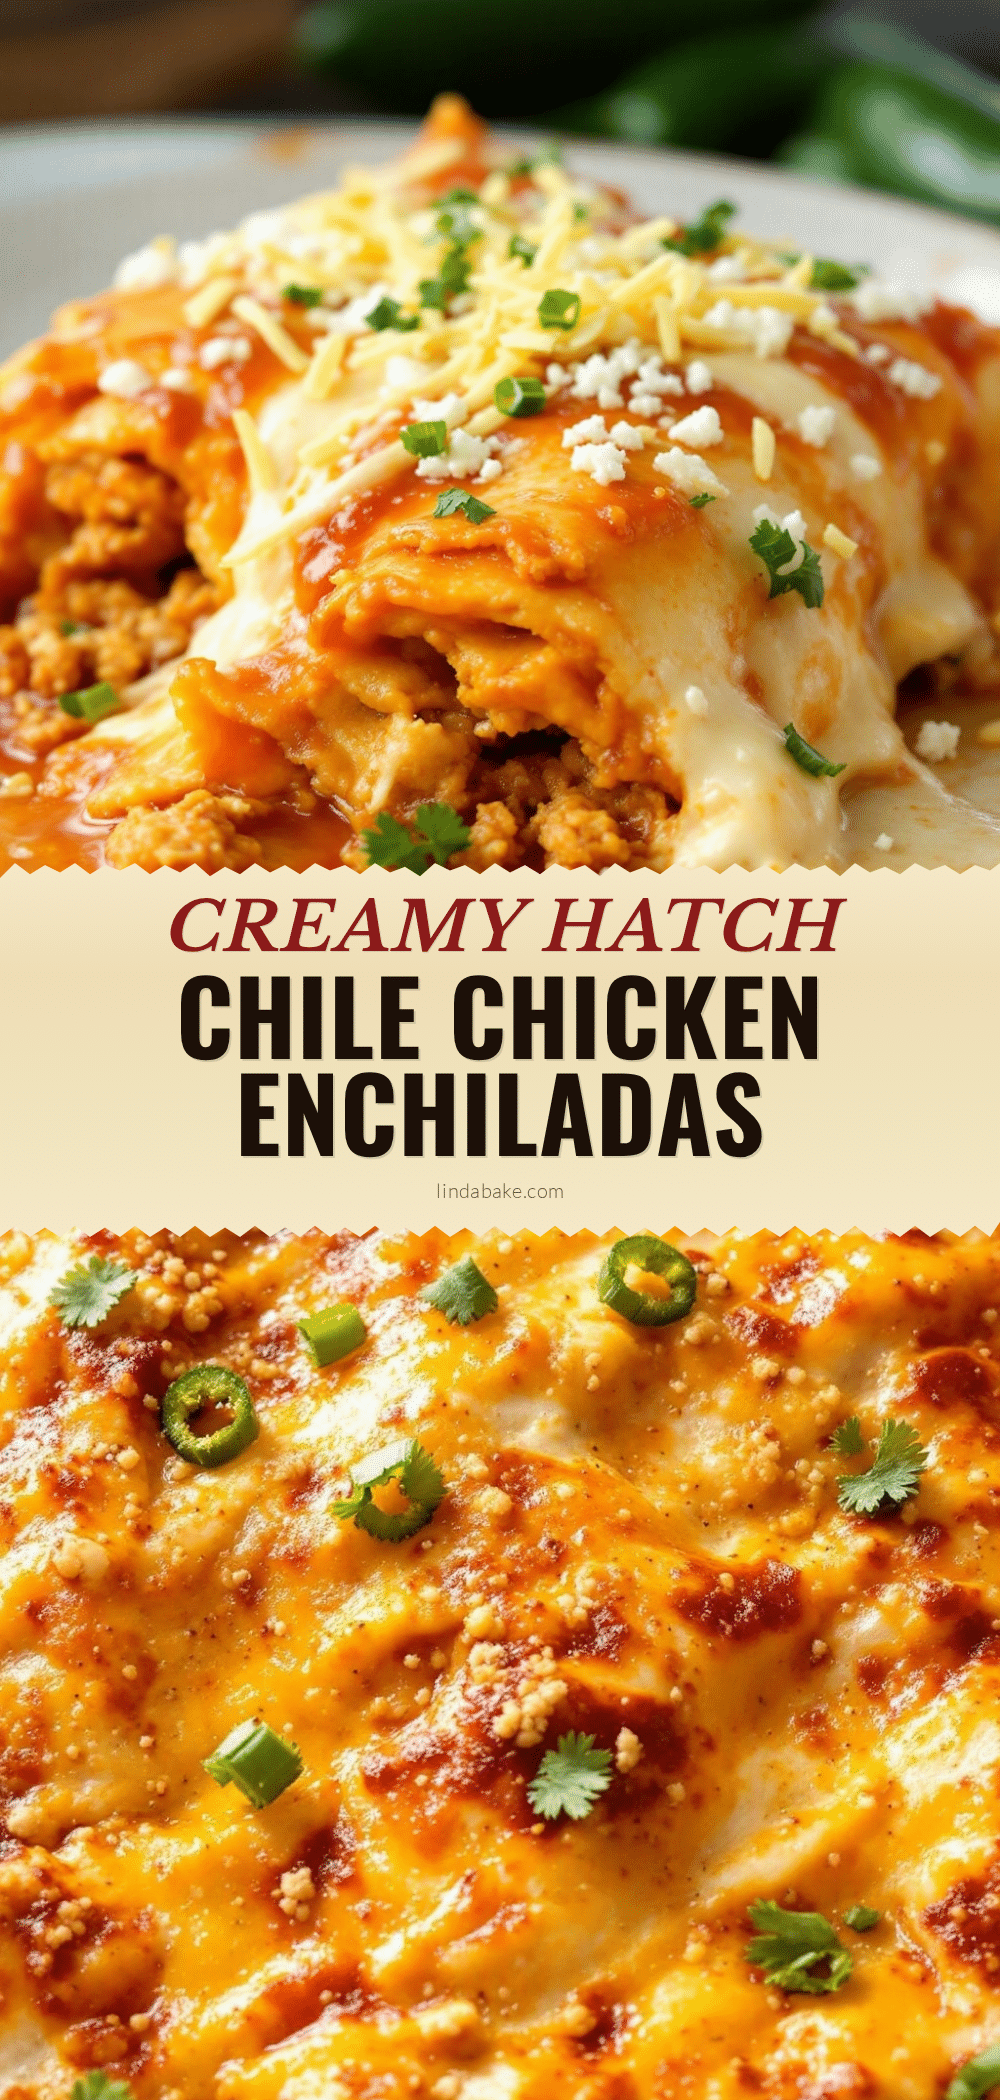
Creamy Hatch Green Chile Chicken Enchiladas Recipe
These creamy Hatch green chile chicken enchiladas are simple enough for a weeknight, special enough for company, and packed with smoky, slightly sweet Hatch chile flavor. The velvety sauce, made with cream cheese and sour cream, clings to every fold of the tortilla without making it soggy.
- Prep Time: 15 minutes
- Cook Time: 30 minutes
- Total Time: 45 minutes
- Yield: 8-10 servings 1x
- Category: Main Course
- Cuisine: Mexican
Ingredients
- 3 cups cooked, shredded chicken (rotisserie chicken recommended)
- 1 cup roasted, peeled, and chopped Hatch green chiles (or canned Hatch chiles)
- 8 oz cream cheese, softened to room temperature
- 1 cup sour cream
- 1 cup low-sodium chicken broth
- 2 cups shredded Monterey Jack cheese (divided)
- 8–10 corn tortillas
- 1 small yellow onion, diced
- 2 cloves garlic, minced
- 1 teaspoon ground cumin
- Kosher salt and black pepper to taste
- Fresh cilantro for garnish
- Pickled jalapeños (optional, for topping)
Instructions
- Preheat oven to 375°F. Lightly grease a 9×13-inch baking dish.
- In a large bowl, combine shredded chicken, 1 cup Monterey Jack cheese, half of the chopped Hatch chiles, and a pinch of salt and pepper. Mix well and set aside.
- In a large skillet over medium heat, add 1 tablespoon oil. Sauté diced onion for 3-4 minutes until translucent. Add minced garlic and cook for 30 seconds until fragrant.
- Reduce heat to low. Add softened cream cheese and stir constantly until completely melted and smooth, about 2 minutes.
- Pour in chicken broth and sour cream. Whisk until silky and uniform. Increase heat to medium and let come to a gentle simmer until slightly thickened.
- Add remaining Hatch chiles, ground cumin, and a pinch of salt. Stir and simmer for 2-3 minutes. Taste and adjust seasoning. Turn off heat.
- Warm tortillas: Wrap in damp paper towels and microwave for 30-45 seconds, or warm one by one in a dry skillet for 15 seconds per side.
- Spread about 1/2 cup of sauce evenly over the bottom of the prepared baking dish.
- Place a warm tortilla, add 2-3 tablespoons of chicken filling in a line down the center. Roll tightly and place seam-side down in the dish. Repeat with remaining tortillas and filling.
- Pour remaining sauce evenly over the rolled enchiladas. Sprinkle remaining 1 cup Monterey Jack cheese on top.
- Bake for 20-25 minutes until bubbly and cheese is melted and starting to brown. For a deeper golden top, broil for the last 2 minutes, watching carefully.
- Let rest for 5-10 minutes before serving. Garnish with fresh cilantro and pickled jalapeños if desired.
Notes
Use full-fat cream cheese and sour cream for the silkiest sauce. Warm tortillas thoroughly to prevent cracking. Let enchiladas rest before serving to allow sauce to set. For freezing, assemble without baking, cover tightly, and freeze up to 3 months; bake from frozen adding 15-20 minutes.
Nutrition
- Serving Size: 1 enchilada
- Calories: 380
- Sugar: 4
- Sodium: 620
- Fat: 22
- Saturated Fat: 12
- Carbohydrates: 25
- Fiber: 3
- Protein: 22
Keywords: Hatch green chile, chicken enchiladas, creamy enchiladas, New Mexican recipe, easy dinner, weeknight meal


